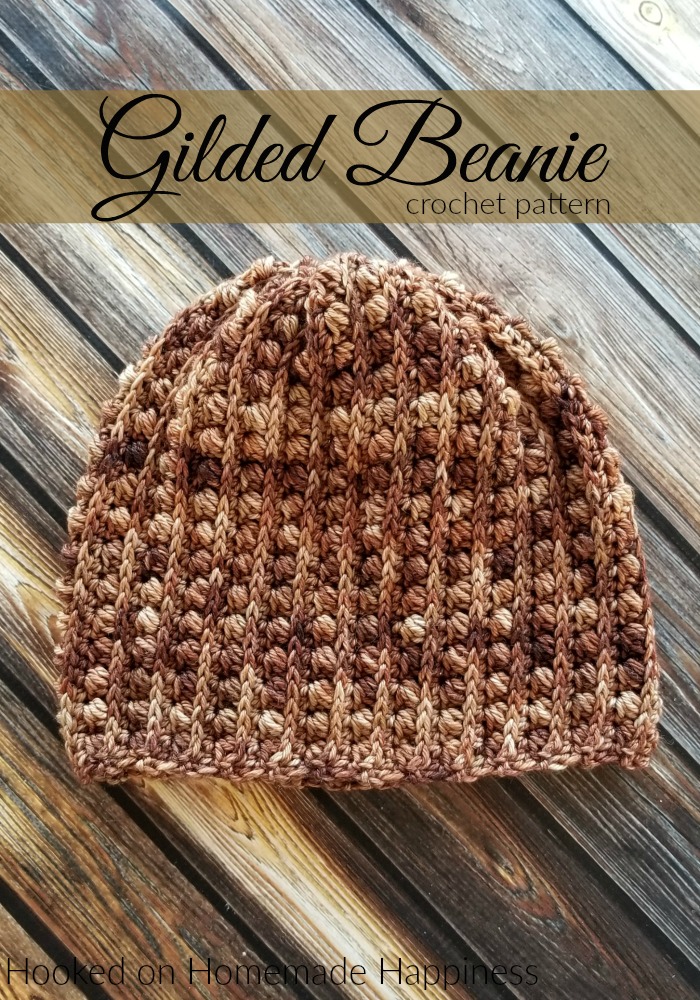
Gilded Beanie Crochet Pattern
The Gilded Beanie Crochet Pattern has a beautiful and textured design. It’s worked a little different than a typical beanie. It started as a rectangle with the ends sewn together to form a beanie. The rows are lined up vertically to create the ribbed texture between the puff stitches. I combined a couple of my favorite stitches to create this pattern; the Pebble Stitch and working in the 3rd loop of half double crochet.

More Homemade Happiness:
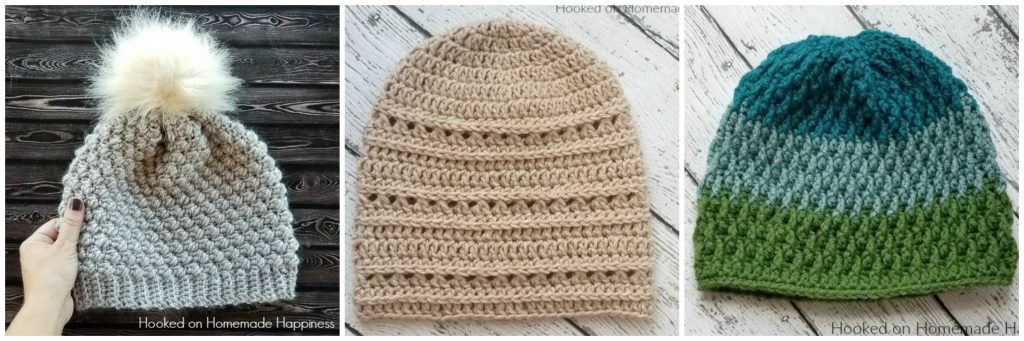
Pebble Beanie // Ridge Beanie // Pinetop Beanie
I have a matching cowl pattern, the Gilded Cowl and you can make both with just 200g of worsted weight yarn!

Gilded Beanie Crochet Pattern
– Get the free pattern below or purchase the ad-free, printable PDF in my Etsy Shop or Ravelry Shop
– PIN for later HERE
– Add to your Ravelry Queue HERE
Materials
100 g Uru Yarn by Knitcrate in Gilded – any worsted weight yarn will work
5.0 mm hook
Yarn needle
Scissors
Level
Intermediate
Pattern notes & stitches to know
Ch – chain
Hdc – half double crochet
Sc – single
Puff stitch – *yarn over, insert hook into stitch, pull up a loop the height of a dc* repeat 2 more times, yarn over and pull through all 7 loops on hook
Hdc 3rd loop – insert hook in the bar in front of the top loops and work your stitch (detailed tutorial HERE)
WS – wrong side of the fabric
RS – Right side of the fabric
Approximate Finished Size:
Length: 9”
Width: 9.5”
Written in US terms
Ch 1 does not count as stitch
GILDED BEANIE
– Pattern starts as a rectangle. Both ends are sewn together to make a tube. Then the top is cinched to make the top of the hat
– There is a right side and a wrong side to the fabric created
Ch 36 (approximately 10”, this is the height of your hat) – can be any even number
Row 1 (RS): hdc in 2nd ch from the hook and in each across (35)
Row 2 (WS): ch 1, turn, sc in first stitch, puff stitch in the 3rd loop of next stitch, *sc in 3rd loop in next, puff stitch in 3rd loop in next* repeat from * to * across to last stitch, sc in both top loops in last stitch (35)
Row 3 (RS): ch 1, turn, hdc in each stitch across (35)
Repeat rows 2 & 3 to Row 53 (approximately 19”, this is the circumference of your hat)
Fasten off. Leave a long end for sewing.
Bring both ends together, wrong side facing out, (matching the last row to the first row), use the long end to sew them together using a whip stitch to form a tube.
Do not fasten off.
Use your yarn needle to weave the long end in and out of the top of the tube. Pull tight to cinch it closed. Sew the top closed.
(how to sew the top closed photo tutorial HERE)
Fasten off, weave in the ends.
Turn right side out.
And you’re done!
Looking for more patterns? Follow me on Facebook, Instagram, and Pinterest! Please share a pic of your finished product with me. I’d love to see it!


Thanks very much,for your beautiful patterns,had a Blessed day 💕💕
Thank you!!