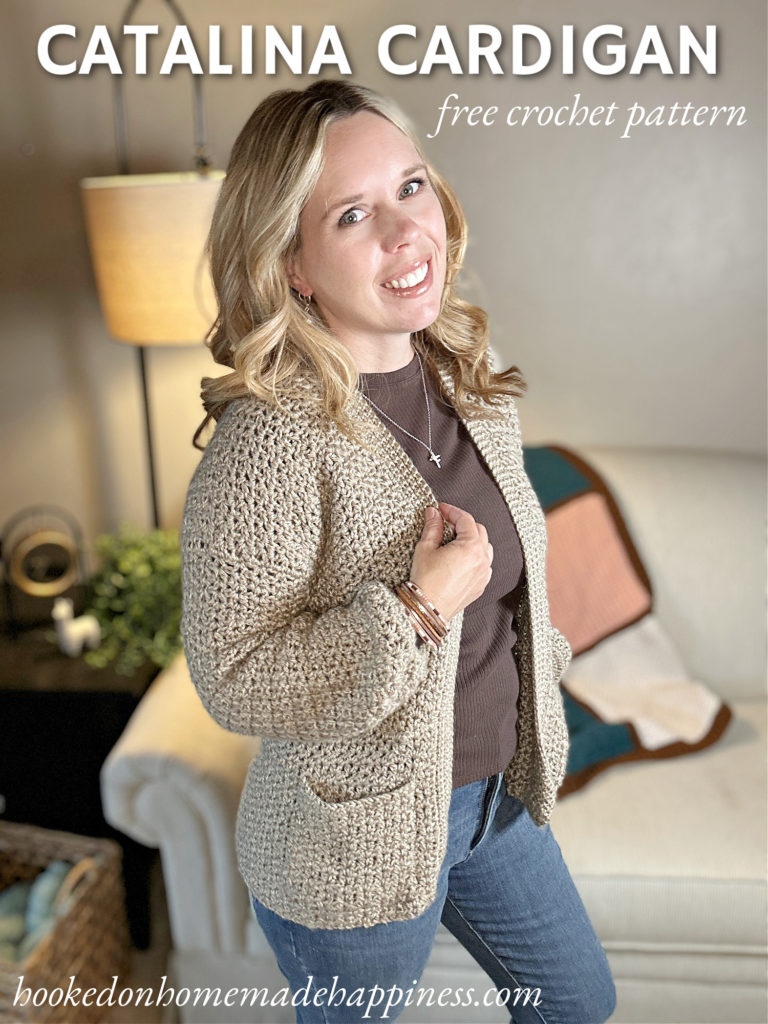
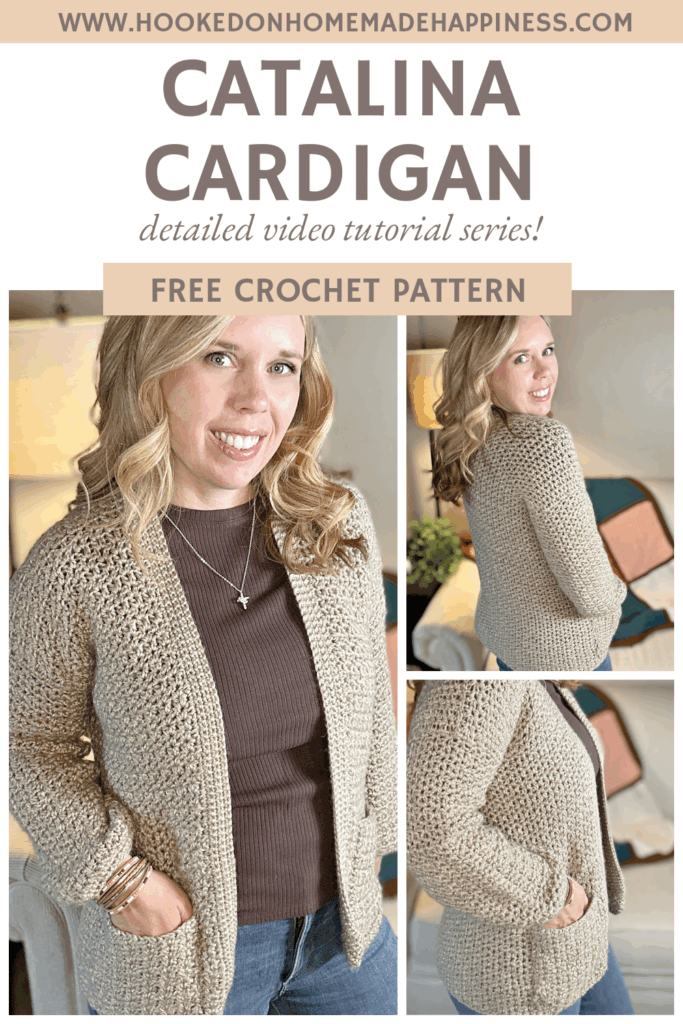
Catalina Cardigan Crochet Pattern
If you’ve been looking for the perfect cozy layering piece, the Catalina Cardigan Crochet Pattern is it! This design has the best of both worlds—easy stitches and a polished, wearable fit. With a simple stitch repeat and minimal sewing, this cardigan comes together beautifully for a wardrobe staple you’ll want to wear every day.
This pattern is paired with a 4-part step-by-step video tutorial series, so whether you’re an adventurous beginner or an experienced crocheter, you’ll have all the guidance you need along the way.
Purchase the ad-free, printable PDF for easy printing.
The Yarn
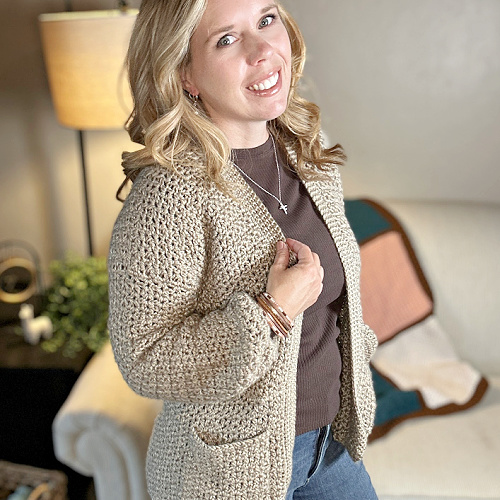
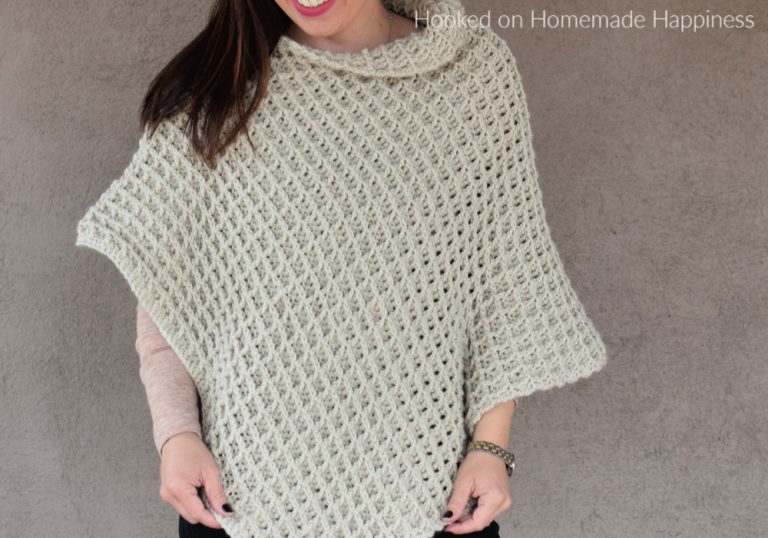
For this design, I used Lion Brand Heartland. This yarn is soft, drapey, and has a gorgeous heathered look that gives the cardigan a store-bought finish. Plus, it’s durable and machine washable—making it practical for everyday wear.
The Stitches
The body of the cardigan is worked in the half double crochet v-stitch. This gives the fabric an airy, lightweight texture while still feeling warm and cozy. It’s an easy one-row repeat that you’ll have memorized in no time!
Construction
One of the best parts of this pattern is how it’s built:
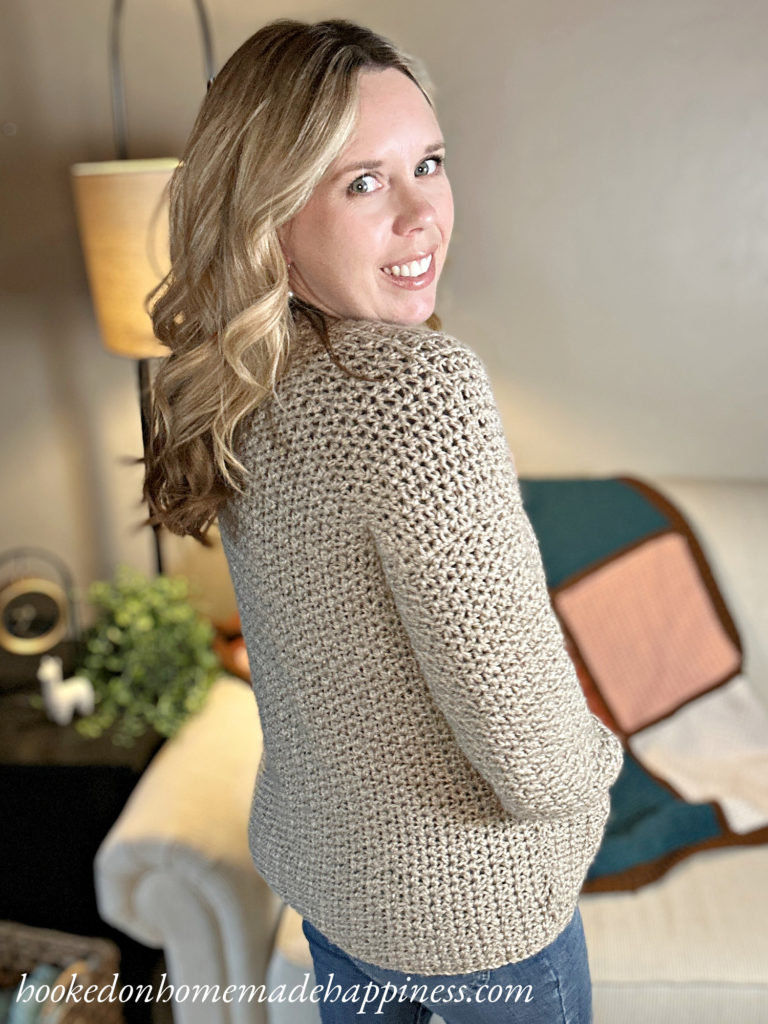
- Worked mostly in one piece – The back and front panels are created together for less sewing.
- Seamed into a cardigan shape – Just a few seams bring it together.
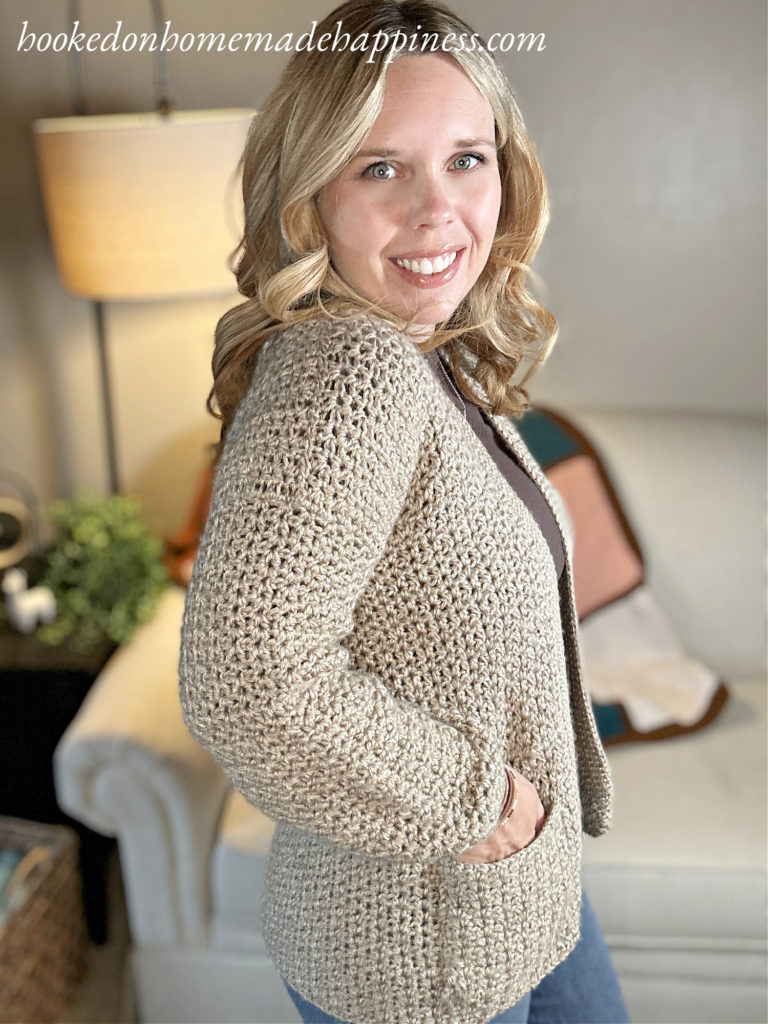
- Sleeves added – Worked directly onto the arm openings for a seamless look.
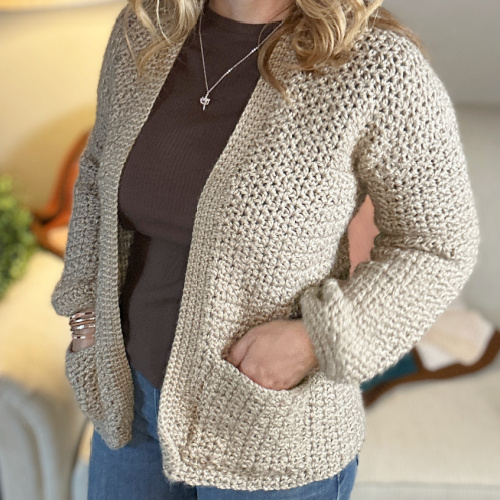
- Finishing details – A collar is added for that classic cardigan feel, plus optional pockets for style and functionality.
Why You’ll Love the Catalina Cardigan
- Beginner-friendly stitches with a professional-looking result
- Step-by-step video tutorials (broken into 4 parts for manageable learning)
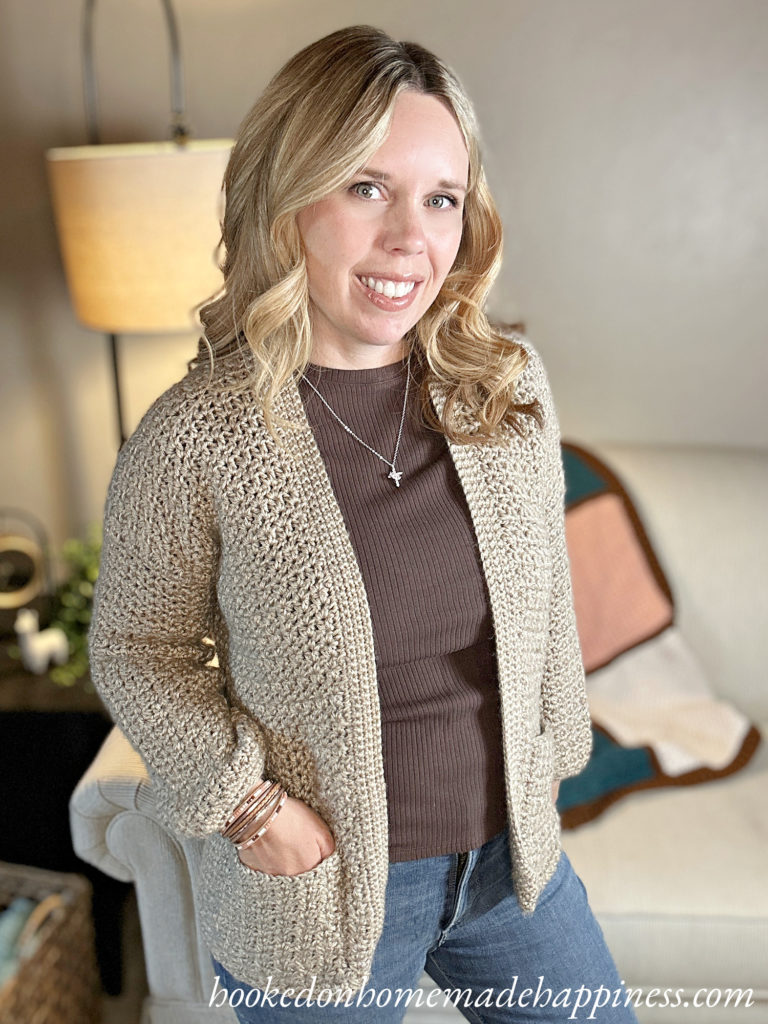
- Versatile layering piece that can be dressed up or down
- Customizable fit – easily adjust the length of the body or sleeves
Making the Catalina Cardigan Crochet Pattern
Get the full free pattern below or purchase the ad-free, printable PDF
Materials
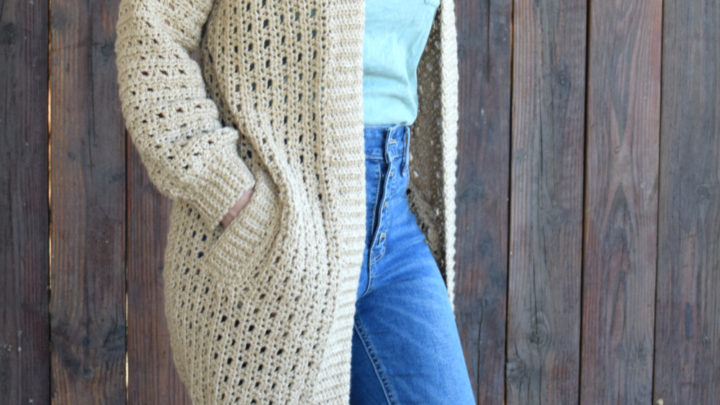
Worsted weight acrylic yarn ((S – 500g, M – 600g, L – 700g) (XL – 800g, 2X – 900g, 3X – 1000g)) – I used Lion Brand Heartland in Canyon. Any worsted weight acrylic (cotton or wool) would work great for this pattern
I/5.5 mm hook (or whatever hook needed to obtain gauge)
Yarn needle
Scissors
stitch markers
Level
beginner/advanced beginner
Pattern notes & stitches to know
ch – chain
sl st – slip stitch
sc – single crochet
hdc – half double crochet
V St – hdc v stitch—(hdc, ch 1, hdc) all in same stitch
sc2tog – single crochet 2 together
· written in US terms
· ch 2 counts as hdc
· ch 1 does not count as sc
· This cardigan is made as one rectangle, with openings for the sleeves (like the graphic on the right). There is a little sewing across the shoulders. Then the sleeves are added with turned rounds, next the collar, and last the pockets.

· Gauge: 6 V St x 9 rows = 4” x 4”
Sizes:
(S, M, L) (XL, 2X, 3X) – The pattern is written in these sizes consecutively. Example, when the pattern gives the end of row count ((50, 56, 62) (68, 74, 80) V St) the 50 is for S, 56 is M, 62 is L, 68 is XL, 74 is 2X, 80 is 3X.
This sweater is a loose fit with some positive ease.
Approx Finished Size:
Bust: S (35”) M (39”) L (43”) XL (47”) 2X (51”) 3X (55”)
Length: S (23.25”) M (24.75”) L (26.25”) XL (27.75”) 2X (29.25”) 3X (30.75”)
Armhole Width: S (7”) M (7.5”) L (8”) XL (8.5”) 2X (9”) 3X (9.5”)
Sleeve Length: S (23”) M (24”) L (25”) XL (26”) 2X (27”) 3X (28”)
Size Small pictured. I am 5’0” with 34” bust
Watch the Tutorial
See how it’s done! This easy-to-follow video tutorial will walk you through each step of the pattern.
Pattern Support
Looking for pattern support or want to share your progress? Join our Crochet Community Facebook Group! It’s the perfect place to ask questions, get help, and connect with fellow makers.
CROCHET PATTERN WRITTEN INSTRUCTIONS
ch (154, 172, 190) (208, 226, 244) (ch a multiple of 3 + 1)
Row 1: V St in the 4th ch from the hook, *skip 2 chains, V St in next* repeat from * to * across to last 3 chains, skip 2 chains, hdc in last stitch ((50, 56, 62) (68, 74, 80) V Sts)
Row 2: ch 2, turn, V St in each ch-1 space across, hdc in turning ch ((50, 56, 62) (68, 74, 80) V Sts)
Row 3 – (40, 42, 44) (46, 48, 50): repeat row 2 ((50, 56, 62) (68, 74, 80) V Sts)
This is the length before the armholes are made. To adjust the length, add or take out rows as needed.
Section A is made in the next rows. You will only work partly across the row, then turn.
Section A (optional: place a stitch marker at the beginning of this row to mark as row 1)
Row 1: ch 2, turn, V St in the next (11, 13, 14) (16, 17, 19) ch-1 spaces, hdc in next hdc (this will be the first “leg” of the next V St) ((11, 13, 14) (16, 17, 19) V St)
Row 2: ch 2, turn, V St in each ch-1 space across, hdc in turning ch ((11, 13, 14) (16, 17, 19) V St)
Row 3 – (18, 19, 20) (21, 22, 23): repeat row 2
The height of section A is the size of your armhole. Add or take out rows as needed.
Fasten off. Leave a long end for sewing.
Section B (optional: place a stitch marker at the beginning of this row to mark as row 1)
With section A on the right, join yarn to the hdc right next to the last stitch from Section A: Row 1.
Row 1: ch 2, V St in the next (26, 28, 32) (34, 38, 40) ch-1 spaces, hdc in next hdc (this will be the first “leg” of the next V St) ((26, 28, 32) (34, 38, 40) V St)
Row 2: ch 2, turn, V St in each ch-1 space across, hdc in turning ch ((26, 28, 32) (34, 38, 40) V St)
Row 3 – (18, 19, 20) (21, 22, 23): repeat row 2 ((26, 28, 32) (34, 38, 40) V St)
Or until it’s the same length as Section A
Fasten off. Leave a long end for sewing.
Section C (optional: place a stitch marker at the beginning of this row to mark as row 1)
With section A & B on the right, join yarn to the hdc right next to the last stitch from Section B: Row 1.
Row 1: ch 2, V St in the remaining ch-1 spaces, hdc in turning ch ((11, 13, 14) (16, 17, 19) V St)
Row 2: ch 2, turn, V St in each ch-1 space across, hdc in turning ch ((11, 13, 14) (16, 17, 19) V St)
Row 3 – (18, 19, 20) (21, 22, 23): repeat row 2
Fasten off. Leave a long end for sewing.
Fold sections A & C towards the middle (section B). Line up the edges across the top with stitch markers. Use the long ends and a yarn needle to whip stitch the shoulders closed.
SLEEVES
With cardigan facing right side out, join yarn to the bottom of an armhole
There are not exact row counts for the sleeves. It’s most important that the stitches are worked evenly around than trying to reach a specific number. For a size small, I had 60 sc around.
Round 1: ch 1, sc evenly around the sleeve—make sure the total number of stitches is a multiple of 3, join to first sc with sl st
Round 2: ch 2, turn, *skip 2 stitches, V St in the next* repeat from * to * around, skip last 2 stitches, join to first ch 2 with sl st
Round 3: ch 2, turn, V St in each ch-1 space around, join to first ch 2 with sl st
Round 3 – (35, 37, 39) (41, 43, 45): repeat round 3
or until desired sleeve length
Round (36, 38, 40) (42, 44, 46): ch 1, turn, sc in each stitch and ch-1 space around, join to first sc with sl st
Round (37, 39, 41) (43, 45, 47): ch 1, turn,*sc in next, sc2tog* repeat from * to * around, joint to first sc with sl st
Round (38, 40, 42) (44, 46, 48): ch 1, turn,*sc in next, sc2tog* repeat from * to * around, joint to first sc with sl st
Round (39, 41, 43) (45, 47, 49): ch 1, turn, sc in each stitch around, join to first sc with sl st
Fasten off.
Weave in the ends.
Repeat for other sleeve.
COLLAR
With cardigan facing right side out, join yarn to the bottom left corner of the cardigan
The collar is worked all the way around to the opposite corner
Row 1: ch 1, sc evenly around the entire collar to the opposite corner on the bottom right
Row 2 – 6: ch 1, turn, sc in each stitch across
Fasten off. Weave in the end.
POCKETS (make 2)
ch 25 (or your desired width that’s a multiple of 3 + 1)
Row 1: V St in the 4th ch from the hook, *skip 2 chains, V St in next* repeat from * to * across to last 3 chains, skip 2 chains, hdc in last stitch (7 V Sts)
Row 2: ch 2, turn, V St in each ch-1 space across, hdc in turning ch (7 V Sts)
Row 3 – 14: repeat row 2
Or until desired length
Fasten off. Leave a long end for sewing around the pocket.
With cardigan facing right side out, place each pocket on the bottom front corners. Line them up so they are the same. Use stitch markers to keep them in place. Use the long end & yarn needle to whip stitch around the bottom 3 sides, leaving the top open.
Fasten off. Weave in the ends.
And that’s it!! You’re done with your Catalina Cardigan! I hope you love it!
Looking for more patterns? Follow me on Facebook, Instagram, and Pinterest! Please share a pic of your finished product with me. I’d love to see it!


Hi. I need some clarifications on where the measurements start and finish. When you say the width of the armhole, is the side to side or shoulder to under the arm?
With the sleeve length how is it measured if the shoulder drapes down? Thank you.
Hi! The width of the armhole is the shoulder to under the arm. The Length is from where the sleeve section starts 🙂