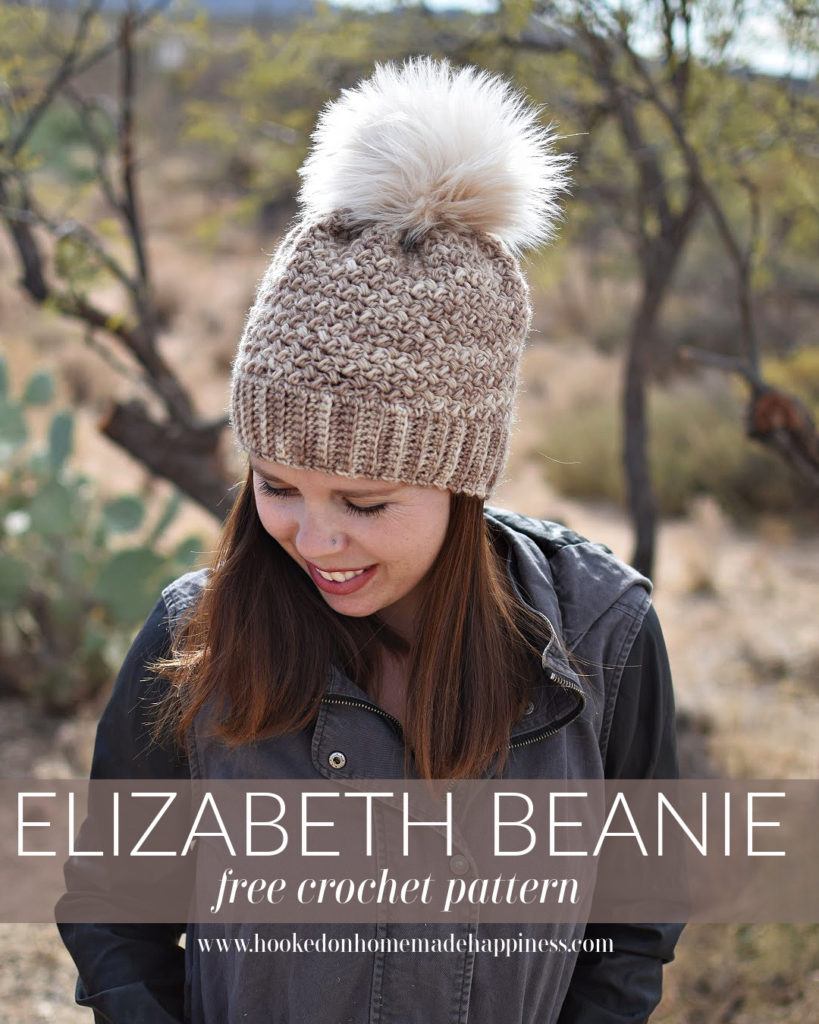
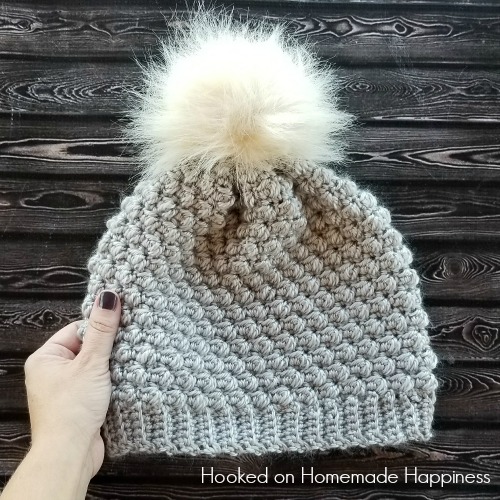
Elizabeth Beanie Crochet Pattern
The Elizabeth Beanie Crochet Pattern has this soft & beautiful stitch design. It has such a pretty and feminine look to it.
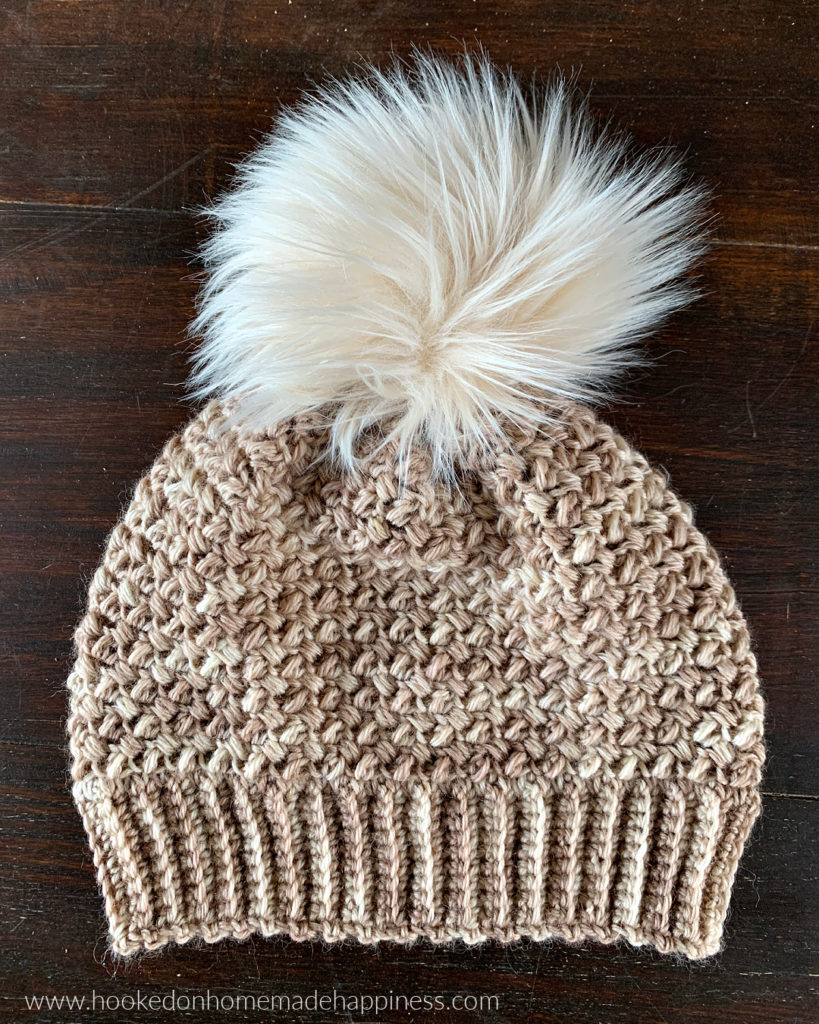
This beanie uses less than one 100g skein of worsted weight yarn! I used yarn that I dyed myself in this semi-solid taupe color. I think a variegated yarn would be beautiful as well!
More Homemade Happiness:


Double Brim Cable Beanie // Woven Beanie // Gilded Beanie
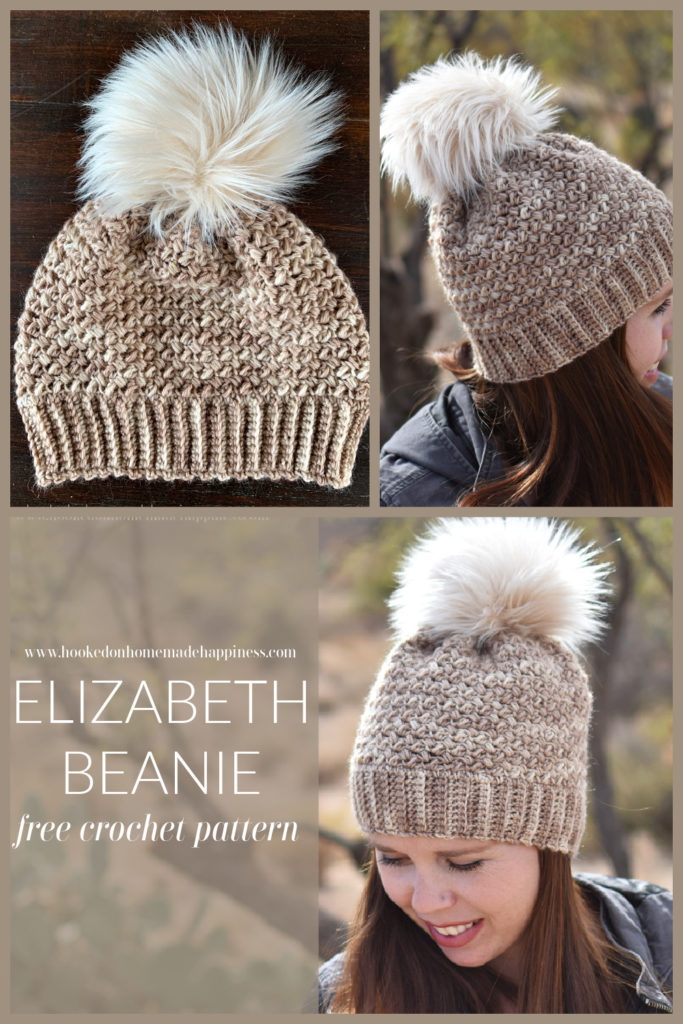
click here to pin this pattern for later >>>
Elizabeth Beanie Crochet Pattern
– Get the free pattern below or purchase the ad-free, printable PDF in my Etsy Shop or Ravelry Shop
– PIN this pattern for later HERE
– Add to your Ravelry Queue HERE
Materials
100g worsted weight yarn
I/5.5 mm hook
Yarn needle
Scissors
Pom Pom (optional)
Level
intermediate
Pattern notes & stitches to know
ch – chain
sl st – slip stitch
sc – single crochet
sc blo – single crochet back loop only
MB – mini bean – insert hook into stitch, pull up a loop, yarn over, insert hook into same stitch, yarn over, pull up a loop, yarn over, pull through all 4 loops on hook, ch 1
MB2tog – mini bean 2 together – insert hook into stitch, pull up a loop, insert hook into next stitch. pull up a loop, yarn over, insert hook into same stitch, yarn over, pull up a loop, yarn over, pull through all 5 loops on hook, ch 1
· written in US terms
· ch 1 does not count as sc or MB
· This beanie is worked from the bottom up, starting with the ribbing around the bottom.
· The length of the ribbing is approx the circumference of the beanie (it will be slightly smaller, but has a lot of stretch). To change the circumference, add or take out rows or ribbing. Must be an even number or rows.
Approximate Finished Size – Small Adult (not including pom pom)
Circumference: 18”
Length: 8.5”
Watch How to Crochet the Elizabeth Stitch Video Tutorial Below
ELIZABETH BEANIE CROCHET PATTERN
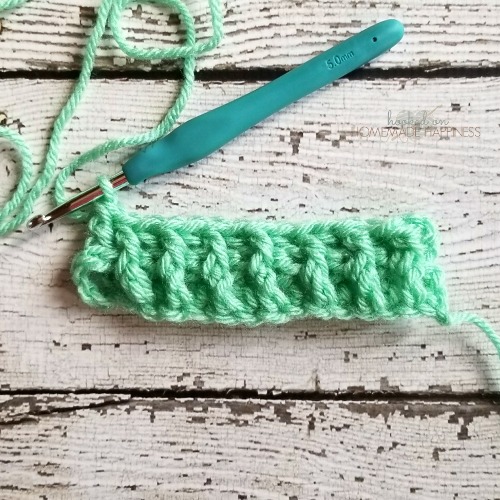
ch 11
Row 1: sc in the 2nd ch from the hook and in each ch across (10 sc)
Row 2: ch 1, turn, sc, sc blo in next 8 stitches, sc in last (10 sc)
Row 3 – 78: repeat row 2
Bring both short ends of the ribbing together, slip stitch the ends together. Now you will work around the top of the ribbing in joined rounds.
Round 1: ch 1, sc evenly around, working 1 sc in the end of each row of ribbing, join to the first sc with sl st (78 sc)
Round 2: ch 1, turn, MB in first stitch, skip 1 stitch, *MB in next stitch, skip 1 stitch* repeat from * to * around, join to first MB with sl st (39 MB)
Round 3: ch 1, turn, work a MB in each MB from previous round around (you’ll see a gap along the side of the MB, insert hook here and work the stitch), join to first MB with sl st (39 MB)
Round 4 – 22: repeat round 3 (39 MB)
Decreases start in the next round.
Round 23: ch 1, turn, *work a MB in next 7 MB, MB2tog*, repeat from * to * around, MB in remaining stitches, join to first MB with sl st (35 MB)
Round 24: ch 1, turn, *work a MB in next 6 MB, MB2tog*, repeat from * to * around, MB in remaining stitches, join to first MB with sl st (31 MB)
Round 25: ch 1, turn, *work a MB in next 5 MB, MB2tog*, repeat from * to * around, MB in remaining stitches, join to first MB with sl st (27 MB)
Round 26: ch 1, turn, *work a MB in next 4 MB, MB2tog*, repeat from * to * around, MB in remaining stitches, join to first MB with sl st (23 MB)
Fasten off. Leave a long end for sewing.
Use the long end to weave in and out of the top loops of the last row. Pull end tight to cinch closed. Sew the top closed. Weave in the ends.
Photo tutorial >> How to Finish a Beanie from the Bottom Up
Add a pom pom!
Looking for more patterns? Follow me on Facebook, Instagram, and Pinterest! Please share a pic of your finished product with me. I’d love to see it!


very very nice
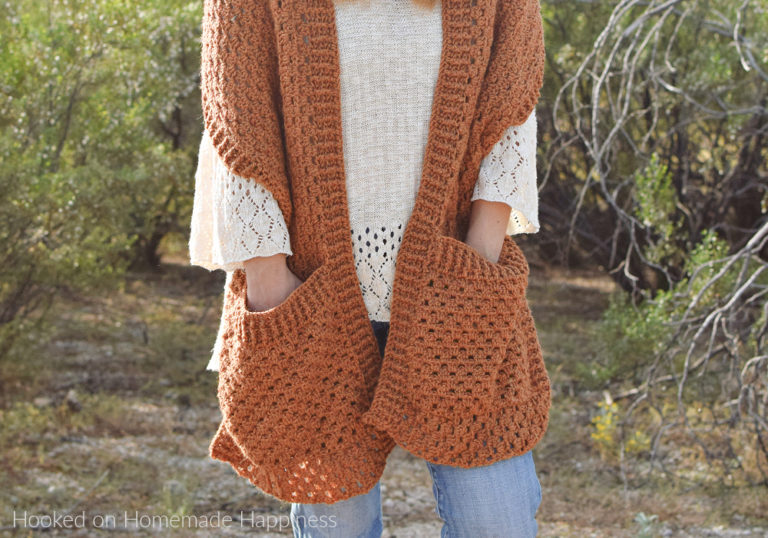
Help please. I already get your news letters but cant seem to find anywhere to contact you with a question on some other thing you made except thru another page like here. Well heres my problem. During the christmas season you did a number of patterns. I have been working on one of them. Its the sweater “design by breann” my problem is im at the pockets, and I had taken pic with my phone to work the sweater. But i didnt get a good shot of how to place the pockets on it to sew them in. Id really appreciate it if you could possible send me a link to get back to that pattern so i can finish it.
thank you so much
Hi! Is this the pattern your looking for? https://www.hookedonhomemadehappiness.com/cafe-au-lait-cardigan-crochet-pattern/
Thank you Breann! This is just a lovely pattern. I can’t wait to use one of my tonal skeins on this beanie.
I received an email that said the pdf of this hat pattern was free today but I don’t find a place on the blog to get it.
Thank you
Hi! 🙂 Scroll to the middle of the post and click on the graphic that says “click here for today’s Countdown to Christmas free download”
just wondering where you purchase your fluffy pom pom? they are the fluffiest I’ve ever seen. thanks for sharing your crochet ideas.
I think this is from Maria’s Blue Crayon, but I don’t think she makes poms anymore :/
I feel like 78 rows is going to be way too big for my 10yo.. should I do 50? And if so how many rounds should I take out?
You can refer to the chart in this post for sizing 🙂
https://www.hookedonhomemadehappiness.com/how-to-crochet-a-basic-beanie-for-beginners/