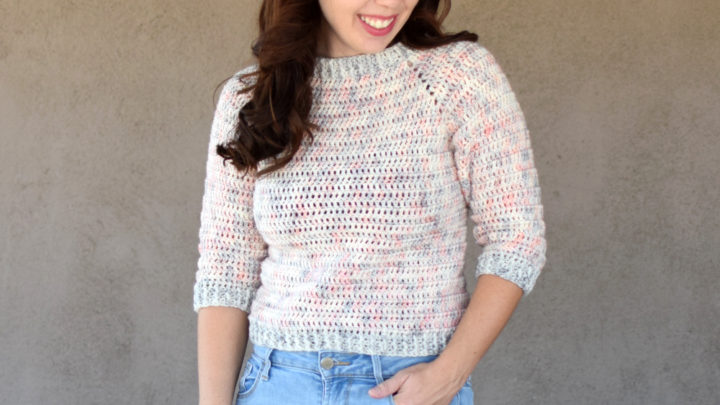
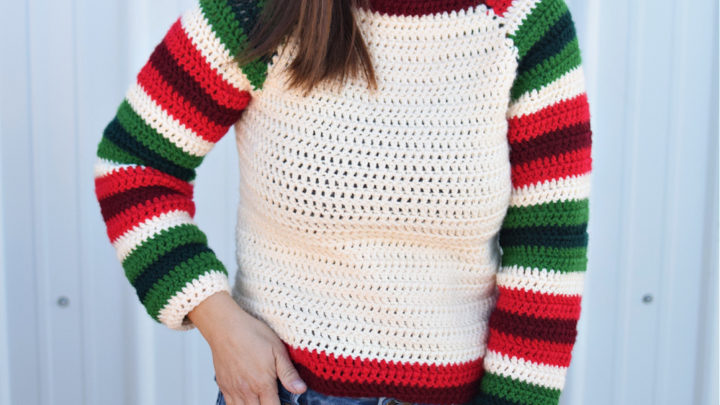
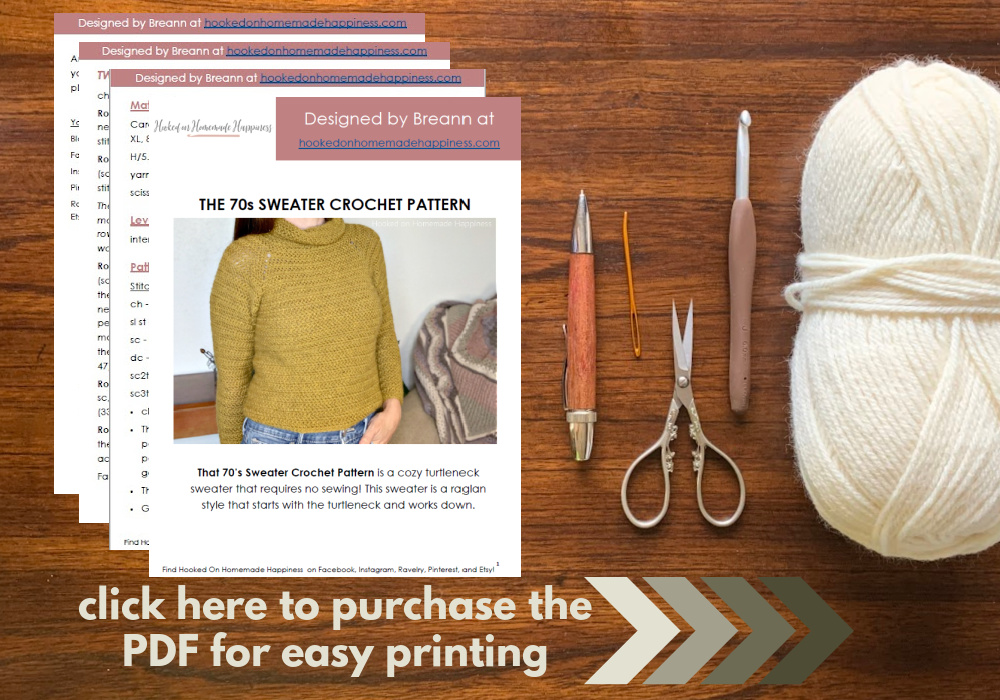
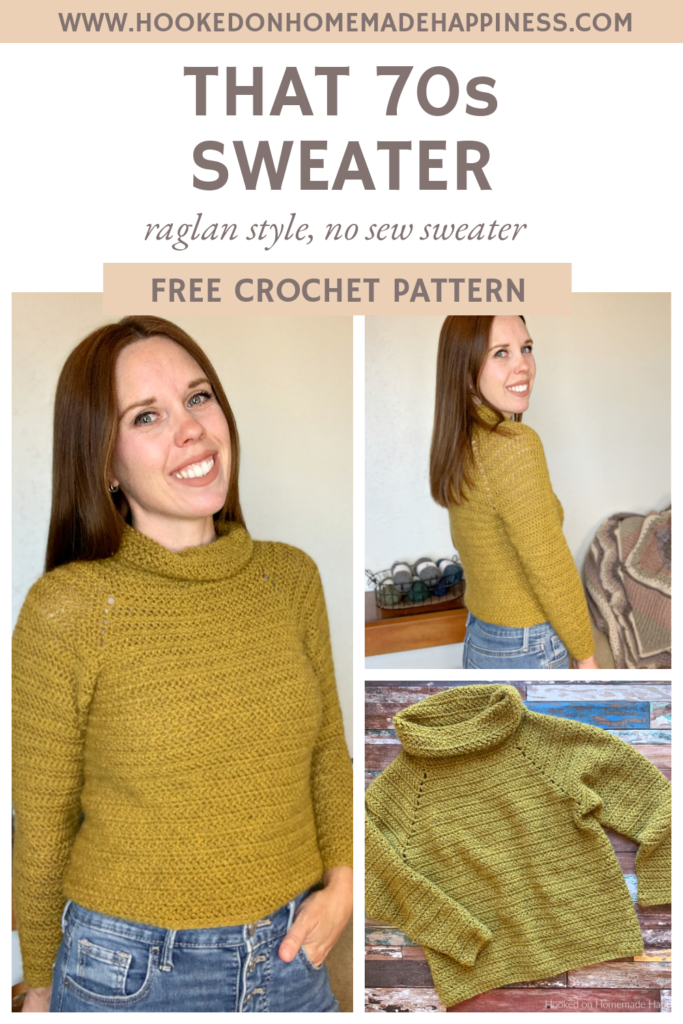
That 70’s Sweater Crochet Pattern
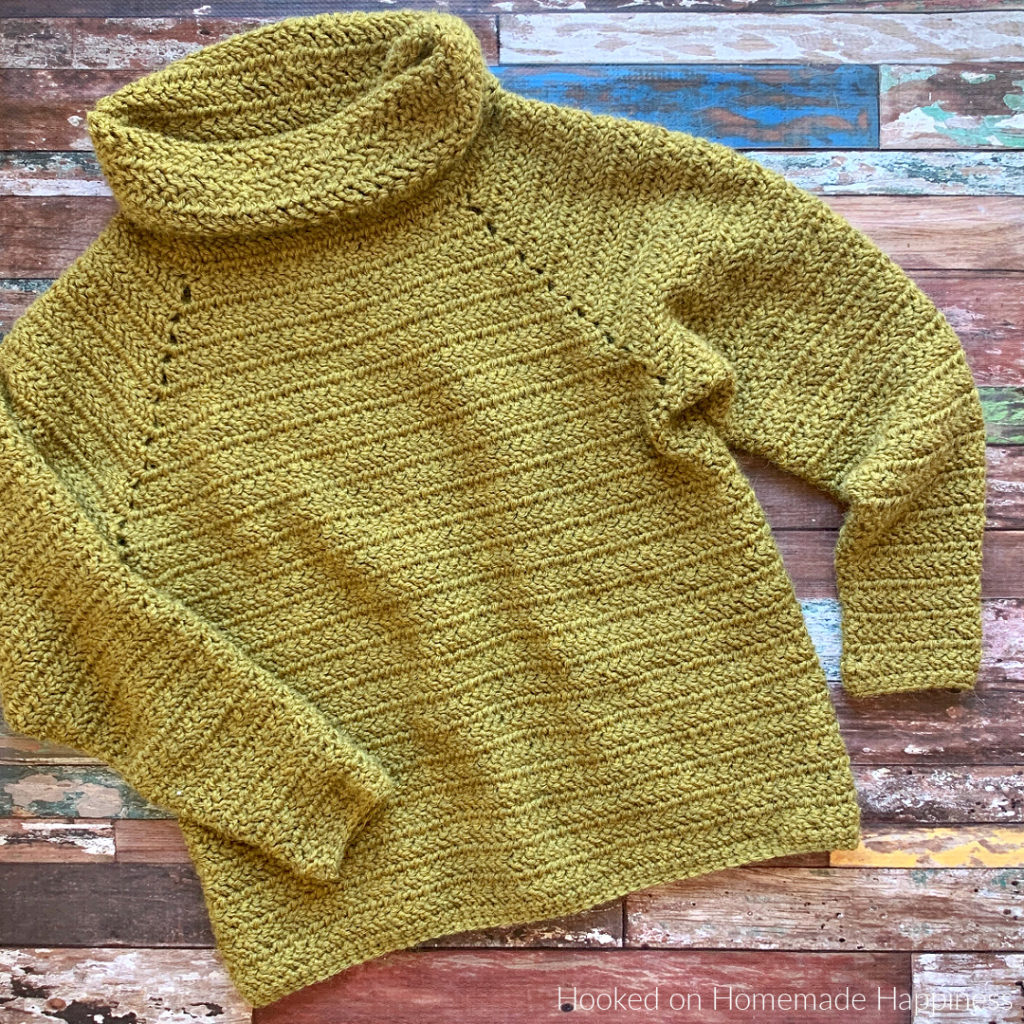
That 70’s Sweater Crochet Pattern is a cozy turtleneck sweater that requires no sewing! This sweater is a raglan style that starts with the turtleneck and works down. It is highly customizable. Easily adjust length to the body or sleeves by adding or taking out rounds.
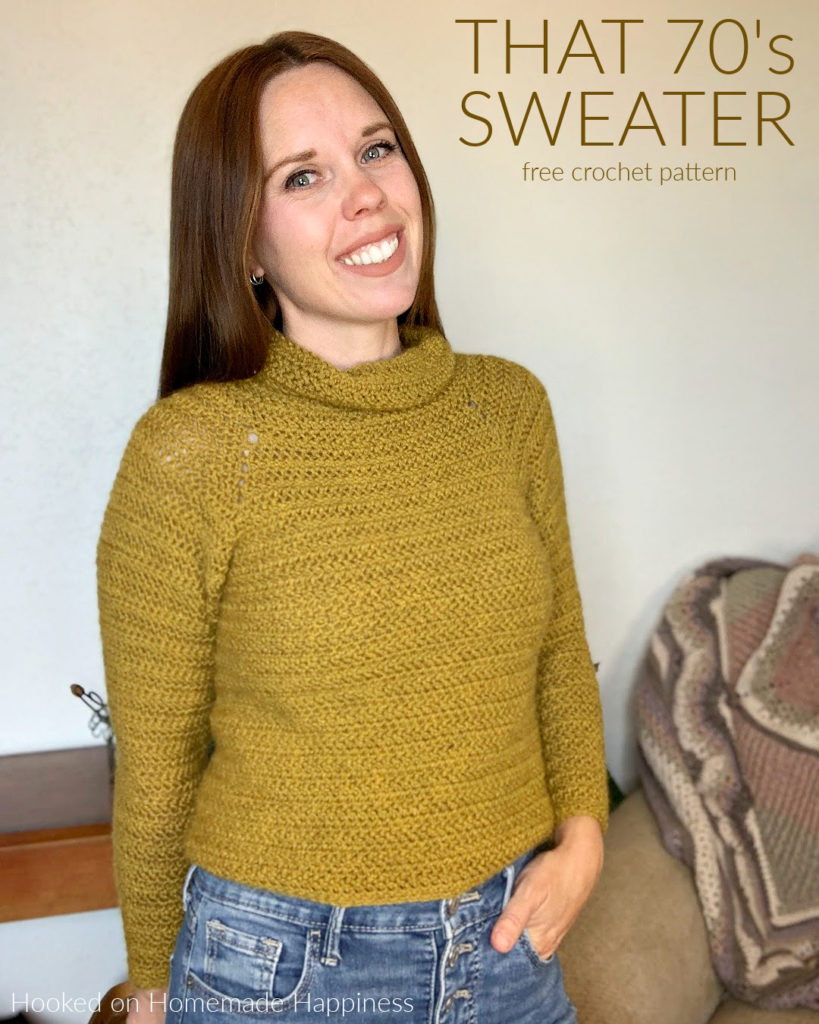
Let’s talk yarn! I used WeCrochet Alpaca Cloud in Evander to get this 70s vibe look. This is a luxuriously soft and squishy yarn. Perfect for a light fall sweater! Any DK weight yarn would be great for this sweater.

click here to pin for later >>>
That 70’s Sweater Crochet Pattern
Get the free pattern below or purchase the ad-free, printable PDF in my Ravelry Shop!
PIN for later HERE
Add to your Ravelry Queue HERE
Materials
WeCrochet Alpaca Cloud DK in Evander (7 skeins (861yds) for S, 8 (984yds) for M, 9 (1107yds) for L, 10 (1230yds) for XL, 11 (1353yds) for 2X, 12 (1476yds) for 3X) – any DK weight yarn will work
J/6.0 mm hook
H/5.0 mm hook
Yarn needle
Scissors
Level
intermediate
Pattern notes & stitches to know
sl st – slip stich
ch – chain
fdc – foundation double crochet
hbdc – herringbone double crochet – yarn over, insert hook into stitch, pull up a loop, pull first loop on hook through second loop, yarn over, pull through 1 loop, yarn over, pull through 2 loops
sc – single crochet
hbdc2tog – herringbone double crochet 2 together – yarn over, insert hook into stitch, *pull up a loop, pull first loop on hook through second loop, yarn over, pull through 1 loop*, yarn over, insert hook into next stitch, repeat from * to *, yarn over, pull through all loops on hook
· Written in US terms
· ch 2 does not count as hbdc
· This sweater is made top down in joined turned rounds.
· Gauge: 13 hbdc x 10 rows = 4” x 4”
Sizes:
(S, M, L) (XL, 2X, 3X) – The pattern is written in these sizes consecutively. Example, when the pattern gives the end of row count ((54, 60, 66) (72, 78, 84) dc) the 54 is for S, 60 is M, 66 is L, 72 is XL, 78 is 2X, 84 is 3X.
This sweater is a tight fit with some negative ease
Approx Finished Size:
Bust: S (31”) M (34.75”) L (38.5”) XL (42.25”) 2X (46”) 3X (49.75”)
Length: S (19”) M (20”) L (21”) XL (22”) 2X (23”) 3X (24”)
Armhole Width: S (6.5”) M (7.25”) L (8”) XL (8.75”) 2X (9.5”) 3X (10.25”)
Sleeve Length (from the neckline): S (20”) M (20.25”) L (20.5”) XL (20.75”) 2X (21”) 3X (21.25”)
Size Small pictured. I am 5’0” with 34” bust
THAT 70s SWEATER CROCHET PATTERN
With J/6.0 mm hook ch 3
Row 1: starting in 3rd ch from the hook foundation dc (54, 60, 66) (72, 78, 84), join to first dc with sl st ((54, 60, 66) (72, 78, 84) dc)
If you don’t want to use foundation dc you can ch (56, 62, 68) (74, 74, 86), dc in 3rd ch from the hook and across.
Check to make sure the first round fits over the head. If it doesn’t, go up a hook size or two for row 1.
Round 2 – 7: ch 2, turn, hbdc in each stitch around, join to first hbdc with sl st ((54, 60, 66) (72, 78, 84) hbdc)
Change to H/5.0 mm hook
Round 8 – 12: ch 2, turn, hbdc in each stitch around, join to first hbdc with sl st ((54, 60, 66) (72, 78, 84) hbdc)
Round 13: ch 2, turn, *hbdc in 2 stitches, 2 hbdc in next* repeat from * to * around, join to first hbdc with sl st ((72, 80, 88) (96, 104, 112) hbdc)
Round 14: ch 2, turn, hbdc in (36, 40, 44) (48, 52, 56) stitches, 2hbdc in next, hbdc in remaining stitches to last stitch, 2 hbdc in last ((74, 82, 90) (98, 106, 114) hbdc)
Round 15: ch 2, turn, hbdc in each stitch around, join to first hbdc with sl st ((74, 82, 90) (98, 106, 114) hbdc)
Round 16: ch 2, turn, hbdc in (10, 11, 12) (13, 14, 15) stitches, 2 hbdc in next, ch 2, 2 hbdc in next, hbdc in (13, 15, 17,) (19, 21, 23) stitches, 2 hbdc in next, ch 2, 2 hbdc in next, hbdc in (20, 22, 24) (26, 28, 30) stitches, 2 hbdc in next, ch 2, 2 hbdc in next, hbdc in (13, 15, 17), (19, 21, 23) stitches, 2 hbdc in next, ch 2, 2 hbdc in next, hbdc in remaining stitches, join to first hbdc with sl st ((82, 90, 98,) (106, 114, 122) hbdc)
Round 17: ch 2, turn, *hbdc in each stitch to the ch 2 space, (hbdc, ch 2, hbdc) in ch 2 space,* repeat from * to * around, hbdc in remaining stitches, join to first hbdc with sl st ((90, 98, 106) (114, 122, 130) esc)
Round 18 – Round (28, 30, 32) (34, 36, 38): repeat round 17 – each round will increase by 8 stitches ((178, 202, 226) (250, 274, 298) hbdc)
The sleeves are created in the next round.
Round (29, 31, 33) (35, 37, 39): ch 2, turn, hbdc in each stitch to the ch-2 space, hbdc in ch-2 space, ch 3, (skip an entire side of the rectangle) hbdc in next ch-2 space (this is the first sleeve), hbdc in each stitch to ch-2 space, hbdc in ch-2 space, ch 3, (skip an entire side of the rectangle) hbdc in next ch-2 space (this is the second sleeve), hbdc in remaining stitches, join to first hbdc with sl st ((100, 112, 124) (136, 148, 160) hbdc)
Round (30, 32, 34) (36, 38, 40): ch 2, turn, hbdc in each stitch and ch around, join to first hbdc with sl st ((106, 118, 130) (142, 154, 166) hbdc)
Round (31, 33, 35) (37, 39, 41) – Round (56, 59, 62) (65, 68, 71): ch 2, turn, hbdc in each stitch around, join to first hbdc with sl st ((106, 118, 130) (142, 154, 166) hbdc)
Round (57, 60, 63) (66, 69, 72) – Round (58, 61, 64) (67, 70, 73): ch 1, turn, sc in each stitch around, join to first sc with sl st ((106, 118, 130) (142, 154, 166) sc)
Fasten off. Weave in the ends.
SLEEVES
With H/5.0 mm hook, join to bottom of an armhole
Round 1: ch 2, hbdc in each stitch and ch around, join to first hbdc with sl st
Round 2: ch 2, turn hbdc in each stitch around, join to first hbdc with sl st
Decreases begin in the next round and will continue down the sleeve. Stop decreasing at any round if desired sleeve width is reached.
Round 3 – (28, 29, 30) (31, 32, 33): ch 2, turn, hbdc2tog, hbdc in remaining stitches around, join to first hbdc with sl st
Round (29, 30, 31) (32, 33, 34) – (32, 33, 34) (35, 36, 37): ch 2, turn, hbdc in each stitch around, join to first hbdc with sl st
To adjust sleeve length, add or take out rounds.
Round (30, 31, 32) (33, 34, 35): ch 1, turn, sc in each stitch around, join to first sc with sl st
Fasten off. Weave in the ends.
Repeat for other sleeve.
Looking for more patterns? Follow me on Facebook, Instagram, and Pinterest! Please share a pic of your finished product with me. I’d love to see it!


Hello. I am working on this project, but when I work the foundation dc for the first row of the turtleneck using a J-hook, it’s coming out very small (like the size that would fit a doll head). I just want to be sure that the first row should really only have 42 stitches. Are you using the regular Caron Cakes or the Caron Chunky Cakes for this project? Thank you.
Hi! Yes the numbers are correct. If it’s too small keep going up a hook size until it fits you 🙂 then go back down when the pattern suggests
Are the final numbers correct (sts.)from row 16
on?
Yes
Hi! I’ve been working this sweater in a small with the suggested yarn and everything was working great until I reached row 16. Following the stitch count of the small (and counting the ch 2s as stitches except the very first ch 2s to change rows), the st count would be 72, not 64. It’s 4×6 (for hbdc 2, ch 2, hbdc 2) plus 4×12 for the regular hbdc sts, which brings us to 72 st, which is the end row st count for the size M. The end row st count for the size S says 64. Continuing the pattern do I just need to start reading off the M size guidelines though I am trying to make a size S? Thanks so much!
Hi! The chs do not count as stitches ?
Thanks so much Breann!