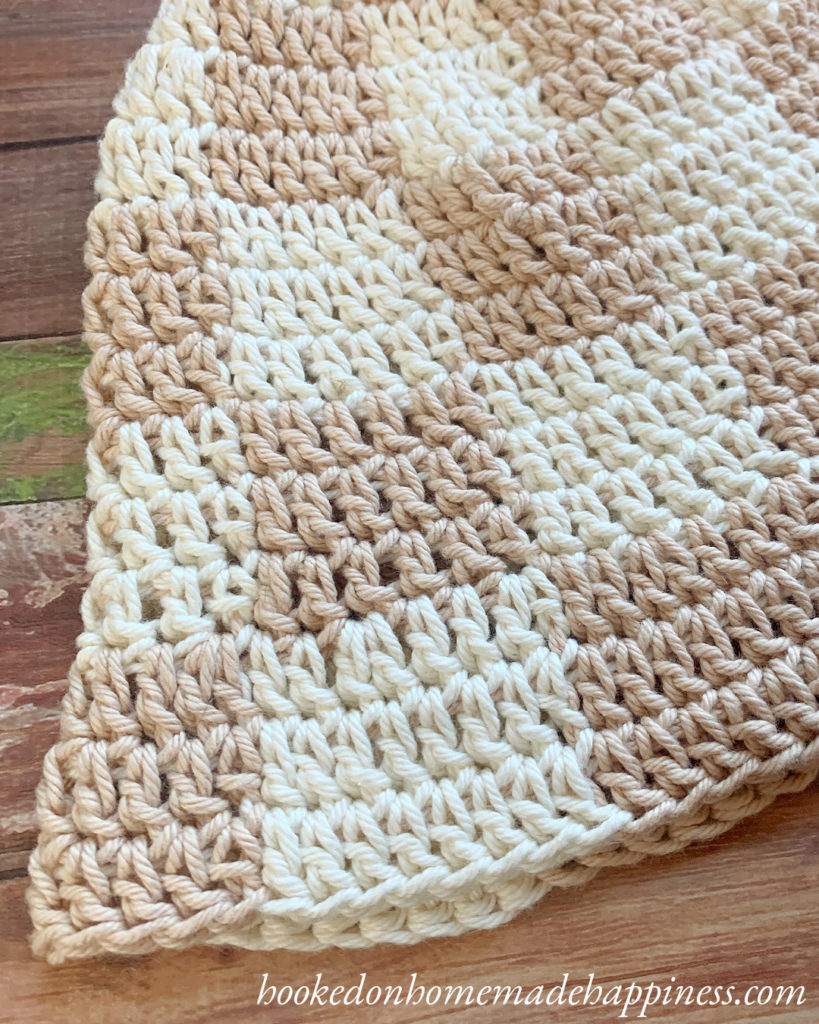
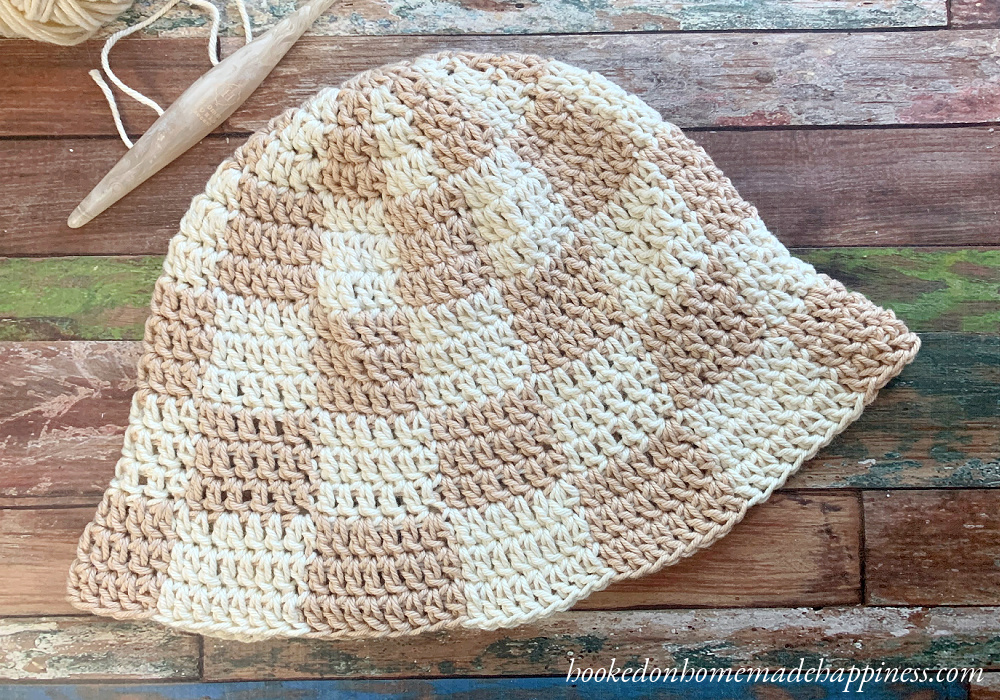
The Checkerboard Bucket Hat Crochet Pattern is an adorable hat that is much easier than it looks! There is a full video tutorial included showing how to change colors and carry the yarn throughout.
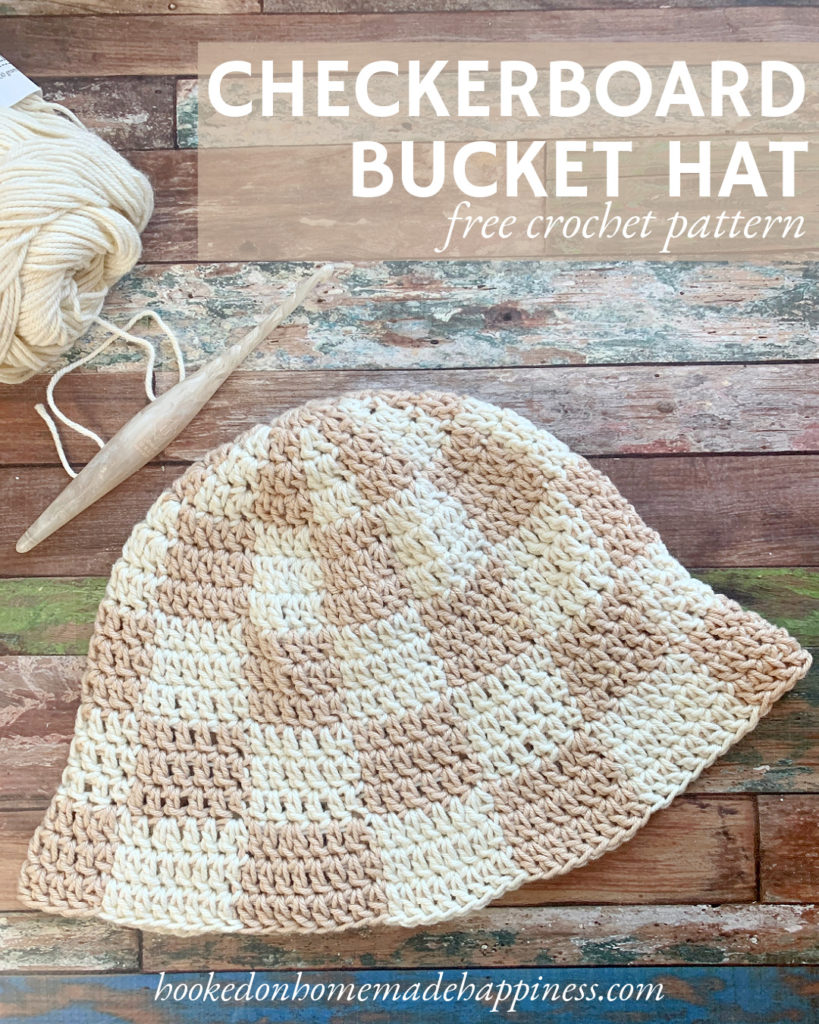
This hat is the 11th pattern in the Crochet Along for a Cause. We are making 1 hat per week to donate to a cancer center, school, or homeless shelter for 12 weeks. There’s always time to join! You can find all the details and hat patterns HERE.
More Homemade Happiness:


Brunch Bucket Hat // Blossom Bucket Hat // Beach Day Bucket Hat
click here to pin for later >>>
Checkerboard Bucket Hat Crochet Pattern
Get the full pattern below or purchase the ad-free, printable PDF in my Etsy Shop or Ravelry Shop
PIN for later HERE
Add to your Ravelry Queue HERE
Materials
100g/190 yds total worsted weight cotton yarn in 2 colors (I used Dishie in Swan and Linen)
H/5.0 mm hook
yarn needle
scissors
Level
intermediate
Pattern notes & Stitches to Know
Magic circle
ch – chain
sl st – slip stitch
dc – double crochet
· Written in US terms
· This beanie is made from the top down joined rounds. Do not fasten off the colors. Carry them throughout.
· Linen is Color A. Swan is Color B.
· When changing colors, always change color on the last step of the stitch just before the color change
· To change the pattern size, go up or down a hook size.
Approx Finished size (small adult) –
Length: 8”
Circumference (around base of head): 22”
CHECKERBOARD BUCKET HAT CROCHET PATTERN
>>>VIDEO TUTORIAL LINK<<<
With Color A, make a magic circle
Round 1: ch 2, 12 dc in circle, pull circle closed tight, join to first dc with sl st (12 dc)
Round 2: ch 2, starting in the first stitch, *2 dc in next stitch, change to Color B, 2 dc in next stitch, change to Color A* repeat from * to * around, join to first dc with sl st (24 dc)
Round 3: continuing with Color A, ch 2 *dc in 1 stitch, 2 dc in next, change to Color B, dc in 1 stitch, 2 dc in next, change to Color A* repeat from * to * around, join to first dc with sl st (36 dc)
Round 4: continuing with Color A, ch 2 *dc in 2 stitches, 2 dc in next, change to Color B, dc in 2 stitches, 2 dc in next, change to Color A* repeat from * to * around to last stitch, do not change to color A, join to first dc with sl st (48 dc)
Round 5: continuing with Color B, ch 2, *dc in 3 stitches, 2 dc in next, change to Color A, dc in 3 stitches, 2 dc in next, change to Color B* repeat from * to * around, join to first dc with sl st (60 dc)
Round 6: continuing with Color B, ch 2 *dc in 4 stitches, 2 dc in next, change to Color A, dc in 4 stitches, 2 dc in next, change to Color B* repeat from * to * around, join to first dc with sl st (72 dc)
Crown diameter is approx. 6.5”.
Round 7: continuing with Color B, ch 2 *dc in 6 stitches, change to Color A, dc in 6 stitches, change to Color B* repeat from * to * around to last stitch, do not change to Color B, join to first dc with sl st (72 dc)
Round 8 – 10: continuing with color A, ch 2, *dc in 6 stitches, change to Color B, dc in 6 stitches, change to Color A* repeat from * to * around, join to first dc with sl st (72 dc)
do not change colors on last stitch of round 10
Round 11 – 13: continuing with Color B, ch 2, *dc in 6 stitches, change to Color A, dc in 6 stitches, change to Color B* repeat from * to * around, join to first dc with sl st (72 dc)
do not change colors on last stitch of round 13
Round 14: continuing with Color A, *dc in 2 stitches, 2 dc in next, dc in 2 stitches, 2 dc in next, change to Color B, dc in 2 stitches, 2 dc in next, dc in 2 stitches, 2 dc in next, change to Color A* repeat from * to * around, join to first dc with sl st (96 dc)
Round 15 – 16: continuing with Color A, *dc in 8 stitches, change to Color B, dc in 8 stitches, change to Color A* repeat from * to * around, join to first dc with sl st (96 dc)
Fasten off.
Weave in the ends.
And that’s it! See you next week for the twelfth and final CAL for a Cause pattern!
Looking for more patterns? Follow me on Facebook, Instagram, and Pinterest! Please share a pic of your finished product with me. I’d love to see it!








This hat is sooo cute! I can’t wait to crochet it.
Thank you!
Hi! I’m crocheting this using a DK weight yarn and a 5.5mm hook, and when I got to round 6, my diameter was less than yours (6″), should I increase 1 more round? Thank you!
Hi! Yes, you can add another increase round 🙂
Lovely patter but for some reason mine didn’t flare out after row 14 and it’s super short. Is there any way I can fix this?
Hi! You can go back to round 13 and add a few more without the increases to add length. And when you continue you can go up a hook size to make it flare out more 🙂
Hi Breann!
I am new to crochet and when looking at the Dishie yarn you used, it is suggested to use a 5.5-6.5 hook. However you used (and I have) a 5mm hook. Does it ultimately matter if I try and use the Dishie yarn with a 5mm hook or should I buy a different size? I am excited to get started. Thanks!
Hi! I used a smaller hook to make tighter stitches 🙂
Hi do you have this pattern for a baby blanket. Thanks
Hi! No, sorry I don’t