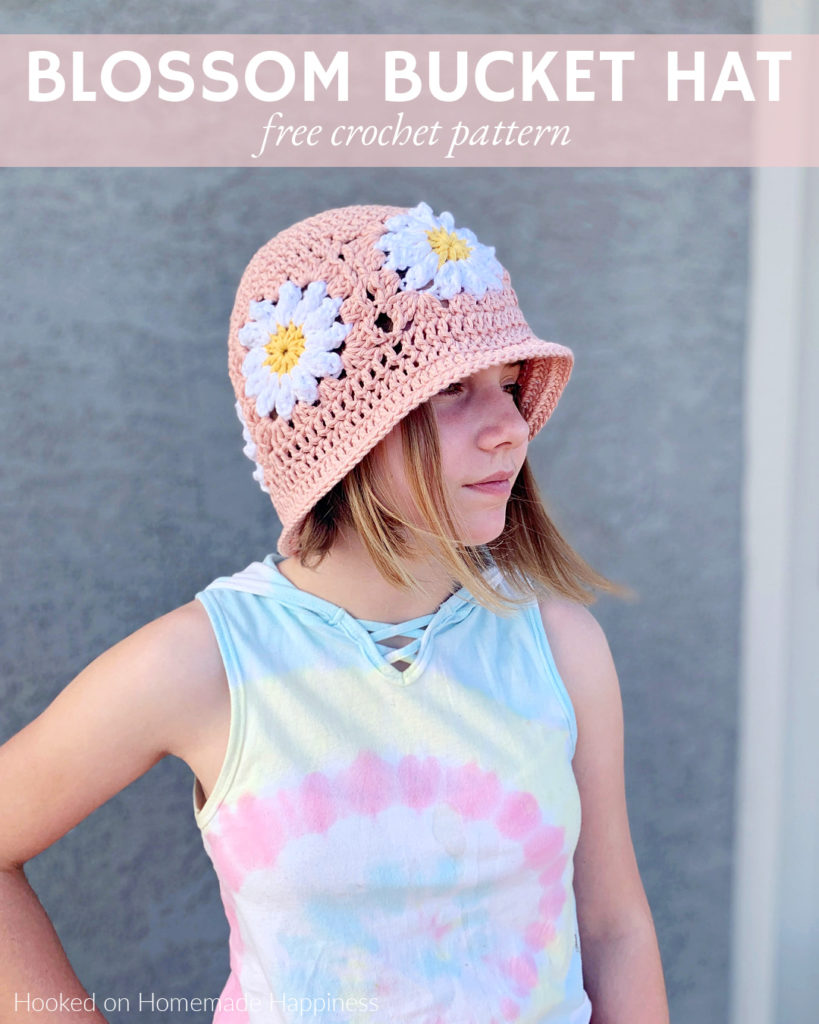
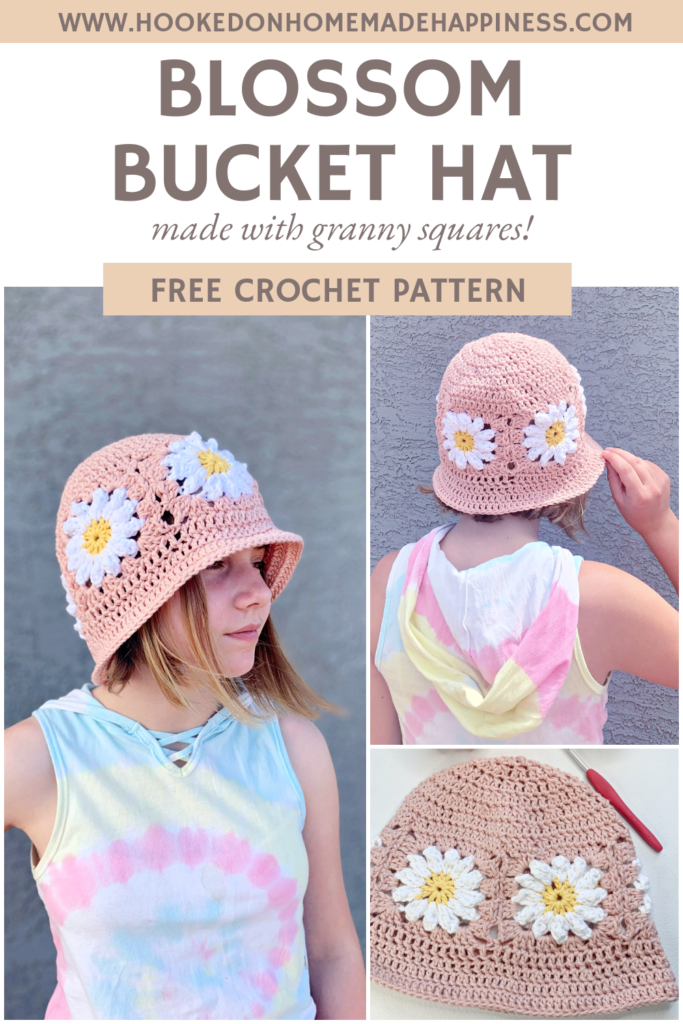
Blossom Bucket Hat Crochet Pattern (Flower Granny Square Hat!)
If you love crochet projects that feel fresh, floral, and fun to wear—this Blossom Bucket Hat Crochet Pattern is going to be your new favorite! 🌸✨ It starts with adorable flower granny squares, then transforms into a classic bucket hat shape with a structured crown and a flared brim.
This pattern is made with cotton worsted weight yarn, which makes it breathable, comfortable, and perfect for spring and summer outings. And the best part? We’ll switch hook sizes for the brim so it holds its shape beautifully!
Purchase the ad-free, printable PDF for easy printing.
About the Blossom Bucket Hat
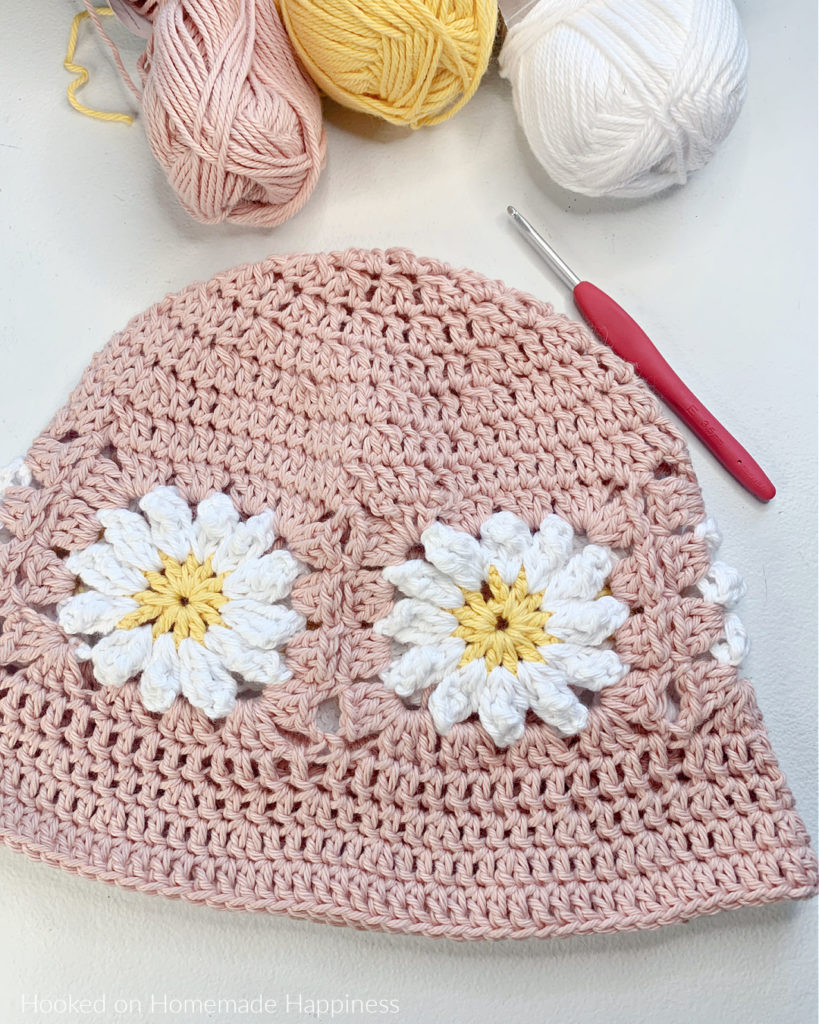
The Blossom Bucket Hat is a crochet bucket hat pattern built in three satisfying stages:
- Flower granny squares are crocheted first
- The squares are seamed into a circle to form the top
- Yarn is rejoined to create the crown (decreasing rounds)
- Yarn is rejoined again to make the flared brim with a smaller hook for extra structure
It’s the perfect mix of cute and practical—plus you can mix and match colors to make it totally your own.
Why You’ll Love This Bucket Hat Pattern
Here’s why this one is such a fun make:
- 🌸 Flower granny squares give it major handmade charm
- 🧶 Cotton yarn makes it lightweight and breathable
- 🪡 Constructed in sections, so it’s easy to customize
- 👒 Stiffer brim thanks to switching from an H hook to an E hook
- 🎨 Looks amazing in solids, scraps, or bold color combos
Yarn + Hook Details
YARN
This hat is made using cotton worsted weight yarn, which works up with great stitch definition and stays comfy even in warm weather.
Cotton is ideal for bucket hats because it:
- holds shape well
- feels cool and breathable
- creates crisp, defined granny squares
HOOKS
You’ll use two hook sizes for the best results:
- H / 5.0 mm hook – for the granny squares and main hat construction
- E / 3.5 mm hook – for the brim (helps make it stiffer and more structured)
That hook switch is a simple trick that makes a huge difference in how wearable your finished hat is!

FAQ
Ready to Crochet the Blossom Bucket Hat?
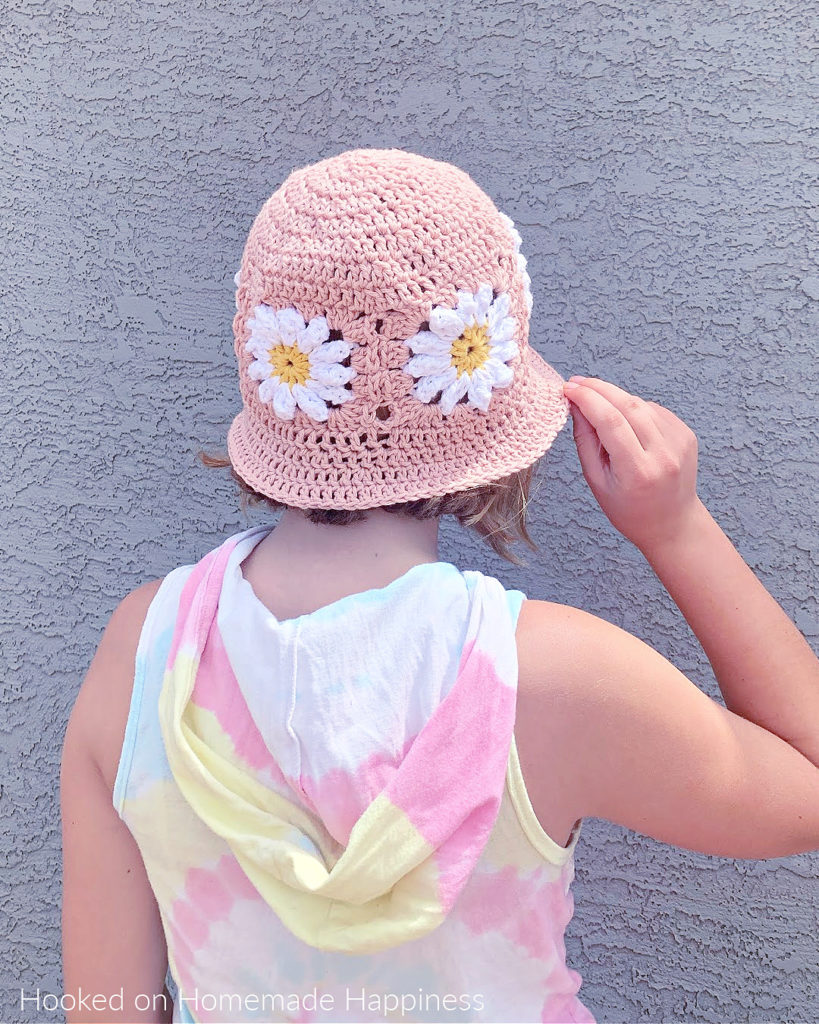
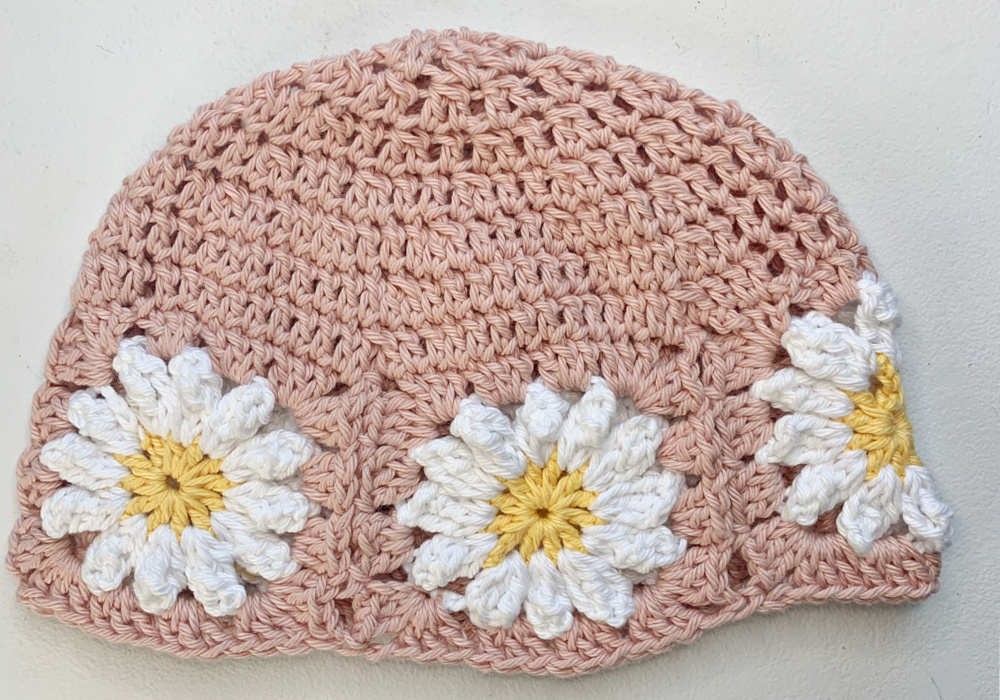
The Blossom Bucket Hat is the perfect mix of fun and functional—sweet flower granny squares on top, a shaped crown for a comfy fit, and a flared brim that’s made to hold its shape.
If you’re craving a wearable crochet project that feels fresh for spring and summer, this one is such a good make! 🌸👒
Blossom Bucket Hat Crochet Pattern
Get the pattern below or purchase the ad-free, printable PDF in my Etsy Shop or Ravelry Shop
PIN for later HERE
Add to your Ravelry Queue HERE
Materials
3 colors worsted weight acrylic or cotton yarn (I used I Love this Cotton in Curry (25g), White (50g), & Warm Blush (100g))
H/5.0 mm hook
E/3.5 mm hook
yarn needle
scissors
Level
intermediate
Pattern notes & Stitches to Know
ch – chain
sl st – slip stitch
dc – double crochet
tr – treble crochet
trpc – treble popcorn (3 tr in same stitch, pull hook out from active loop, insert hook in first of the 3 tr, pull active loop through the first tr)
dc2tog – double crochet 2 together
· written in US terms
· ch 3 counts as dc in round 1 & round 3 of square (this is noted in the pattern)
· ch 2 does not count as dc
· To adjust the size, make the squares larger by adding a round of dc to each square.
· Approx Finished Size (Teen/Small Adult):
Circumference: 20”
Height: 9”
Pattern Support
Looking for pattern support or want to share your progress? Join our Crochet Community Facebook Group! It’s the perfect place to ask questions, get help, and connect with fellow makers.
BLOSSOM BUCKET HAT CROCHET PATTERN
FLOWER GRANNY SQUARES (make 5)
FLOWER GRANNY SQUARE VIDEO TUTORIAL
Starting with flower center color, ch 4, join to first ch with sl st
Round 1: ch 3 (counts as dc), work 11 dc in middle of the circle, join to first ch 3 with sl st (12 dc)
Fasten off first color
Join petal color in between 2 dc
Round 2: ch 3, *trpc in space between 2 dc, ch 3* repeat from * to * in each space around, join to first trpc with sl st (12 trpc)
Fasten off second color
Join final color in a ch-3 space
If using the join-as-you-go method, remember to join in round 3
Round 3: ch 3 (counts as dc), (2 dc, ch 3, 3 dc) in same ch-3 space, 3 dc in next ch-3 space, 3 dc in next ch-3 space, *(3 dc, ch 3, 3 dc) in next ch-3 space, 3 dc in next ch-3 space, 3 dc in next ch-3 space* repeat from * to * around, join to first ch 3 with sl st (48 dc)
Fasten off. Weave in the ends.
To join, I used the join-as-you-go, but any joining method can be used.
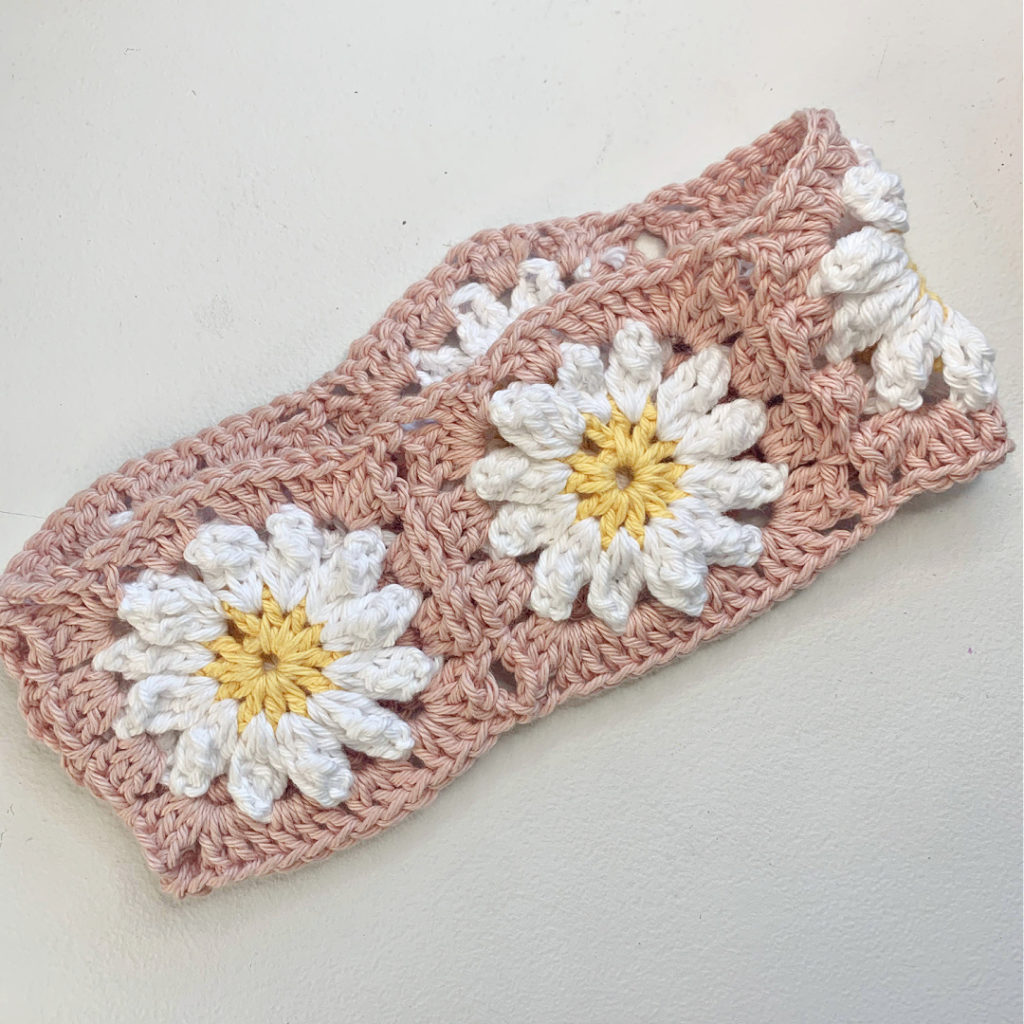
Join squares to make a headband shape.
Weave in the ends.
HAT TOP
Join with main color to the right-most stitch of one of the squares.
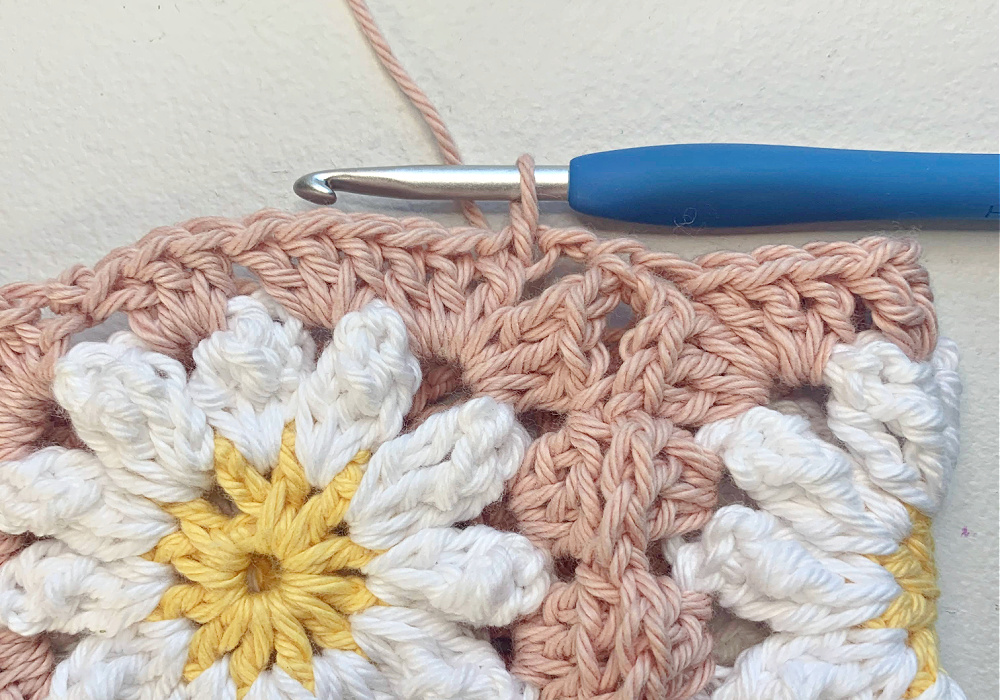
Round 1: ch 2, *dc in 12 stitches across to the corner ch-space, dc2tog (working one stitch in each of the ch-spaces where the squares are joined)* repeat from * to * around, join to first dc with sl st (65 dc)
Round 2: ch 2, *dc in 11 stitches, dc2tog* repeat from * to * around, join to first dc with sl st (60 dc)
Round 3: ch 2, *dc in 3 stitches, dc2tog* repeat from * to * around, join to first dc with sl st (48 dc)
Round 4: ch 2, *dc in 2 stitches, dc2tog* repeat from * to * around, join to first dc with sl st (36 dc)
Round 5: ch 2, *dc in 1 stitches, dc2tog* repeat from * to * around, join to first dc with sl st (24 dc)
Round 6: ch 2, dc2tog around, join to first dc with sl st (12 dc)
Round 7: ch 2, dc in each stitch around, join to first dc with sl st (12 dc)
Leave a long end. Using a yarn needle, weave the long end in and out of the top loops of the last round, cinch the top closed. Weave in the ends.
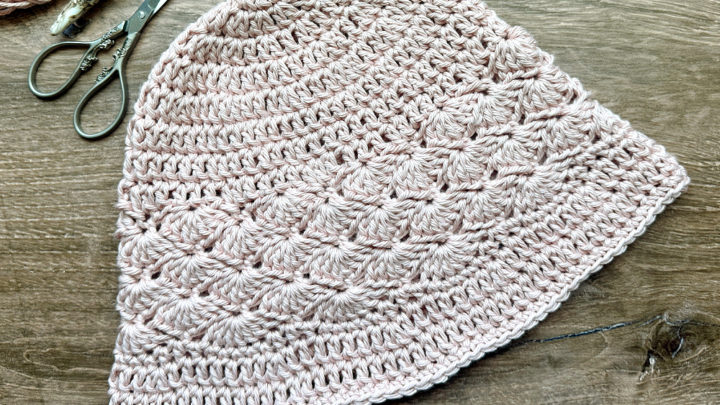
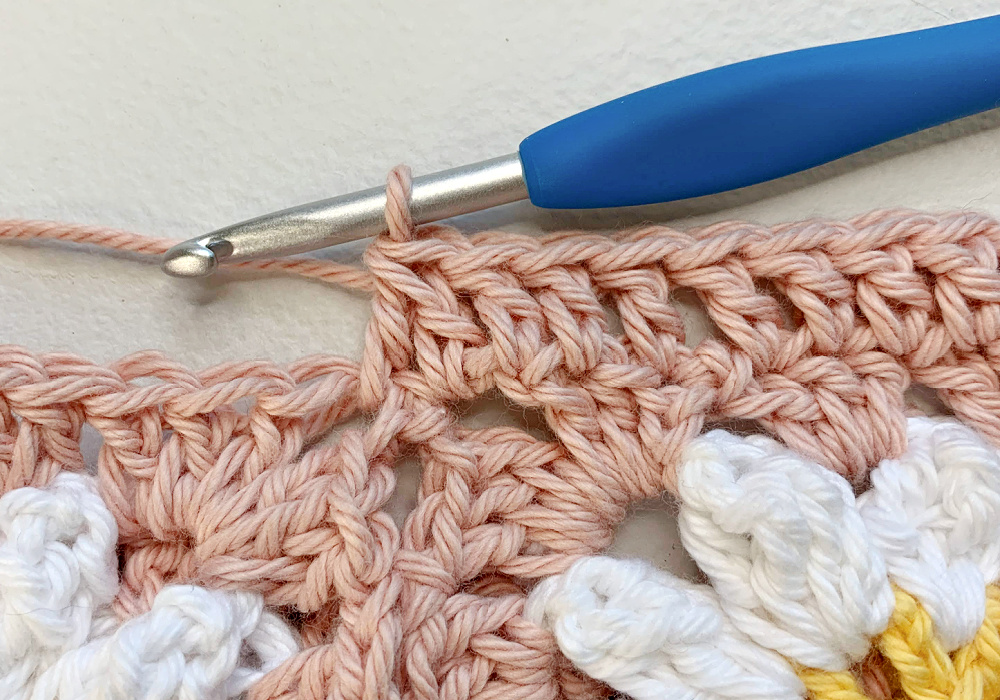
HAT BRIM
Join with main color to the left-most stitch of one of the squares.
Round 1: ch 3, dc in same stitch, *dc in the next 2 ch-spaces, dc in each stitch across to the next corner ch-space* repeat from * to * around, join to first dc with sl st (70 dc)
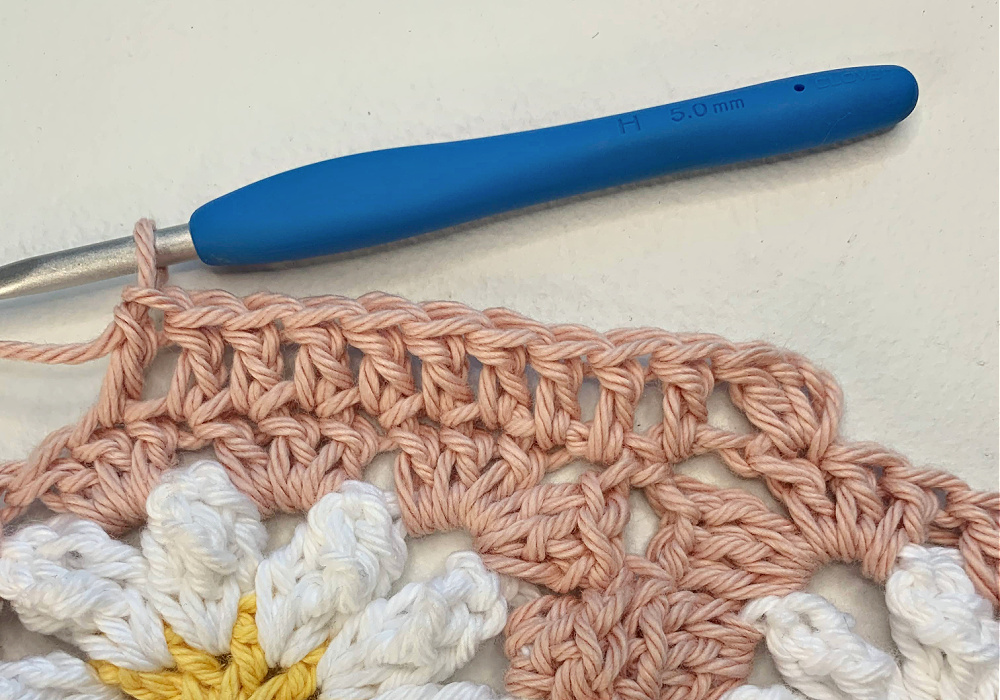
change to 3.5 mm hook
Round 2: ch 2, *dc in 4 stitches, 2 dc in next* repeat from * to * around, join to first dc with sl st (84 dc)
Round 3: ch 2, dc in 2 stitches, 2 dc in next, *dc in 5 stitches, 2 dc in next* repeat from * to * around to last 3 stitches, dc in last 3 stitches, join to first dc with sl st (98 dc)
Round 4: ch 2, dc in each stitch around, join to first dc with sl st (98 dc)
Fasten off. Weave in the ends.
Looking for more patterns? Follow me on Facebook, Instagram, and Pinterest! Please share a pic of your finished product with me. I’d love to see it!


💯 exactly what I was searching for! Thank you so much for this adorable hat pattern. Your instructions were precise and simple to understand and follow. Thank you!!
Awesome! Thank you so much!
Love this pattern. Decided to add a scalloped edge to mine. Came out so cute! Thank you for the pattern!
Is there a way to print out pattern? Thank you
Got it figured out