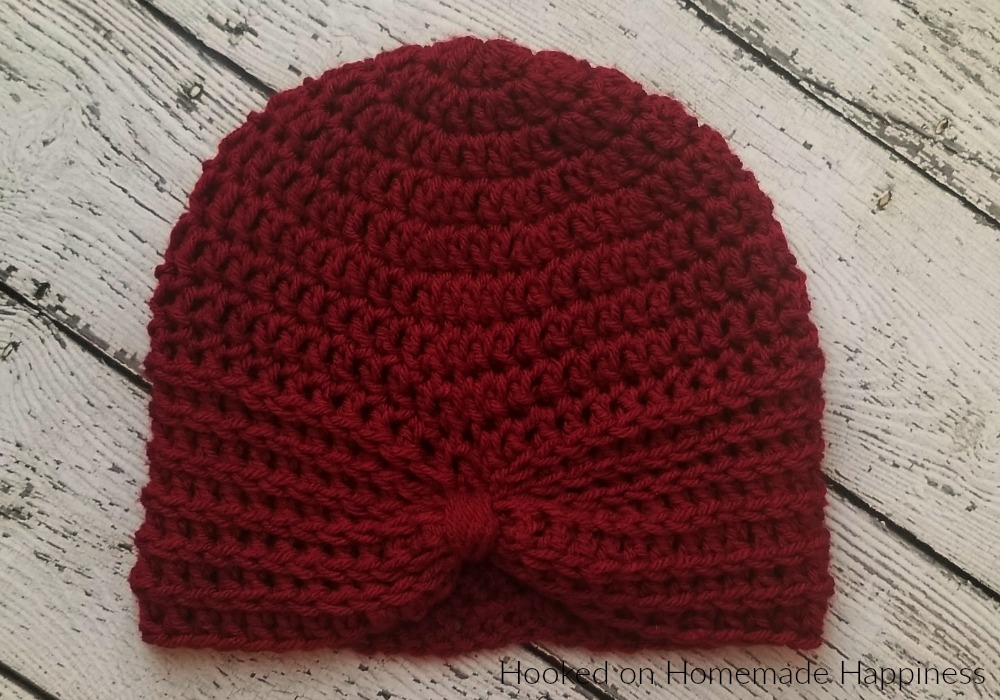
This Turban Style Beanie Crochet Pattern is an easy design to create! If you can double crochet, then you can make this cute and textured beanie.

This hat is the 12th pattern in the Crochet Along for a Cause. There’s only 2 more patterns left!! We are making 1 hat per week to donate to a cancer center all summer long. There’s always time to join! You can find all the details and hat patterns HERE.
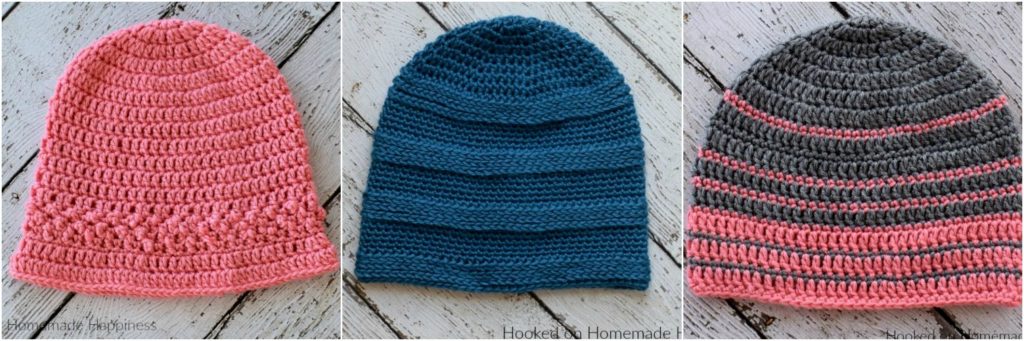
1. Strawberry Patch Hat 2. Textured Stripe Beanie 3. Simple Striped Beanie
Turban Style Beanie
– Get the free pattern below or this pattern is also available as an inexpensive, clearly formatted, PDF instant download in my Etsy shop or Ravelry Shop!
– PIN for later HERE
– Add to your Ravelry Queue HERE
Materials
Worsted weight yarn (I used I Love This Yarn in Cranberry)
J/6.0 mm hook
Yarn needle
Scissors
Level
Easy -you must be very familiar with basic crochet stitches
Pattern notes & stitches to know
Magic ring
Sl st – slip stich
Ch – chain
Dc – double crochet
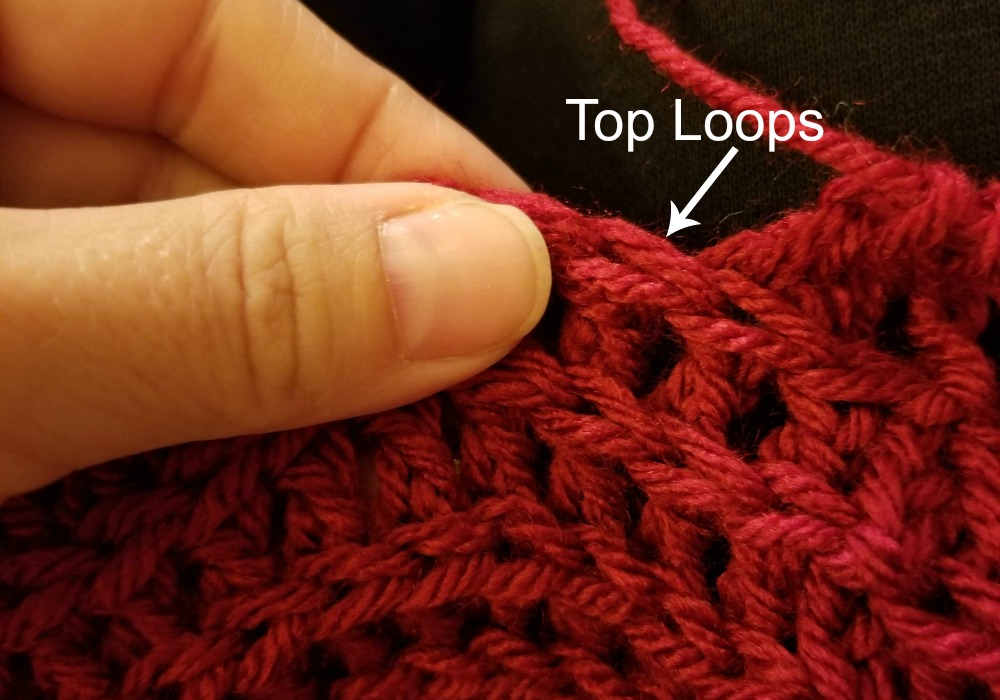
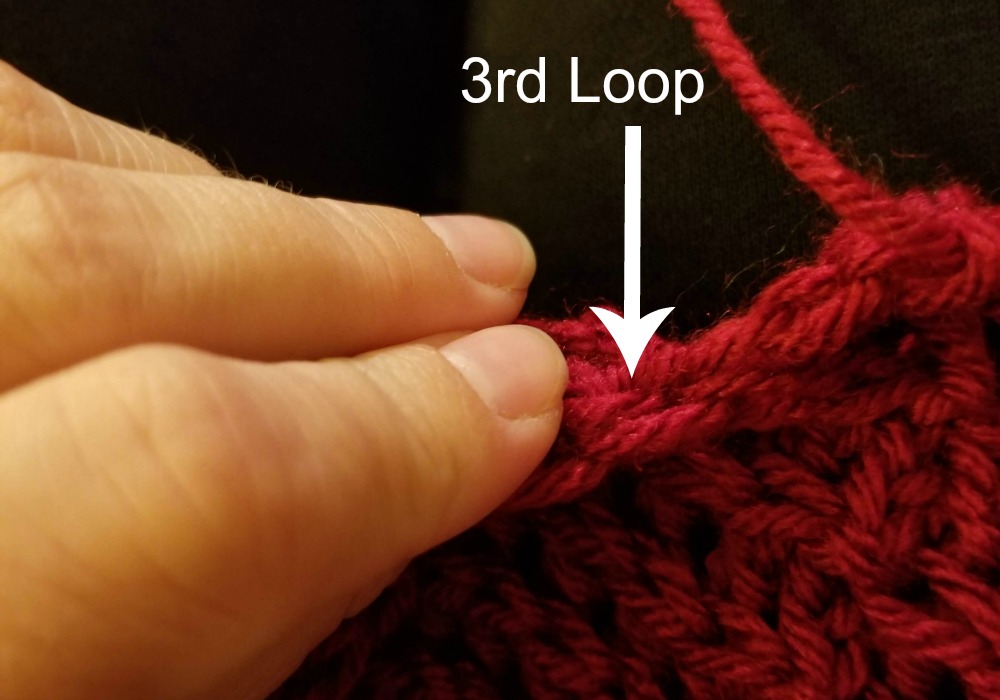
Dc in 3rd loop – insert hook into the bar behind the top loops and work a dc
Beginning ch 2 does not count as dc
Written in US terms
Approximate Finished Size (small adult):
Width: 9”
Length: 9”
TURBAN STYLE BEANIE
Make a magic ring
Round 1: ch 2, 10 dc into ring, join to first dc with sl st, pull ring closed (10 dc)
Round 2: ch 2, 2 dc in each stitch around, join to first dc with sl st (20 dc)
Round 3: ch 2, *dc in 1 stitch, 2 dc in next* repeat from * to * around, join to first dc with sl st (30 dc)
Round 4: ch 2, *dc in 2 stitches, 2 dc in next* repeat from * to * around, join to first dc with sl st (40 dc)
Round 5: ch 1, *dc in 3 stitches, 2 dc in next* repeat from * to * around, join to first dc with sl st (50 dc)
Diameter should be approximately 6.5”. Add or take out increase rounds to adjust the size
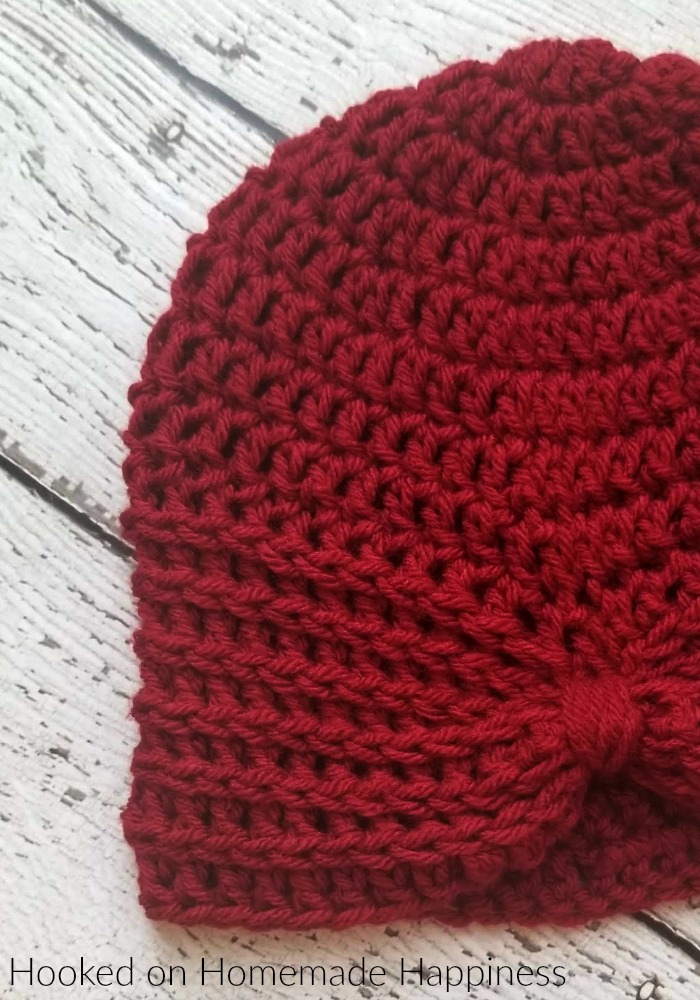
Round 6 – 9: ch 2, dc in each stitch around, join to first dc with sl st (50 dc)
Round 10 – 15: ch 2, dc in 3rd loop of each stitch around, join to first dc with sl st (50 dc)
Fasten off, weave in your ends.
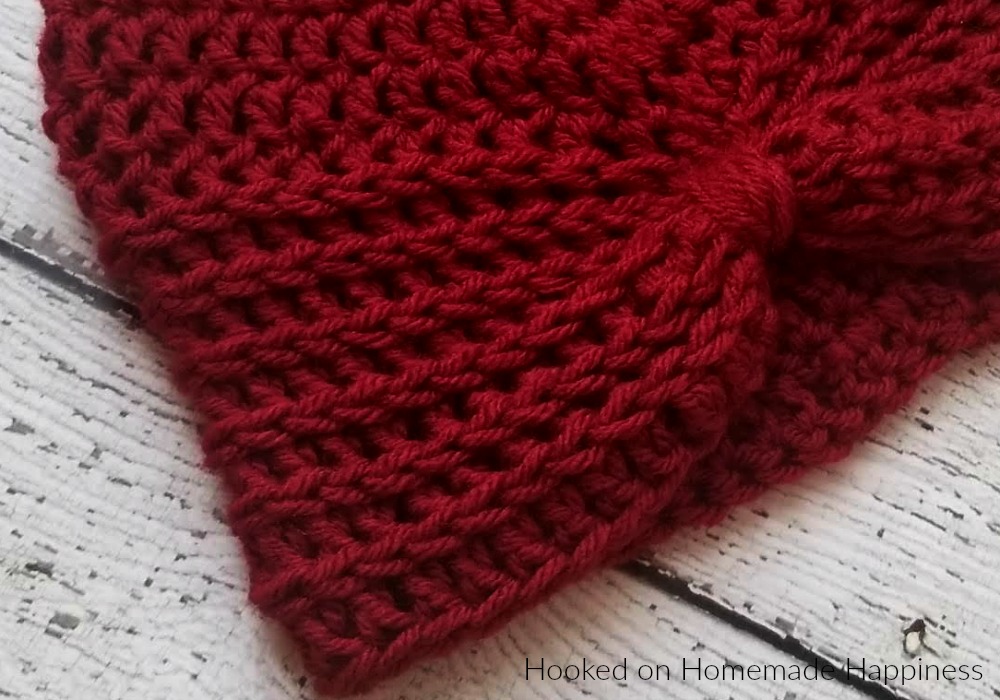
Cut a piece of yarn about 3 feet long. On the front of the hat, use your yarn needle to thread one end through the top of round 10 (the first round with the texture). Going down around the bottom of the hat, bring the yarn back up to the same stitch you started in, thread the yarn through the same stitch.
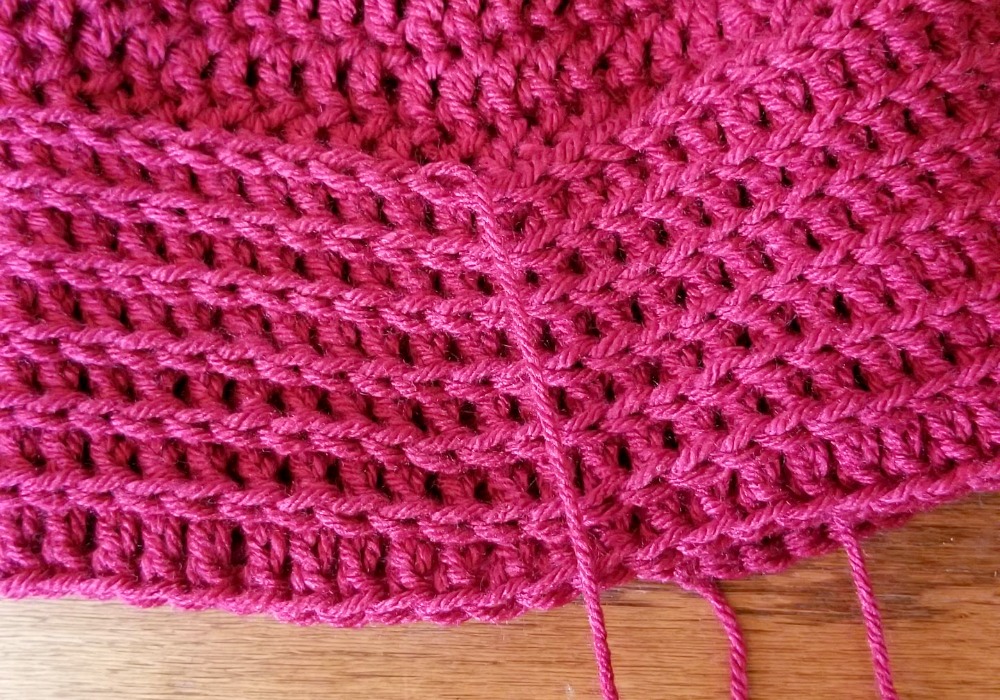
Pull it tight to cinch it up.
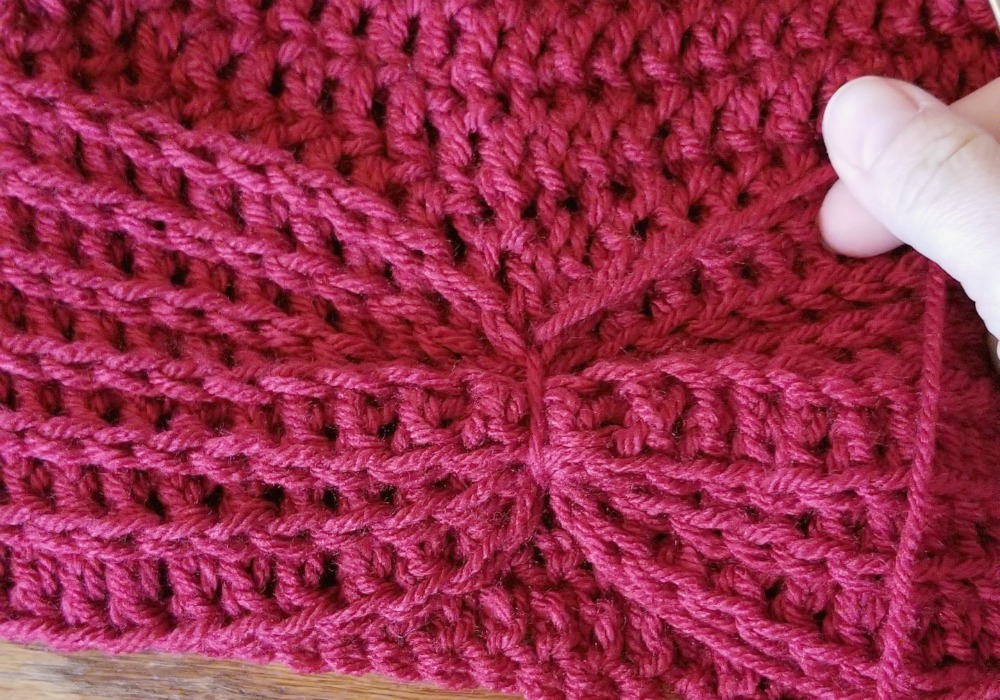
Continue wrapping the yarn in this same stitch until you have a thick band. Fasten off, weave in the ends.
And you’re done! I hope you love this beanie pattern!
Looking for more patterns? Follow me on Facebook, Instagram, and Pinterest! Please share a pic of your finished product with me. I’d love to see it!


Only registered users can comment.