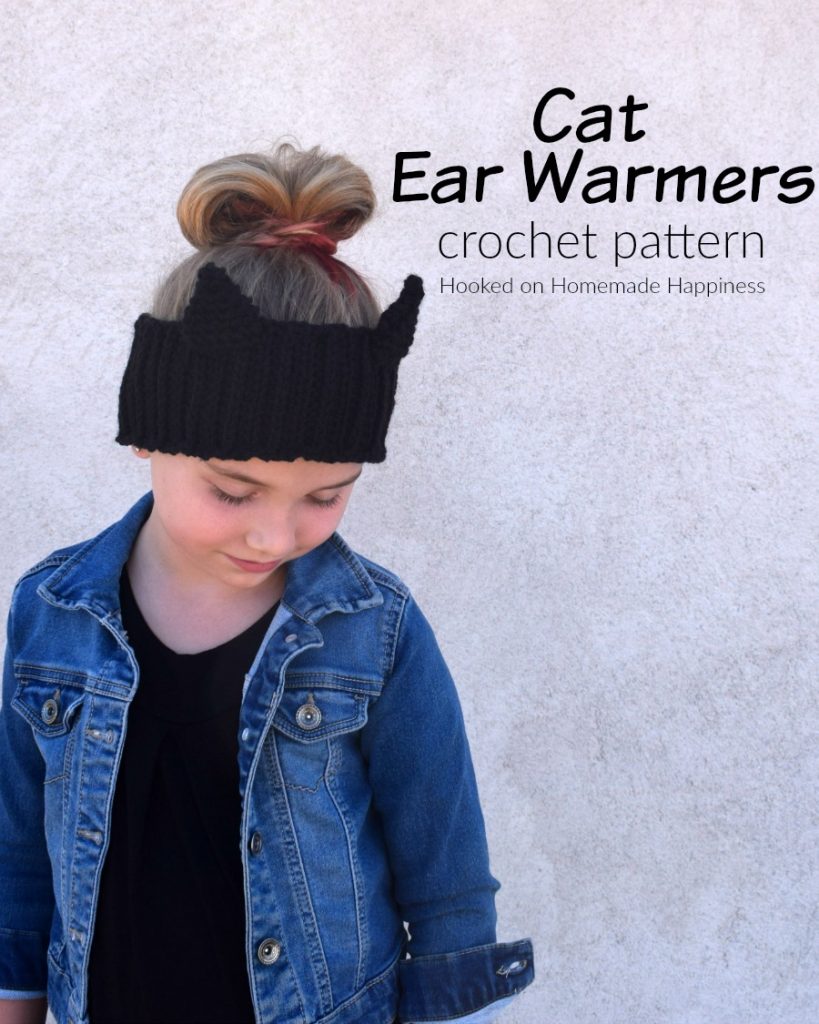
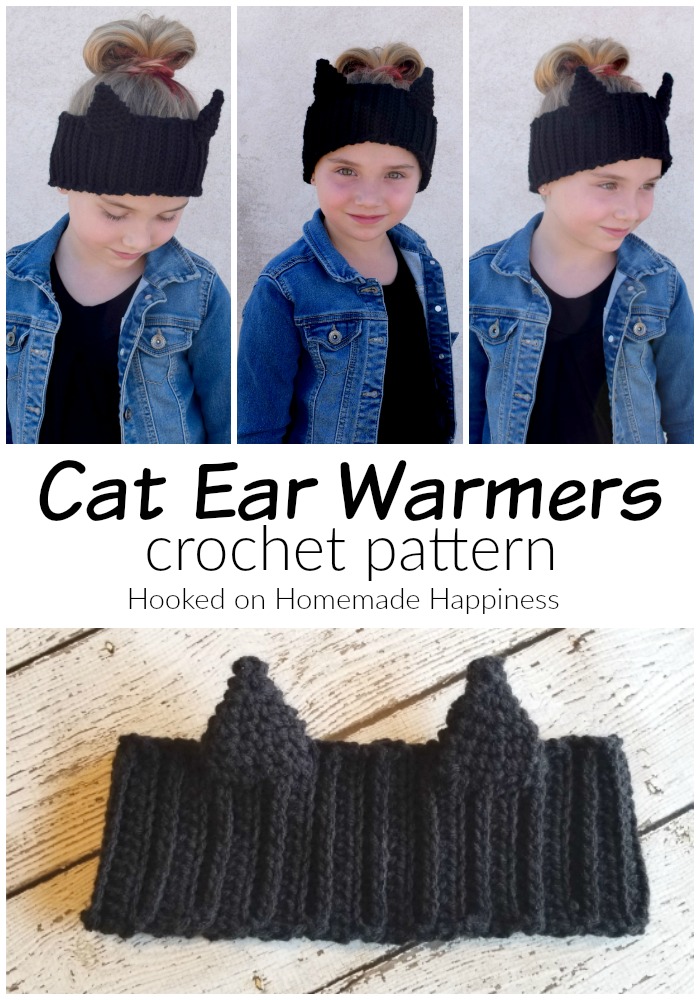
Cat Ear Warmers Crochet Pattern
These Cat Ear Warmers Crochet Pattern starts with a simple textured ear warmer, with some cute cat ears sewn to the top! A cute and fun way to keep those ears warm this winter.

Cat Ear Warmers Crochet Pattern
– Get the free pattern below or this pattern is also available as an inexpensive, clearly formatted, PDF instant download in my Etsy Shop or Ravelry Shop!
– PIN for later HERE
– Add to your Ravelry Queue HERE
Materials
Worsted weight acrylic yarn (I used Loops & Threads Impeccable in Black)
I/5.5 mm hook
Yarn needle
scissors
Level
Easy -you must be very familiar with basic crochet stitches
Pattern notes & stitches to know
Magic ring
Sl st – slip stich
Ch – chain
Sc – single crochet
Hdc – half double crochet
Hdc blo – half double crochet back loop only (instead of inserting hook into both top loops, insert into only the back loop and work hdc)
Hdc 3rd loop – insert hook in the bar in the wrong side of the stitch and work hdc (Tutorial HERE)
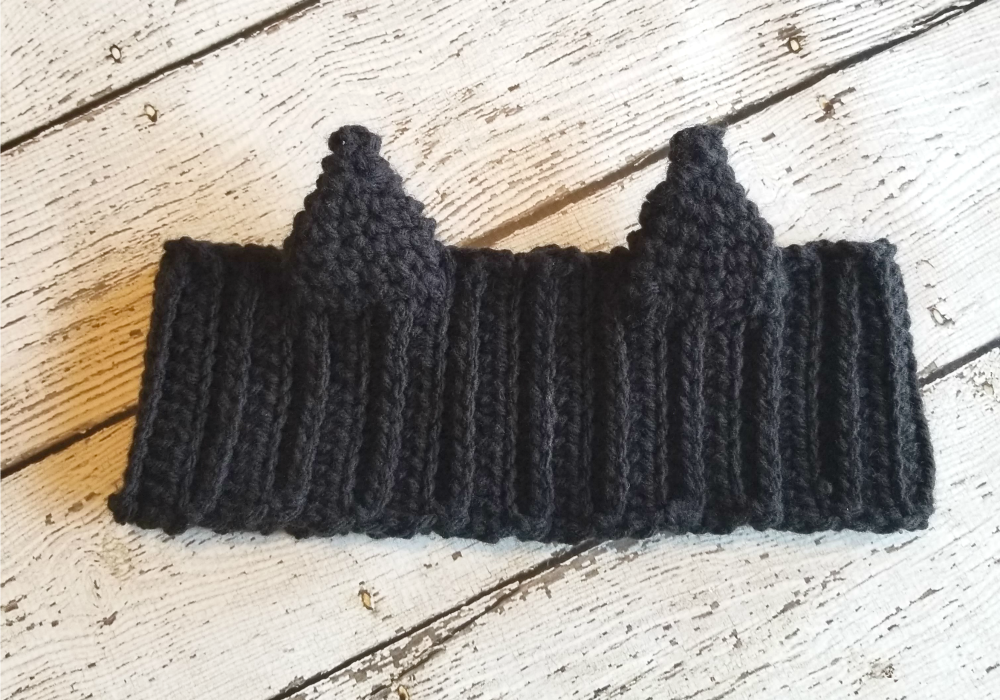
Approximate Finished Size (before sewing):
4” x 18”
CAT EAR WARMERS
– ch 1 does not count as hdc
Ch 15
Row 1: hdc in 2nd ch from the hook and in each ch across (14 hdc)
Row 2: ch 1, turn, hdc in 3rd loop of same stitch and in each stitch across (14 hdc)
Row 3: ch 1, turn, hdc blo in same stitch and in each stitch across (14 hdc)
Repeat rows 2 & 3 to row 37 – or until the band reaches 18” (continue to 20” for adult)
Fasten off, leave a long end for sewing.
Bring both ends together and whip stitch them together.
Weave in the ends.
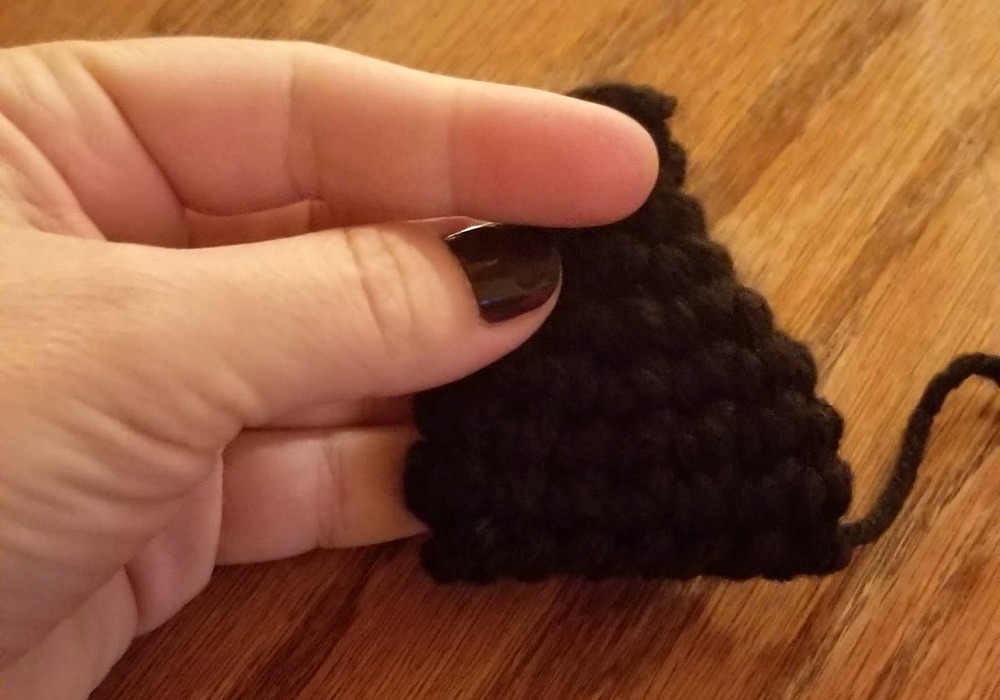
EARS (make 2)
Make a magic ring
Round 1: ch 1, 3 sc in loop, join to first sc with sl st, pull ring closed (3 sc)
Round 2: ch 1, sc, 2 sc in next, sc in last, join to first sc with sl st (4 sc)
Round 3: ch 1, *sc, 2 sc in next* repeat from * to * one more time, join to first sc with sl st (6 sc)
Round 4: ch 1, *sc, 2 sc in next* repeat from * to * around, join to first sc with sl st (9 sc)
Round 5: ch 1, *sc, 2 sc in next* repeat from * to * around, join to first sc with sl st (13 sc)
Round 6 & 7: ch 1, sc in each stitch around, join to first sc with sl st (13 sc)
Fasten off, leave a long tail for sewing.
Use the long end to whip stitch the bottom closed.
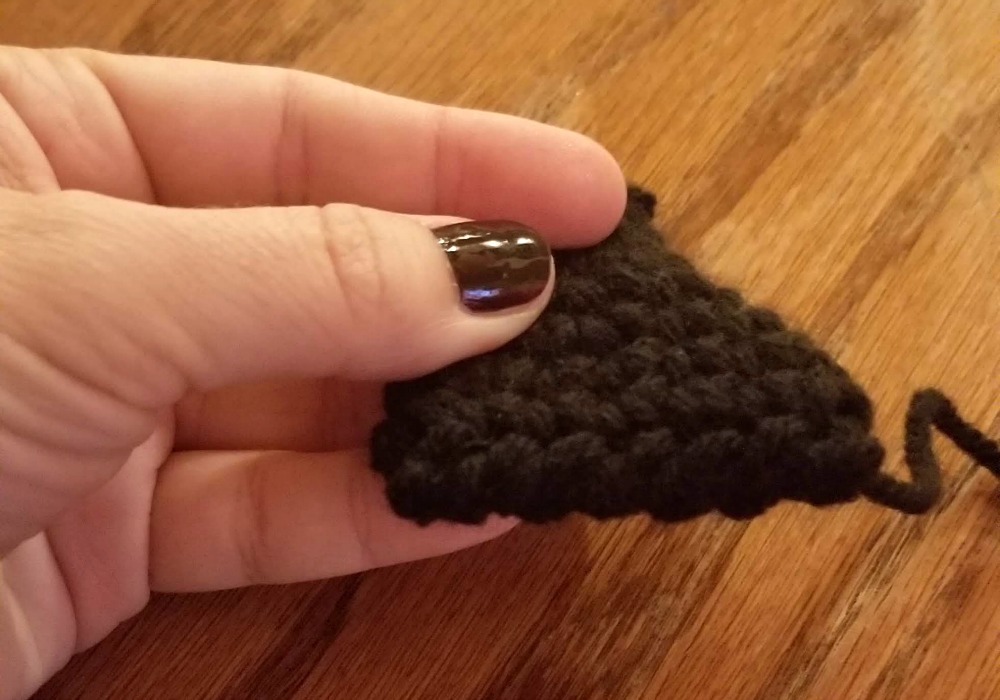
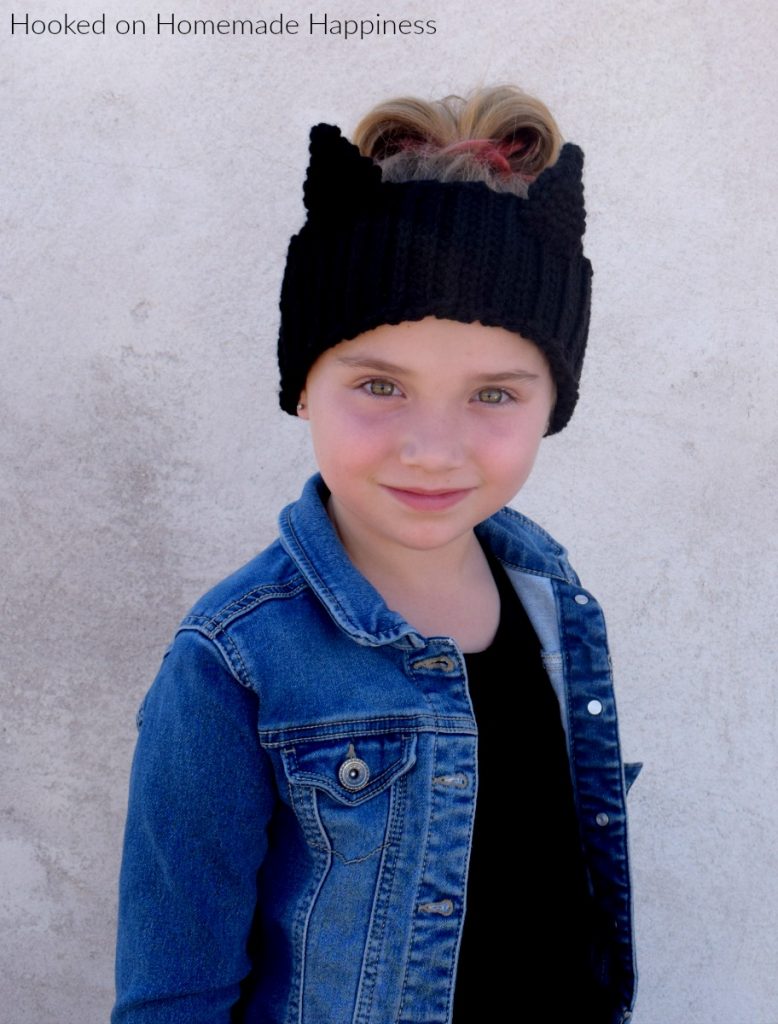
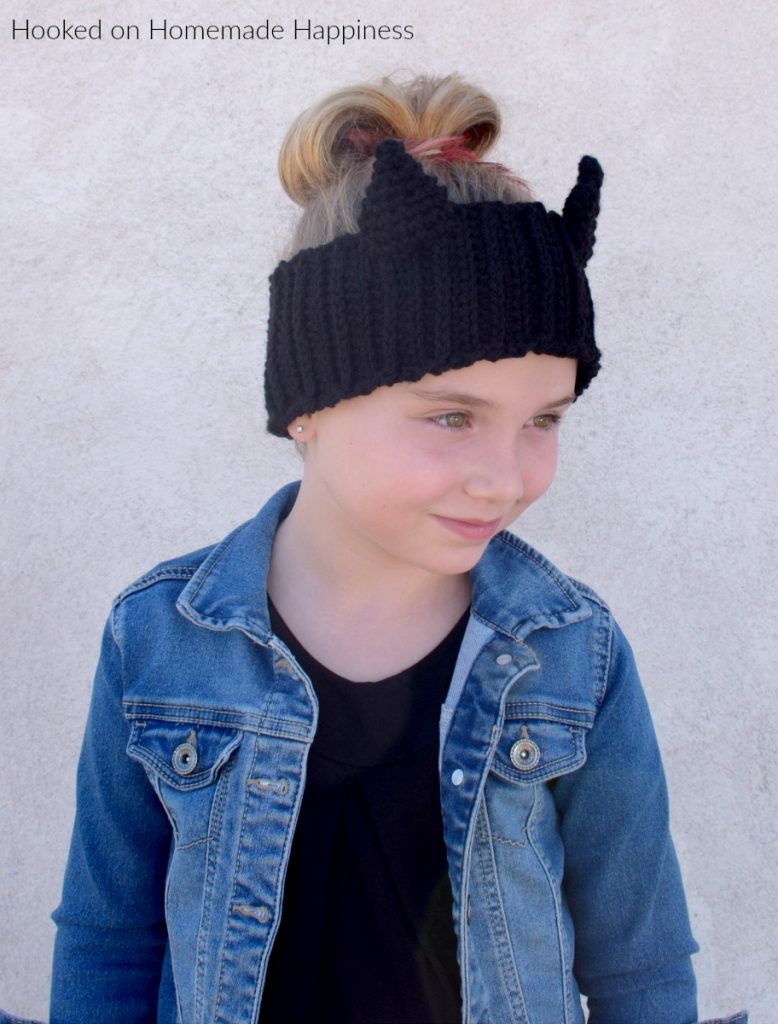
Place the ears on the front of the ear warmers. I placed them about 7 rows apart and 4 stitches from the top. I used stitch markers to keep the ears in place where I wanted them. Whip stitch them to the ear warmers.
Fasten off, weave in the ends.
Looking for more patterns? Follow me on Facebook, Instagram, and Pinterest! Please share a pic of your finished product with me. I’d love to see it!


Absolutely love these and after showing my niece’s they have requested if you can possibly do bear ears??? Many thanks Lily & Amelia ?
That’s a cute idea! I can’t do that in the near future. But I’m sure you could find a bear hat pattern and use that pattern for the ears 🙂