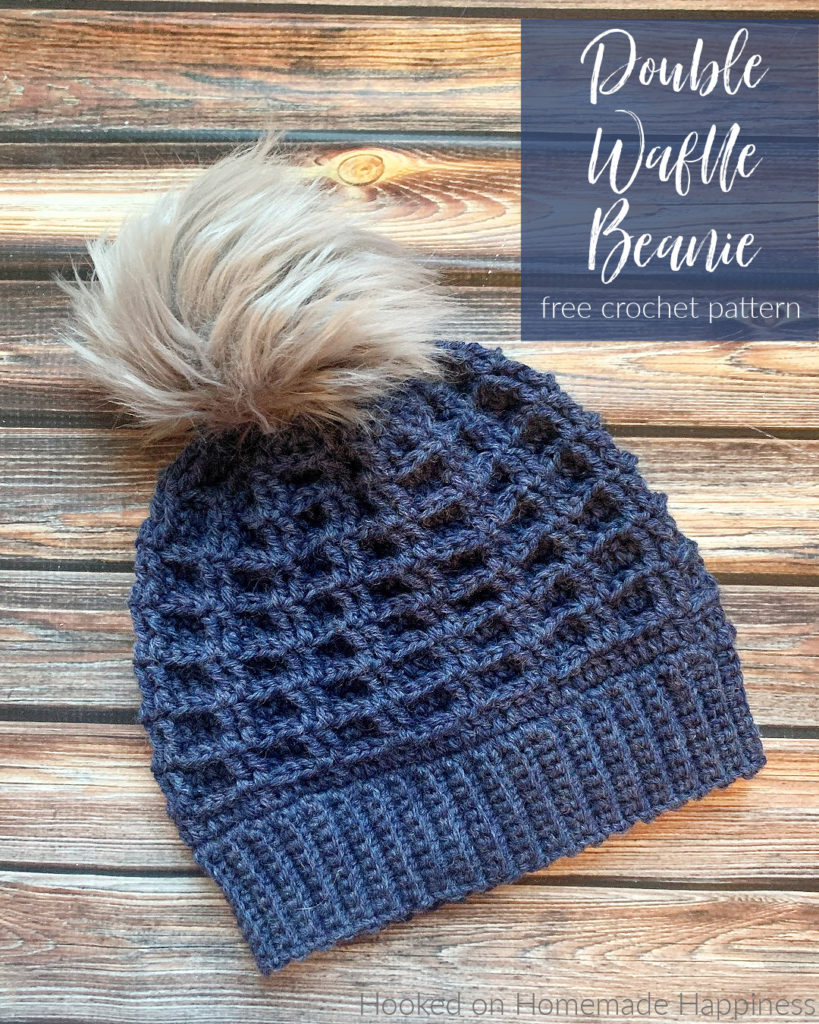
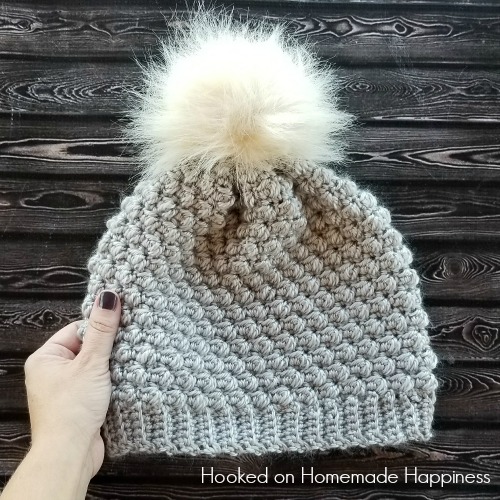
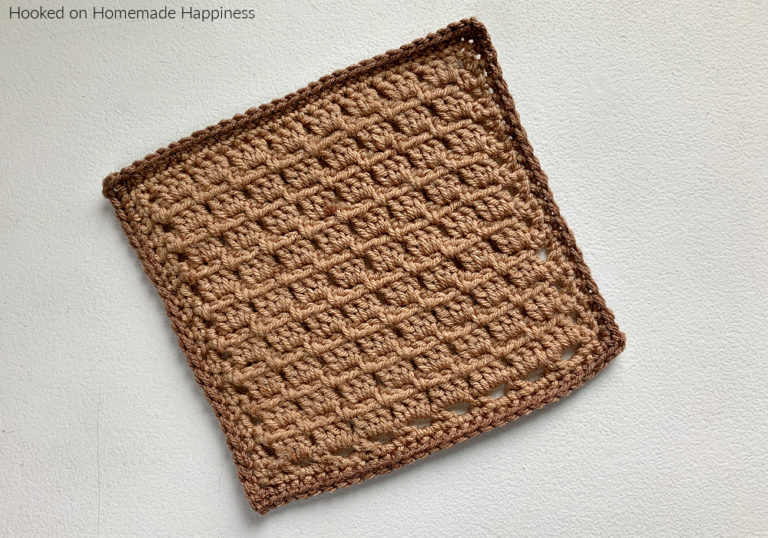
Double Waffle Stitch Beanie Crochet Pattern
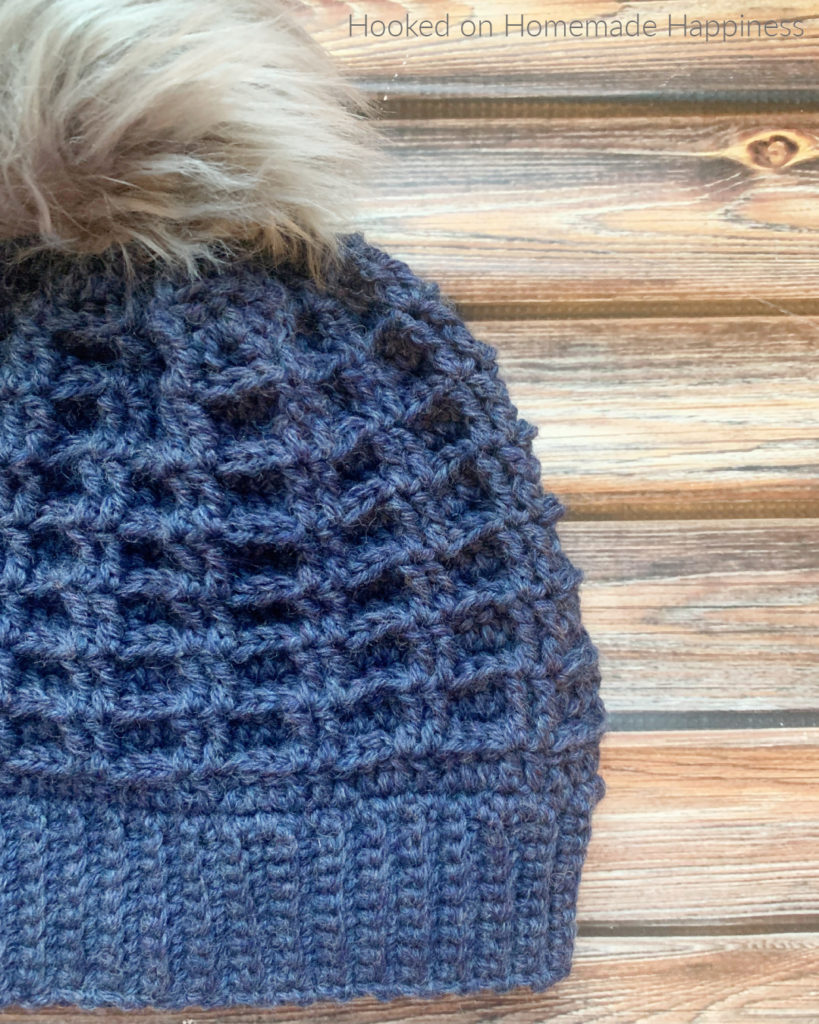
As soon as I saw the Double Waffle Stitch I was IN LOVE and knew I wanted to make this Double Waffle Stitch Beanie Crochet Pattern. The texture in this stitch is so amazing.
More Homemade Happiness:


Elizabeth Beanie // Burst Beanie // Woven Beanie

click here to pin for later >>>
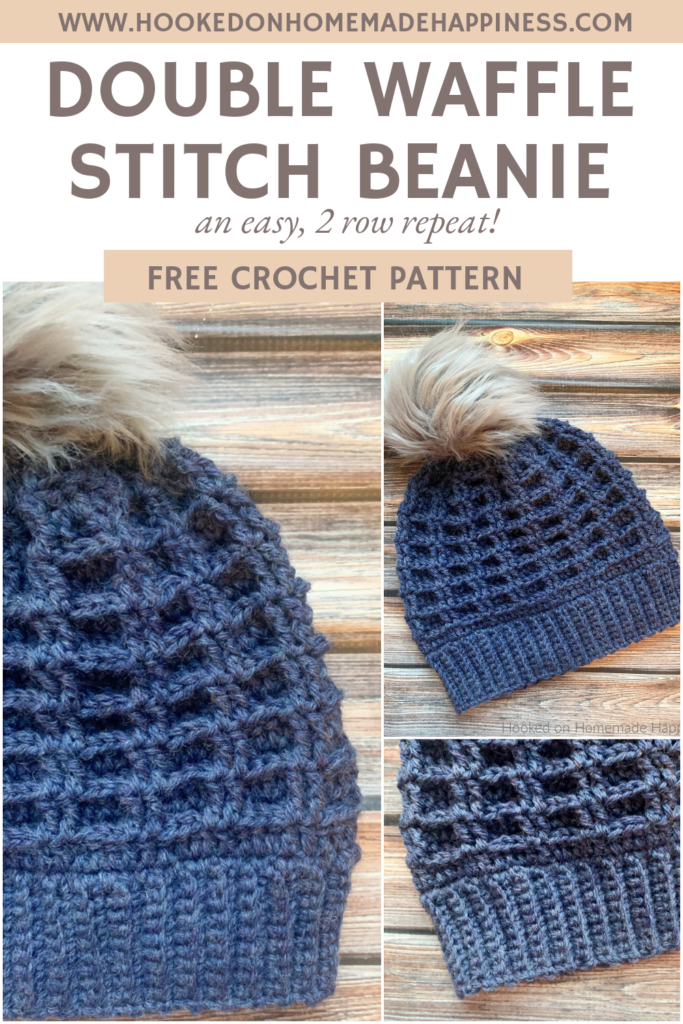
Double Waffle Stitch Beanie Crochet Pattern
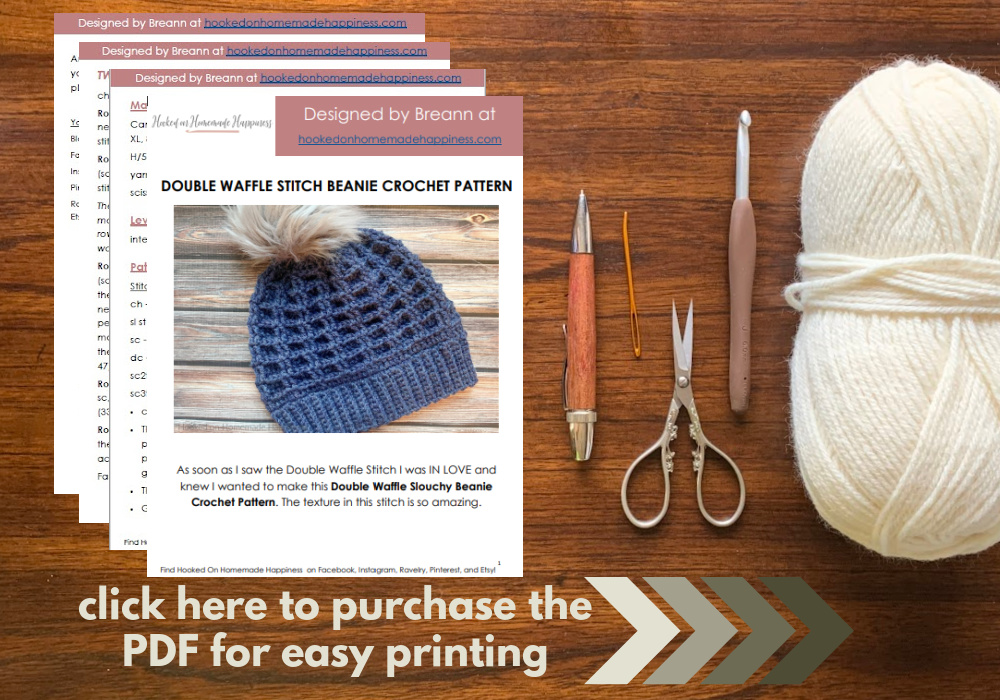
Get the full pattern below or purchase the ad-free, printable PDF in my Etsy Shop or Ravlery Shop
PIN for later HERE
Add to your Ravelry Queue HERE
Materials
WeCrochet Wool of the Andes in Delft Heather (2 skeins (100g/220yds))
H/5.0 mm hook
Yarn needle
Scissors
Level
intermediate
Pattern notes & stitches to know
ch – chain
sl st – slip stitch
sc – single crochet
blo – back loop only
dc – double crochet
fpdc – front post double crochet
bpdc – back post double crochet
fpdc2tog – front post double crochet 2 together (front post double crochet decrease)
dc2tog – double crochet 2 together (double crochet decrease)
· written in US terms
· ch 1 does not count as sc
· ch 2 does not count as dc
· This beanie is made from the bottom up starting with the ribbing around the bottom.
· The length of the ribbing is approx the circumference of the beanie (it will be slightly smaller, but has a lot of stretch). To change the circumference, add or take out rows of ribbing. The number of rows must be a multiple of 5.
Approximate Finished Size – Small Adult (not including pom pom)
Circumference: 18”
Length: 8.5”
DOUBLE WAFFLE STITCH BEANIE CROCHET PATTERN
ch 11
Row 1: sc in 2nd ch from the hook and across (10 sc)
Row 2 – 80: ch 1, turn, sc, sc blo in 8 stitches, sc in last (10 sc)
Bring both short ends of the ribbing together, slip stitch the ends together. Now you will work around the top of the ribbing in joined rounds.
Round 1: ch 1, sc evenly around, working 1 sc in the end of each row of ribbing, join to the first sc with sl st (80 sc)
Round 2: ch 2, dc in each stitch around, join to first dc with sl st (80 dc)
Round 3: ch 2, dc in same stitch, bpdc in next 3, *dc in 2 stitches, bpdc in next 3* repeat from * to * around to last stitch, dc in last, join to first dc with sl st (80)
Round 4: ch 2, fpdc in same stitch, dc in next 3, *fpdc in 2 stitches, dc in next 3* repeat from * to * around to last stitch, fpdc in last, join to fpdc dc with sl st (80)
Round 5 – 15: repeat rounds 3 & 4
Decreasing starts in the next round.
Round 16: ch 2, fpdc in same stitch, dc in next 3, *fpdc2tog, dc in next 3* repeat from * to * around to last stitch, skip last stitch, join to first fpdc with sl st (64)
Round 17: ch 2, dc in same stitch, bpdc in next 3, *dc in next, bpdc in next 3* repeat from * to * around, join to first dc with sl st (64)
Round 18: ch 2, fpdc in same stitch, dc in next, dc2tog, *fpdc, dc in next, dc2tog* repeat from * to * around, join to first fpdc with sl st (48)
Round 19: ch 2, dc in same stitch, bpdc in next 2, *dc in next, bpdc in next 2* repeat from * to * around, join to first dc with sl st (48)
Fasten off. Leave a long end.
Use the long end to weave in and out of the top loops of the last row. Pull end tight to cinch closed. Sew the top closed. Weave in the ends. (how to sew the top closed photo tutorial HERE)
Add a pom pom!
Looking for more patterns? Follow me on Facebook, Instagram, and Pinterest! Please share a pic of your finished product with me. I’d love to see it!


Maybe I’m missing something but I don’t see row 3? Am I just blind tonight? If I am sorry!
Are rows 2 &3 alternating?
Oh I understand now. Sorry! I click the link and follow the waffle stitch tutorial then do row 2 again. Lol.
?
Thank you for this pattern! Used it to make a hat for my husband 🙂
Yay! Thank you 🙂