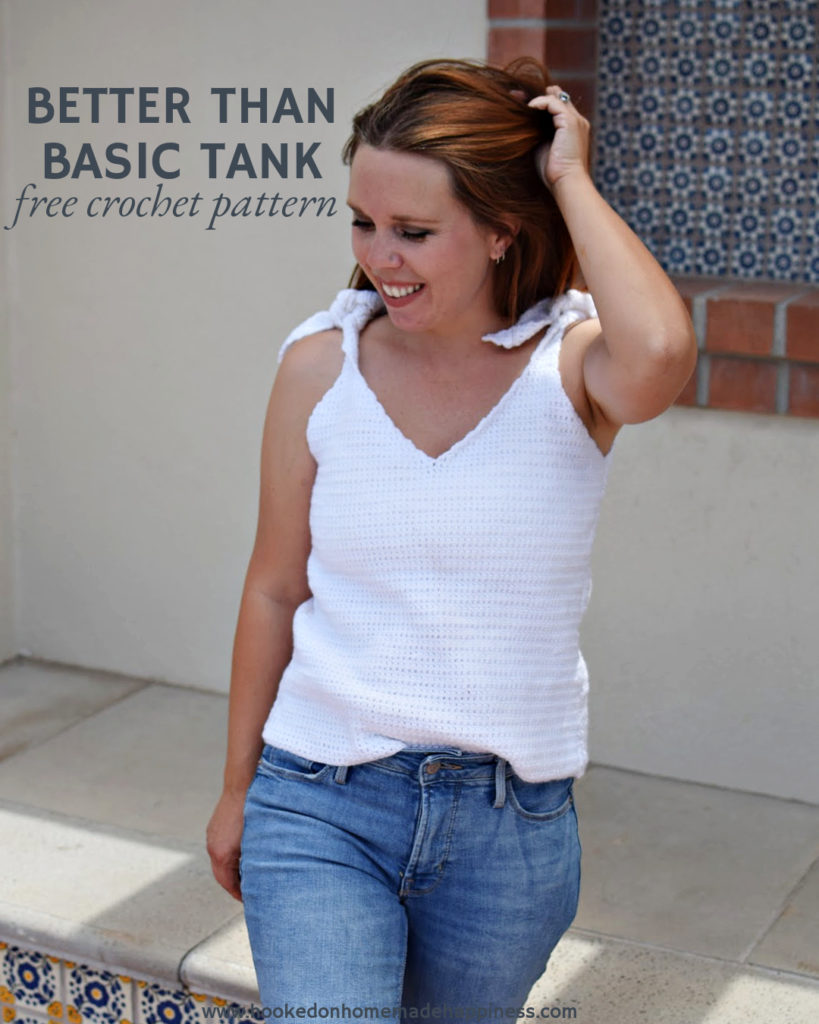
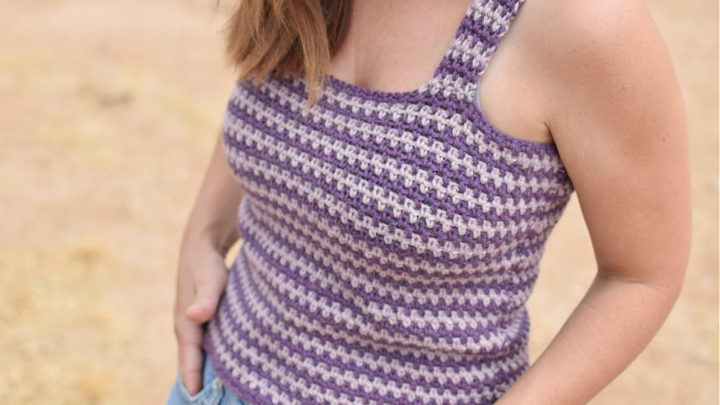
Better Than Basic Tank Top Crochet Pattern
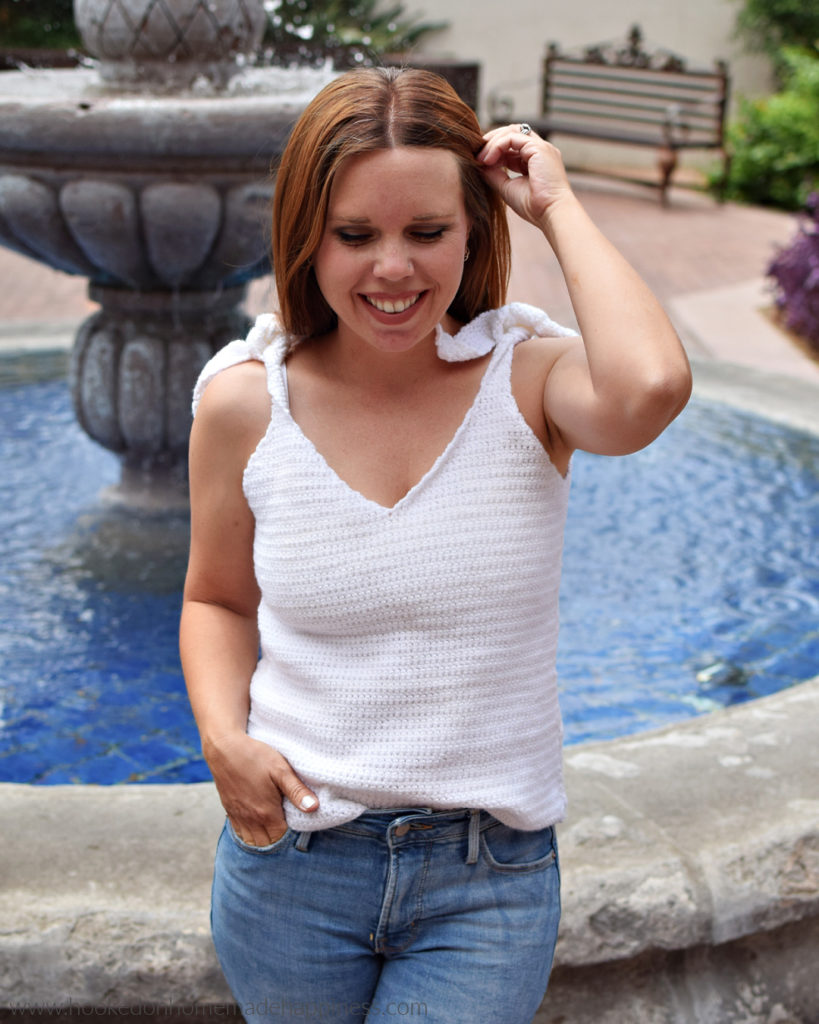
If you’re craving a wardrobe staple with just the right amount of flair, you’re in the right place. The Better Than Basic Tank Top Crochet Pattern is your new go-to crochet pattern for sunny days, layering looks, or just showing off your handmade style. With clean lines, a flattering fit, and subtle stitch details that elevate it above your average tank, this pattern is perfect for confident beginners and seasoned stitchers alike. Whether you’re lounging, brunching, or beach-hopping, this top is proof that “simple” doesn’t have to mean boring. The Better Than Basic Tank Top Crochet Pattern is such a simple tank top pattern. It can easily be dressed up or down and can easily be adjusted. Sport weight yarn is used which makes it lightweight and perfect for summer.
Choosing Your Yarn
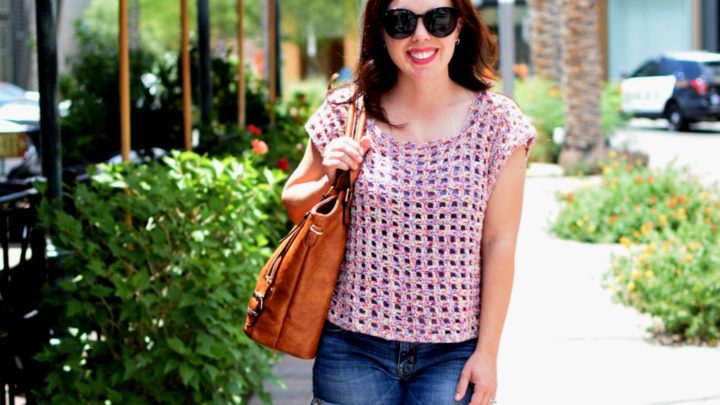
For this tank top I used Brava Sport from WeCrochet. Brava Sport is a lightweight, budget-friendly yarn that’s perfect for summer garments. Made from 100% premium acrylic, it’s soft, breathable, and easy to care for—plus it comes in a wide range of vibrant colors. Its smooth texture and light drape make it ideal for warm-weather tops, tanks, and accessories that need to stay cool and comfy all day long. Some other great sport weight yarn options are: Shine Sport, Paragon Sport, or Andean Treasure.
Extended Single Crochet
Extended single crochet (esc) is a great stitch choice for garments because it adds just a bit more height and stretch than a regular single crochet, creating a fabric that’s flexible, breathable, and less stiff. It works up with a smooth, slightly open texture that drapes nicely—perfect for lightweight tops and comfy summer wear.


click here to pin for later >>>
Better Than Basic Tank Top Crochet Pattern
Get the free pattern below or purchase the ad-free, printable PDF in my Etsy Shop or Ravelry Shop
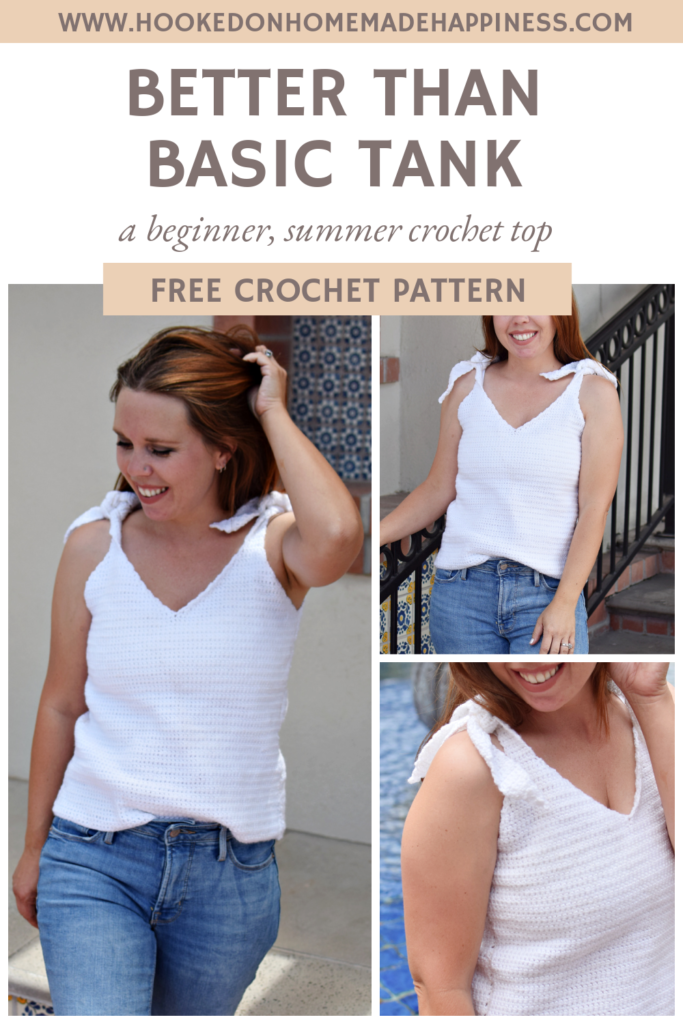
PIN for later HERE
Add to your Ravelry Queue HERE
Materials
WeCrochet Brava Sport in White (3 skeins for S, 4 skeins for M/L, 5 skeins for XL/2X, 6 skeins for 3X)
E/3.5mm hook
Yarn needle
Scissors
stitch marker
Level
advanced beginner/intermediate
Pattern notes & stitches to know
ch – chain
esc – extended single crochet (insert hook into stitch, yarn over, pull up a loop, yarn over, pull through one loop, yarn over, pull through 2 loops)
esc2tog – extended single crochet 2 together (insert hook into stitch, yarn over, pull up a loop, yarn over, pull through one loop, insert hook into next stitch, yarn over, pull up a loop, yarn over, pull through one loop, yarn over, pull through all loops on hook)
· written in US terms
· ch 1 does not count as esc
· This top is made with two identical panels sewn together.
· Gauge: 17 esc x 18 rows = 4” x 4”
Sizes:
(S, M, L) (XL, 2X, 3X) – The pattern is written in these sizes consecutively. Example, when the pattern gives the end of row count ((14, 18, 20) (24, 26, 28) sc) the 14 is for S, 18 is M, 20 is L, 24 is XL, 26 is 2X, 28 is 3X.
This top is classic fit with some positive ease.
Approx Finished Size:
Bust: S (34”) M (37.5”) L (41”) XL (44.5”) 2X (48”) 3X (51.5”)
Length (from bottom of armhole): S (14”) M (15”) L (16”) XL (17”) 2X (18”) 3X (19”)
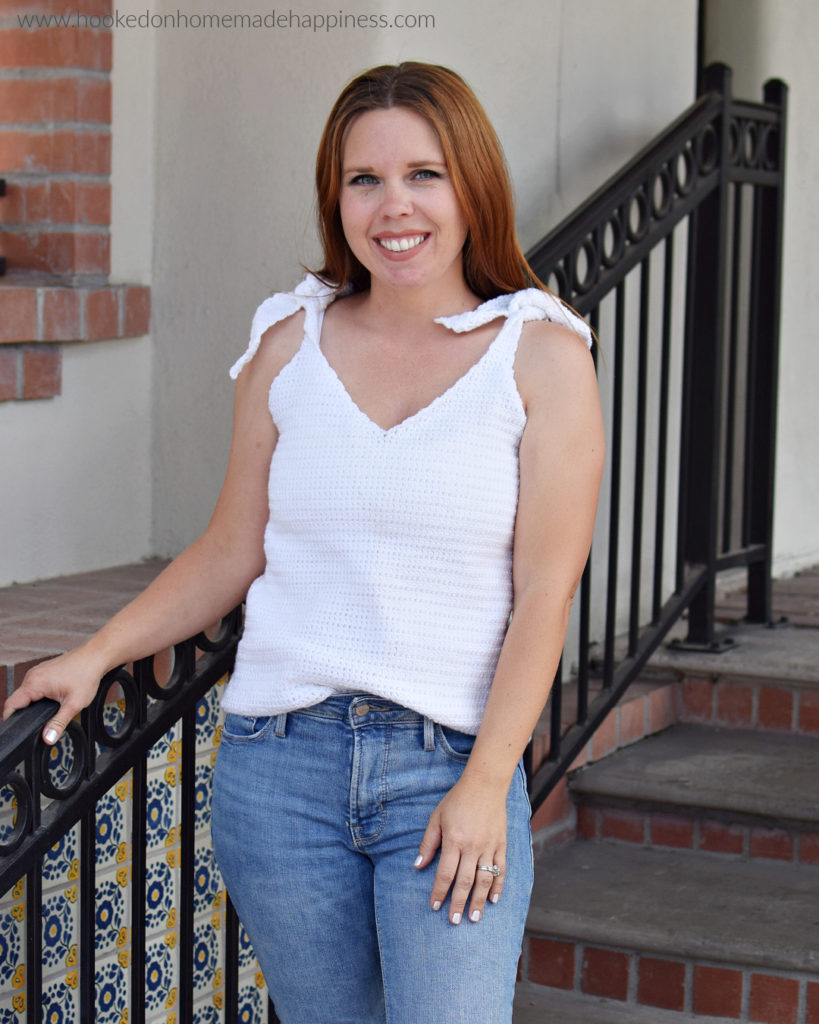
Size Small pictured. I am 5’0” with 34” bust
BETTER THAN BASIC TANK CROCHET PATTERN
FRONT AND BACK (make 2)
ch (72, 80, 88) (96, 104, 112) (leave a long end for sewing)
Row 1: starting in 2nd ch from the hook, esc in each ch across ((71, 79, 87) (95, 103, 111) esc)
Row 2 – (55, 57, 59) (61, 63, 65): ch 1, turn, esc in each stitch across ((71, 79, 87) (95, 103, 111) esc)
This is the length of the top right before the neckline starts. To adjust the length, add or take out rows as needed.
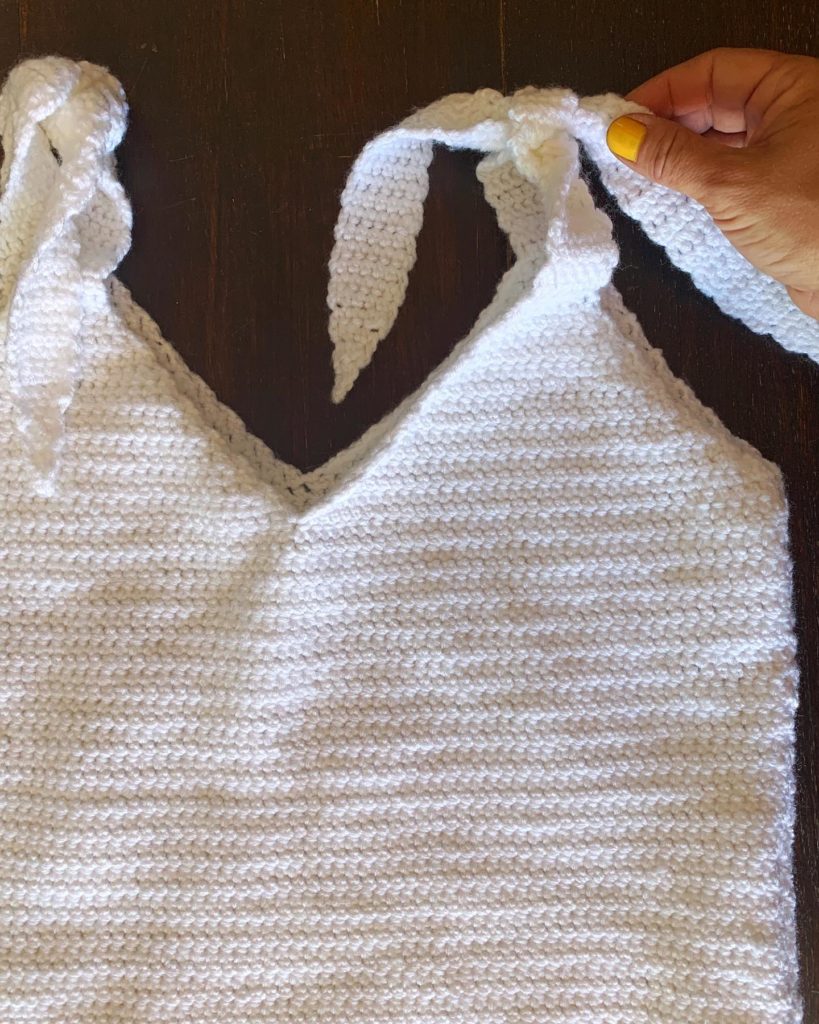
Neckline
One side of the neckline is made and the yarn is rejoined and the other side is made. For the neckline you’ll work about halfway across the row and then turn. Place a stitch marker in the first stitch of row 1
Row 1: ch 1, turn, esc2tog, esc in next (32, 36, 40) (44, 48, 52) stitches, esc2tog ((34, 38, 42) (46, 50, 54) esc)
Row 2: ch 1, turn, esc2tog, esc across to last 2 stitches, esc2tog ((32, 36, 40) (44, 48, 52) esc)
Row 3 – (15, 19, 23) (27, 31, 35): repeat row 2 (6 esc)- each row will decrease by 2 stitches
Strap
Place a stitch marker in the first stitch of row 1
Row 1: ch 1, turn, esc in each stitch across (6 esc)
Row 2 – 35: repeat row 1
Row 36: ch 1, turn, esc2tog, esc in remaining stitches (5 esc)
Row 37: ch 1, turn, esc2tog, esc in remaining stitches (4 esc)
Row 38: ch 1, turn, esc2tog, esc in remaining stitches (3 esc)
Row 39: ch 1, turn, esc2tog, esc in last stitch (2 esc)
Row 40: ch 1, turn, esc2tog (1 esc)
Row 41: ch 1, turn, esc (1 esc)
Fasten off.
Lay the panel so the first side of the neckline is on the right. Join yarn to row 1 in the center stitch (this is the same stitch as the last esc from the first side of the neckline)
Neckline
Row 1: ch 1, esc2tog, esc in next (32, 36, 40) (44, 48, 52) stitches, esc2tog ((34, 38, 42) (46, 50, 54) esc)
Row 2: ch 1, turn, esc2tog, esc across to last 2 stitches, esc2tog ((32, 36, 40) (44, 48, 52) esc)
Row 3 – (15, 19, 23) (27, 31, 35): repeat row 2 (6 esc)- each row will decrease by 2 stitches
Strap
Place a stitch marker in the first stitch of row 1
Row 1: ch 1, turn, esc in each stitch across (6 esc)
Row 2 – 35: repeat row 1
Row 36: ch 1, turn, esc2tog, esc in remaining stitches (5 esc)
Row 37: ch 1, turn, esc2tog, esc in remaining stitches (4 esc)
Row 38: ch 1, turn, esc2tog, esc in remaining stitches (3 esc)
Row 39: ch 1, turn, esc2tog, esc in last stitch (2 esc)
Row 40: ch 1, turn, esc2tog (1 esc)
Row 41: ch 1, turn, esc (1 esc)
Fasten off. Weave in ends (except for long starting end)
SEWING
Lay one panel on top of the other. Use stitch markers to line up the sides. Use the long end to sew up the sides to the start of the neckline.
Fasten off. Weave in the ends.
Looking more patterns? Follow me on Facebook, Instagram, and Pinterest! Please share a pic of your finished product with me. I’d love to see it!


Dear Brian,
This pattern is very beautiful, thank you very much.
I have many Phildar Phil Cotton yarns. What do you think, this kind of yarns will good for the crochet too, please?
Have a great day!
Marianne
Cotton would work great!
This is a lovely top; thank you! Andrea
Thank you!