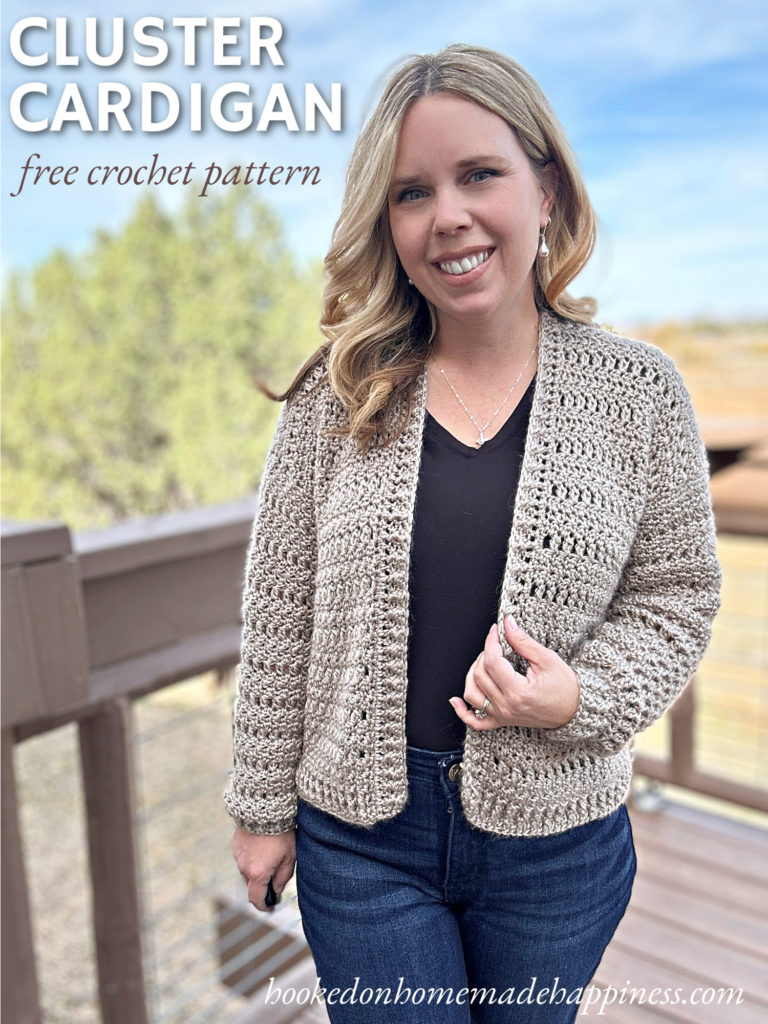
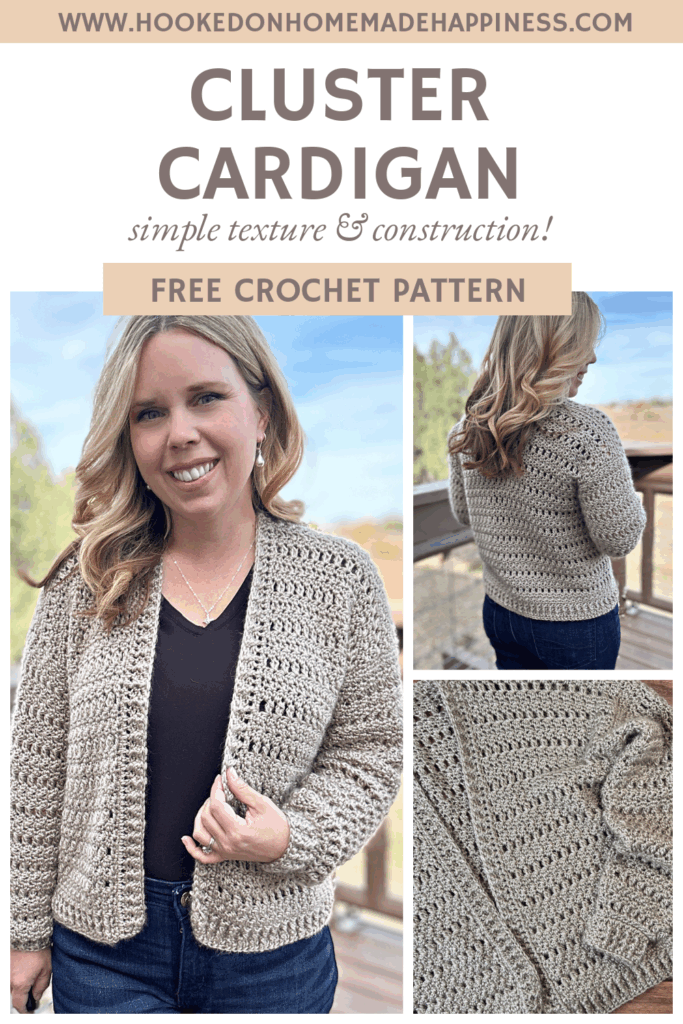
Cluster Cardigan Crochet Pattern
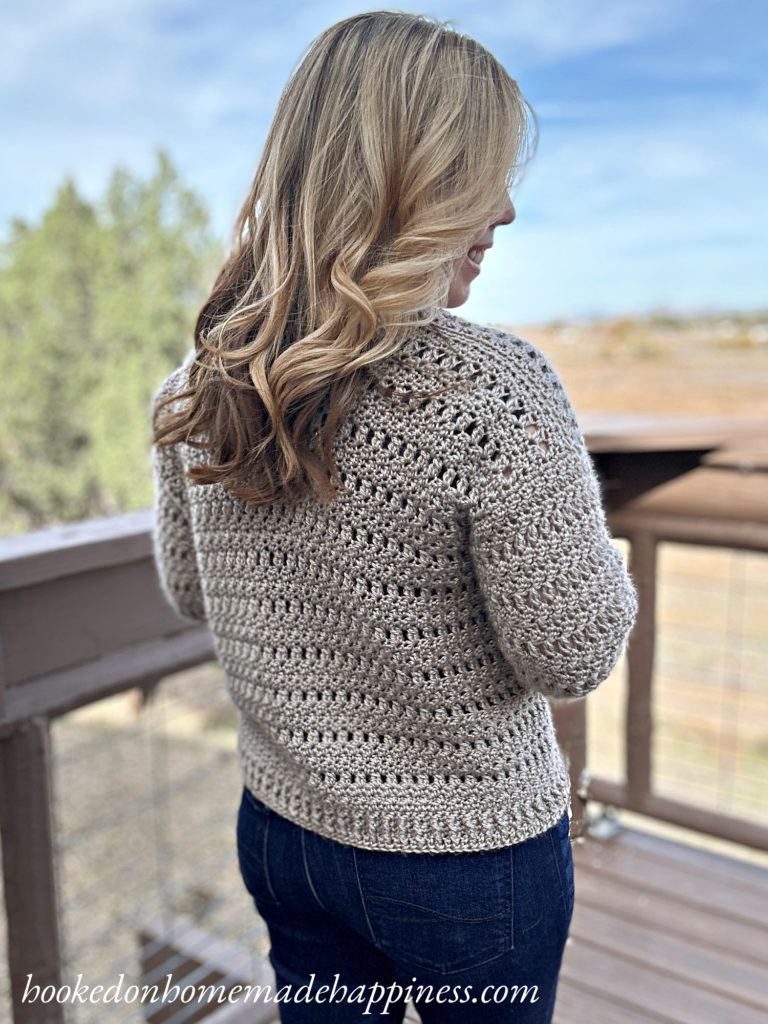
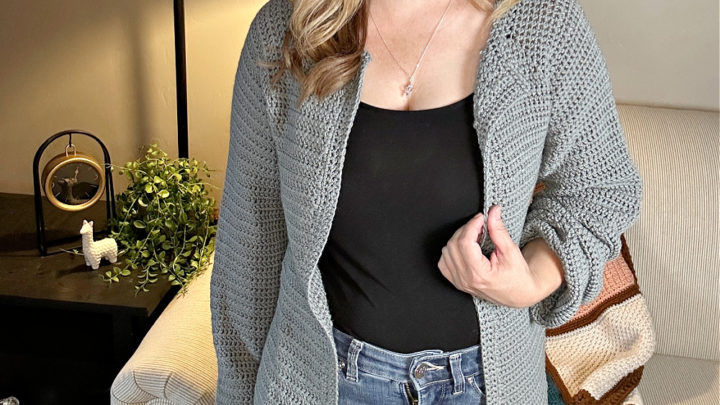
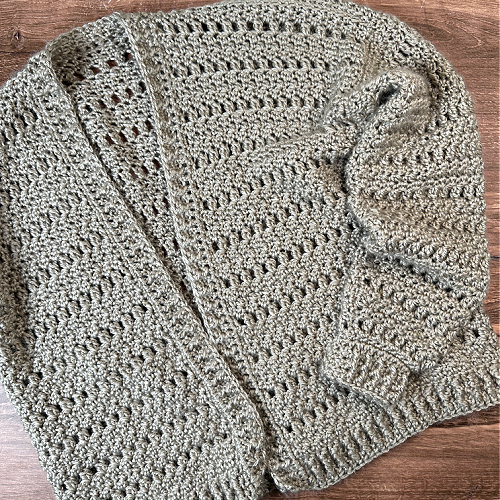
The Cluster Cardigan Crochet Pattern is a cozy, textured layering piece that’s fun to make and even more fun to wear! This cardigan is worked as a flat panel, with simple seaming at the shoulders. The sleeves are then added in rounds, making it a straightforward and beginner-friendly garment construction.
Purchase the ad-free, printable PDF for easy printing.
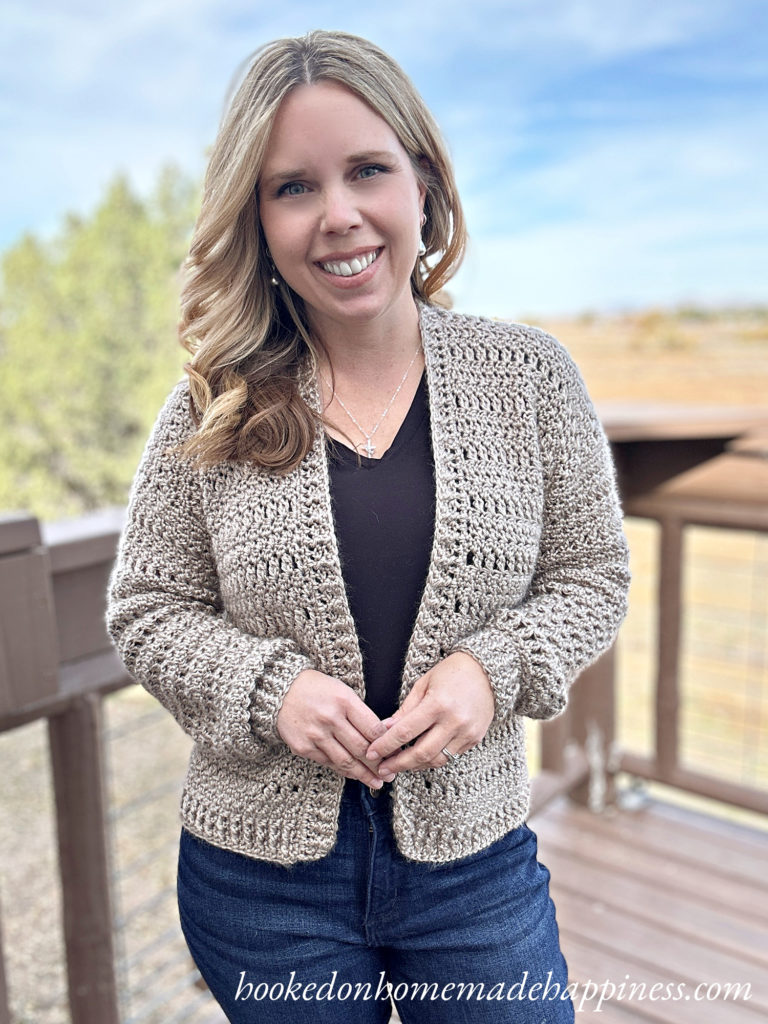
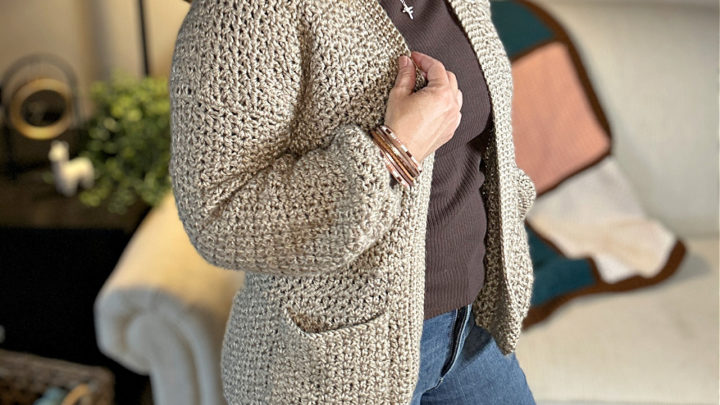
The combination of stitches in this pattern is what makes it really shine. The lemon peel stitch gives a subtle, all-over texture, while the cluster stitch adds a soft, squishy feel and lots of visual interest. Paired with ribbed edges worked in post stitches, this cardigan has that handmade-yet-polished look that makes it a closet favorite.
About the Pattern
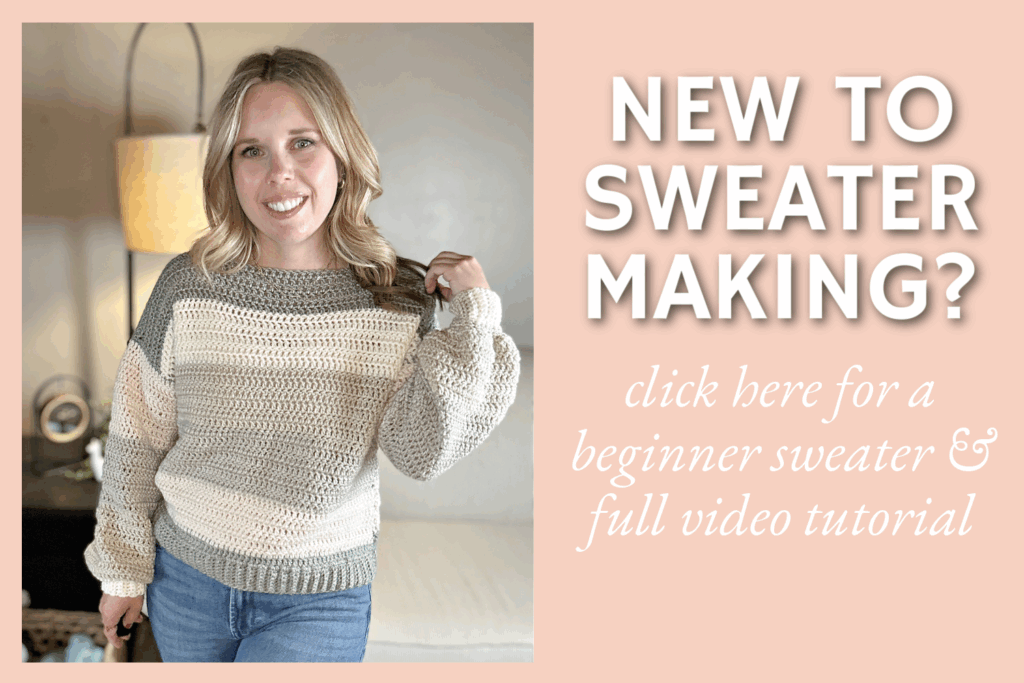
- Skill Level: Advanced beginner to intermediate. If you’ve tried basic stitch combos before, you’ll love experimenting with the textures in this piece.
- Construction: Worked flat in one large panel, seamed at the shoulders. Sleeves are crocheted in rounds and attached directly to the body.
- Stitches Used: Lemon peel stitch, cluster stitch, post stitches (for ribbing).
- Yarn: Worsted weight yarn – making it both warm and lightweight enough for layering.
What You’ll Love
✨ A cozy, textured fabric that feels squishy and warm.
✨ Simple construction — no complicated shaping required.
✨ Customizable length and sleeve fit.
✨ A cardigan you’ll reach for all season long.
The Cluster Cardigan Crochet Pattern is perfect for when you want a project that’s relaxing but still keeps things interesting with stitch variety. Whether you wear it over jeans and a tee or dress it up, this handmade cardigan is sure to be a go-to layering piece in your wardrobe.
Making the Cluster Cardigan Crochet Pattern
Get the full free pattern below or purchase the ad-free, printable PDF
Materials
Worsted weight acrylic yarn (I used Yarn Bee Soft Secret in Taupe — 4 skeins for S/M, 5 skeins for L/XL, 6 skeins for 2X/3X)
I/5.5 mm hook
Yarn needle
Scissors
stitch markers
Level
intermediate
Pattern notes & stitches to know
ch – chain
sl st – slip stitch
sc – single crochet
dc – double crochet
fpdc – front post double crochet
bpdc – back post double crochet
CL – cluster – (*yarn over, insert stitch into next stitch, pull up a loop, yarn over, pull through 2 loops* repeat from * to * once more in same stitch, yarn over, pull through all 3 loops on hook)
sc2tog – single crochet 2 together
st(s) – stitch(es)
rs – right side
ws – wrong side
· written in US terms
· ch 2 does not count as dc
· ch 1 does not count as sc
· This cardigan is made as one rectangle, with openings for the sleeves (like the graphic below). There is a little sewing across the shoulders. Then the sleeves are added with turned rounds and last the collar.

· Gauge: 14 stitches (alternating sc & dc) x 14 rows = 4” x 4”
Sizes:
(S, M, L) (XL, 2X, 3X) – The pattern is written in these sizes consecutively. Example, when the pattern gives the end of row count ((125, 139, 153) (167, 181, 195) dc) the 125 is for S, 139 is M, 153 is L, 167 is XL, 181 is 2X, 195 is 3X.
This sweater is a loose fit with some positive ease.
Approx Finished Size:
Bust: S (40”) M (44”) L (48”) XL (52”) 2X (56”) 3X (60”)
Length: S (18”) M (18.5”) L (20.5”) XL (21”) 2X (23”) 3X (23.5”)
Armhole Depth: S (7.5”) M (8”) L (8.5”) XL (9”) 2X (9.5”) 3X (10”)
Sleeve Length (from seam): S (17”) M (17.5”) L (18”) XL (18.5”) 2X (19”) 3X (19.5”)
Size Small pictured. I am 5’0” with 34” bust
Pattern Support
Looking for pattern support or want to share your progress? Join our Crochet Community Facebook Group! It’s the perfect place to ask questions, get help, and connect with fellow makers.
CROCHET PATTERN WRITTEN INSTRUCTIONS
ch (127, 141, 155) (169, 183, 197)
Row 1 (ws): starting in 3rd ch from the hook, dc in each st across ((125, 139, 153) (167, 181, 195) dc)
Row 2 (rs): ch 1, turn, sc in first st, *fpdc in next, sc in next* repeat from * to * across ((125, 139, 153) (167, 181, 195) sts)
Row 3 (ws): ch 1, turn, sc in first st, *bpdc in next, sc in next* repeat from * to * across ((125, 139, 153) (167, 181, 195) sts)
Row 4 – 5: repeat rows 2 & 3
Row 6 (rs): ch 1, turn, sc in each st ((125, 139, 153) (167, 181, 195) sc)
Row 7 (ws): ch 1, turn, sc in first st, *dc in next, sc in next* repeat from * to * across ((125, 139, 153) (167, 181, 195) sts)
Row 8 (rs): ch 2, turn, dc in first st, *sc in next, dc in next* repeat from * to * across ((125, 139, 153) (167, 181, 195) sts)
Row 9 (ws): ch 1, turn, sc in first st, *dc in next, sc in next* repeat from * to * across ((125, 139, 153) (167, 181, 195) sts)
Row 10 (rs): ch 2, turn, dc in first st, ch 1, skip 1 st, *CL in next, ch 1, skip 1 st* repeat from * to * across to last st, dc in last st ((61, 68, 75) (82, 89, 96) CL)
Row 11 (ws): working in each st and ch-1 space across, repeat row 7
Row 12 (rs): repeat row 8
Row 13 (ws): repeat row 9
Row 14 – (34, 34, 38) (38, 42, 42) (rs): repeat rows 10 – 13, ending with a row 10 repeat
This is the length before the armholes are made. To adjust the length, add or take out rows as needed.
Section A is made in the next rows. You will only work partly across the row, then turn.
Section A (optional: place a stitch marker at the beginning of this row to mark as row 1)
Row 1 (ws): (working in each st and ch-1 space across) ch 1, turn, sc in first stitch, *dc in next, sc in next* repeat from * to * for a total of (29, 33, 35) (39, 43, 47) sts ((29, 33, 35) (39, 43, 47) sts)
Row 2 (rs): ch 2, turn, dc in first st, *sc in next, dc in next* repeat from * to * across ((29, 33, 35) (39, 43, 47) sts)
Row 3 (ws): ch 1, turn, sc in first st, *dc in next, sc in next* repeat from * to * across ((29, 33, 35) (39, 43, 47) sts)
Row 4 (rs): ch 2, turn, dc in first st, ch 1, skip 1 st, *CL in next, ch 1, skip 1 st* repeat from * to * across to last st, dc in last st ((13, 15, 16) (18, 20, 22) CL)
Row 5 – Row (18, 20, 22) (24, 26, 28) (rs): repeat rows 1 – 4
The height of Section A is the size of your armhole. Add or take out rows as needed.
Fasten off. Leave a long end for sewing.
Section B (optional: place a stitch marker at the beginning of this row to mark as row 1)
With Section A on the right, join yarn to the CL next to the last stitch from Section A: Row 1. (skip the ch-1 space)
Row 1 (ws): (working in each stitch and ch-1 space across) ch 1, turn, sc in first stitch, *dc in next, sc in next* repeat from * to * for a total of (65, 71, 81) (87, 93, 99) stitches ((65, 71, 81) (87, 93, 99) sts)
Row 2 (rs): ch 2, turn, dc in first stitch, *sc in next, dc in next* repeat from 8 to * across ((65, 71, 81) (87, 93, 99) sts)
Row 3 (ws): ch 1, turn, sc in first stitch, *dc in next, sc in next* repeat from * to * across ((65, 71, 81) (87, 93, 99) sts)
Row 4 (rs): ch 2, turn, dc in first stitch, ch 1, skip 1 stitch, *CL in next, ch 1, skip 1 stitch* repeat from * to * across to last stitch, dc in last stitch ((31, 34, 39) (42, 45, 48) CL)
Row 5 – Row (18, 20, 22) (24, 26, 28) (rs): repeat rows 1 – 4
Or until it’s the same length as Section A
Fasten off. Leave a long end for sewing.
Section C (optional: place a stitch marker at the beginning of this row to mark as row 1)
With Section A & B on the right, join yarn to the CL next to the last stitch from Section B: Row 1 (skip the ch-1 space)
Row 1 (ws): (working in each stitch and ch-1 space across) ch 1, turn, sc in first stitch, *dc in next, sc in next* repeat from * to * for a total of (29, 33, 35) (39, 43, 47) stitches ((29, 33, 35) (39, 43, 47) sts)
Row 2 (rs): ch 2, turn, dc in first stitch, *sc in next, dc in next* repeat from 8 to * across ((29, 33, 35) (39, 43, 47) sts)
Row 3 (ws): ch 1, turn, sc in first stitch, *dc in next, sc in next* repeat from * to * across ((29, 33, 35) (39, 43, 47) sts)
Row 4 (rs): ch 2, turn, dc in first stitch, ch 1, skip 1 stitch, *CL in next, ch 1, skip 1 stitch* repeat from * to * across to last stitch, dc in last stitch ((13, 15, 16) (18, 20, 22) CL)
Row 5 – Row (18, 20, 22) (24, 26, 28) (rs): repeat rows 1 – 4
Or until it’s the same length as Section A & B
Fasten off. Leave a long end for sewing.
SEWING
Fold sections A & C towards the middle (section B). Line up the edges across the top with stitch markers. Use the long ends and a yarn needle to whip stitch the shoulders closed.

SLEEVES
With cardigan facing right side out, join yarn to the bottom of an armhole
Round 1 (rs): ch 1, sc evenly around the sleeve—make sure the total number of stitches is a mult of 6, join to first sc with sl st (approx. (54, 60, 66) (72, 78, 84) sc)
Round 2 (ws): ch 2, turn, dc in first st, sc in next, *dc in next st, sc in next* repeat from * to * around, join to first dc with sl st
Round 3 (rs): ch 2, turn, dc3tog, sc in next, *dc in next st, sc in next* repeat from * to * around, join to first dc with sl st (sts decrease by 2)
Round 4 (ws): ch 2, turn, dc in first st, sc in next, *dc in next st, sc in next* repeat from * to * around, join to first dc with sl st
Round 5 (rs): ch 2, turn, dc in first st, ch 1, skip 1 st, *CL in next, ch 1 skip 1 st* repeat from * to * around, join to first dc with sl st
Round 6 – Round (41, 43, 45) (47, 49, 51) (rs): repeat rounds 2 – 5
Or until desired sleeve length before the cuff begins.
CUFF
(Optional: place a stitch marker at beginning of next round to mark as round 1 for the cuff)
Round 1 (ws): ch 1, turn, sc in first st, *sc2tog, sc in next* repeat from * to * around, join to first sc with sl st
Round 2 (rs): ch 1, turn, sc in each st around, join to first sc with sl st
Round 3 (ws): ch 2, turn, dc in each st around, join to first dc with sl st
Round 4 (rs): ch 1, turn, sc in first st, fpdc in next, *sc in next st, fpdc in next* repeat from * to * around, join to first sc with sl st
Round 5 (ws): ch 1 turn, bpdc in first st, sc in next, *bpdc in next st, sc in next* repeat from * to * around, join to first bpdc with sl st
Round 6 – 8 (rs): repeat rounds 4 & 5 – ending with a round 4 repeat
Fasten off. Weave in the ends.
COLLAR
With cardigan facing right side out, join yarn to the bottom left corner of the cardigan.
The collar is worked all the way around to the opposite corner.
Row 1 (rs): ch 1, sc evenly around the entire collar to the opposite corner on the bottom right—make sure the total number of stitches is an odd number
Row 2 (ws): ch 2, turn, dc in each st across
Row 3 (rs): ch 1, turn, sc in first st, *fpdc in next, sc in next* repeat from * to * across
Row 4 (ws): ch 1, turn, sc in first st, *bpdc in next, sc in next* repeat from * to * across
Row 5 (rs): ch 1, turn, sc in first st, *fpdc in next, sc in next* repeat from * to * across
Or until desired collar width.
Fasten off. Weave in the ends.
Looking for more patterns? Follow me on Facebook, Instagram, and Pinterest! Please share a pic of your finished product with me. I’d love to see it!


Thank you so much for sharing this pattern!
Thank you sooooooooooo much! Made your Catalina cardigan and love it! This will be fun to try, you are so generous!
Yay! You’re welcome 🙂
Where do I find the link for the vidro tutorial of one of yiyr cardigans?
Hi! I don’t have a video for this particular pattern, but here’s one to a similar cardigan: https://www.youtube.com/watch?v=10VrX0k46lg&t=269s
Love this pattern and the yarn you selected!
Thank you!
I love this pattern and so excited to get started and make it but I am confused on the an and c sections being folded into the middle. I just started following you and I have tons of projects I am excited to make. Thanks for your generosity and making these free for us. Merry Christmas!
Hi! The cardigan is made as one whole rectangle. There will be splits for the armholes. When sections a and c get folded toward the center you will sew across the top and the splits will become the armholes. I have a video tutorial for a different sweater that uses the same method. At 11:36 you can see where I will do this part of the sweater. Hope this helps! https://www.youtube.com/watch?v=86xhWH2KvfM&t=11s
Thank you so very much!
You’re very welcome!!
I am making the 2xl. When making the first sleeve, I have 96 single crochet stitches in the first round. The arms are looking too big. Is 96 way too many stitches?
Hi! That might be too many, try working 1 sc in the end of each row and see if that looks better 🙂
Not following. I understand the sc in the end but not sure how that will reduce the # of stitches. Sorry! Confused. LOL
If you’re making a 2X then you should have approx 60 rows around the armhole. So if you work 1 sc in the end of each row you should get about 60 stitches.
That makes perfect sense! Thank you.
I am confused on what the cluster consists of—the whole dc2tog, dc3tog, sc2tog? That seems to make the row too wide
The CL is dc2tog in the same stitch 🙂
Thanks Breann, I think I am really going to like this sweater!
Hi Breann, what is the gauge for the Cluster Cardigan?
Thank you
Trease
Hi! I would really like to make this cardigan, but I can’t seem to find a gauge for it, did I miss that in the pattern?
Thanks for your help!
Should I always do the dc3tog in each row three repeat in the sleeves arms?
Hi! Yes, but if it has decreased enough for you, just dc in remaining stitches without the decrease 🙂
Hi Breann. Can this cardigan be made as a cropped cardigan?
Hi Breann, would a foundation dc row work instead of chains and a dc row? Thanks for your patterns, always so clear to follow. Susan
Yes 😊
Thank you so much for cluster cardigan fall freebie! I am really enjoying your pattern. I’m having trouble with the sleeves. When it asked for *sc dc in next stitch, sc in next* repeat.
Every time you do (sc dc in a stitch) your increasing the stitch count. I’m 4 rows in and my sleeve is huge. If I repeat these rows my sleeve will be even bigger. Yes, I did the dc3tog. That only reduces 2 stitches in one row.
Please help! What am I missing or doing wrong?
Thank you again!
Mickey
Oh no!! That’s a typo 🤦🏼♀️😭. There should not be the first sc in the repeat. Just alternate dc & sc around.
I am working on this beautiful sweater/cardigan. You stated in the pattern that if adding rows, to end on a row 10.
What about Sections A-B-C? Should those also end on row 10? Just wondering if when the shoulders are
seamed, am I joining 2 row 10’s together? Hope this makes sense.
Hi! No, for the last row along the shoulders, it can be any row 🙂
As long as they are all the same
I finished the Cluster Cardigan last week, crocheted with Swedish wool. I love it! It has been keeping me warm in this transitional weather. It is my second garment from your blog. Last year, I crocheted the Weekender Pullover. Your patterns are wonderful. Thank you.
Thank you so much!
Just wanting to confirm that the sleeve decreases will be visible on the front of one of the sleeves.
The decreases will naturally move to the left correct?
Hi! The decreases will cause the seam to move slightly. However, I don’t think they will be visible on the front.