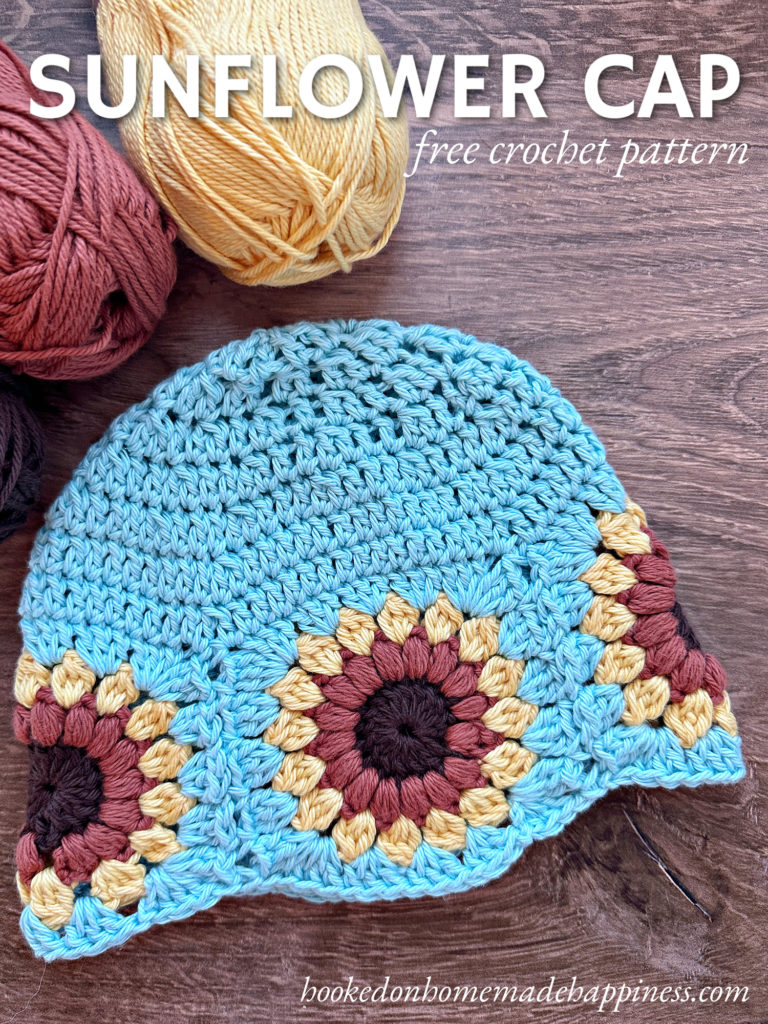
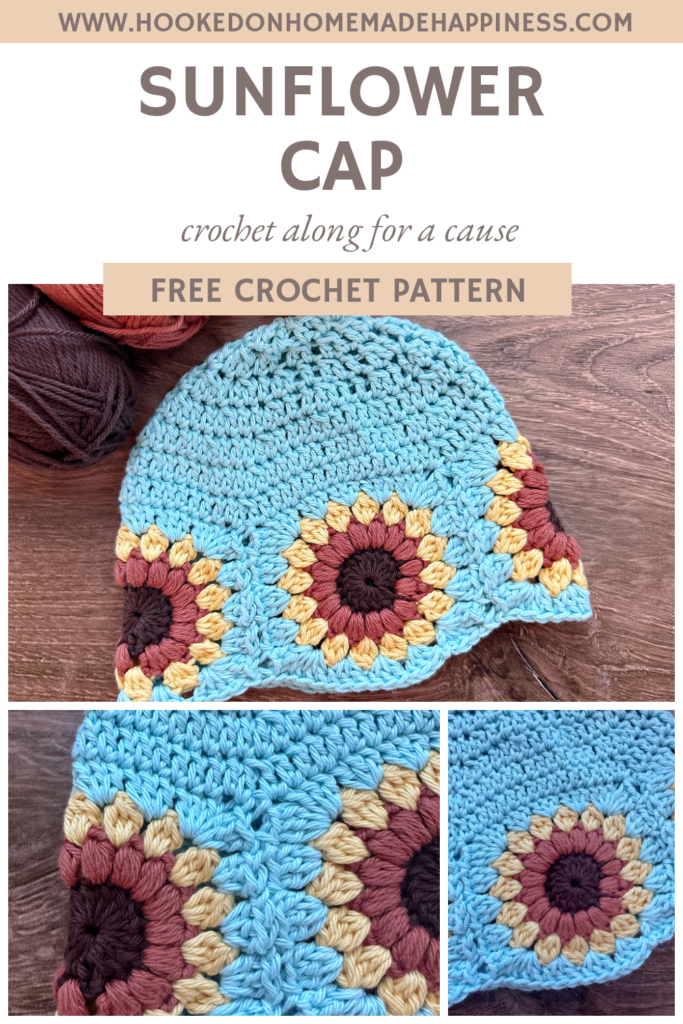
Sunflower Granny Square Cap Crochet Pattern
Add sunshine to your wardrobe with this beautiful sunflower cap!
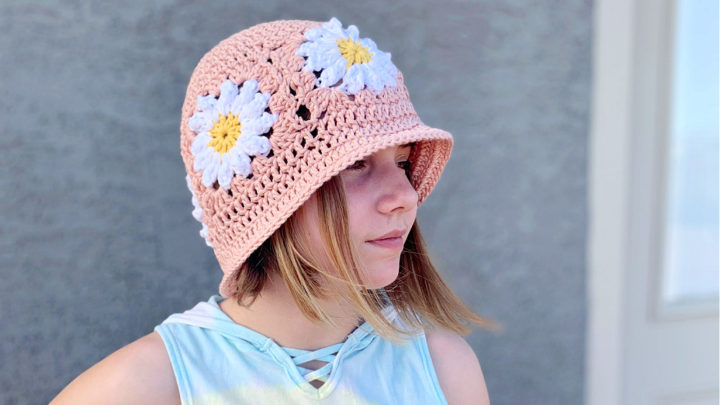
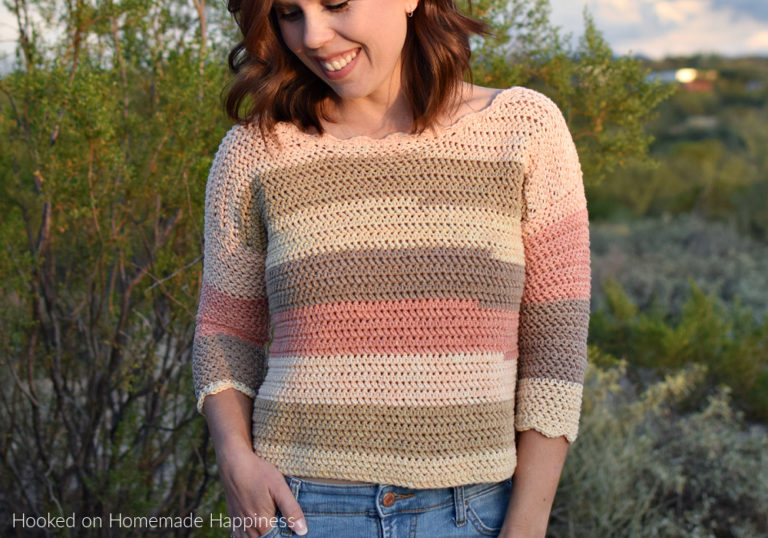
If you’re looking for a cheerful, boho-inspired crochet project, the Sunflower Granny Square Cap Crochet Pattern is just the thing! This fun and eye-catching hat combines classic granny square techniques with simple shaping to create a cap that’s as joyful as it is stylish.
This pattern starts with sunflower granny squares that are sewn together to form the band. Then, the crown is worked in decreasing rounds using basic stitches for a smooth, snug fit. It’s beginner-friendly with just enough detail to keep it fun!
✿ What You’ll Love About This Pattern
- A fun twist on the traditional granny square
- Great way to use up scrap yarn
- Makes an adorable gift or market item
- Works up quickly and is perfect for all seasons!
This hat is the 9th pattern in the Crochet Along for a Cause. We are making 1 hat per week to donate to a cancer center, school, or homeless shelter for 12 weeks. There’s always time to join! You can find all the details and hat patterns HERE.
✿ Materials Needed:
- Worsted weight yarn in 4 colors (sunflower center, petals, background)
- Size H/5.0 mm crochet hook
- Yarn needle
- Scissors
✿ Pattern Construction:
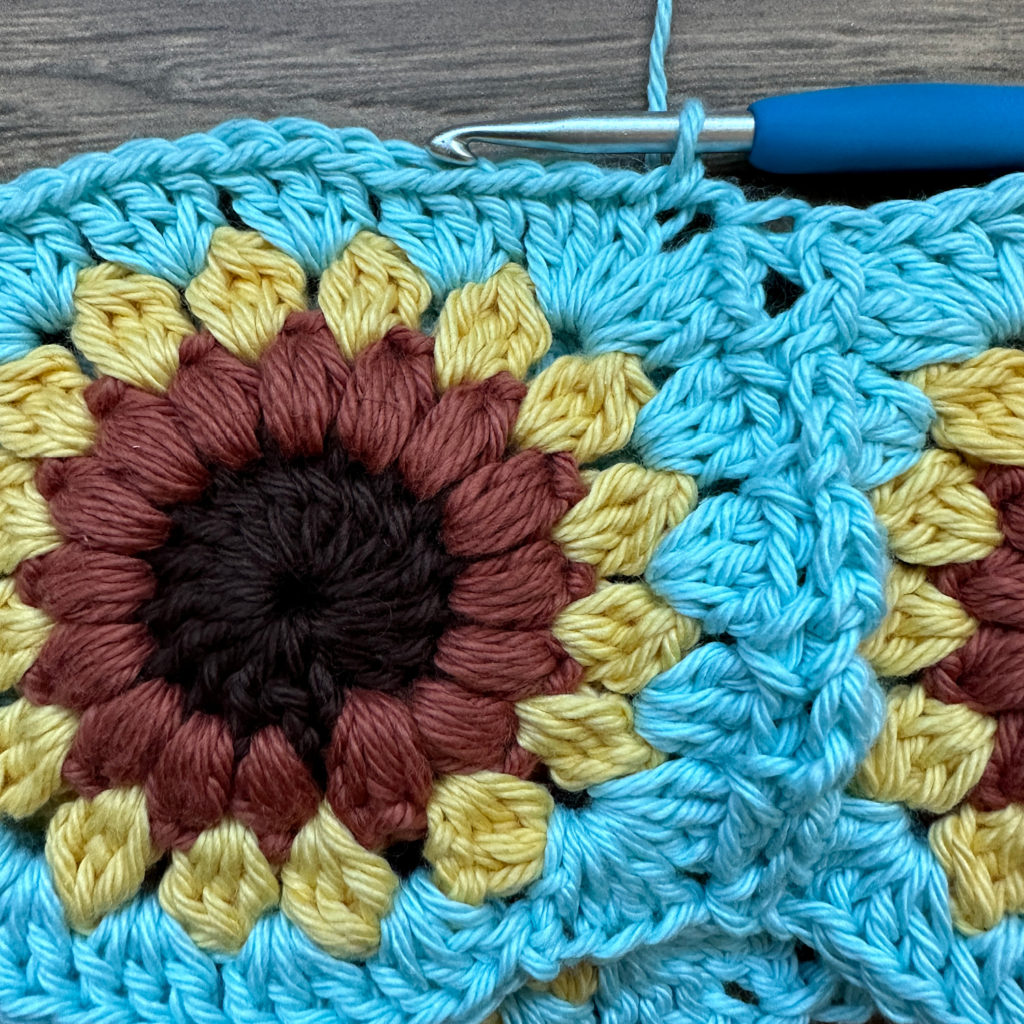
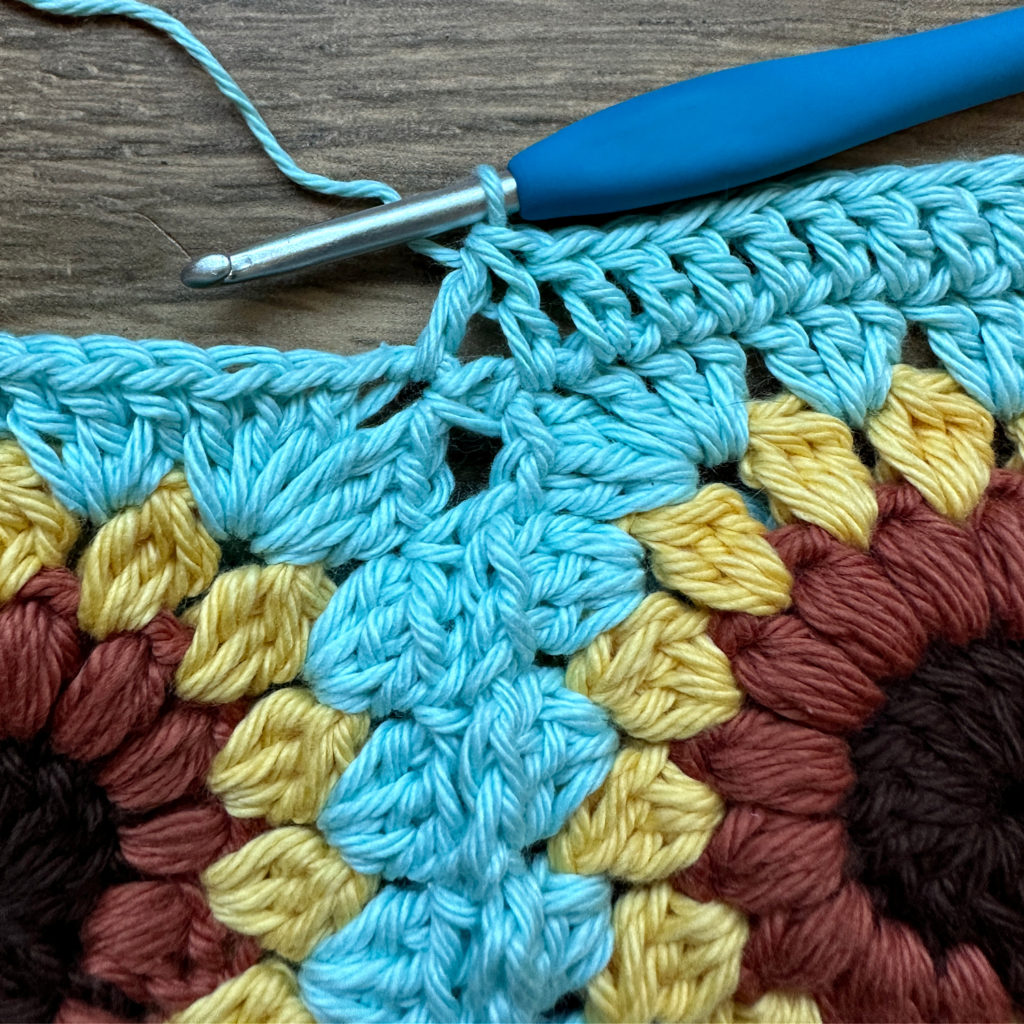
- Make the Sunflower Squares – Each square features a textured center, golden petals, and a background color that ties everything together.
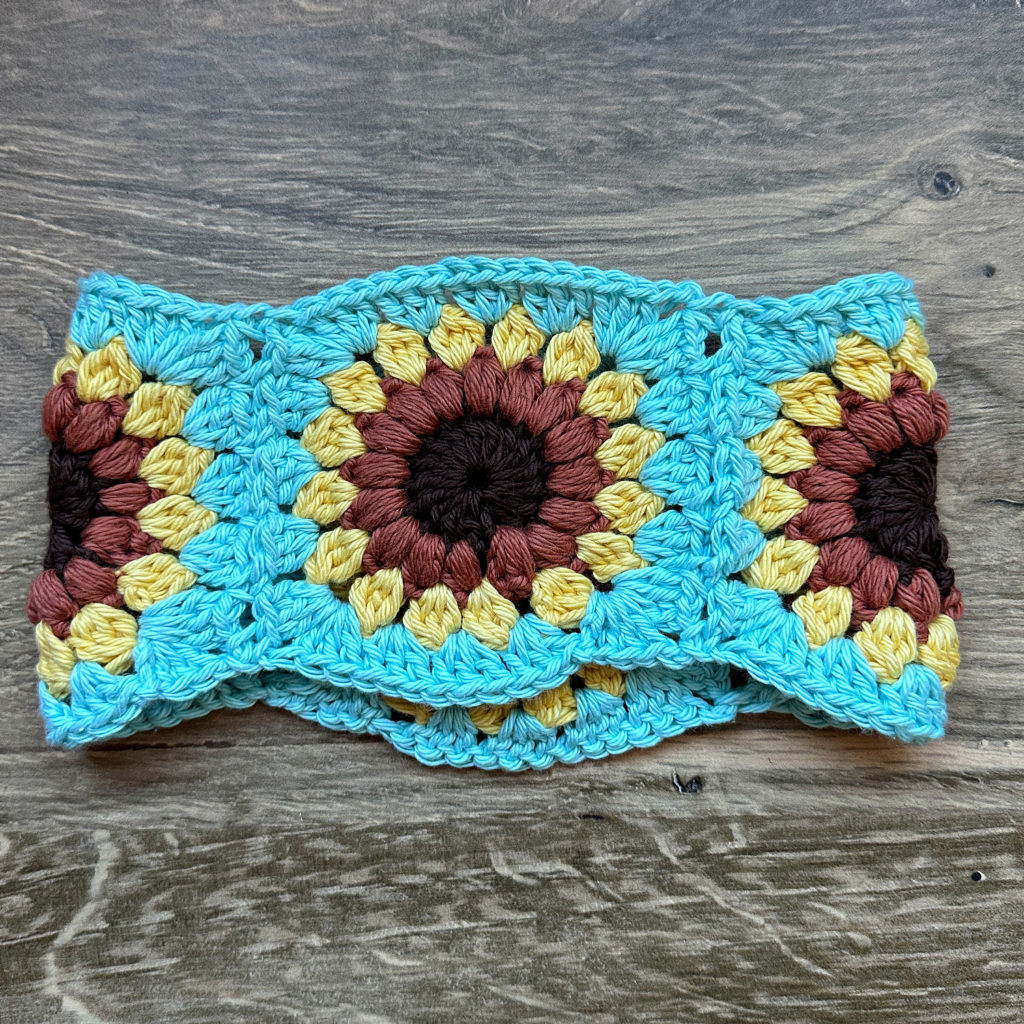
- Sew the Band – Arrange and stitch your squares together to create the hat band.
- Add the Crown – Pick up stitches along the top edge and work in decreasing rounds to form the top of the hat.
click here to pin for later >>>
Sunflower Granny Square Cap Crochet Pattern
PIN for later HERE
Add to your Ravelry Queue HERE
Materials
4 colors worsted weight acrylic or cotton yarn (I used I Love this Cotton in Brown(25g), Bruschetta (25g), Curry (25g), & Aqua (50g))
H/5.0 mm hook
yarn needle
scissors
Level
intermediate
Pattern notes & Stitches to Know
ch – chain
sl st – slip stitch
dc – double crochet
PS – puff stitch – *yarn over, insert hook into stitch, pull up a loop* repeat from * to * 3 more times (for a total of 4), yarn over, pull through all loops on hook
CL – cluster stitch – *yarn over, insert hook into stitch, pull up a loop, yarn over pull through 2 loops* repeat from * to * 2 more times (for a total of 3), yarn over, pull through all loops on hook
dc2tog – double crochet 2 together
· written in US terms
· ch 2 does not count as dc
· To adjust the size, make the squares larger by adding a round of dc to each square.
· Approx Finished Size (Teen/Small Adult):
Circumference: 20”
Height: 8”
SUNFLOWER GRANNY SQUARE CAP CROCHET PATTERN
SUNFLOWER GRANNY SQUARES (make 4)
Starting with Color A, ch 4, join to first ch with sl st to make ring
Round 1: ch 2, 16 dc in ring, join to first dc with sl st (16 dc)
Fasten off first color
Join Color B in stitch
Round 2: ch 2, (PS, ch 1) in each stitch around, join to first PS with sl st (16 PS)
Fasten off second color
Join Color C in a ch-1 space
Round 3: ch 2, (CL, ch 1) in each ch-1 space around, join to first CL with sl st (16 CL)
Fasten off third color.
Join Color D to a ch-1 space
If using the join-as-you-go method, remember to join in round 4
Round 4: ch 2, *(3 dc, ch 3, 3 dc) all in ch-1 space, 3 dc in next 3 ch-1 spaces* repeat from * to * around, join to first (60 dc)
Fasten off. Weave in the ends.
To join, I used the join-as-you-go, but any joining method can be used.
Join squares to make a headband shape.
Weave in the ends.
HAT TOP
Join with main color to the right-most stitch of one of the squares.
Round 1: ch 2, *dc in 15 stitches across to the corner ch-space, dc2tog (working one stitch in each of the ch-spaces where the squares are joined)* repeat from * to * around, join to first dc with sl st (64 dc)
Round 2: ch 2, *dc in 14 stitches, dc2tog* repeat from * to * around, join to first dc with sl st (60 dc)
Round 3: ch 2, *dc in 3 stitches, dc2tog* repeat from * to * around, join to first dc with sl st (48 dc)
Round 4: ch 2, *dc in 2 stitches, dc2tog* repeat from * to * around, join to first dc with sl st (36 dc)
Round 5: ch 2, *dc in 1 stitches, dc2tog* repeat from * to * around, join to first dc with sl st (24 dc)
Round 6: ch 2, dc2tog around, join to first dc with sl st (12 dc)
Round 7: ch 2, dc in each stitch around, join to first dc with sl st (12 dc)
Leave a long end. Using a yarn needle, weave the long end in and out of the top loops of the last round, cinch the top closed. Weave in the ends.
See you next week for the 10th pattern for the CAL for a Cause!
Looking for more patterns? Follow me on Facebook, Instagram, and Pinterest! Please share a pic of your finished product with me. I’d love to see it!


One Comment