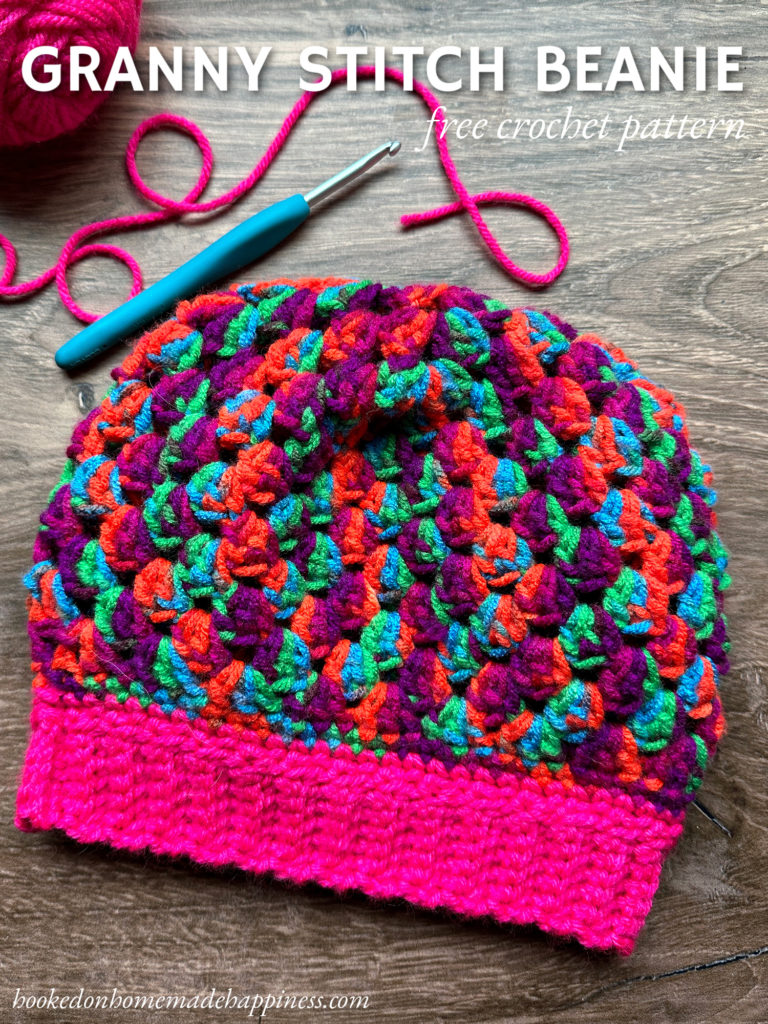
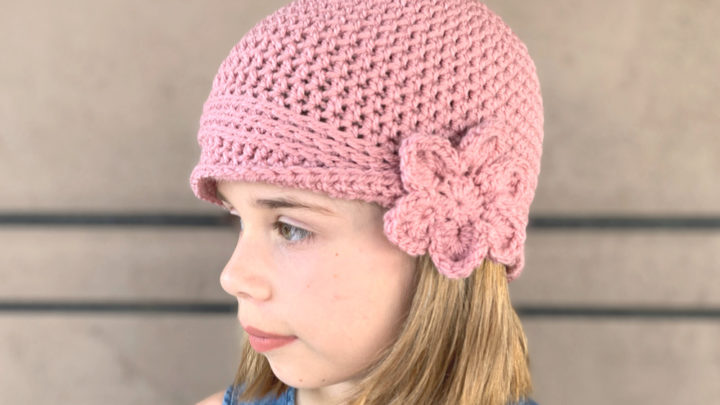
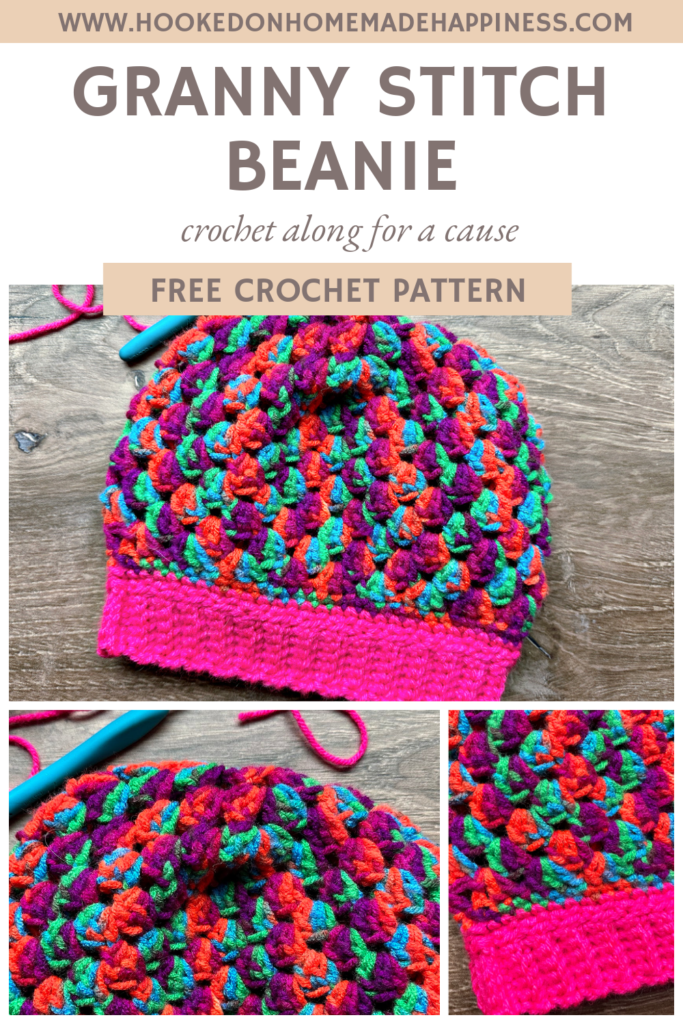
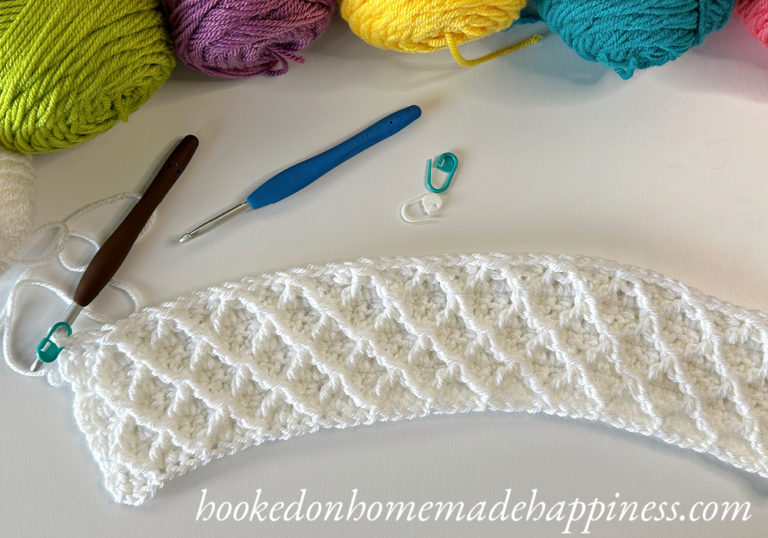
Granny Stitch Beanie Crochet Pattern
The Granny Stitch Beanie Crochet Pattern uses a classic and favorite stitch! The granny square and stitch is one of the first stitches a crocheter learns, why not use it for a beanie?
This hat is the 8th pattern in the Crochet Along for a Cause. We are making 1 hat per week to donate to a cancer center, school, or homeless shelter for 12 weeks. There’s always time to join! You can find all the details and hat patterns HERE.

click here to pin for later >>>
Granny Stitch Beanie Crochet Pattern
Get the full pattern below or download the ad-free printable PDF for free HERE
PIN for later HERE
Add to your Ravelry Queue HERE
Materials
100g worsted weight yarn in 2 colors (I used I Love this Yarn in Dark Neons & Pink Neon)
H/5.0 mm hook
yarn needle
scissors
Level
intermediate
Pattern notes & Stitches to Know
ch – chain
sl st – slip stitch
dc – double crochet
sc – single crochet
sc blo – single crochet back loop only
· Written in US terms
· ch 2 does not count as dc
· This beanie is made from the top down. The ribbing is added in the end using the Applied Ribbing method (video tutorial included)
Approx Finished size (child)-
Length: 8”
Circumference: 17”
GRANNY STITCH BEANIE CROCHET PATTERN
With main beanie color, ch 4, join to first sc with sl st to make ring
Round 1: ch 2, *3 dc, ch 2* repeat from * to * 5 times in ring, join to first dc with sl st (15 dc)
Round 2: sl st in next 2 stitches to ch-2 space, ch 2, (3 dc, ch 2, 3 dc) in each ch-2 space around, join to first dc with sl st (30 dc)
Round 3: sl st in next 2 stitches to ch-2 space, ch 2, *(3 dc, ch 2, 3 dc) in ch-2 space, 3 dc in space between next 2 groups of 3 dc* repeat from * to * around, join to first dc with sl st (45 dc)
Round 4: sl st in next 2 stitches to ch-2 space, ch 2, *(3 dc, ch 2, 3 dc) in ch-2 space, 3 dc in space between next 2 groups of 3 dc* repeat from * to * around, join to first dc with sl st (60 dc)
Crown diameter is approx. 5.5”. To change the size, go up or down a hook size or add or take out increase rounds
Round 5: sl st in next 2 stitches to ch-2 space, ch 2, 3 dc in each space between next 2 groups of 3 dc and ch-2 spaces around, join to first dc with sl st (60 dc)
Round 6 – 12: sl st in next 2 stitches to space between next 2 groups of 3 dc, ch 2, 3 dc in each space between next 2 groups of 3 dc around, join to first dc with sl st (60 dc)
Round 13: ch 1, sc in each stitch around, join to first sc with sl st (60 sc)
Join ribbing color
Round 14: ch 1, sc in each stitch around, join to first sc with sl st (60 sc)
APPLIED RIBBING >>VIDEO TUTORIAL<<
ch 7
Row 1: sc in 2nd ch from the hook and in each ch across, join to the last round of the beanie with sl st (6 sc)
Row 2: sl st to next stitch in the last round of the beanie, turn, sc in first stitch, sc blo in next 4, sc in last stitch (6 sc)
Row 3: ch 1, turn, sc in the first stitch, sc blo in next 4, sc in the last stitch, sl st to the last round of the beanie (6 sc)
Repeat rows 2 & 3 until you work all the way around the beanie. Sew the ribbing closed with a whip stitch
Fasten off. Weave in the ends.
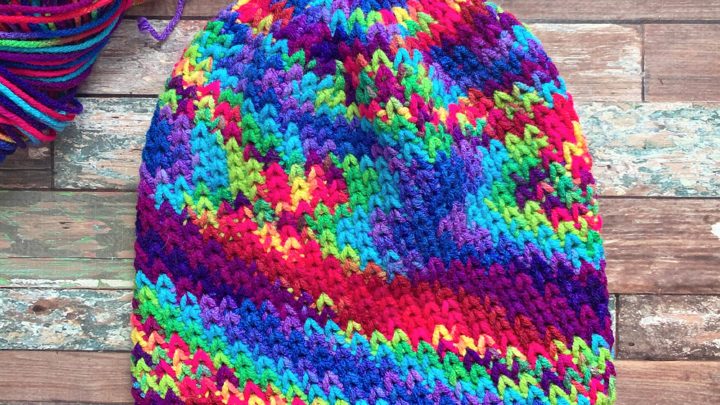
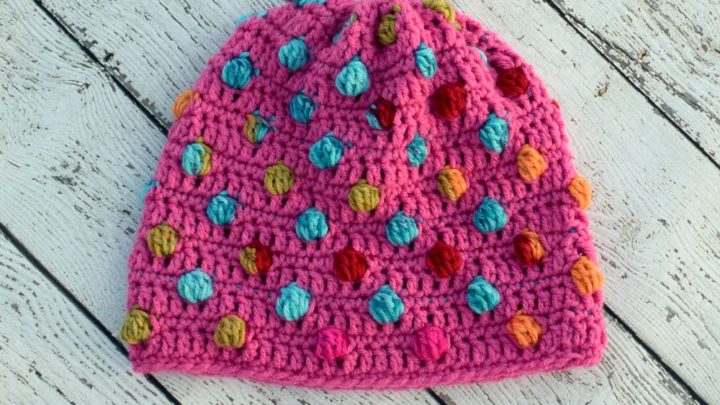
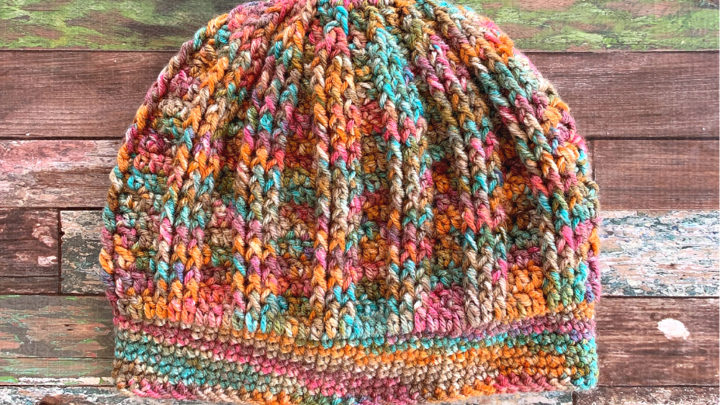
See you next week for the 9th pattern for the CAL for a Cause!
Looking for more patterns? Follow me on Facebook, Instagram, and Pinterest! Please share a pic of your finished product with me. I’d love to see it!


Does this hat need only 1 skein of each color?
I love the bright colors. I’ve used several of your patterns and live your website. Thanks for your concern for the needy. I help out by crocheting with a group from my Church.