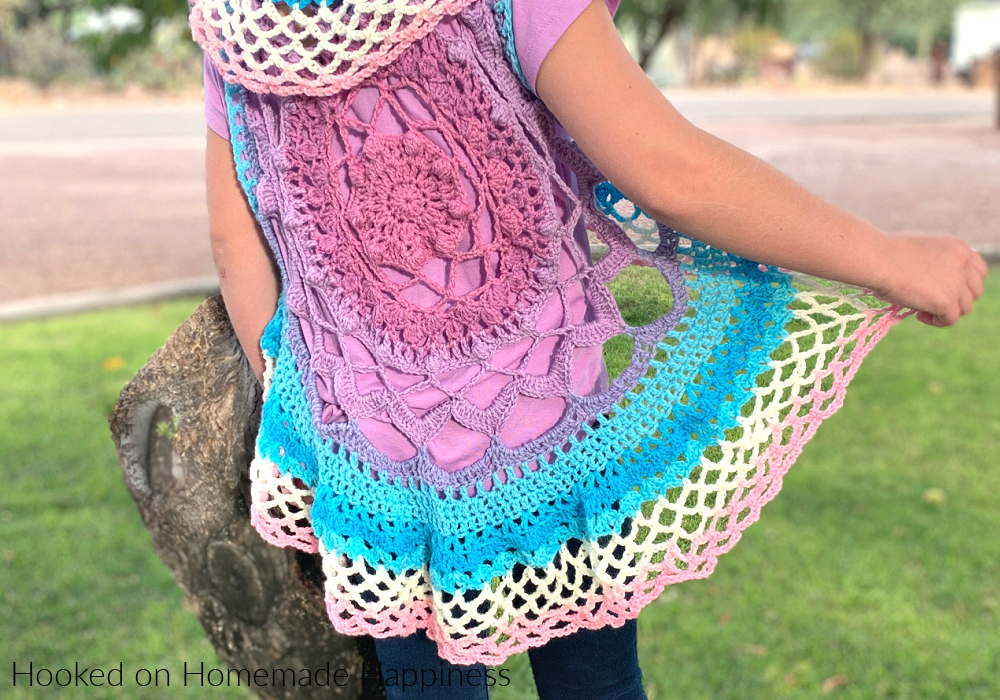
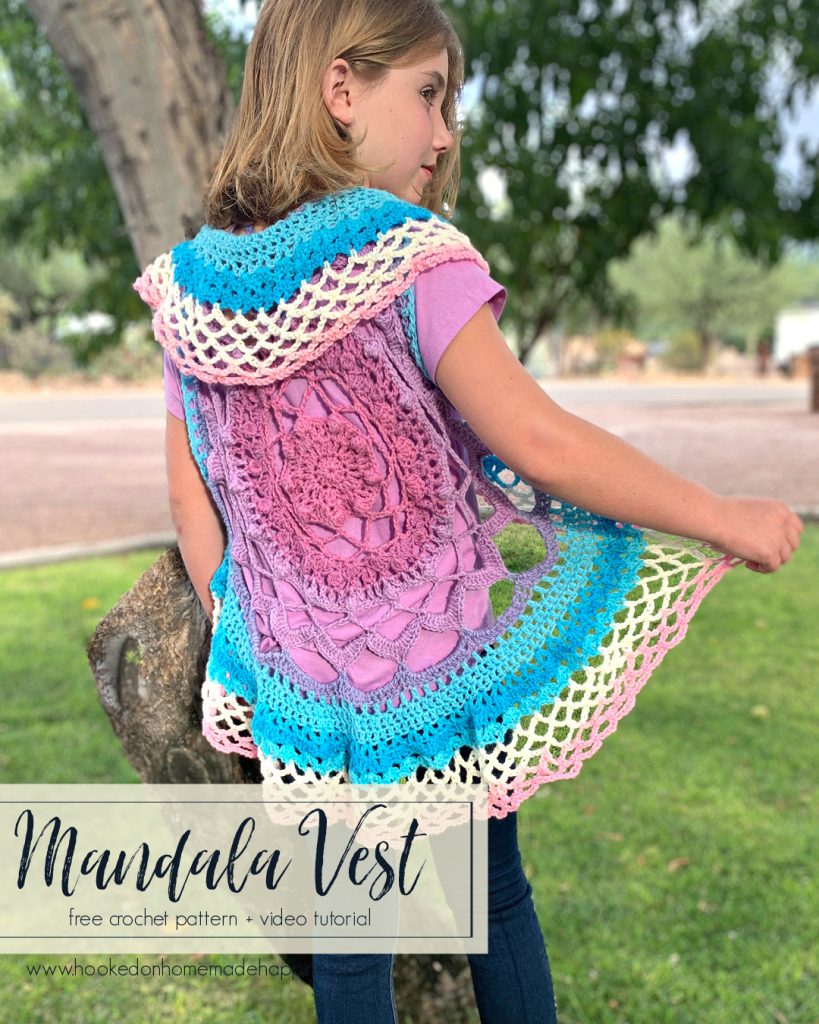
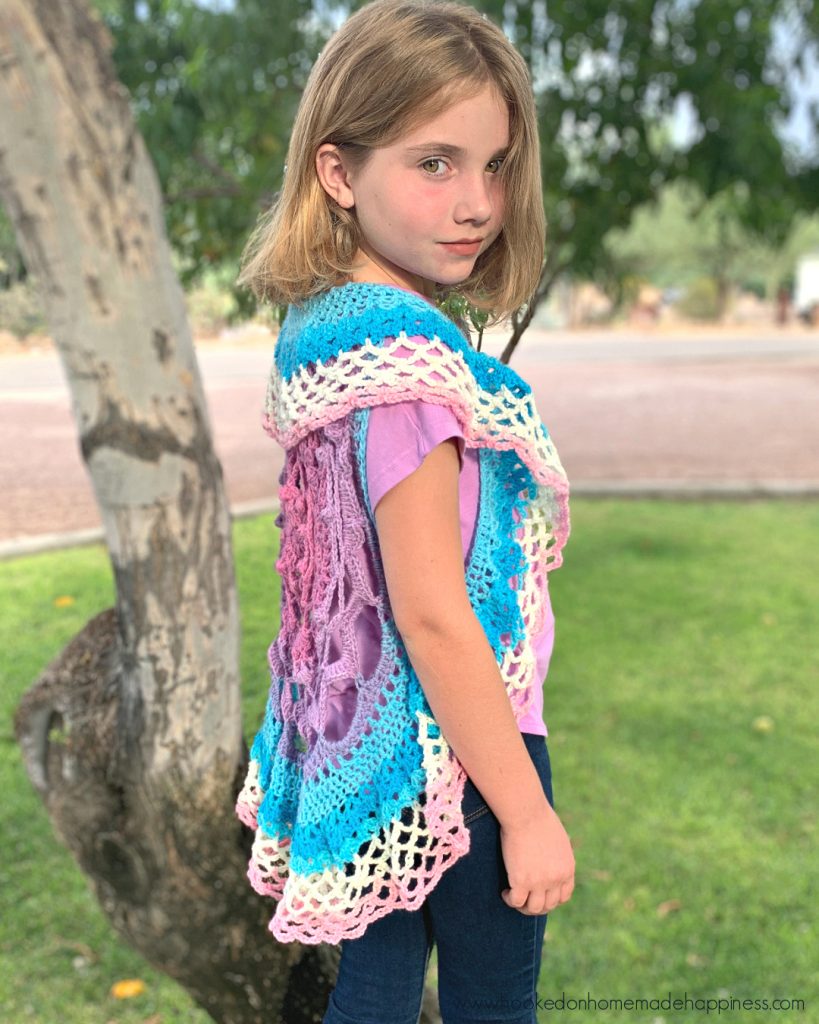
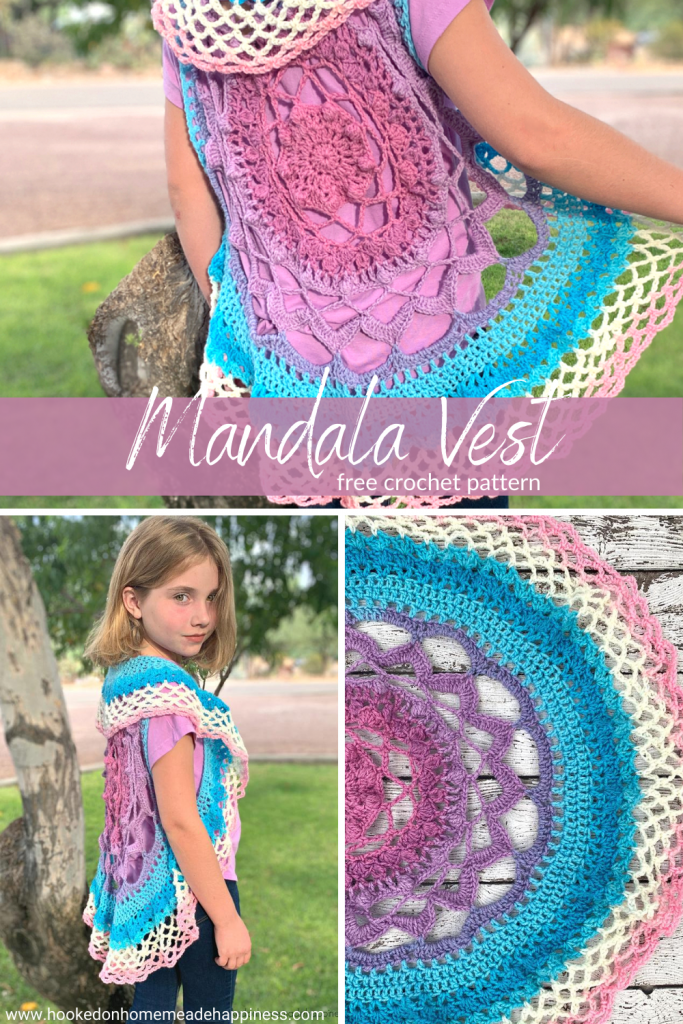
Mandala vests are the perfect summer and spring accessory! I used one Lion Brand Mandala Cake for this pattern. This pattern is made to fit multiple sizes. It fits from child size (pictured on a 10 year old) and it also fits me 🙂 There are adjustments included in the pattern to make it larger.
More Homemade Happiness:

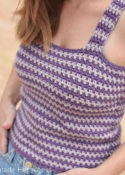
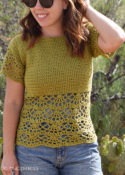
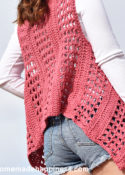
Kid’s Basic Tee // Kid’s Boho Vest // Circle Vest
Mandala Vest Crochet Pattern
– Get the free pattern below or purchase the ad-free, printable PDF in my Pattern Shop or Ravelry Shop
– PIN for later HERE
– Add to your Ravelry Queue HERE
Materials
1 skein Lion Brand Mandala – or any DK (3) weight yarn (I used the color Liger)
H/5.0 mm hook
yarn needle
scissors
Level
intermediate
Pattern notes & Stitches to Know
ch – chain
sl st – slip stitch
dc – double crochet
sc – single crochet
V stich – (dc, ch 1, dc) all in same stitch
bobble – *Yarn over, insert the hook in the stitch, yarn over, pull up a loop, yarn over, and draw the yarn through the 2 loops on the hook* (you now have an unfinished double crochet with 2 loops left on your hook) re-peat from * to * 4 more times in same stitch, yarn over, pull through all 6 loops on hook
· Written in US terms
· the pattern will indicate when the starting ch counts as a stitch
· Pattern fits sizes child through young adult. There are optional adjustments written in the pattern to make it larger.
Approx Finished size:
Diameter: 28”,
Width between the top of the armholes: 10”
MANDALA VEST CROCHET PATTERN
WATCH THE FULL VIDEO TUTORIAL BELOW
WRITTEN PATTERN
ch 3, join to first ch to make a circle
work your first round into the circle
Round 1: ch 2, dc 12 into ring, pull ring closed, join to first dc with sl st (12 dc)
Round 2: ch 2, V stitch in each stitch around, join to first dc with sl st (12 V stitches)
Round 3: sl st to the first ch 1 space, *V stitch in ch 1 space, V stitch in next ch 1 space, V stitch in between next 2 dc’s* repeat from * to * around, join to top of first dc with sl st (18 V stitches)
Round 4: ch 1, bobble in first stitch, sc in next 5 stitches, *bobble stitch in next, sc in next 5 stitches* repeat from * to * around, join to first bobble with sl st (9 bobbles, 45 sc)
Round 5: ch 1, sc in first bobble stitch, ch 7, *sc in next bobble stitch, ch 7* repeat from * to * around, join to first sc with sl st (9 sc)
Round 6: sl st to the middle of the first ch 7, ch 1, *sc in middle of ch 7 space, ch 7* repeat from * to * around, join to first sc with sl st (9 sc)
Round 7: sl st to the 2nd chain, ch 1, sc in same stitch, ch 4, sc in same ch 7 space, *ch 4, sc in next ch 7 space, ch 4, sc in same ch 7 space* repeat from * to * around, ch 4, join to first sc with sl st (18 sc)
Round 8: ch 3 (counts as dc), sc in next ch 4 space, *5 dc in next sc, sc in next ch 4 space* repeat from * to * around, 4 dc in the last stitch (in the same stitch as the first ch 3), join to the first ch 3 with sl st (90 dc)
Round 9: ch 1, *bobble stitch in sc, ch 3, sc in 3rd dc of the next group of dc, ch 3* repeat from * to * around, join to the first bobble stitch with sl st (18 bobbles)
Round 10: ch 4 (counts as dc + 1 ch), *dc in ch 3 space, ch 1, dc in sc, ch 1, dc in ch 3 space, ch 1, dc in bobble, ch 1* repeat from * to * around, join to top of first ch 3 with sl st (72 dc)
Round 11: ch 1, sc in same stitch and in next 3 stitches, *bobble stitch in next, sc in next 7 stitches* repeat from * to * around, sc in last 3 stitches, join to top of first sc with sl st (18 bobbles)
Round 12: sl st over to the top of next bobble, ch 1, sc in same stitch, ch 8, *sc in next bobble stitch, ch 8* repeat from * to * around, join to the first sc with sl st (18 sc)
Round 13: sl st to middle of ch 8 space, ch 1 *sc in middle of ch 8 space, ch 8* repeat from * to * around, join to first sc with sl st (18 sc)
Round 14: ch 1, sc in same space, (7 dc, ch 2, 7 dc) in ch 8 space, *sc in sc, (7 dc, ch 2, 7 dc) in ch 8 space* repeat from * to * around, join to first sc with sl st (252 dc)
Round 15: sl st to ch 2 space, ch 1, *sc in ch 2 space, ch 10* repeat from * to * around, join to first sc with sl st (18 sc)
Round 16: ch 3 (counts as dc), 10 dc in ch 10 space, *dc in sc, 10 dc in ch 10 space* repeat from * to * around, join to first ch 3 with sl st (198 dc)
Round 17: ch 4 (counts as dc + 1 ch), *skip one stitch, dc in next, ch 1* repeat from * to * around, join to first ch 3 with sl st (99 dc)
In round 18 you will create the armholes. This will give about 13 inches across the back between the armholes. To make the size between the armholes larger, follow the pattern for rounds 17a, 17b, and 17c as needed. Each additional row will add approximately one inch to the size across the back. For the small size, continue to round 18.
Round 17a: ch 5 (counts as dc + 2 ch), *dc in next dc from previous round, ch 2* repeat from * to * around, join to first ch 3 with sl st
Round 17b: ch 5 (counts as dc + 2 ch), *dc in next dc from previous round, ch 2* repeat from * to * around, join to first ch 3 with sl st
Round 17c: ch 6 (counts as dc + 3 dc), *dc in next dc from previous round, ch 3* repeat from * to * around, join to first ch 3 with sl st
Round 18: ch 38 (counts as dc + 35 ch), skip 35 stitches, dc in next, dc in next 33 stitches (this is the space across the top between the armholes, add more stitches to make this space wider), ch 35, skip 35 stitches, dc in each remaining stitches around, join to top of first ch 3 with sl st
Because of the different sizes that can be made from here on out, the end of round stitch count will not be listed. Exact numbers don’t really change the final outcome for the final rounds.
Round 19: ch 3 (counts as dc), dc in each stitch and ch around, join to first dc with sl st
Round 20: ch 4 (counts as dc + 1 ch), dc in same stitch, *skip one stitch, V stitch in next* repeat from * to * around, join to first ch 3 with sl st
Round 21: sl st to ch 1 space, ch 3 (dc, ch 2, 2 dc) in same ch 1 space, *2 dc, ch 2, 2 dc* in each remaining ch 1 space around, join to top of first ch 3 with sl st
Round 22: sl st to ch 2 space, ch 3 (dc, ch 2, 2 dc) in same ch 2 space, *2 dc, ch 2, 2 dc* in each remaining ch 2 space around, join to top of first ch 3 with sl st
Round 23: sl st to ch 2 space, ch 1, sc in ch 2 space, *ch 5, sc in next ch 2 space* repeat around to last ch 2 space, ch 2, dc into first ch 5 space of the round
Round 24 – 28: *ch 5, sc into next ch 5 space* repeat around to last ch 5 space, ch 2, dc into first ch 5 space of the round
Fasten off.
Weave in the ends.
To make it larger, continue round 28 until desired length.
Looking for more patterns? Follow me on Facebook, Instagram, and Pinterest! Please share a pic of your finished product with me. I’d love to see it!


This is beautiful. I wish you can do a pattern on turning that Mandela into a square. Then make for squares and turn it into a poncho !
Thank you! That’s a great idea, it would be very pretty.
This is so pretty! <3
Thank you!
For round two, do you dc ch1 dc into each stitch, or dc ch1 dc into next stitch?
(Dc, ch 1, dc) all in each stitch. ?
Thank you so much for providing this circle vest pattern for free. Awesome!
Is this pattern for children or adults?
It’s a small adult size. There are instructions on how to make it larger written in the pattern 🙂
Round 10 didnt end with a dc on top of a bobble i ended with another chain 1 dc in ch 3 space and ch 1 then slip stitch to top of chain three. Did i mess up?
No, it should end in the last ch 3 space, then joined to the first ch 3 of the round. Hope this helps!
Do I need to change hook sizes to mske larger?
Sure, that would work.
Am I mistaken to believe Rnd 10 may be missing an add’l instruction of “ch 1” after the dc in the bobble before you are meant to begin repeating? There should be 72 dc & 72 ch 1 for a total of 142 sts at the end of yhe rnd?
You’re right! Fixing now 🙂
How do you put sleeves on this ?
Hi! I would finish the entire pattern, then join the yarn to an armhole and crochet around it
Love this pattern but I am a little confused. On row 4 I only got 6 bobbles and the pic shows 9. Then row 5 and 6 the chains are short. Any body got an. Idea where I goofed?
I am having this same issue, if it needs 9 bobbles the math doesn’t add up, as you start off with 12, then 12 chain 1 spaces and 12 spaces between the stitches. I am pretty well lost.
I love the vest. It’s beautiful! BHonestly, I really love the sweater you are wearing in your blog photo! Do you have a written pattern for that gorgeous thing? I would
love to have the link to it, if you do. Everything you create is wonderful! Thank you so much for sharing, Breann.?
Thank you!! Here’s the link to the sweater: https://www.hookedonhomemadehappiness.com/everygirl-crochet-sweater/
how about a pdf version? to get away from the adds?
I do have a PDF version. It’s linked in the blog post. 🙂
Hi, love your pattern, but what does the front of the Pegasus Mandala vest look like in the front?
Thank You,
Shelley Savoy
I really love the vest and am making one for my sister but some of the rounds confuse me as I am a beginner. I was wondering if you had a video tutorial?
No, I don’t have a video. What are you having trouble with?
I figured it out, just missed a part of the repeat. Thank you for replying (:
Actually, it doesn’t seem as big as yours looks by round 16. Could it be a tension thing?
It might be 🙂
How do you turn it into a large sweater ?
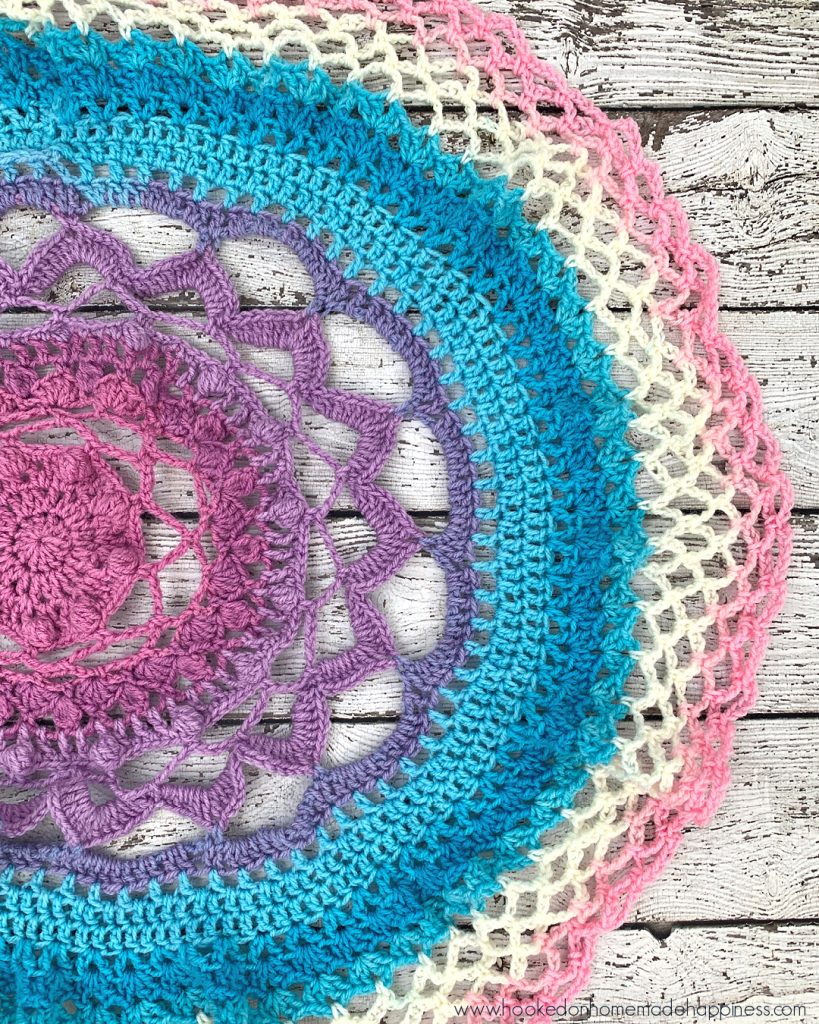
Do you happen to have a picture of the whole thing laying flat?
Not yet, but I can try to get one for you 🙂
So, I absolutely love this design, however I am having some issues with the row 4, its not coming out correctly. I might just be doing it wrong, but I’m getting a little frustrated. can anyone tell me why Im not getting what the picture is showing?
Hi! How many bobble stitches are you getting?
How loose are the stitches supposed to be? Mine seem extremely loose! Your row 1 and 2 seem like they are alot tighter then mine are cause mine have quite large holes in the sts from doing the 2dc in each sts!
Hi! They should be pretty tight 🙂 Maybe go down a hook size?
In round 6 if you follow the pattern and slip stitch to the center of the first chain 7 space then sc, ch7 – when you get the the end of the round and “sc in middle of first ch7 in row – you end up with two sc in that ch7 space. It is the only ch7 space that ends up with two sc – is this an error or design intent?
Round 6: sl st to the middle of the first ch 7, *sc in middle of ch 7 space, ch 7* repeat from * to * around, sc in middle of first ch 7 in row
Hi! There are 2 sc in that space, but you can sl st to the sc. It won’t matter either way.
If I follow the pattern for 17a, 17b, 17c how many sistches should be between the armholes in row 18? Thanks a time for answering my other question 🙂
I’m having a hard time with my vest coming out really… ruffle-y? It doesn’t lay flat on my body like yours does and it makes a huge difference in the appearance. I had to size it up a bit. Is this normal? Do you think blocking would help? I really appreciate your time!
Blocking might help. It also might be looser than mine. If you were to make it again you might want to go down a hook size
Thank you so much!
I would love a stitch count, particularly on row 2 and/or 3 to make sure I’ve set it up right. After that, it’s pretty easy to follow the pattern!
I just finished row 2 and I have 39 stitches…how do I end up with 9 bobbies.. did I do something wrong?
Hi! Did you include the ch stitches? 🙂
Are the sleeve openings supposed to cross each other?
Hi! I’m not sure what you mean. The space between them across the top is shorter than the space between them across the bottom
I did something wrong as the chains are crossing.
Just finished the vest and love it, but I ran out of yarn after just finishing round 26. Someone larger may be out of luck.
If I follow the pattern for 17a, 17b, 17c how many stitches should be between the armholes in row 18? and which round should the final round of 17a, 17b,17c be?
thank you
My bobble stitches are coming out backwards? Should I be working them on the wrong side? I feel stupid
Pop them out towards the front 🙂
Yes, I realized after I commented and did some research 😅 Thank you!