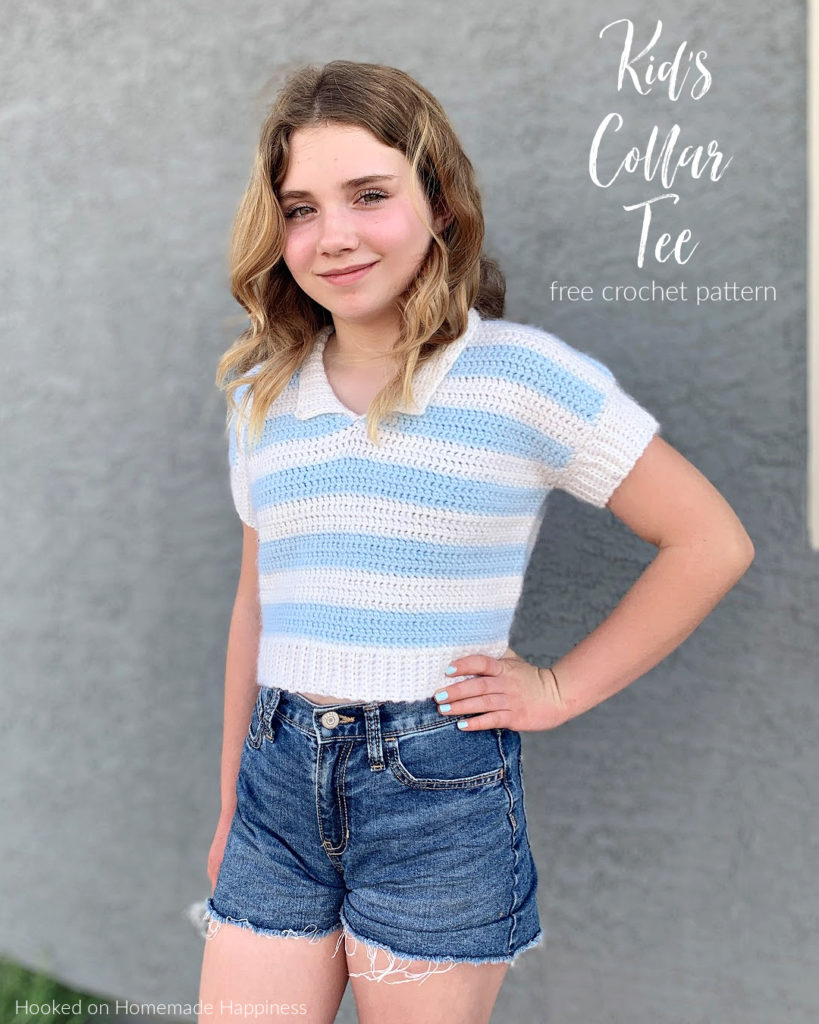
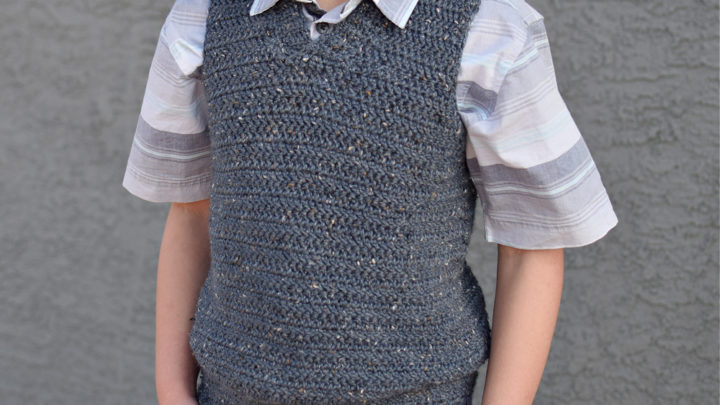
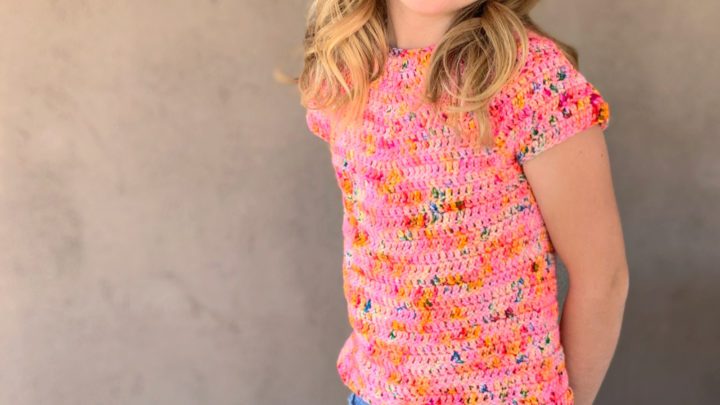
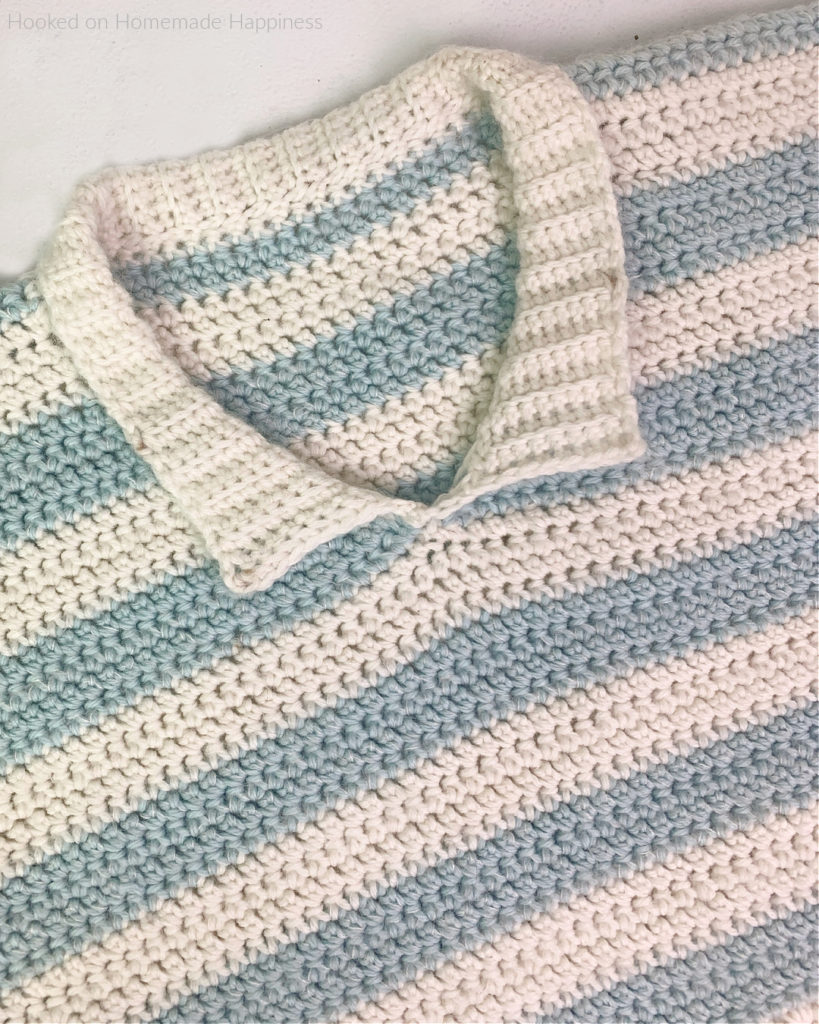
Kid’s Collar Tee Crochet Pattern
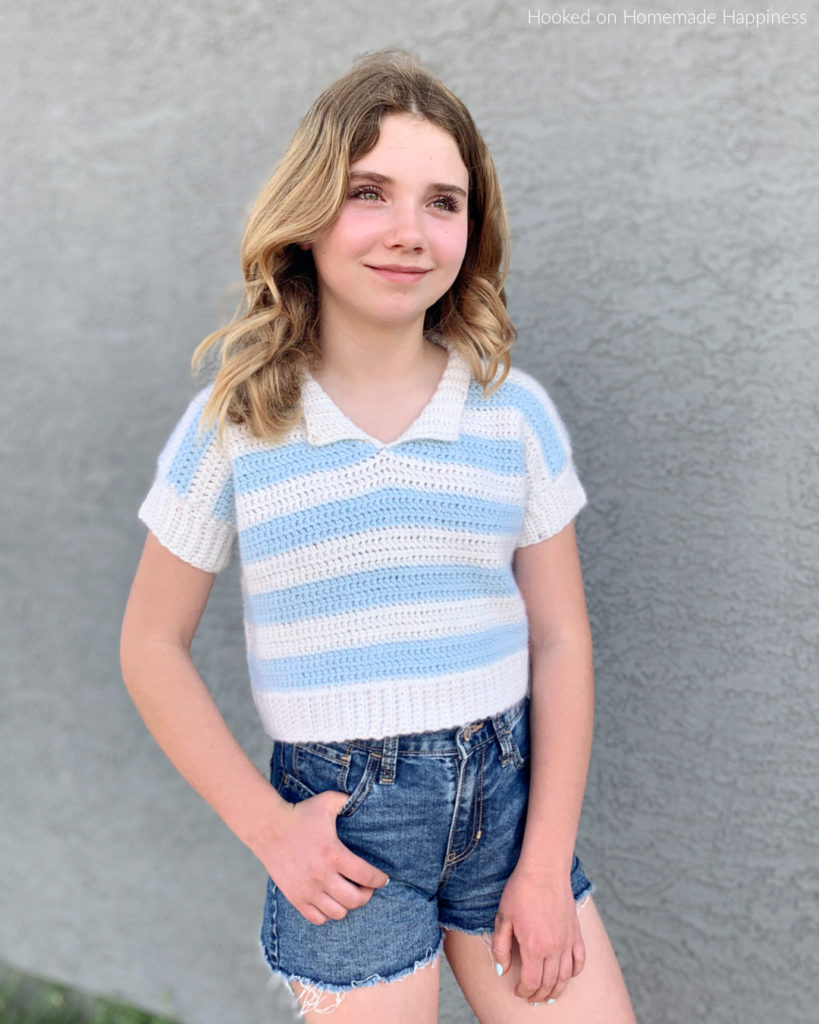
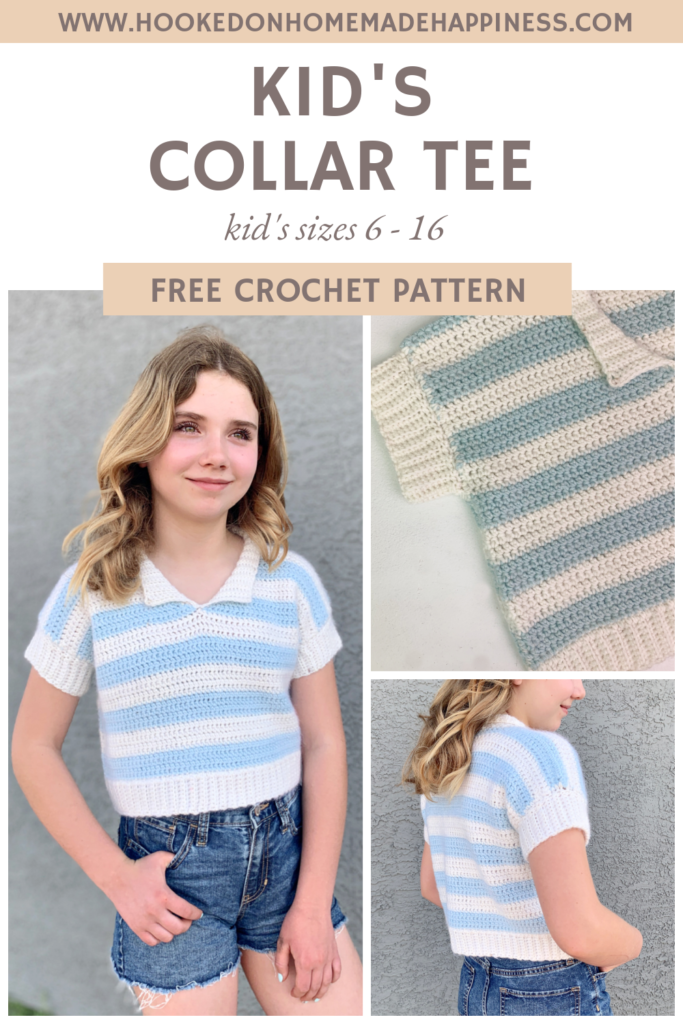
Looking for a fun and stylish crochet project for the little fashionista in your life? Say hello to the Kid’s Collar Tee Crochet Pattern! This charming design features playful stripes and a cute collar detail that adds just the right touch of sweetness. Whether you’re dressing her up for a sunny day out or layering for a cozy look, this tee is as versatile as it is adorable. The Kid’s Collar Tee Crochet Pattern is a fun & stylish tee that’s perfect for spring! It’s made with 2 panels sewn together and then the collar & sleeve details are added. This tee is written in kid’s sizes 6 – 16, but is very easily customizable! It’s cropped to wear with high-waisted jeans, but just add some rows (before starting the neckline) to make it longer. Such a fun project!
Choosing Your Yarn
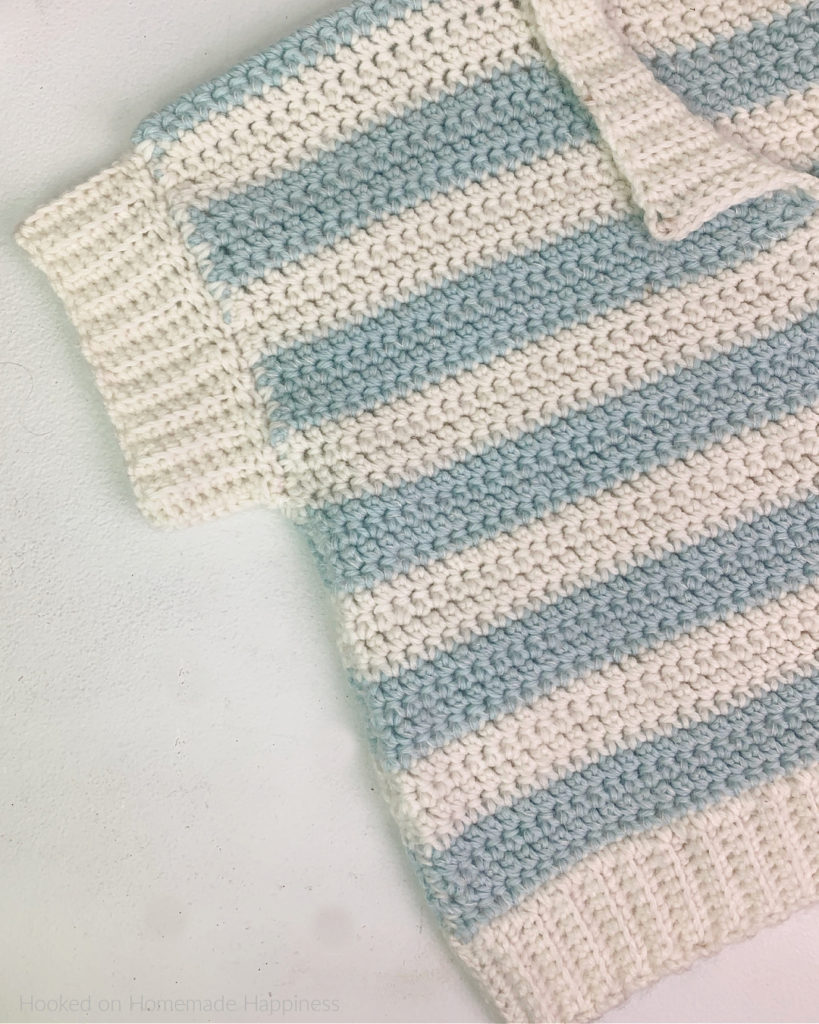
I used two different yarns held together. The first is Capra Dk from WeCrochet held with Aloft Kid Mohair. The mohair gives a little bit of a halo effect but doesn’t add to to overall weight of the sweater. It’s a laceweight yarn and can easily be omitted. It won’t change the outcome of the top. Capra DK is a merino wool/cashmere blend and is just oh-so-soft and luxurious to work with. But any DK weight yarn (wool, acrylic, cotton) would work great for this pattern.
Starting With the Ribbing
Single crochet back loop only (BLO) ribbing is a popular technique for creating stretchy, textured edges—perfect for cuffs, waistbands, and collars. By working each single crochet stitch into just the back loop of the previous row, you create a subtle ridge that mimics knit ribbing. The result is a flexible, clean-looking band that adds both structure and style to your crochet projects.
Extended Single Crochet
The extended single crochet stitch (esc) is a simple variation of the classic single crochet that adds a bit of height and flexibility to your fabric. It’s worked by inserting your hook into the stitch, pulling up a loop, then yarn over and pull through one loop (creating a little chain), and then yarn over and pull through the remaining two loops. The result is a slightly taller stitch with a smoother, stretchier texture—perfect for garments, lightweight accessories, and patterns that need a bit more drape.
More Homemade Happiness
click here to pin for later >>>
Kid’s Collar Tee Crochet Pattern
Get the full pattern below or purchase the ad-free, printable PDF in my Etsy Shop or Ravelry Shop
PIN for later HERE
Add to your Ravelry Queue HERE
Materials
Capra Dk from WeCrochet in Sagebrush & White ((2 skeins (246 yds) each color for 6/8) (3 skeins (369 yds) each color for 10/12/14) (4 skeins (492 yds) each color for 16)) – or any DK weight yarn
Aloft Kid Mohair in White ((1 skein (260 yds) for 6/8) (2 skeins (520 yds) for 10/12/14/16) – or any lace weight mohair yarn
4.5 mm hook
yarn needle
scissors
Level
intermediate
Pattern notes & stitches to know
ch – chain
sl st – slip stitch
sc – single crochet
sc blo – single crochet back loop only
esc – extended single crochet (insert hook into stitch, yarn over, pull up a loop, yarn over, pull through one loop, yarn over, pull through 2 loops)
esc2tog – extended single crochet 2 together
· written in US terms
· ch 1 does not count as sc or esc
· Hold both the Dk weight yarn and mohair together throughout. Change the Dk weight color every 4 rows for the stripes. Carry the same mohair color throughout.
· The mohair is optional. Omitting it will not change the pattern.
· The White is referred to as Color A and Sagebrush as Color B
· This tee is made with two panels sewn together. Each panel starts along the bottom with the ribbing.
· Gauge (blocked): 14 esc x 13 rows = 4” x 4”
Sizes:
(6, 8, 10) (12, 14, 16) – The pattern is written in these sizes consecutively. Example, when the pattern gives the end of row count ((47, 53, 59)(65, 71, 77) sc) the 47 is for 6, 53 is 8, 59 is 10, 65 is 12, 71 is 14, 77 is 16.
This sweater is a loose fit with more positive ease.
Approx Finished Size (blocked):
Chest: 6 (30.5”) 8 (32”) 10 (33.5”) 12 (35”) 14 (36.5”) 16 (38”)
Length: 6 (10.5) 8 (12.5”) 10 (13.5”) 12 (14.5”) 14 (15.5”) 16 (16.5”)
Armhole Width: 6 (4.5) 8 (5”) 10 (5.5”) 12 (6”) 14 (6.5”) 16 (7”)
Size 12 pictured.
KID’S COLLAR TEE CROCHET PATTERN
FRONT
ch 10
Row 1: sc in 2nd ch from the hook and across (9 sc)
Row 2: ch 1, turn, sc in first stitch, sc blo in 7 stitches, sc in last (9 sc)
Row 3 – (47, 53, 59)(65, 71, 77): repeat row 2 (9 sc)
The ribbing is the width of the top, easily adjust the width by adding or taking out rows.
Now you will turn and work across the long edge of the ribbed band
Row 1: ch 1, sc evenly across working 1 sc in the end of each row ((47, 53, 59)(65, 71, 77) sc)
Change to Color B to begin stripe pattern
Row 2 – Row (23, 24, 25) (26, 27, 28): ch 1, turn, esc in each stitch across ((47, 53, 59)(65, 71, 77) esc)
The neckline begins in the next row. To make the top longer, add rows before starting the neckline.
Each side of the neckline is worked separately. Make the right side, then reattach the yarn to make the left. In the next row, only work partway across.
Row (24, 35, 26) (27, 28, 29): ch 1, turn, esc in (22, 25, 28) (31, 34, 37) stitches, esc2tog ((23, 26, 29) (32, 35, 38) esc)
Row (25, 26, 27) (28, 29, 30): ch 1, turn, esc2tog, esc across ((22, 25, 28) (31, 34, 37) esc)
Row (26, 27, 28) (29, 30, 31): ch 1, turn, esc in each stitch across to last 2 stitches, esc2tog ((21, 24, 27) (30, 33, 36) esc)
Row (27, 28, 29) (30, 31, 32) – Row (36, 37, 38) (39, 40, 41): repeat previous 2 rows (each row will decrease by 1 stitch)
Row (37, 38, 39) (40, 41, 42) – Row (39, 41, 43) (45, 47, 49): ch 1, turn, esc in each stitch across ((11, 14, 17) (20, 23, 26) esc)
Fasten off.
Join yarn to row 27 in the same stitch as the esc2tog
Row (24, 35, 26) (27, 28, 29): esc2tog, esc in each stitch across ((23, 26, 29) (32, 35, 38) esc)
Row (25, 26, 27) (28, 29, 30): ch 1, turn, esc in each stitch across to last 2 stitches, esc2tog ((22, 25, 28) (31, 34, 37) esc)
Row (26, 27, 28) (29, 30, 31): ch 1, esc2tog, esc in each stitch across ((21, 24, 27) (30, 33, 36) esc)
Row (27, 28, 29) (30, 31, 32) – Row (36, 37, 38) (39, 40, 41): repeat rows 28 & 29 (each row will decrease by 1 stitch)
Row (37, 38, 39) (40, 41, 42) – Row (39, 41, 43) (45, 47, 49): ch 1, turn, esc in each stitch across ((11, 14, 17) (20, 23, 26) esc)
Fasten off.
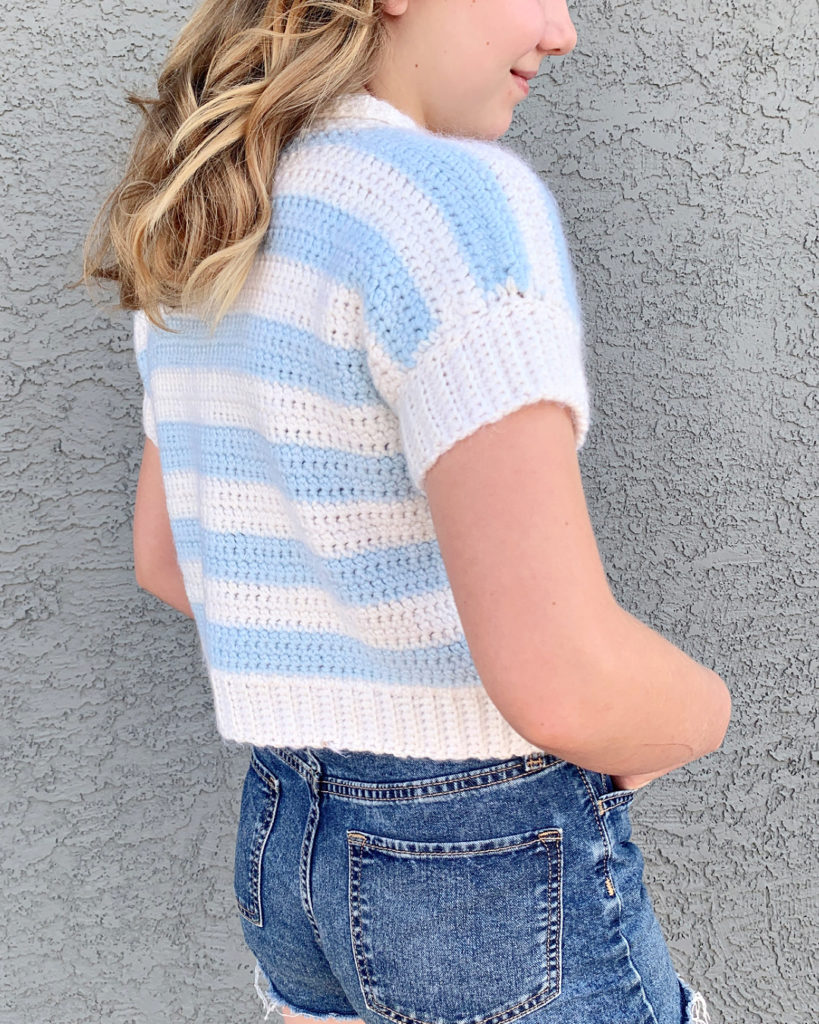
BACK
ch 10
Row 1: sc in 2nd ch from the hook and across (9 sc)
Row 2: ch 1, turn, sc in first stitch, sc blo in 7 stitches, sc in last (9 sc)
Row 3 – (47, 53, 59)(65, 71, 77): repeat row 2 (9 sc)
Row 1: ch 1, sc evenly across working 1 sc in the end of each row ((47, 53, 59)(65, 71, 77) sc)
Change to Color B to begin stripe pattern
Row 2 – (39, 41, 43) (45, 47, 49): ch 1, turn, esc in each stitch across ((47, 53, 59)(65, 71, 77) esc)
Fasten off.
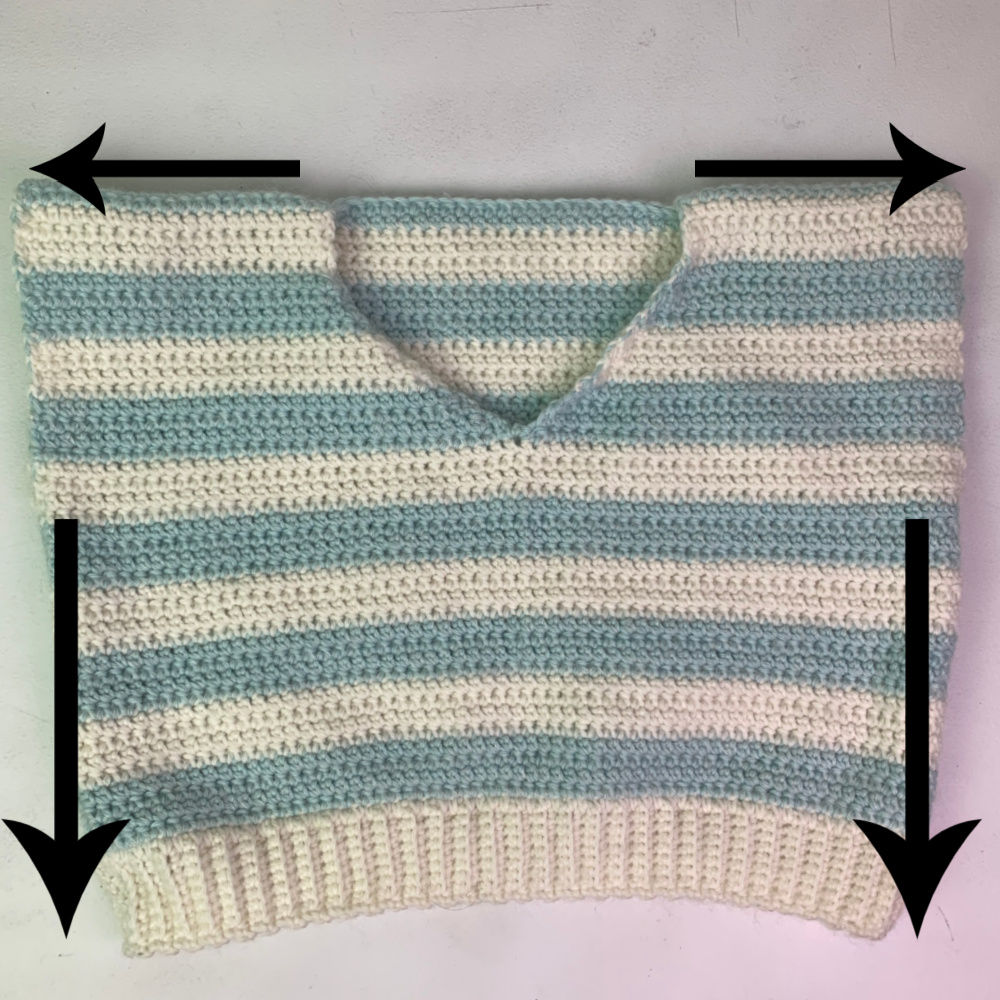
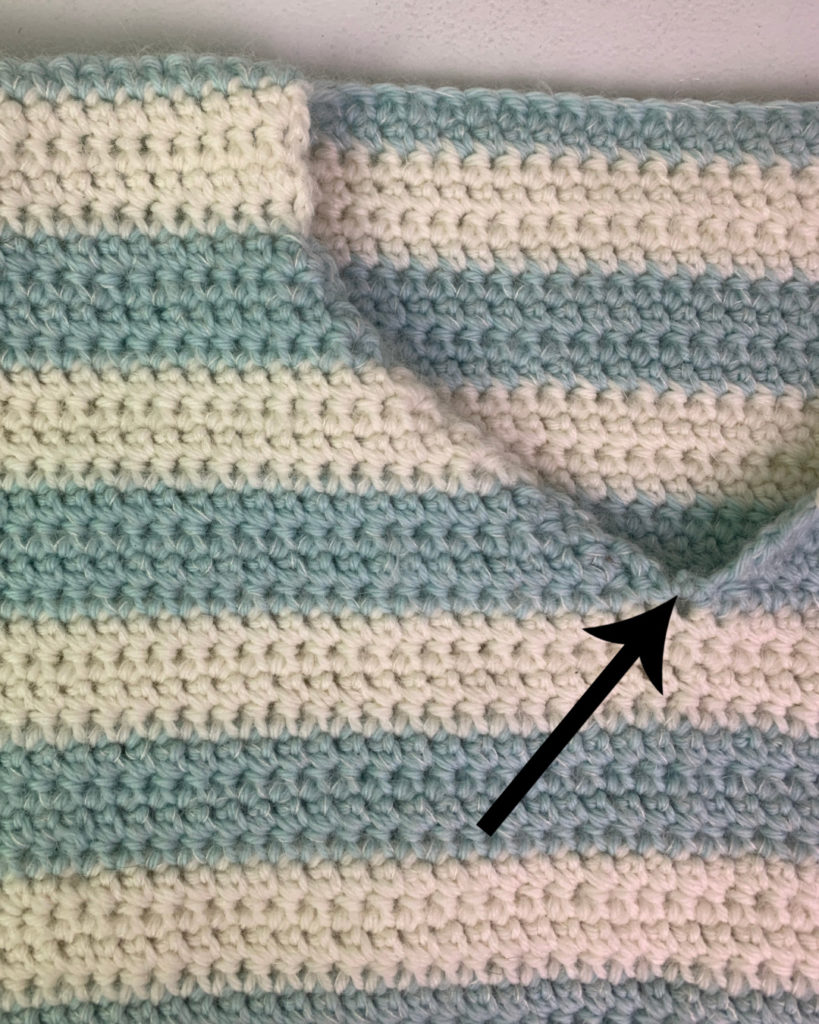
SEWING
Lay the front panel over the back. Sew the shoulders with whip stitch. Sew the sides closed leaving a (4.5, 5, 5.5) (6, 6.5, 7)” space at the top for an armhole – or preferred sleeve width.
Weave in the ends. Turn right side out.
COLLAR
Color A
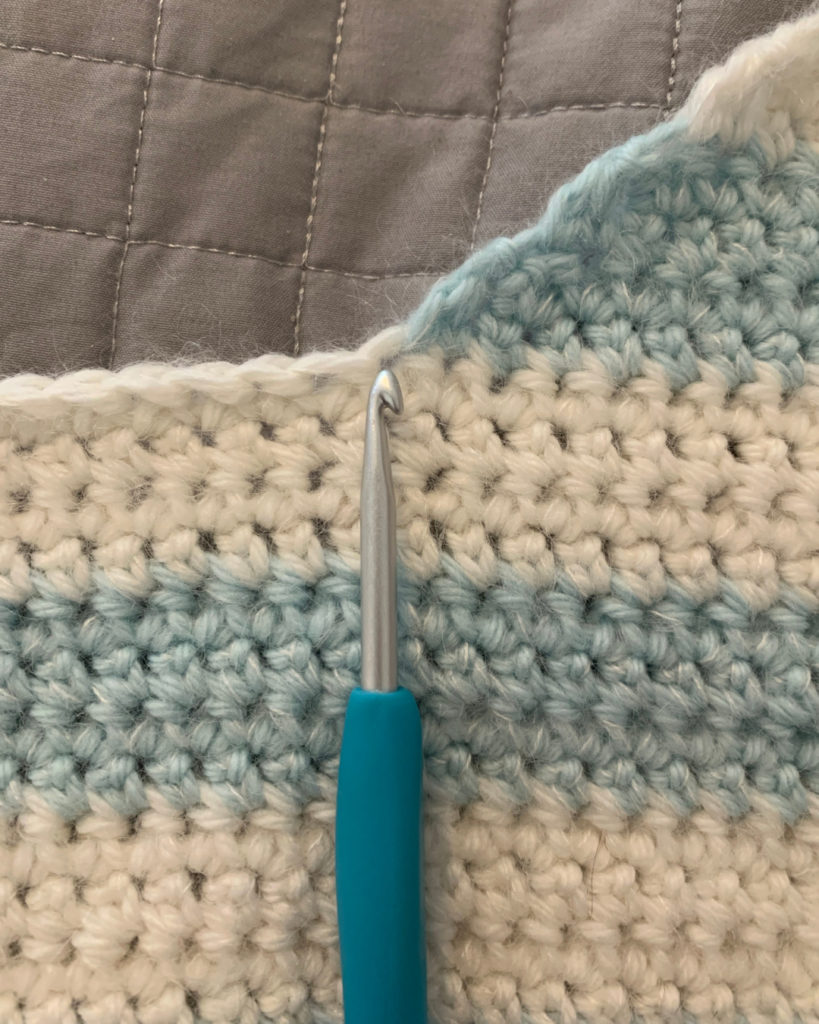
Join yarn to the “V” of the neckline
Ch 1, sc evenly around, working 1 sc in the end of each row and stitch. Do not fasten off.
APPLIED RIBBING
HOW TO CROCHET APPLIED RIBBING >>VIDEO TUTORIAL<<
ch 10
Row 1: sc in 2nd ch from the hook and in each ch across, join to the sc of collar with sl st (9 sc)
Row 2: sl st to next sc of the collar, turn, sc in first stitch, sc blo in next 7, sc in last stitch (9 sc)
Row 3: ch 1, turn, sc in the first stitch, sc blo in next 7, sc in the last stitch, sl st to next sc of collar (9 sc)
Repeat rows 2 & 3 until you work all the way around the collar back to Row 1.
Fasten off. Weave in the ends.
SLEEVES
Join Color A yarn to the bottom of an armhole

ch 1, sc evenly around, working 1 sc in the end of each row, join to first sc with sl st
Do not fasten off.
APPLIED RIBBING
ch 10
Row 1: sc in 2nd ch from the hook and in each ch across, join to the sc of sleeve with sl st (9 sc)
Row 2: sl st to next sc of the sleeve, turn, sc in first stitch, sc blo in next 7, sc in last stitch (9 sc)
Row 3: ch 1, turn, sc in the first stitch, sc blo in next 7, sc in the last stitch, sl st to next sc of sleeve (9 sc)
Repeat rows 2 & 3 until you work all the way around.
Fasten off.
Weave in the ends.
Repeat for other sleeve.
And you’re done with this cute tee! I hope you love it!
Looking for more patterns? Follow me on Facebook, Instagram, and Pinterest! Please share a pic of your finished product with me. I’d love to see it!


Pattern instructions are confusing.
evenly across working 1 sc in the end of each row ((47, 53, 59)(65, 71, 77) sc)
Change to Color B to begin stripe pattern
Row 2 -(23, 24, 25) (26, 27, 28): ch 1, turn, esc in each stitch across ((47, 53, 59)(65, 71, 77) esc)
So if row 2 has 23 stitches for size 6, how can you esc in each stitch across 47? For size 6 if you have 23 stitches?
And each next step you show everything in parenthesis for all sizes but steps arent clear?
Not sure if im explaining my self clearly
Hi, the 23 is the row number. The parenthesis at the beginning in bold are the row numbers and then at the end is the stitch count
I’m working on the size 14 for the pattern, on the neckline decrease part I end up with 23 stitches at the end of row 40, not 24. The only way I end up with 24 stitches is if I end the neckline decreases at row 39 instead of row 40, is the correct number 23 or 24?
Hello! I think you are right 🙂 It should be 23.
Im reading the pattern before starting but this part is confusing me.
Row (27, 28, 29) (30, 31, 32) – Row (36, 37, 38) (39, 40, 41): repeat rows 28 & 29 (each row will decrease by 1 stitch)
So for size 6, this is row 27-36?
But which is the row 28 &29 that I’m repeating?
Hi! Yes, this is rows 27-36.
Sorry, it should say repeat previous 2 rows.