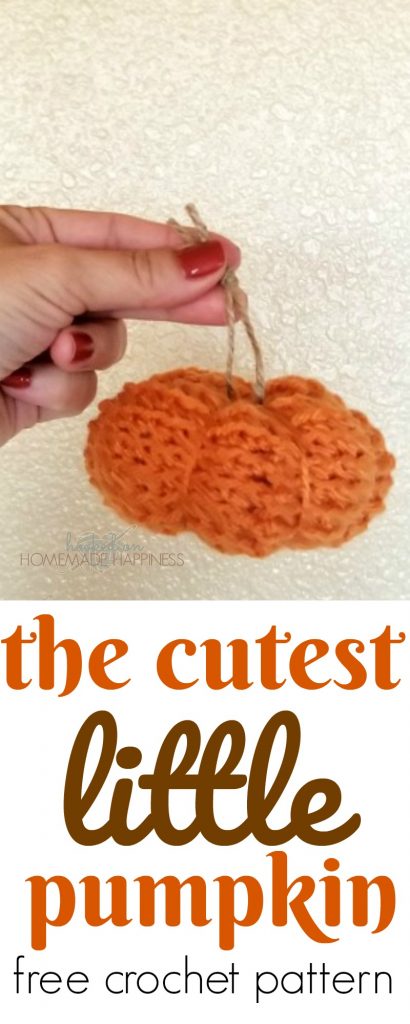
The Cutest Little Pumpkin Crochet Pattern
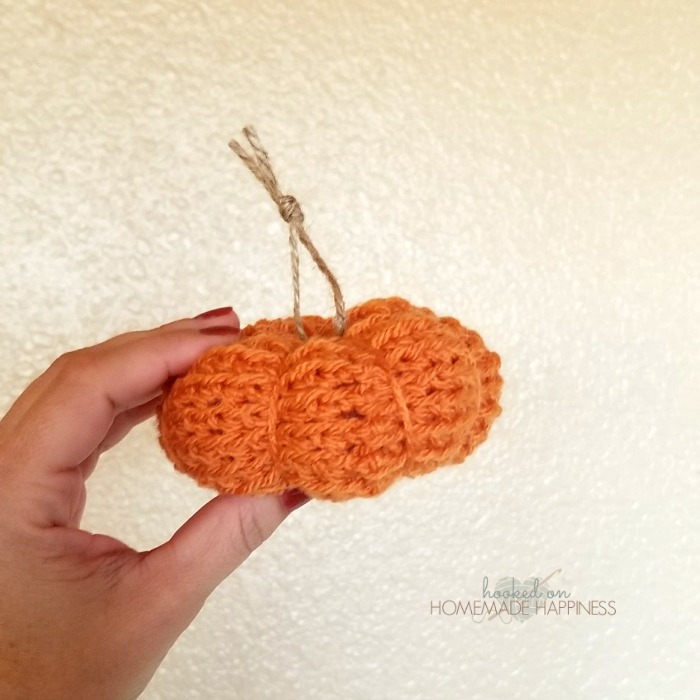
Pumpkin season is here! So of course I had to make a Pumpkin Crochet Pattern! I’m currently working on a fall garland and made a few of these little cuties today.
And I couldn’t wait until I was finished with the garland to share this pattern with you! I hit the pause button on the garland and wrote this pattern up real quick.
PATTERN
Materials
Worsted weight (4) yarn – I used I Love This Yarn in Desert Glaze
5.0 mm hook
Yarn needle
Scissors
Jute (optional – a small amount)
Fiberfill (a small handful)
Level
Beginner to intermediate
Pattern Notes & Stitches to Know
ch – chain
sl st – slip stitch
sc – single crochet
sc blo – single crochet back loop only
sc2tog – single crochet 2 together: insert hook into stitch, pull up a loop, insert hook into next stitch, pull up a loop, yarn over, pull through all loops on hook
magic ring
Ch 1 at the beginning of each round does not count as sc
PUMPKIN
Make a magic ring
Round 1: ch 1, sc 8 into ring, join to top of first sc with sl st (8 sc)
Round 2: ch 1, 2 sc blo in each stitch around, join to top of first sc with sl st (16 sc)
Round 3: ch 1, *sc blo, 2 sc blo* repeat from * to * around, join to top of first sc with sl st (24 sc)
Round 4: ch 1, *sc blo, sc blo, 2 sc blo* repeat from * to * around, join to top of first sc with sl st (32 sc)
(I stopped to weave in the first end at this point)
Round 5 – 10: ch 1, sc blo in each stitch around, join to top of first sc with sl st (32 sc)
Round 11: ch 1, *sc blo, sc blo, sc2tog blo* repeat from * to * around, join to top of first sc with sl st (24 sc)
Add fiberfill
Round 12: ch 1, *sc blo, sc2tog blo* repeat from * to * around, join to top of first sc with sl st (16 sc)
Round 13: ch 1, sc2tog blo around, join to top of first sc with sl st (8 sc)
Leave a really long tail for sewing
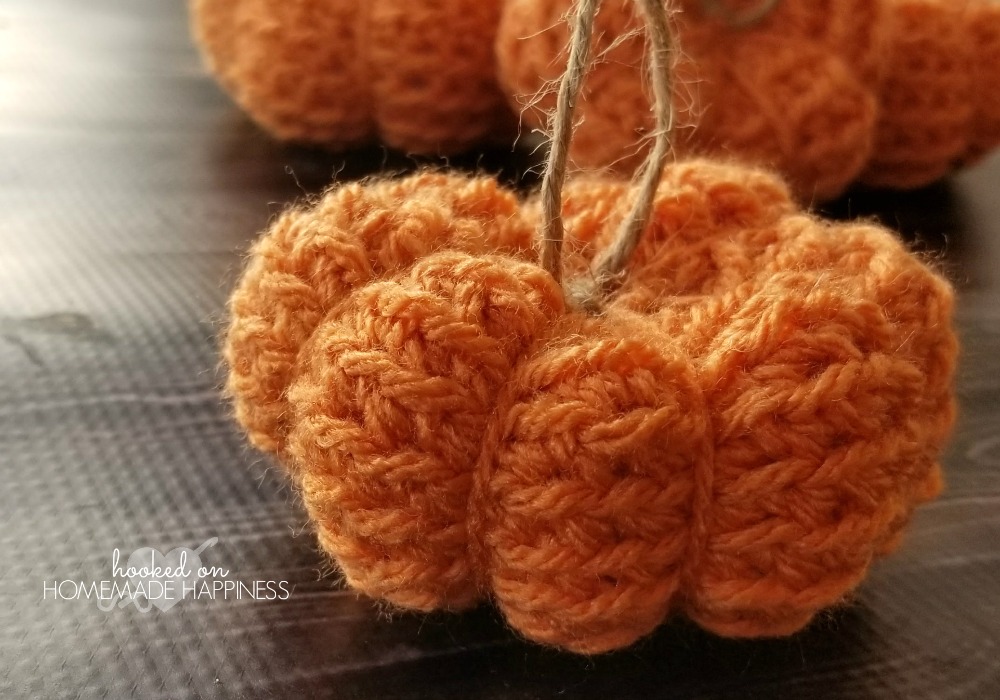
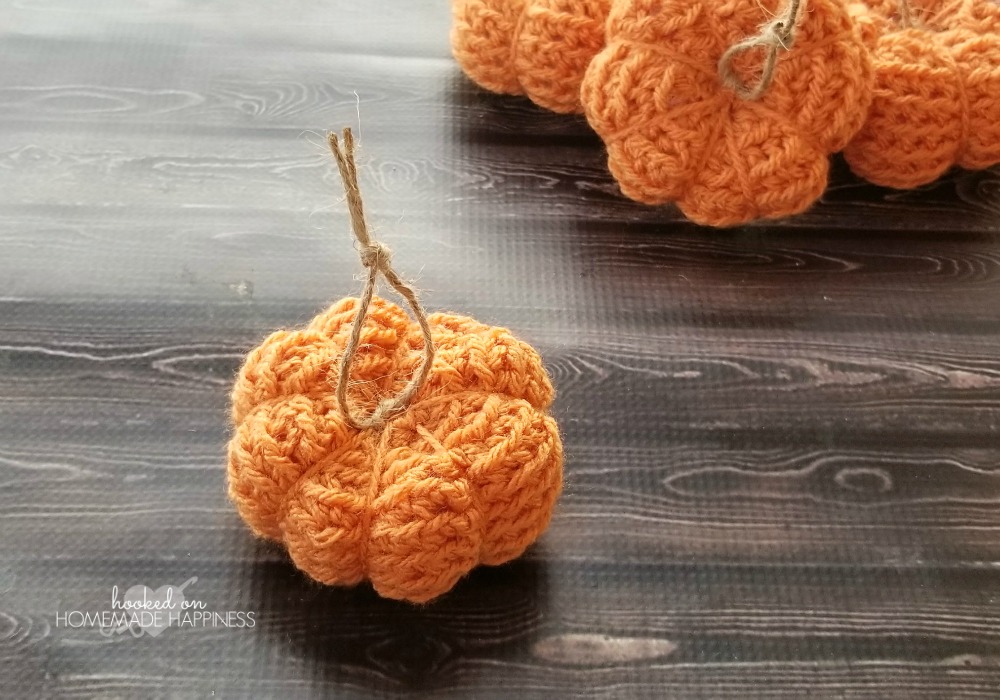
Using your yarn needle sew the top closed. Take the yarn around the outside of the pumpkin and insert the needle in the center of the bottom, pull yarn back through the top (this should create the indentation on the outside)
Continue this until you have 8 even indentations.
Fasten off, weave in the ends.
Add a small piece of jute to the top as a stem or anything else you’d like to use as a stem.
Looking for more patterns? Follow me on Facebook, Instagram, and Pinterest! Please share a pic of your finished product with me. I’d love to see it!

NEVER MISS A PATTERN!
Sign up for my newsletter and receive a FREE ebook with 3 of my favorite patterns PLUS patterns straight to your inbox. You’ll also get a heads up about upcoming giveaways, events, and crochet alongs.


Very nice!!! Thank you for sharing!!!