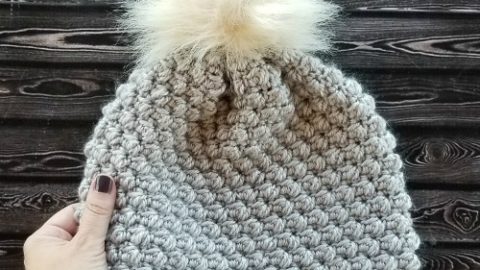
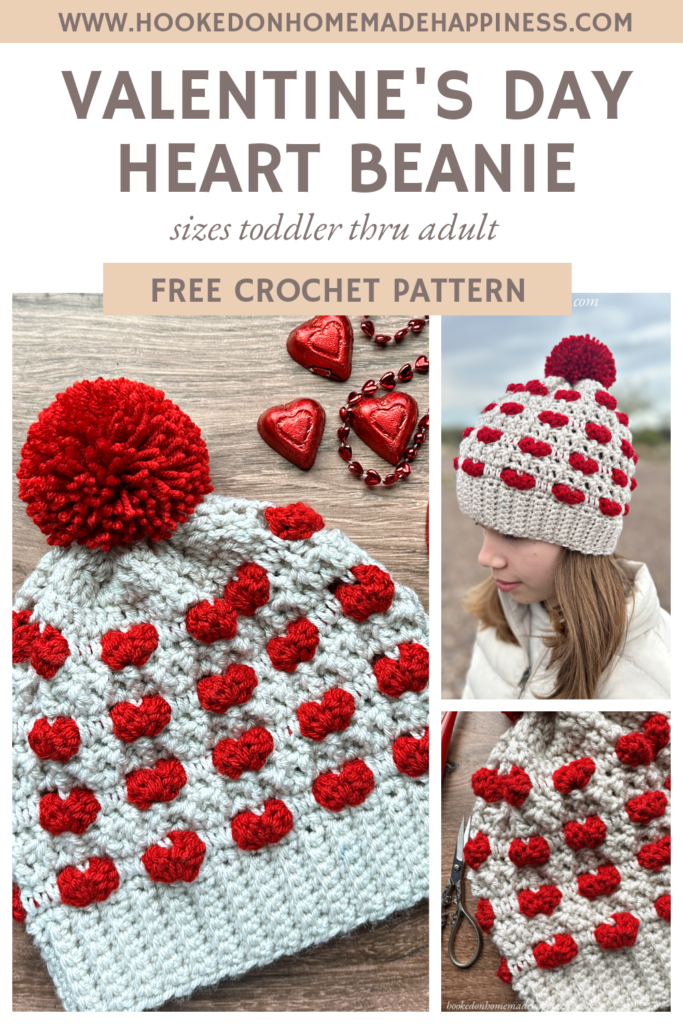
Valentine’s Day Heart Beanie Crochet Pattern
Are you looking for a unique and heartfelt gift to give to your loved ones? This pattern has everything you need to create a one-of-a-kind Valentine’s Day Heart Beanie Crochet Pattern. Get ready to unleash your creativity and cozy up your loved ones with this adorable crochet pattern. With detailed instructions and helpful tips, this article will guide you through the process of making a handmade treasure that will warm hearts and heads alike. So grab your hooks and yarn, and let’s get ready to spread love and warmth this Valentine’s Day!
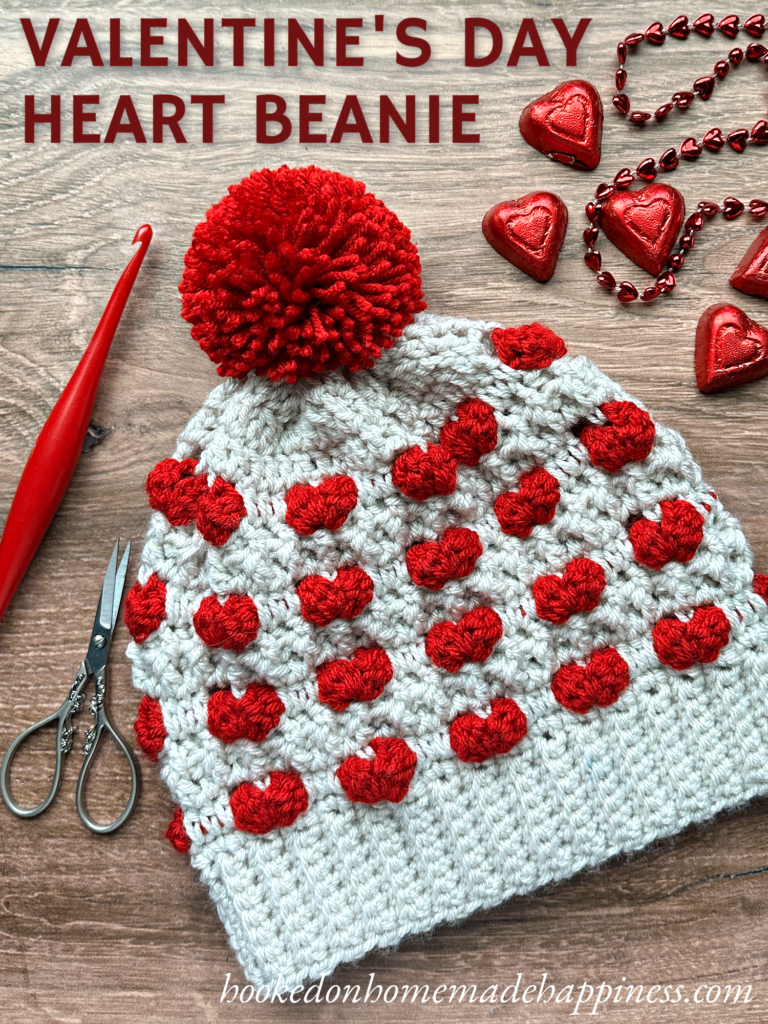
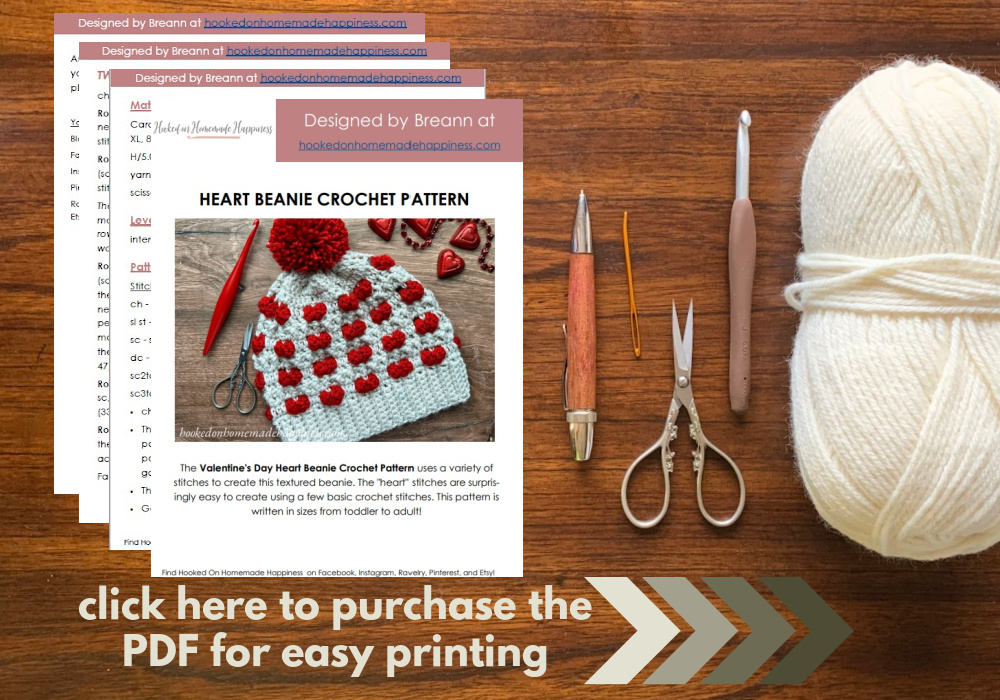
The Valentine’s Day Heart Beanie Crochet Pattern uses a variety of stitches to create this textured beanie. The “heart” stitches are surprisingly easy to create using a few basic crochet stitches. This pattern is written in sizes from toddler to adult! I used I Love this Yarn from Hobby Lobby, but any worsted weight yarn would work great for this beanie. Some great and affordable options are Brave Worsted from WeCrochet or Basic Stitch from Lion Brand.

click here to pin for later >>>
Valentine’s Day Heart Beanie Crochet Pattern
Get the full pattern below or purchase the ad-free, printable PDF in my Ravelry Shop
PIN for later HERE
Add to Ravelry Queue HERE
Materials
worsted weight yarn in 2 colors (I used Hobby Lobby I Love this Yarn in Linen and Red – less than 100g each color)
I/5.5 mm hook
Yarn needle
Scissors
Pom Pom (optional)
Level
intermediate
Pattern notes & stitches to know
ch – chain
sl st – slip stitch
sc – single crochet
hdc – half double crochet
dc – double crochet
CL – *yarn over insert hook into stitch, pull up a loop, yarn over, pull through 2 loops on hook* repeat from * to * 2 more times, yarn over, pull through all lops on hook
fpdc – front post double crochet
bpdc – back post double crochet
dc2tog – double crochet 2 together
· written in US terms
· ch 1 does not count as sc
· ch 2 does not count as dc
· This beanie is worked from the bottom up, starting with the ribbing around the bottom. The main portion is made in joined rounds and joined turned rounds.
· This project requires 2 color. Do not fasten off each color carry the colors throughout.
HOW TO CHANGE COLOR IN THE ROUND VIDEO TUTORIAL
Approximate Finished Size –
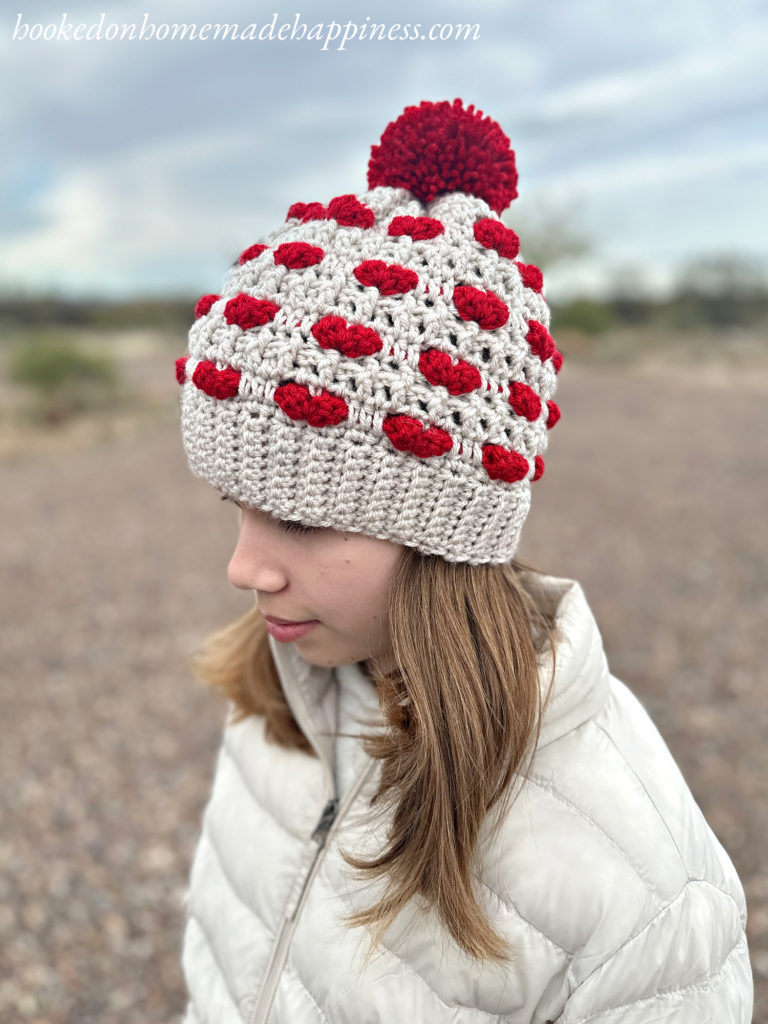
Pattern written in sizes Toddler, Child, Teen, and Adult consecutively. Example: when the end of row count is ((55, 61, 67, 73) sc), 55 is for Toddler, 61 is Child, 67 is Teen, 73 is Adult.
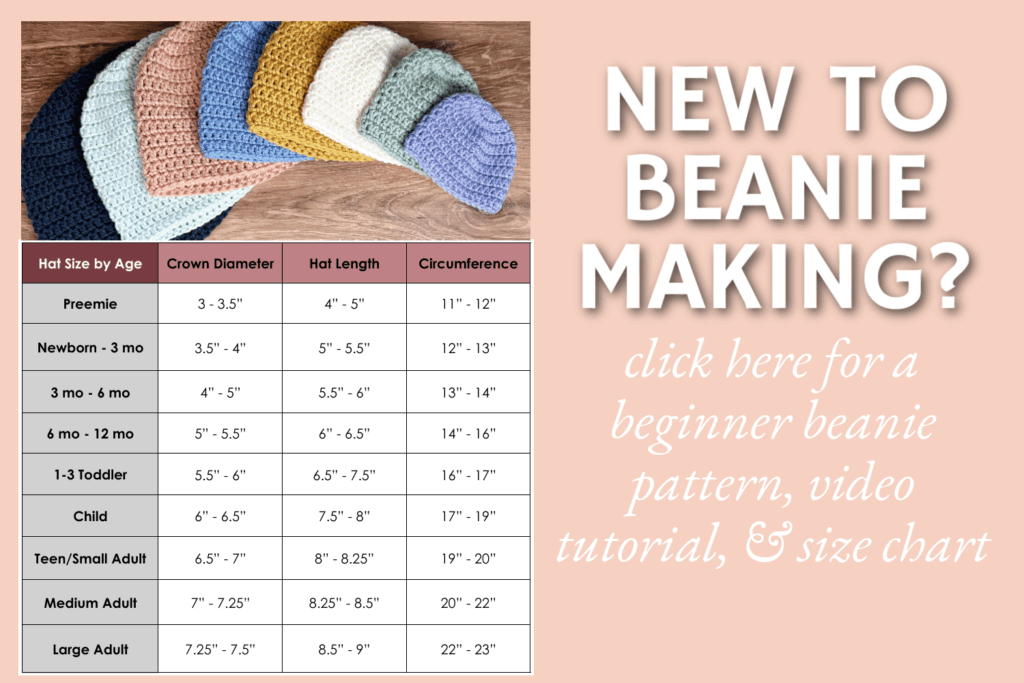
Circumference: Toddler (15”) Child (17”) Teen (19”) Adult (21”)
Length: Toddler (6.5”) Child (7.75”) Teen (9”) Adult (10.25”)
Size Teen pictured on 12 year old
VALENTINE’S DAY HEART BEANIE CROCHET PATTERN
Starting with main beanie color, ch 9
Row 1: sc in the 2nd ch from the hook and in each ch across (8 sc)
Row 2: ch 1, turn, sc, sc blo in next 6 stitches, sc in last (8 sc)
Row 3 – 55, 61, 67, 73: repeat row 2
Bring both short ends of the ribbing together, slip stitch the ends together. Now you will work around the top of the ribbing in joined rounds.
Round 1: ch 1, sc evenly around, working 1 sc in the end of each row of ribbing, join to the first sc with sl st ((55, 61, 67, 73) sc)
Change to Heart Color (do not fasten off first color)
Round 2: ch 2, turn, CL in first stitch, ch 2, skip 5 stitches, *(CL, ch 2, CL) in next stitch, ch 2, skip 5 stitches* repeat from * to * around to last stitch, CL in last stitch, ch 2, join to first CL with sl st ((18, 20, 22, 24) CL)
Change to Main Color (do not fasten off heart color)
Round 3: ch 1, turn, sc in first ch-2 space, ch 2, hdc in 2nd skipped stitch 2 rows below (working over the ch 2) and in next 2, *ch 2, sc ch-2 space, ch 2, hdc in 2nd skipped stitch 2 rows below (working over the ch 2) and in next 2* repeat from * to * around to last CL, ch 2, join ti first sc with sl st ((27, 30, 33, 36) hdc (9, 10, 11, 12) sc))
Round 4: ch 2, dc in sc, dc in ch-2 space, dc in next 3 stitches, *dc in ch-2 space, dc in sc, dc in ch-2 space, dc in next 3 stitches* repeat from * to * around to last ch-2 space, 2 dc in last ch-2 space, join to first dc with sl st ((55, 61, 67, 73) dc)
Round 5: ch 2, fpdc in first stitch, *bpdc in next stitch, fpdc in next* repeat from * to * around, join to first dc with sl st ((55, 61, 67, 73) dc)
Round 6 – 8, 12, 16, 20: repeat rounds 2 – 5, ending with a round 4 repeat
Round 16: ch 2, *dc in 4 stitches, dc2tog* repeat from * to * around to last stitch, dc in last stitch ((46, 51, 56, 61) dc)
Round 17: ch 2, *dc in 3 stitches, dc2tog* repeat from * to * around, to last stitch, dc in last stitch (37, 41, 45, 49 dc)
Fasten off. Leave a long end for sewing.
Weave the long end in and out around the top loops of the last round. Pull tight to cinch closed. Sew top closed.
Weave in the ends.
Add a pom pom.
Looking for more patterns? Follow me on Facebook, Instagram, and Pinterest! Please share a pic of your finished product with me. I’d love to see it!


Love this cute beanie and I will be trying this soon!!!
Trying to find a place to change my email
Hi! Add your new email address here https://www.subscribepage.com/hookedonhomemadenewsletter