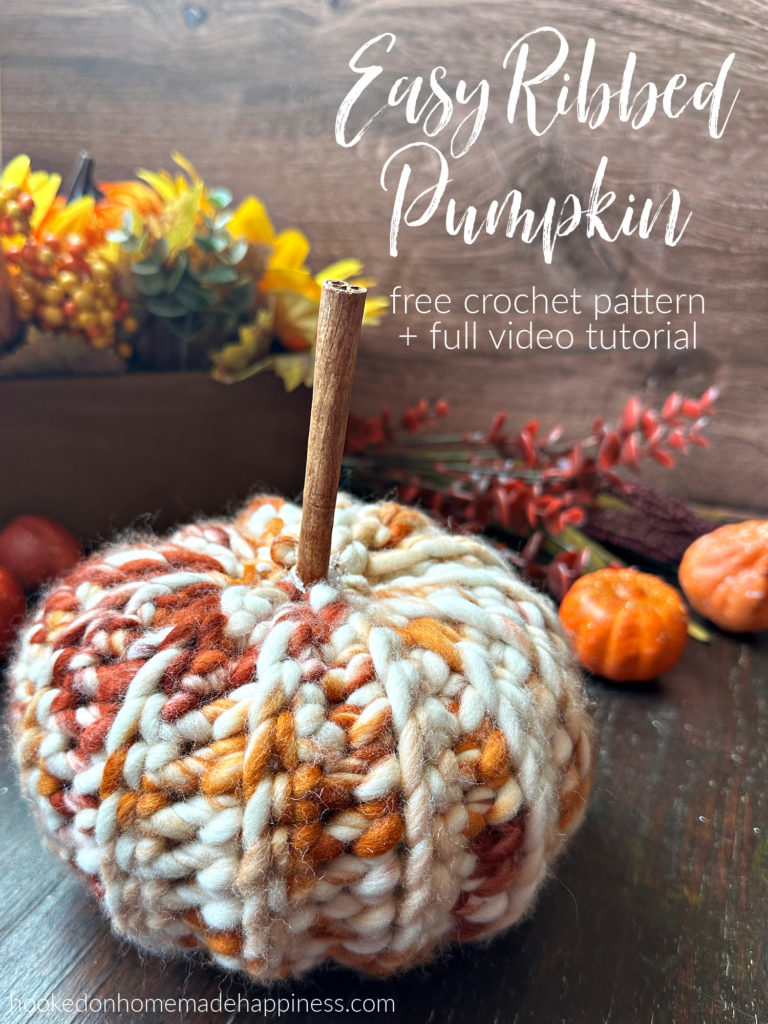
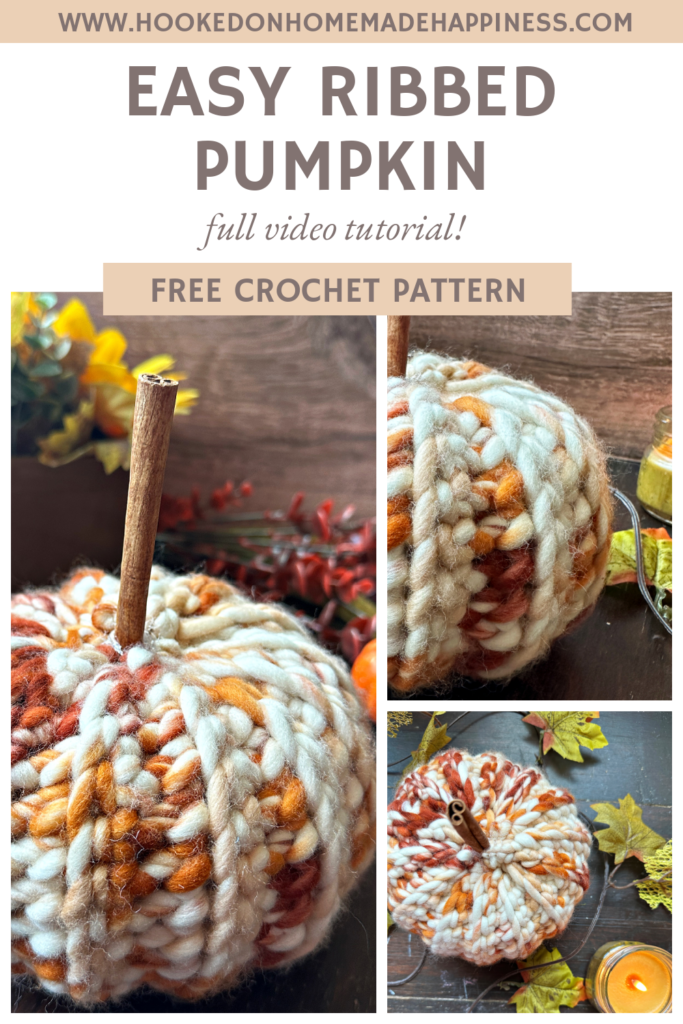
Easy Ribbed Pumpkin Crochet Pattern
Nothing says fall quite like a cozy, handmade pumpkin—and this Easy Ribbed Pumpkin Crochet Pattern is the perfect quick and customizable project to get you in the autumn spirit! Whether you’re decking out your home for Halloween, Thanksgiving, or simply love the look of handmade décor, this little pumpkin is a must-make.
Made from a Simple Rectangle
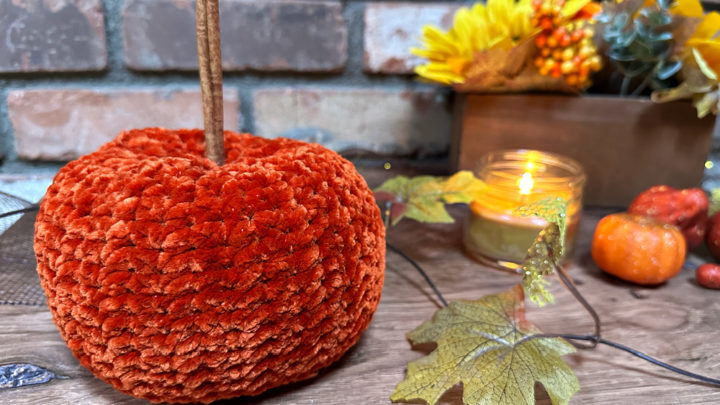
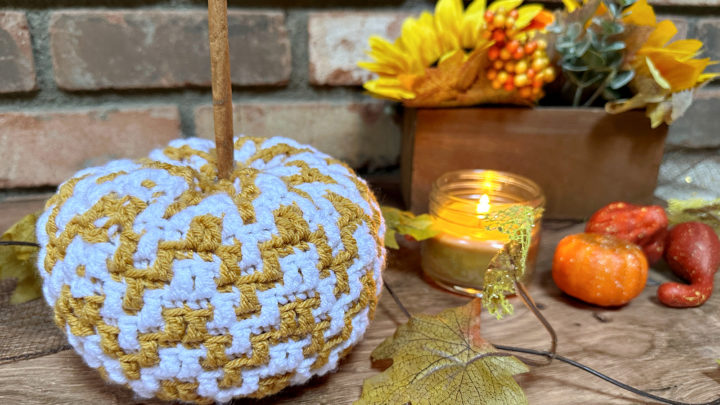
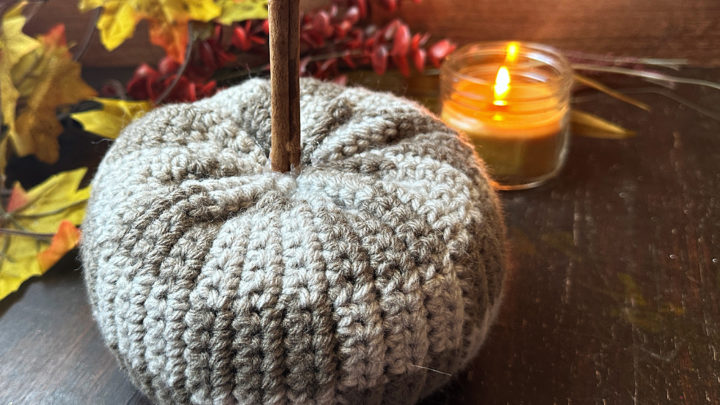
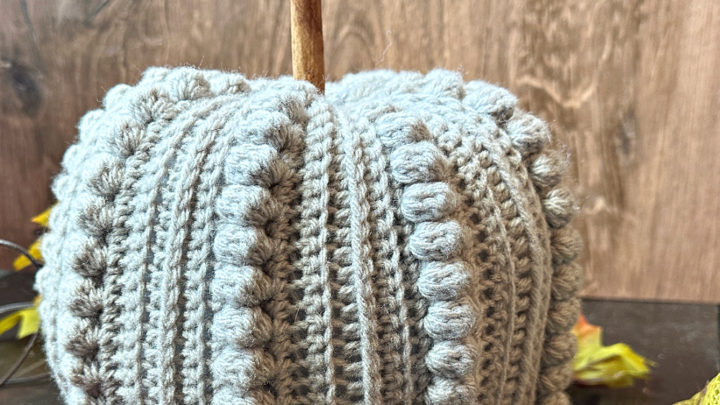
If you’re a beginner or just looking for a relaxing, no-fuss project, you’ll love how simple this pumpkin is. It starts with a basic rectangle crocheted entirely in single crochet through the back loop only (BLO). This creates that beautiful ribbed texture that mimics the look of real pumpkin ridges—no complex stitches required!
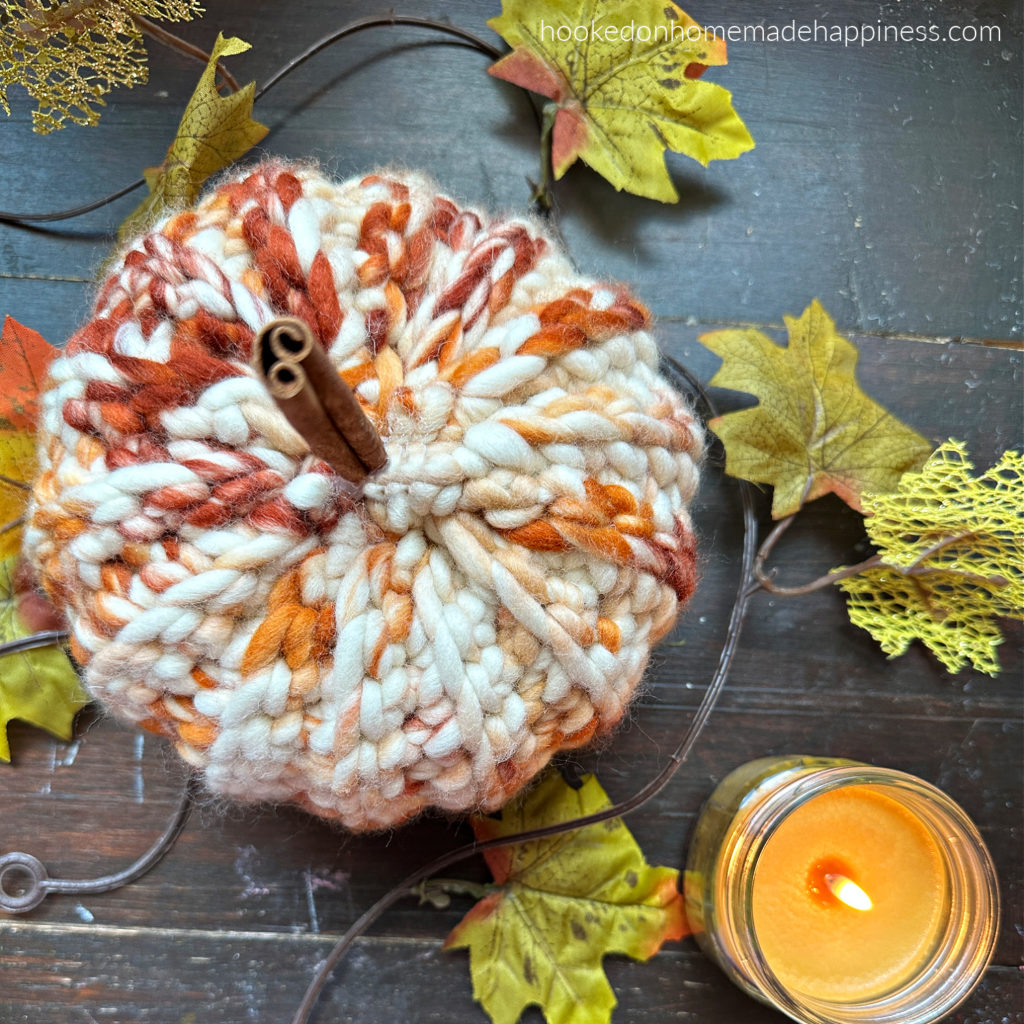
Yarn: WeCrochet All Prima in Rustic Hills
This pumpkin pattern uses WeCrochet All Prima yarn in the color Rustic Hills, a lovely, earthy tone that’s ideal for fall. The 100% wool gives the pumpkin a warm, cozy look and feel, and the natural texture adds an extra level of charm to your finished piece.
So Easy to Customize
One of the best parts of this pattern? It’s incredibly customizable! Adjust the starting chain for a taller or shorter pumpkin, or make the rectangle longer for a wider shape. You can also experiment with different yarns, weights, and colors to make a whole patch of pumpkins in all shapes and sizes!
Easy Ribbed Pumpkin Crochet Pattern
PIN for later HERE
Add to your Ravelry Queue HERE
Materials
WeCrochet All Prima in Rustic Hills (52 yds any super bulky weight (6) yarn will work)
M/N/9.0 mm hook
yarn needle
scissors
poly fill
cinnamon stick
hot glue
Level
easy
Pattern Notes & Stitches to Know
ch – chain
sl st blo – slip stitch back loop only
sc – single crochet
sc blo – single crochet back loop only
· Written in US terms
· ch 1 does not count as sc
· Pattern can be easily adjusted. To make it taller or shorter, add or take out chains. To make it wider or slimmer, add or take out rows.

Watch the Tutorial
See how it’s done! This easy-to-follow video tutorial will walk you through each step of the pattern.
CROCHET PATTERN WRITTEN INSTRUCTIONS
ch 16 (leave a long end for sewing)
Row 1: sc in 2nd ch from hook and across (15 sc)
Row 2: ch 1, turn, sc in first stitch, sc blo in next 13 stitches, sc in last (15 sc)
Row 3 – 27: repeat row 2
SEWING
Bring the first row and last row together. Sew both ends together using sl st blo.
Fasten off. Leave a long end for sewing.
Now the rectangle is a tube, weave the end in and out around the bottom edge. Cinch the bottom closed. Sew the bottom closed tight. Fasten off. Weave in the end.
Add fiber fill.
Use the long end on the other side to weave in and out around the top edge. Add more fiber fill. Cinch the top closed. Sew the top closed tight.
Push the needle with the long end through the middle of the top, through the pumpkin, and out the middle of the bottom. Pull tight to make the pumpkin squatty. Push the needle back up towards the top middle. Pull yarn tight, knot it, and fasten off. Weave in the end.
Hot glue cinnamon stick for stem.
Looking for more patterns? Follow me on Facebook, Instagram, and Pinterest! Please share a pic of your finished product with me. I’d love to see it!