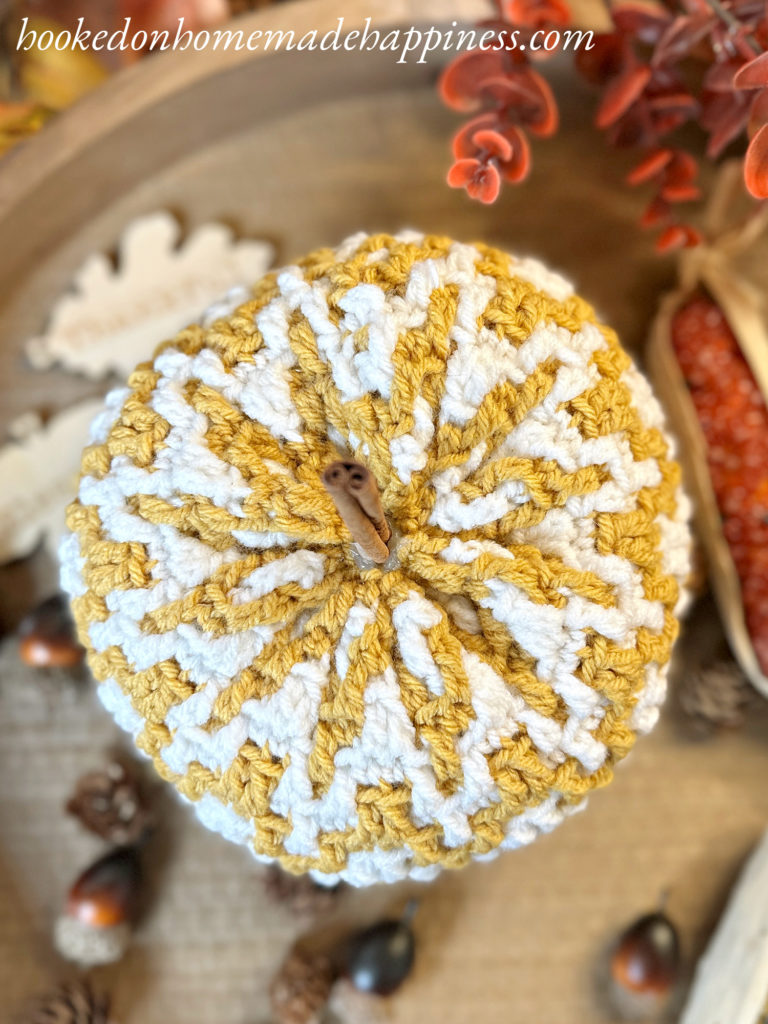
Mosaic Pumpkin Crochet Pattern
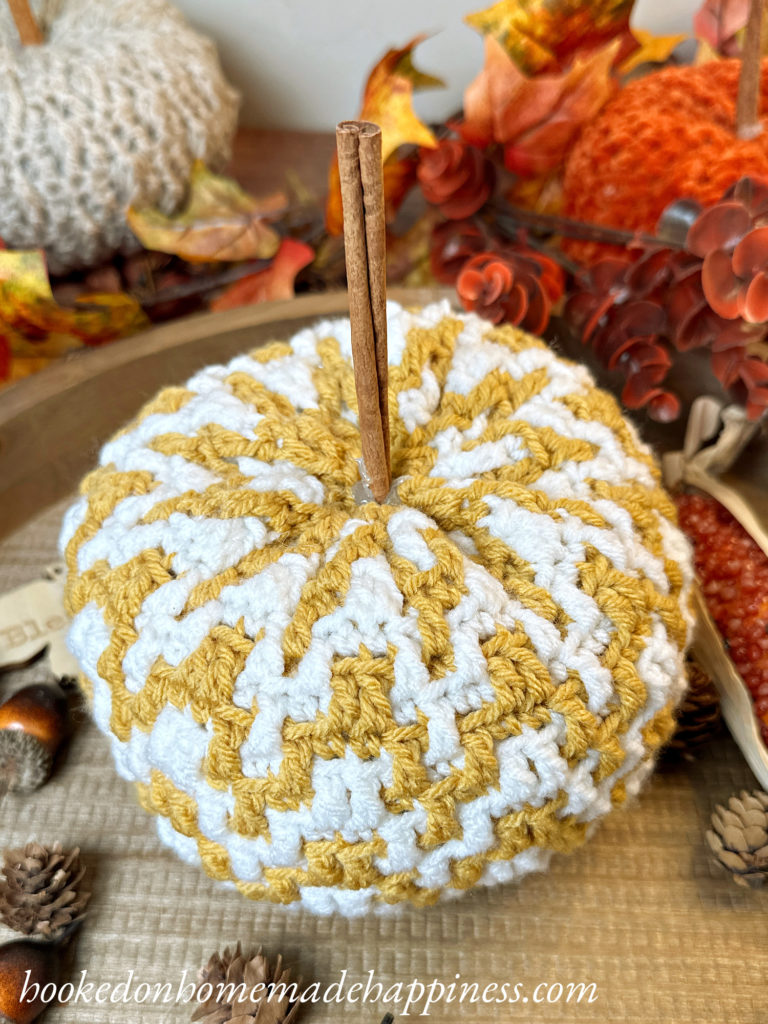
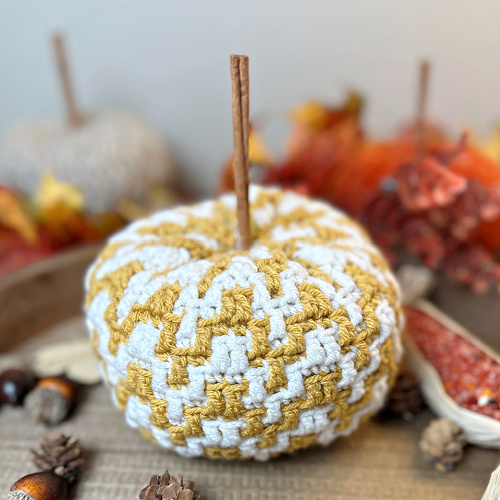
If you love textured designs and modern fall décor, you’ll adore this Mosaic Pumpkin Crochet Pattern! This pumpkin uses the mosaic crochet technique to create a fun zig-zag design that looks intricate but is actually beginner-friendly once you get the hang of the stitch.
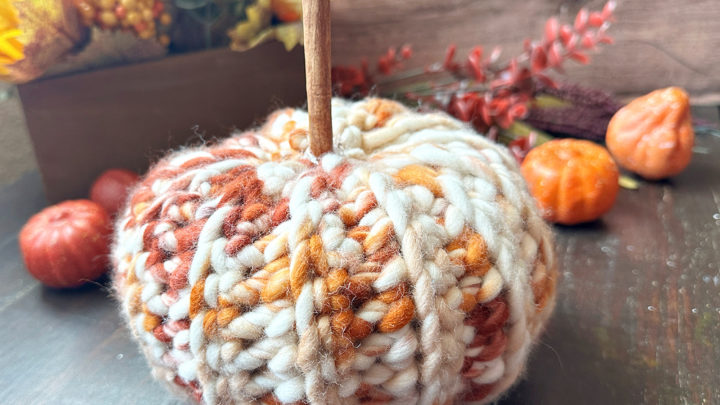
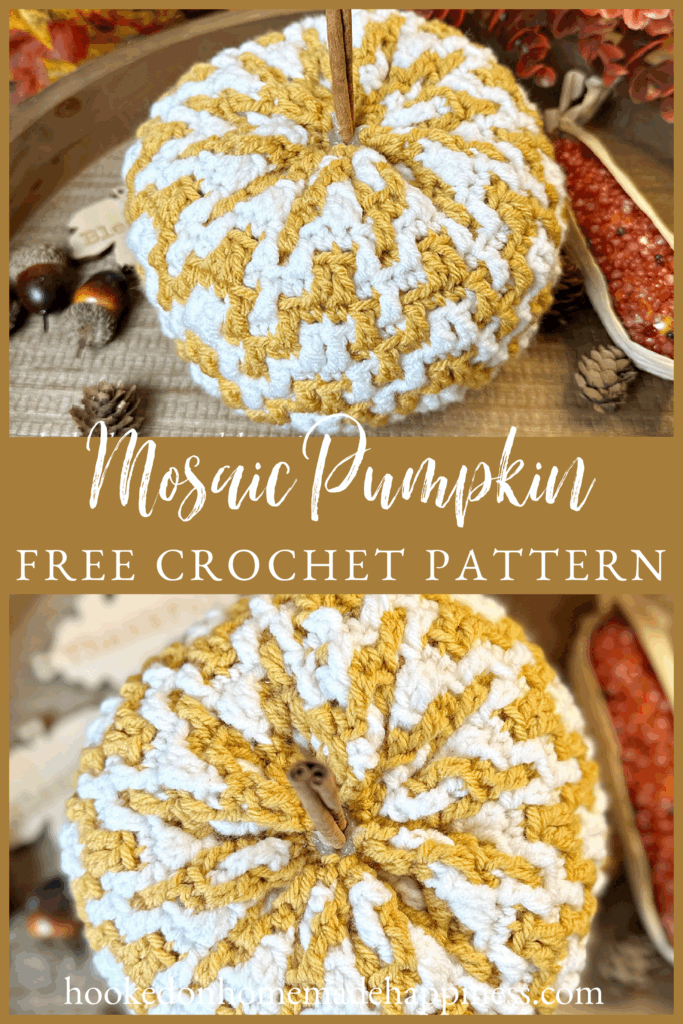
The pumpkin is crocheted as a tube, then sewn together and cinched at the top and bottom to form its shape. To finish it off, a cinnamon stick makes the perfect rustic stem — it smells amazing and adds a cozy autumn touch!
If you’re new to mosaic crochet, don’t worry — there’s a video tutorial for the stitch included to help you master the pattern before getting started.

Purchase the ad-free, printable PDF for easy printing.
Materials
- Worsted weight yarn in two contrasting colors
- 4.5 mm crochet hook
- Yarn needle and scissors
- Polyfill stuffing
- Cinnamon stick for the stem
Crochet Pattern Overview
- Skill level: Intermediate (but beginner-friendly with the video tutorial)
- Construction: Worked in the round as a tube
- Stitches used: Single crochet, double crochet, mosaic technique
- Size: Easily adjustable by adding or removing rounds
Assembly
After crocheting the mosaic tube, you’ll sew the bottom closed, stuff the pumpkin firmly, and cinch the top to create that perfect plump pumpkin shape. Finish by inserting a cinnamon stick into the top center — simple, pretty, and perfectly seasonal!
Making the Mosaic Pumpkin Crochet Pattern
Get the full free pattern below or purchase the ad-free, printable PDF
Materials
worsted weight acrylic yarn in 2 colors
G/4.0 mm hook
yarn needle
scissors
poly-fil
hot glue
cinnamon stick
Level
intermediate
Pattern Notes & Stitches to Know
ch – chain
sl st – slip stitch
sc – single crochet
dc – double crochet
sc blo – single crochet back loop only
ldc flo – long double crochet (work stitch in the row below the previous row) in the front loop only
· written in US terms
· ch 1 does not count as sc or dc
· This pumpkin is made is joined rounds in a tube shape. Do not cut that yarn, carry the yarn throughout.
· After the tube is made, the bottom is closed, stuff with fiber fill, close the top, and add a stem.
Pattern Support
Looking for pattern support or want to share your progress? Join our Crochet Community Facebook Group! It’s the perfect place to ask questions, get help, and connect with fellow makers.
CROCHET PATTERN WRITTEN INSTRUCTIONS
>>>STITCH VIDEO TUTORIAL<<<
Note: the video tutorial is for just the stitch pattern worked in rows
ch 2
Row 1: starting in the 2nd ch from the hook fsc 60, join to first sc with sl st (60 sc)
If you would rather start with a chain, ch 61, sc in 2nd ch from the hook and across
Work in joined rounds for remainder of the pattern
Round 2: ch 1, sc blo in each stitch around, join to first sc with sl st (60 sc)
Round 3: ch 1, *sc blo in 2 stitches, ldc flo in next, sc blo in 2 stitches* repeat from * to * around, join to first sc with sl st (60)
Round 4: ch 1, ldc flo in next, sc blo in 3 stitches, *ldc flo in next 2, sc blo in 3 stitches* repeat from * to * around to last stitch, ldc flo in last, join to first dc with sl st (60)
Round 5: ch 1, *sc blo in next stitch, ldc flo in next, sc blo in next, ldc flo in next, sc blo in next* repeat from * to * around, join to first sc with sl st (60)
Round 6 – 28: repeat rows 3 – 5, ending with a round 4 repeat
Fasten off. Leave a long end for sewing.
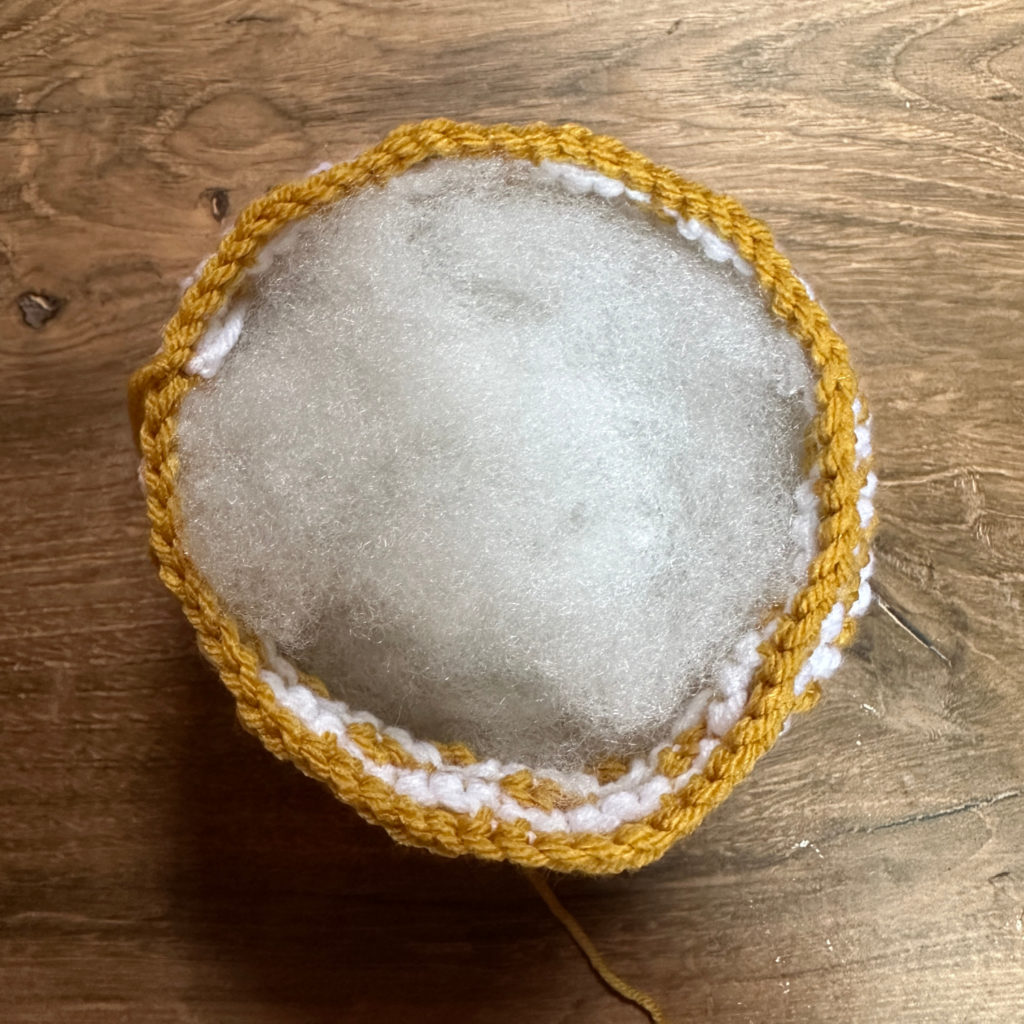
Now the rectangle in a tube, weave the end in and out around the bottom edge. Cinch the bottom closed. Sew the bottom closed tight. Fasten off. Weave in the end.
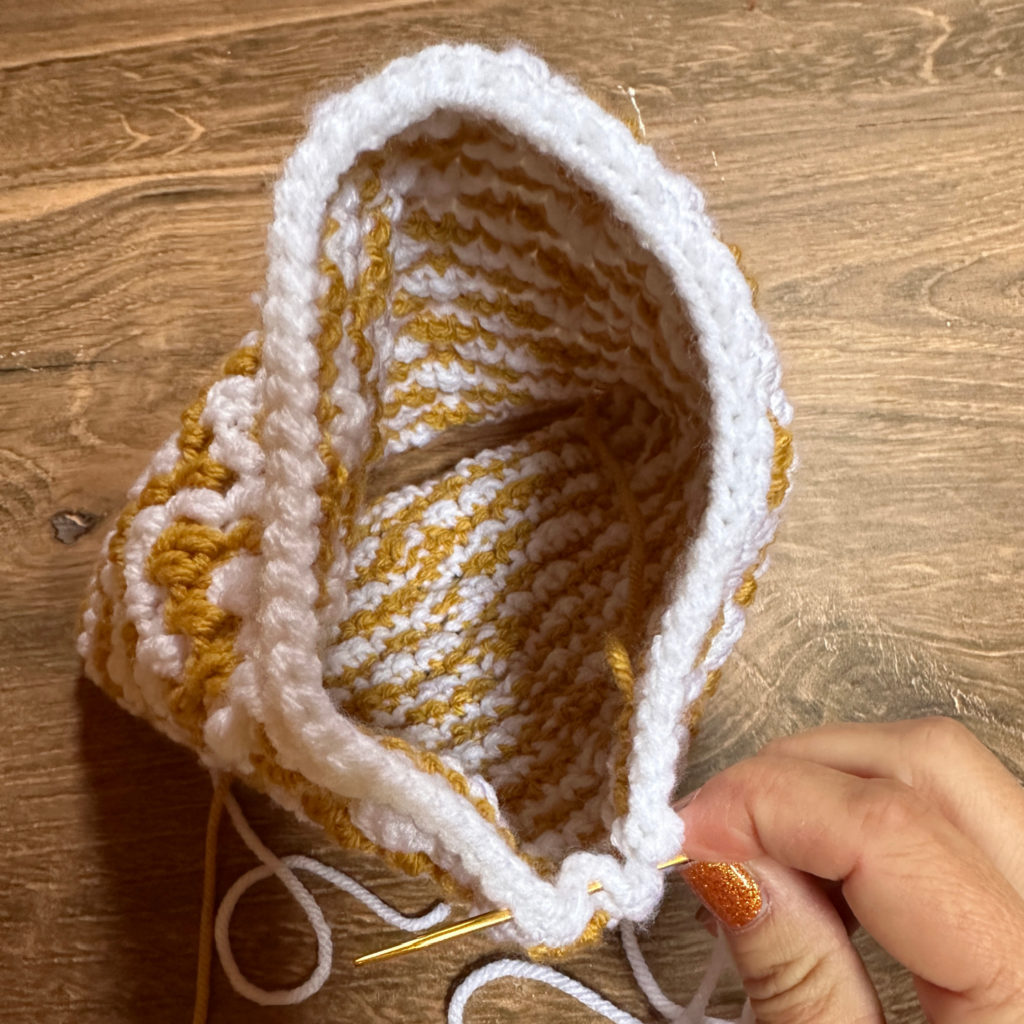
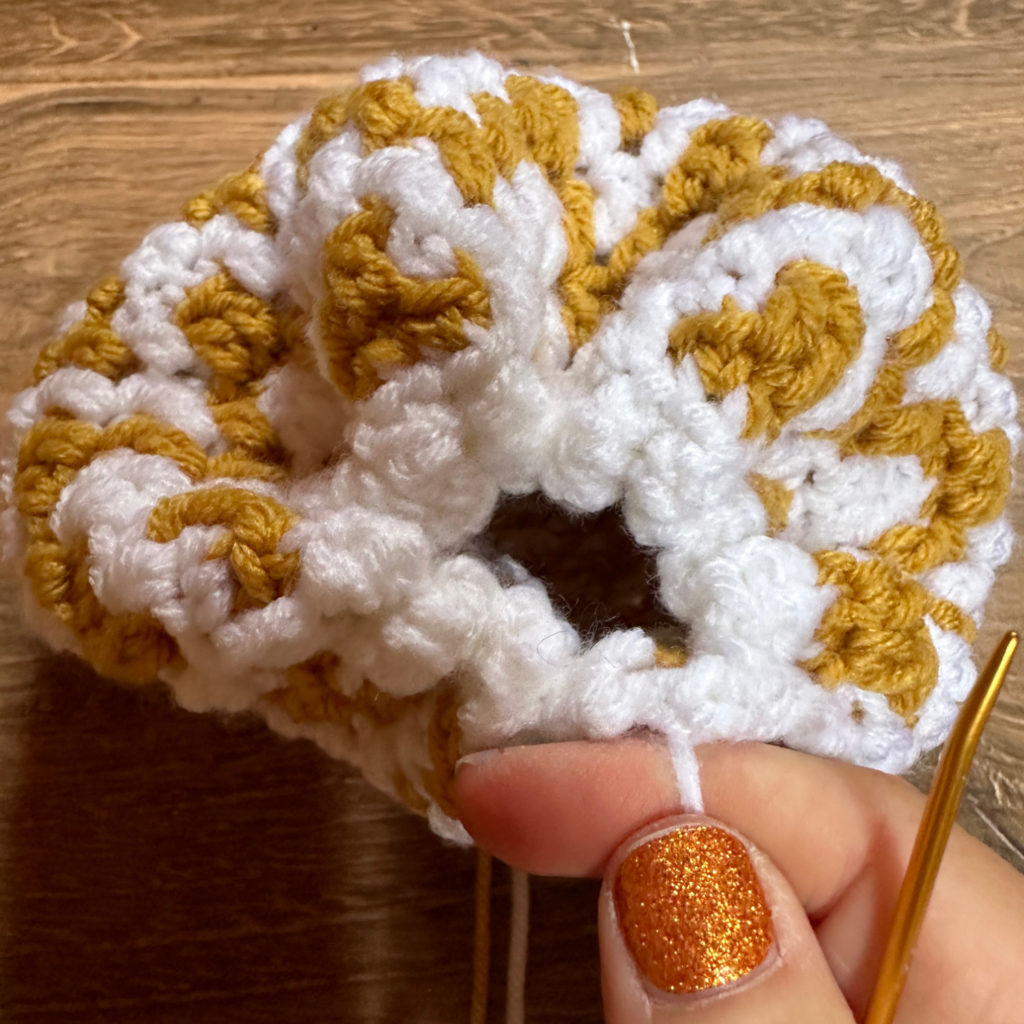
Add fiber fill. Use the long end on the other side to weave in and out around the top edge. Add more fiber fill. Cinch top closed. Sew the top closed tight.

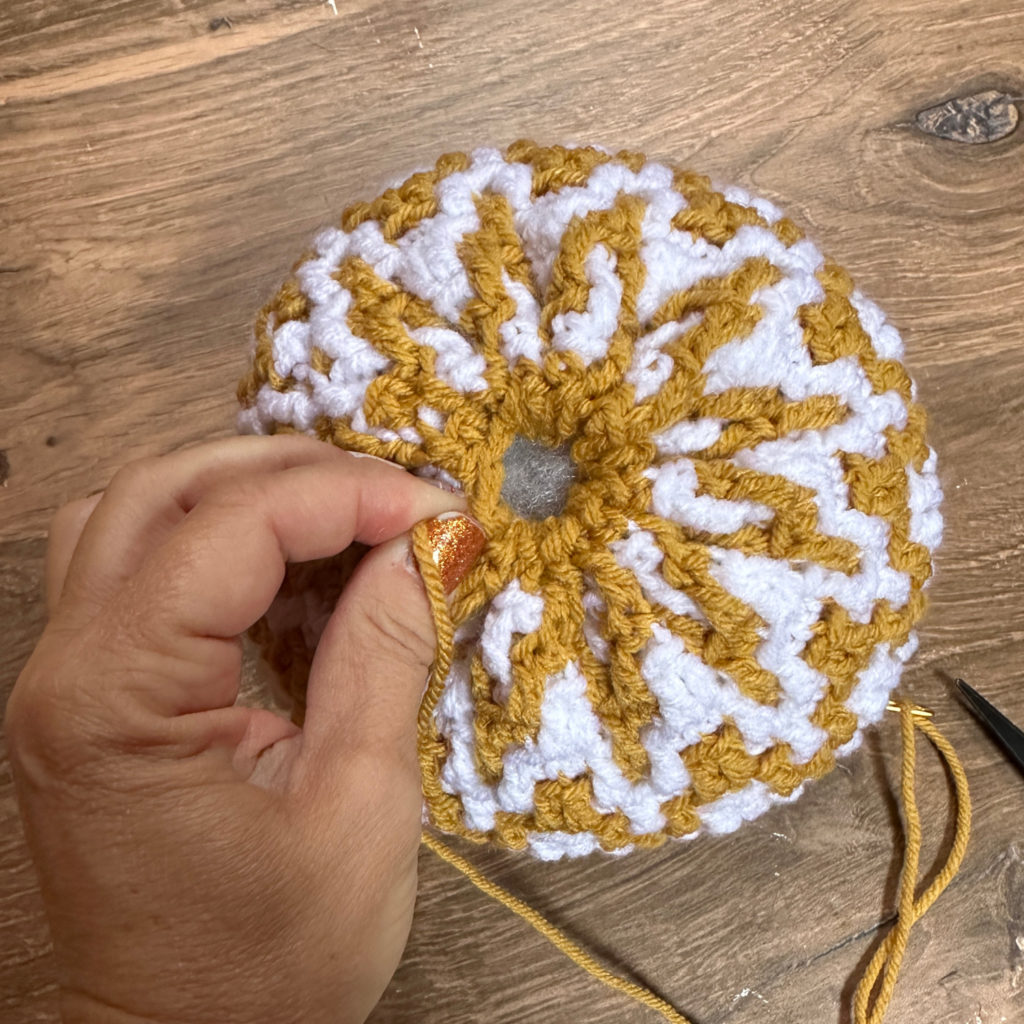
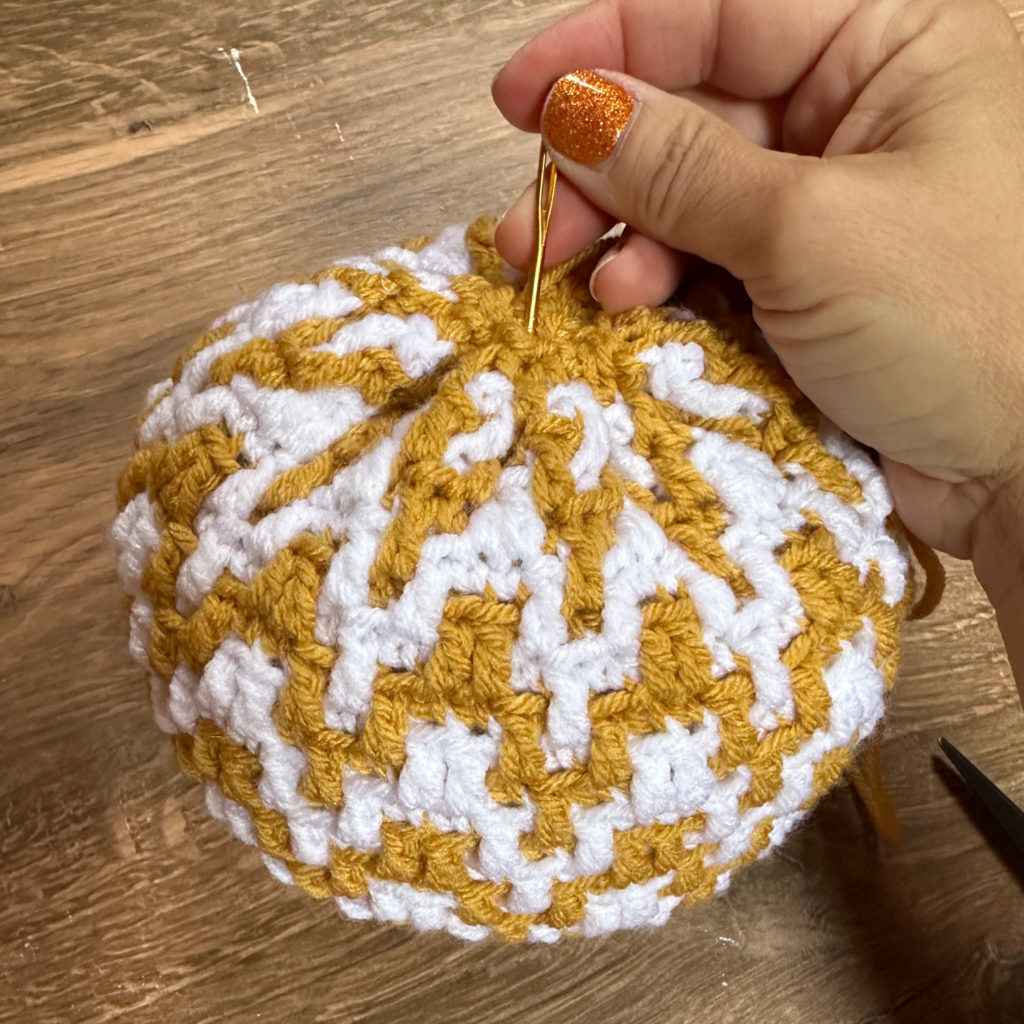
Push the needle with the long end through the middle of the top, through the pumpkin, and out the middle of the bottom. Pull tight to make the pumpkin squatty. Push the needle back up towards the top middle. Pull yarn tight, knot it, and fasten off.
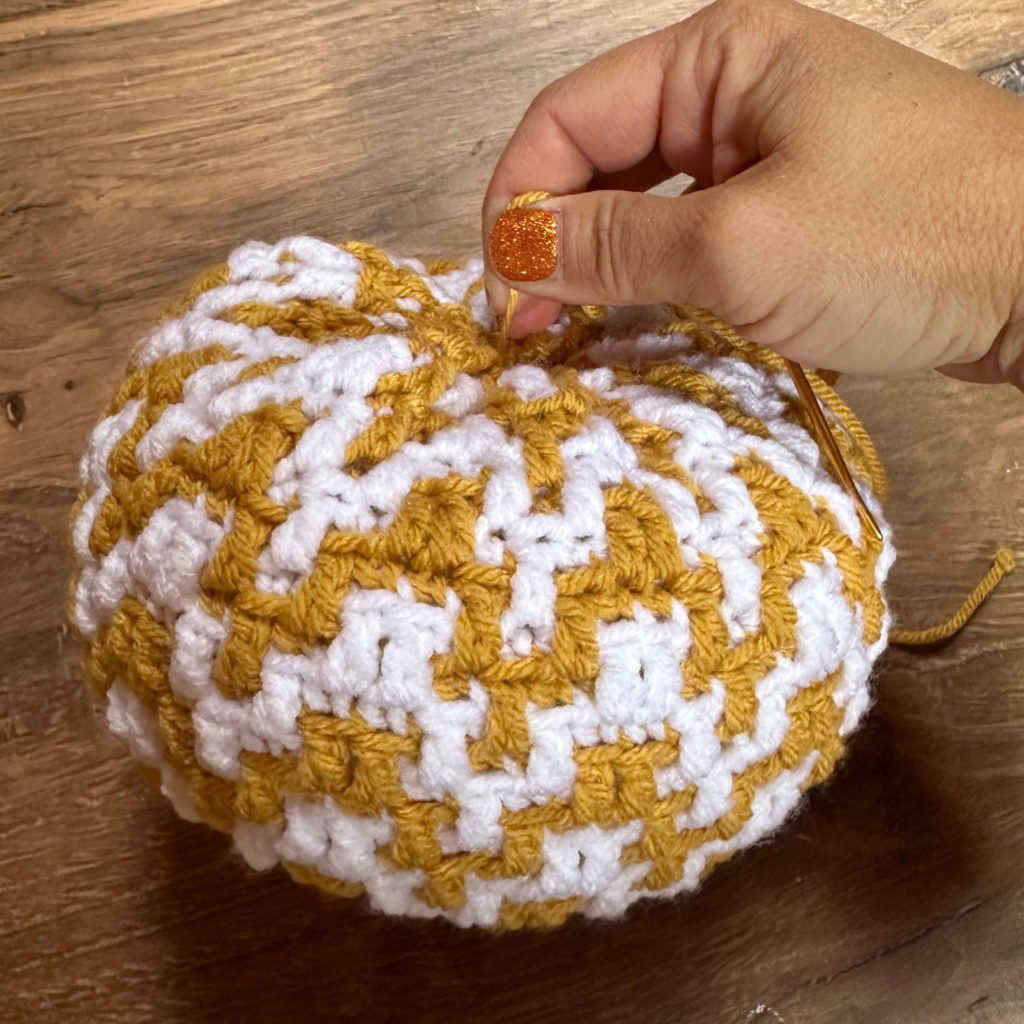
Hot glue a cinnamon stick for a stem.
Looking for more patterns? Follow me on Facebook, Instagram, and Pinterest! Please share a pic of your finished product with me. I’d love to see it!