Checkerboard Pumpkin Crochet Pattern
Add a fun, modern touch to your fall décor with the Checkerboard Pumpkin Crochet Pattern! This crochet pumpkin combines a classic pumpkin shape with a bold checkerboard design for a cute and cozy fall project.
I made mine with neutral colors for a more modern farmhouse look, but this pattern would be so fun in bright Halloween colors, too! Try orange and black, purple and green, or any two colors that fit your fall décor.

Purchase the ad-free, printable PDF for easy printing.
Why You’ll Love This Pattern
- Uses basic single crochet stitches
- Made from one simple rectangle
- Fun checkerboard colorwork
- No need to cut the yarn with every color change
- Uses worsted weight yarn
- Great for using colors already in your stash
- Easy to customize for different fall and Halloween styles
- Cinnamon stick stem adds a cute finishing touch

About the Checkerboard Pumpkin Crochet Pattern
This pumpkin is easier to make than it looks! The entire piece is worked with single crochet in rows, making it a great project for practicing simple color changes.
The pumpkin begins as a rectangle worked in a two-color checkerboard pattern. Instead of cutting the yarn after every color section, the unused color is carried along as you crochet, which means fewer ends to weave in when you’re finished.
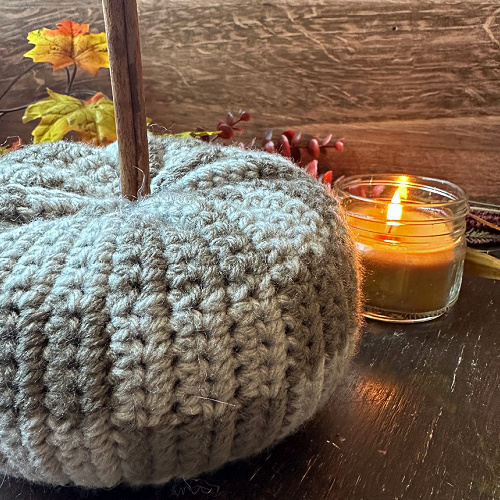
Once the rectangle is complete, it’s sewn together and shaped into a pumpkin. A cinnamon stick tucked into the center makes the perfect rustic stem — and it smells good, too!
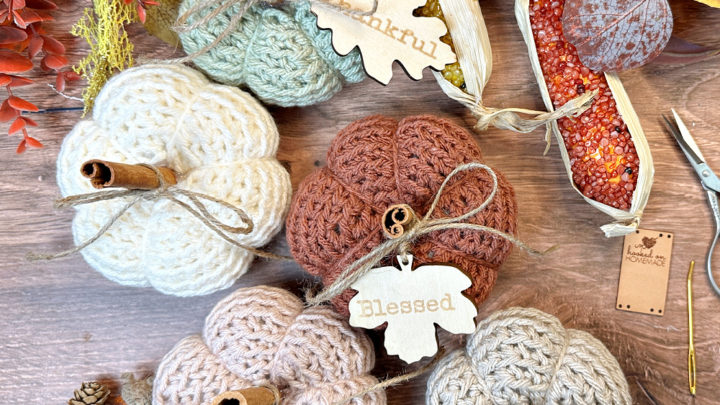
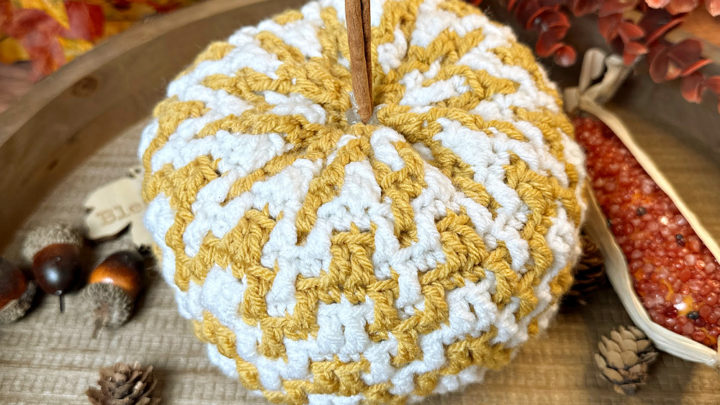
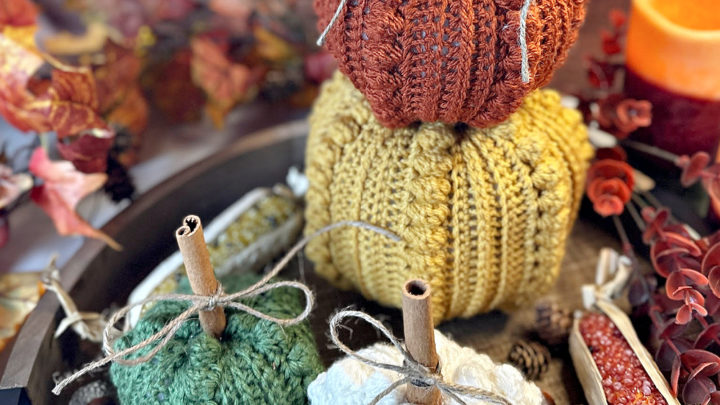
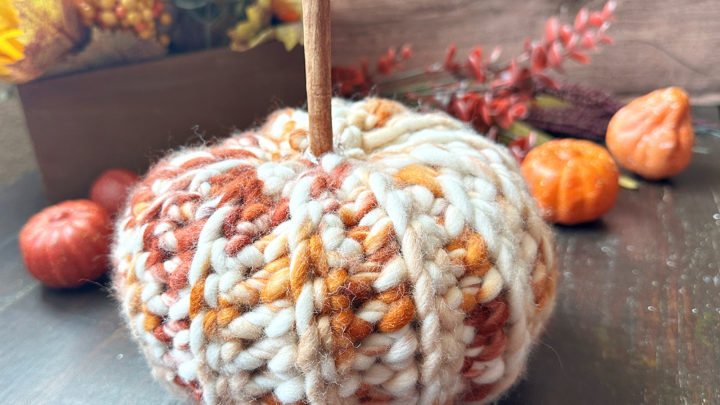
Ready to Crochet?
Grab two colors of worsted weight yarn and your 5.0 mm hook and let’s make a Checkerboard Pumpkin!
With simple single crochet stitches, easy color changes, and a little bit of finishing, you’ll have a cute handmade pumpkin that’s perfect for decorating from the beginning of fall all the way through Halloween.
Making the Checkerboard Pumpkin Crochet Pattern
Get the full free pattern below or purchase the ad-free, printable PDF
Materials
worsted weight acrylic yarn in 2 colors (I used Loops & Threads Impeccable in Putty & Barley)
H/5.0 mm hook
yarn needle
scissors
fiber fill
cinnamon stick
hot glue
Level
intermediate
Pattern notes & Stitches to Know
ch – chain
sl st – slip stitch
sc – single crochet
· Written in US terms
· Putty is Color A. Barley is Color B.
· When changing colors, always change color on the last step of the stitch just before the color change
· Do not fasten off. Carry each color throughout
· ch 1 does not count as sc
CHECKERBOARD PUMPKIN CROCHET PATTERN
Starting with Color A, ch 31
Row 1: sc in 2nd ch from the hook and in next 4, *change color, sc in next 5* repeat from * to * across (30 sc)
Row 2: continuing with color B, ch 1, turn, sc in 5 stitches, *change color, sc in next 5* repeat from * to * across (30 sc)
Row 3: continuing with color A, ch 1, turn, sc in 5 stitches, *change color, sc in next 5* repeat from * to * across (30 sc)
Row 4: continuing with color B, ch 1, turn, sc in 5 stitches, *change color, sc in next 5* repeat from * to * across (30 sc)
Row 5: continuing with color A, ch 1, turn, sc in 5 stitches, *change color, sc in next 5* repeat from * to * across (30 sc)
Row 6: continuing with color B, ch 1, turn, sc in 5 stitches, *change color, sc in next 5* repeat from * to * across, change color on last stitch (30 sc)
Row 7: continuing with color B, ch 1, turn, sc in 5 stitches, *change color, sc in next 5* repeat from * to * across (30 sc)
Row 8: continuing with color A, ch 1, turn, sc in 5 stitches, *change color, sc in next 5* repeat from * to * across (30 sc)
Row 9: continuing with color B, ch 1, turn, sc in 5 stitches, *change color, sc in next 5* repeat from * to * across (30 sc)
Row 10: continuing with color A, ch 1, turn, sc in 5 stitches, *change color, sc in next 5* repeat from * to * across (30 sc)
Row 11: continuing with color B, ch 1, turn, sc in 5 stitches, *change color, sc in next 5* repeat from * to * across (30 sc)
Row 12: continuing with color A, ch 1, turn, sc in 5 stitches, *change color, sc in next 5* repeat from * to * across, change color on last stitch (30 sc)
Row 13 – 60: repeat rows 1 – 12
Do not fasten off.
Bring the first and last row together. Sew both ends together using sl st.
Fasten off. Leave a long end for sewing.

Now the rectangle in a tube, weave the end in and out around the bottom edge. Cinch the bottom closed. Sew the bottom closed tight. Fasten off. Weave in the end.

Add fiber fill. Use the long end on the other side to weave in and out around the top edge. Add more fiber fill. Cinch top closed. Sew the top closed tight.

Push the needle with the long end through the middle of the top, through the pumpkin, and out the middle of the bottom. Pull tight to make the pumpkin squatty. Push the needle back up towards the top middle. Pull yarn tight, knot it, and fasten off.

Hot glue a cinnamon stick for a stem.

Looking for more patterns? Follow me on Facebook, Instagram, and Pinterest! Please share a pic of your finished product with me. I’d love to see it!