
Daisy Square Tee Crochet Pattern
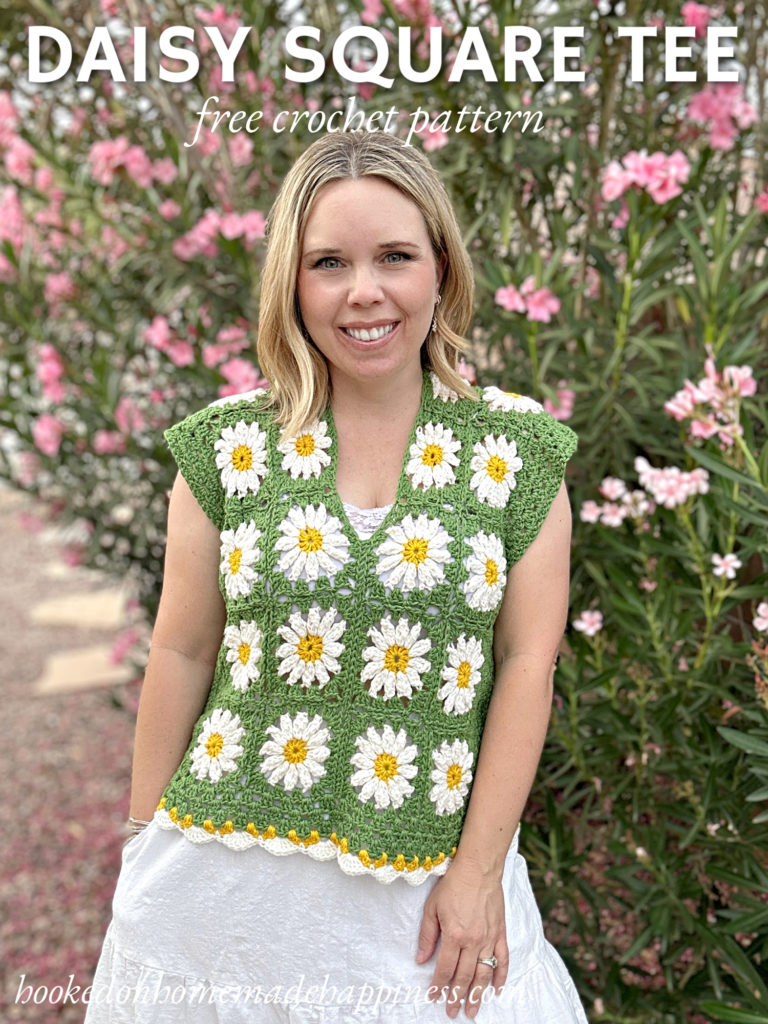
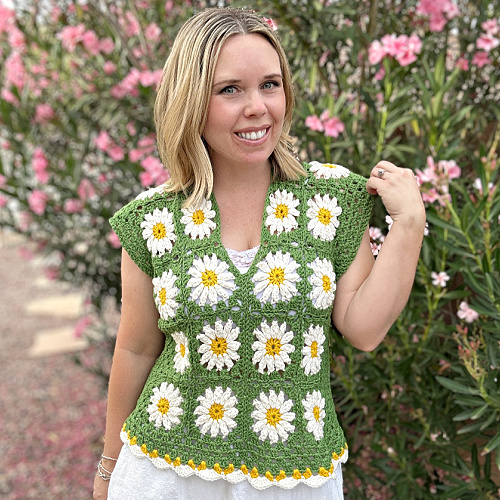
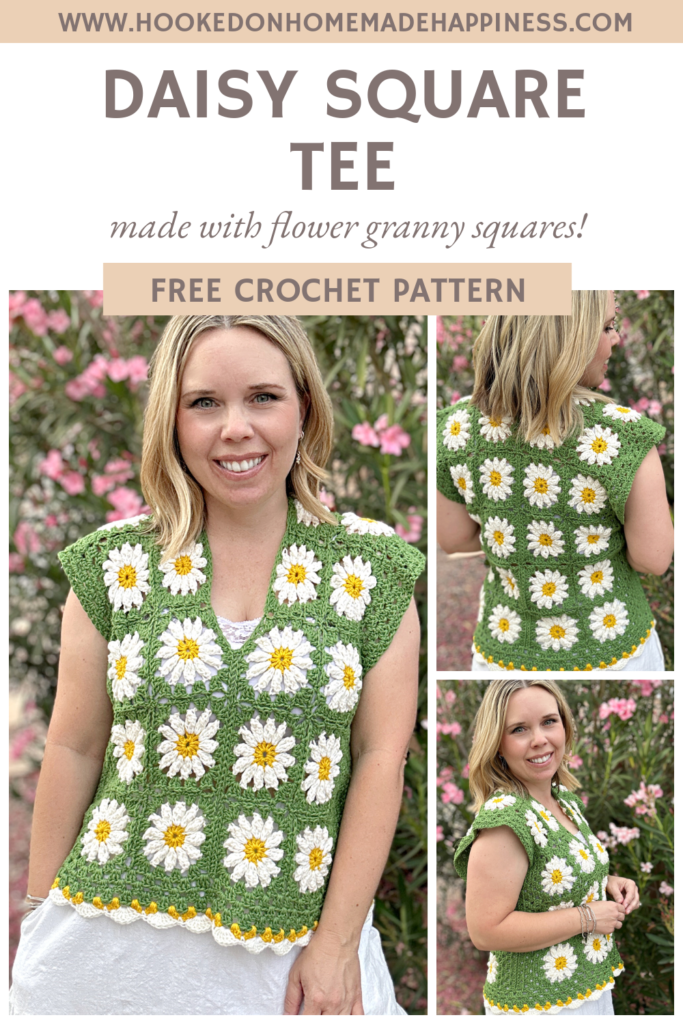
Looking for a light, breezy crochet top that’s perfect for warm weather? The Daisy Square Tee Crochet Pattern is a fun project made with flower granny squares! This cheerful design combines simple motifs with easy construction to create a beautiful tunic-style top that’s perfect for spring and summer.
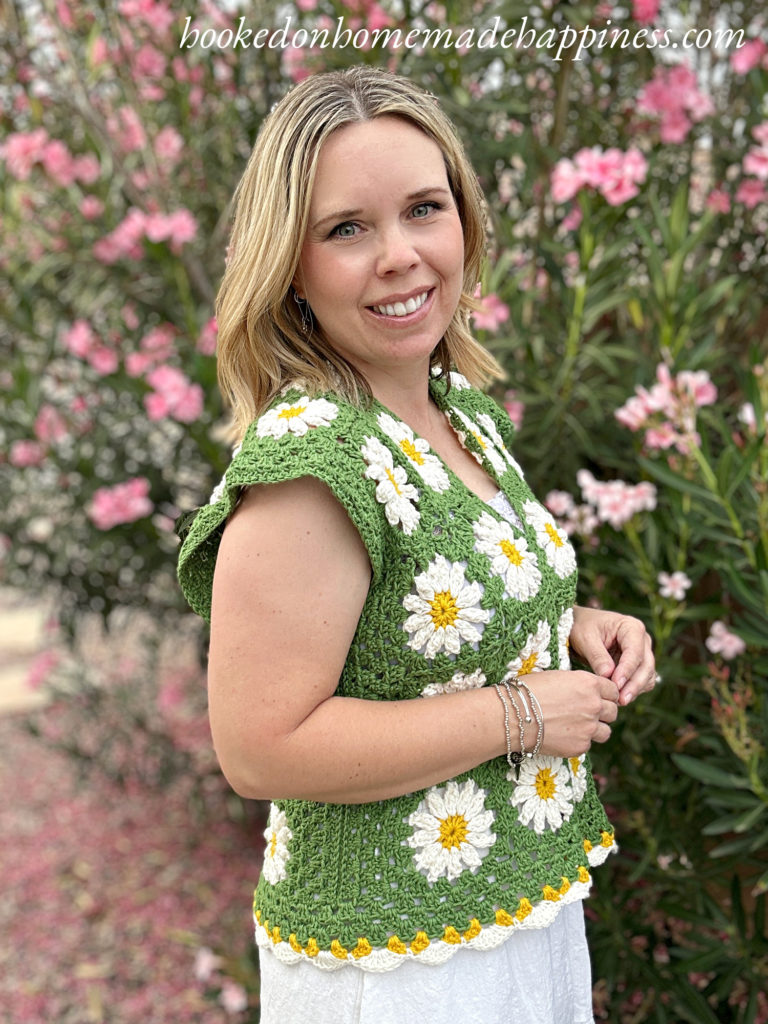
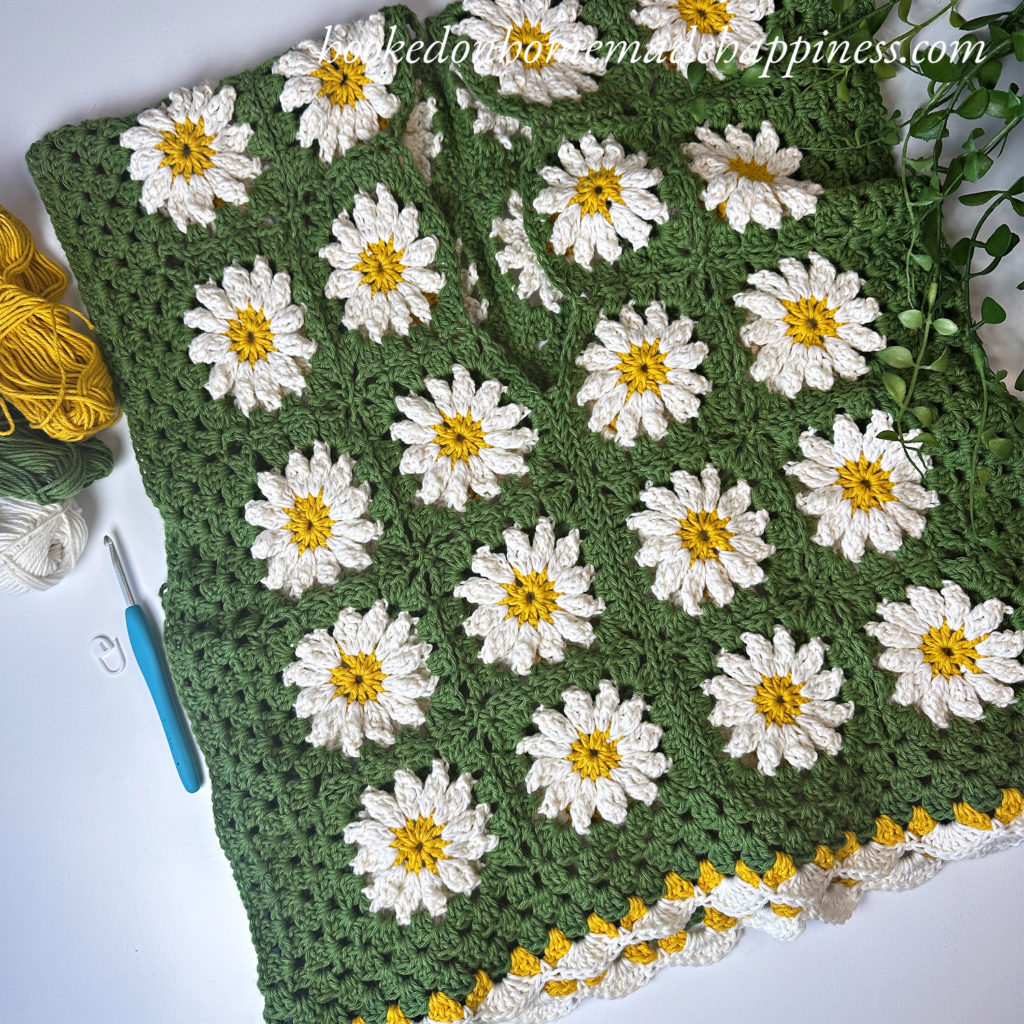
Each square features a sweet daisy center and is worked using soft, breathable WeCrochet CotLin yarn and a 4.5 mm hook. The squares are joined together to form two rectangles, which are then sewn together to create a relaxed, comfortable tee. A delicate scalloped edging around the bottom adds the perfect finishing touch!
Whether you love granny squares or are looking for a portable crochet project you can take anywhere, this top is a fun and satisfying make.
Purchase the ad-free, printable PDF for easy printing.
Why You’ll Love This Pattern
🌼 Classic flower granny squares with a cheerful daisy center
🧶 Made with lightweight, breathable CotLin yarn
🪡 Simple construction using two rectangles
✨ Easy to customize length and fit
🌸 Finished with a pretty scalloped edging
☀️ Perfect lightweight top for spring and summer
Pattern Details
Skill Level: Easy+ – Intermediate
Yarn:
WeCrochet CotLin (DK weight)
Hook:
4.5 mm crochet hook
Construction:
- Flower granny squares are crocheted individually
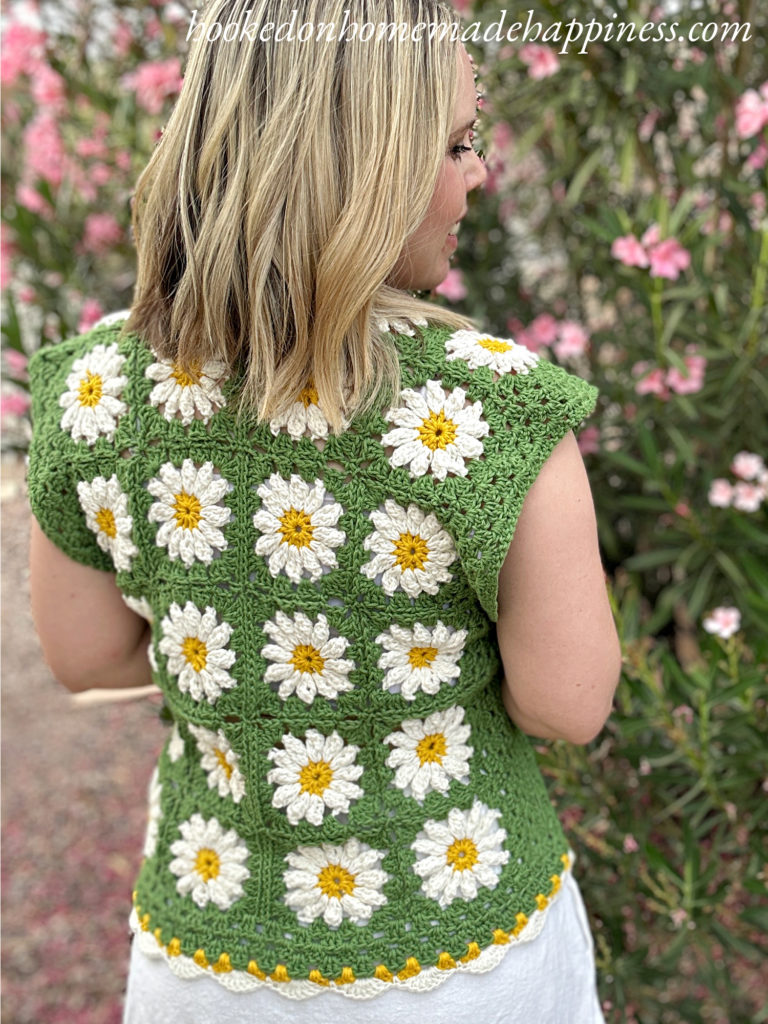
- Squares are sewn together to form two rectangles (front and back)
- Rectangles are joined at the center and sides to create a tunic-style tee
- Scalloped edging is added around the bottom hem
Perfect For
- Spring and summer outfits
- Layering over a tank or bralette
- Crochet motif lovers
- Portable crochet projects
- Using multiple colors or stash yarn
Tips for Success
- Block your top after assembling to make sure all the edges lay flat and even
- Use the join-as-you-go method for easy assembly
- Use stitch markers when assembling to keep everything aligned.
- Cotton-blend yarn like CotLin helps the tee stay lightweight and breathable.


FAQ
Ready to Crochet?
If you love granny square projects, this Daisy Square Tee is a fun and satisfying make that works up beautifully for warmer weather. Grab your yarn, start crocheting those flower squares, and watch your new favorite summer top come together!
Happy crocheting! 🌼🧶
Making the Daisy Square Tee Crochet Pattern
Get the full free pattern below or purchase the ad-free, printable PDF
Materials
WeCrochet CotLin in Sprout ((4, 4, 5) (5, 6, 6) skeins), Swan ((3, 3, 4) (4, 5, 5) skeins) & Canary ((2, 2, 3) (3, 4, 4) skeins) – any DK (3) weight yarn will work
4.5 mm crochet hook
yarn needle
scissors
Level
intermediate
Pattern notes & stitches to know
ch – chain
sl st – slip stitch
sc – single crochet
dc – double crochet
tr – treble crochet
trpc – treble popcorn (3 tr in same stitch, pull hook out from active loop, insert hook into first of the 3 tr, pull active loop through the first tr)
· written in US terms
· ch 3 counts as dc in round 1 & round 3 (this is noted in the pattern)
· ch 2 does not count
· ch 3 counts as dc in the border rows
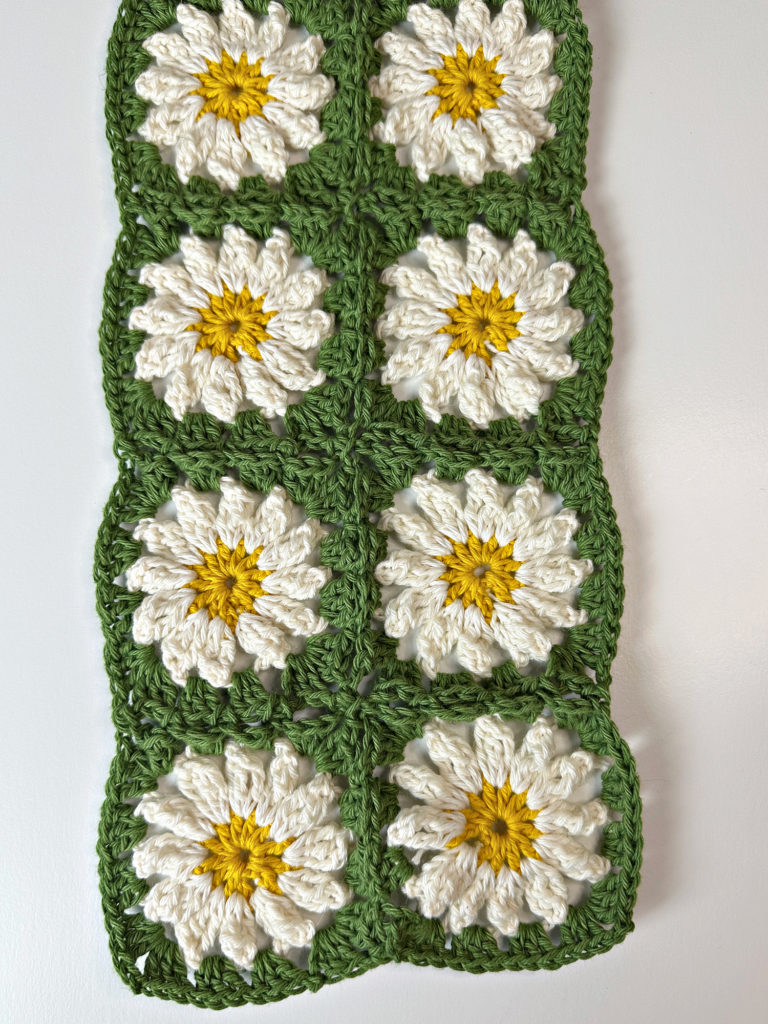
· Top is made with flower squares sewn together (I used the join-as-you-go method – any joining method can be used). They are sewn together in two long rectangular panels (with granny stitch rows added to each side). The panels are sewn together to make a tunic-like top shape. Then a border around the bottom is added.
Sizes:
(S, M, L) (XL, 2X, 3X) – The pattern is written in these sizes consecutively. Example, when the pattern gives the end of row count ((144, 156, 168) (180, 192, 204) dc) the 144 is for S, 156 is M, 168 is L, 180 is XL, 192 is 2X, and 204 is 3X.
This top is a classic fit with some positive ease.
Approximate Finished Size:
Bust: S (36”) M (40”) L (44”) XL (48”) 2X (52”) 3X (56”)
Length: S (22”) M (23”) L (24”) XL (25”) 2X (26”) 3X (27”)
Armhole: S (11”) M (11.5”) L (12”) XL (12.5”) 2X (13”) 3X (13.5)
Size S pictured. I am 5’0” with 34” bust.
Pattern Support
Looking for pattern support or want to share your progress? Join our Crochet Community Facebook Group! It’s the perfect place to ask questions, get help, and connect with fellow makers.
CROCHET PATTERN WRITTEN INSTRUCTIONS
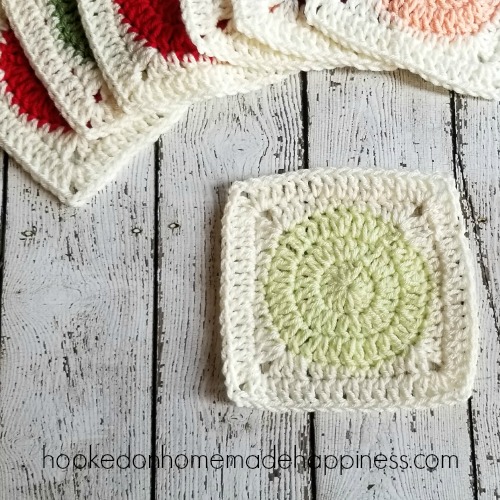
FLOWER SQUARE (make (20, 20, 22) (22, 24, 24))
Starting with flower center color, ch 4, join to first ch with sl st
Round 1: ch 3 (counts as dc), work 11 dc in middle of the circle, join to ch 3 with sl st (12 dc)
Fasten off
Join petal color in between 2 dc
Round 2: ch 3, *trpc in space between 2 dc, ch 3* repeat from * to U around, join to first trpc with sl st (12 trpc)
Fasten off.
Join main color to a ch-3 space
If using the join-as-you-go method, remember to join in round 3
Round 3: ch 3 (count as dc), (2 dc, ch 3, 3 dc) in same ch-3 space, (3 dc in next ch-3 space) x2, *(3 dc, ch 3, 3 dc) in next ch-3 space, (3 dc in next ch-3 space) x2* repeat from * to * around, join to first ch 3 with sl st (48 dc)
Fasten off.
Sew flowers in 2 equal rows
Repeat for second panel.
BORDER
With main color, join yarn to a corner ch-3 space along the long side of one panel.
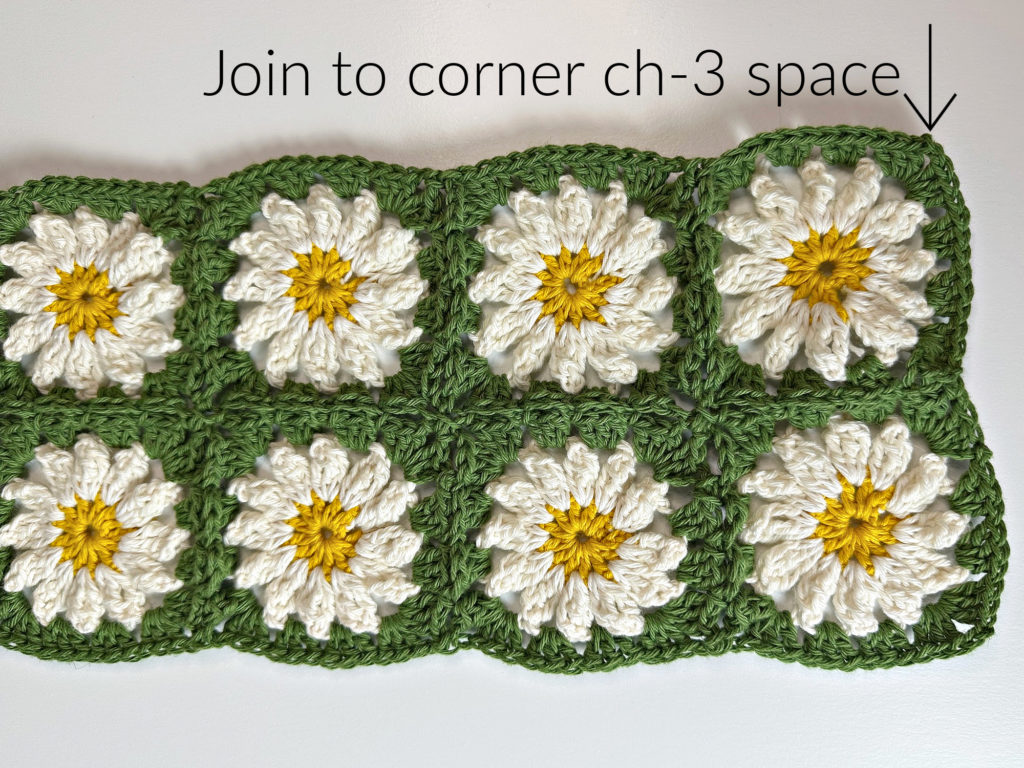
The stitch counts in this section are approximations. As long as the dc groups are worked evenly across, it will work out
Row 1: ch 2, dc in same space, 3 dc in between 3 dc groups across to next corner, *3 dc in corner, 3 dc in corner of next square, 3 dc in between 3 dc groups across to next corner* repeat from * to * across, 2 dc in last corner space ((146, 146, 161) (161, 176, 176) dc)
Row 2: ch 3, turn, 3 dc in each space between dc groups, dc in last stitch ((147, 147, 162) (162, 177, 177) dc)
Row 3: ch 3, turn, dc in first stitch, 3 dc in each space between dc groups, 2 dc in last stitch ((146, 146, 161) (161, 176, 176) dc)
Repeat rows 2 & 3 to Row (4, 6, 8) (10, 12, 14)
Or until desired width. The width of the panel is half the width across the tee.
Fasten off. Weave in the ends.
Repeat on other panel.
SEWING
Fold each panel in half, longwise. Lay next to each other.
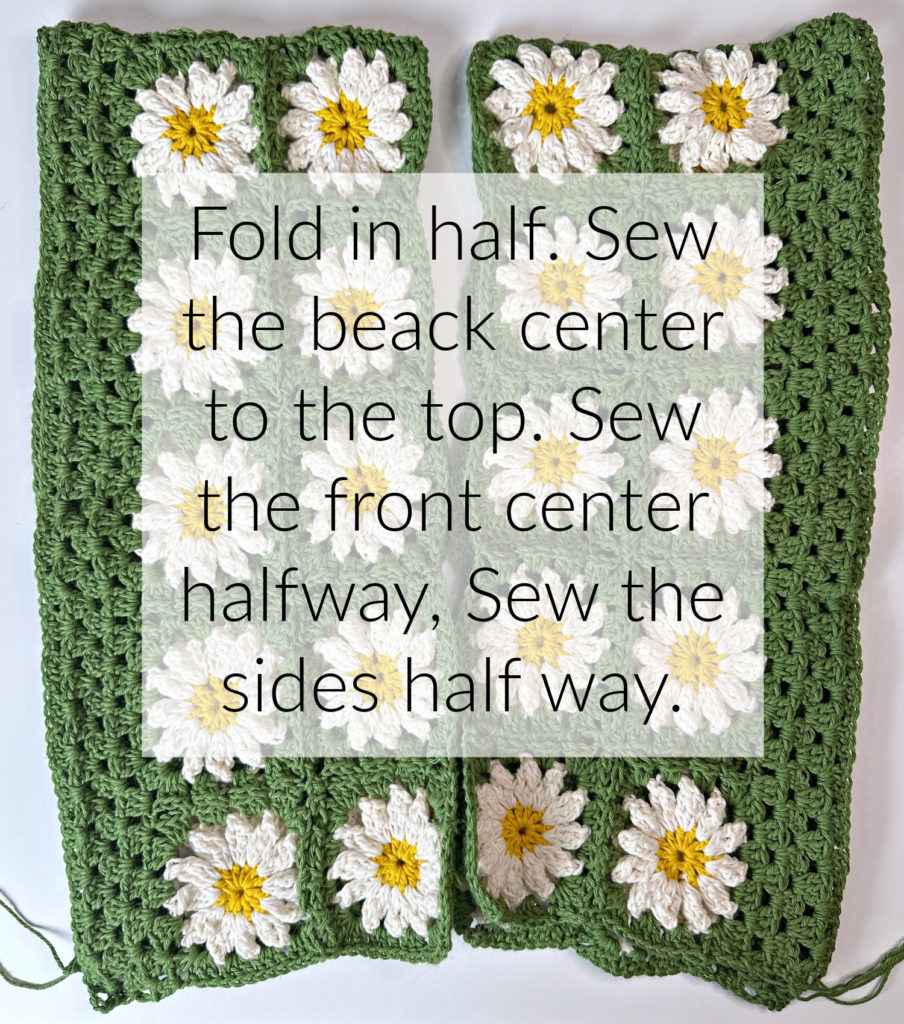
Sew the back closed using a whip stitch. Sew from the bottom to just under the fold. Sew the front closed with a whip stitch. Sew from the bottom to halfway.
Sew the sides closed using a whip stitch. Sew from the bottom to halfway.
BOTTOM BORDER
Join with main color to a bottom corner ch 3
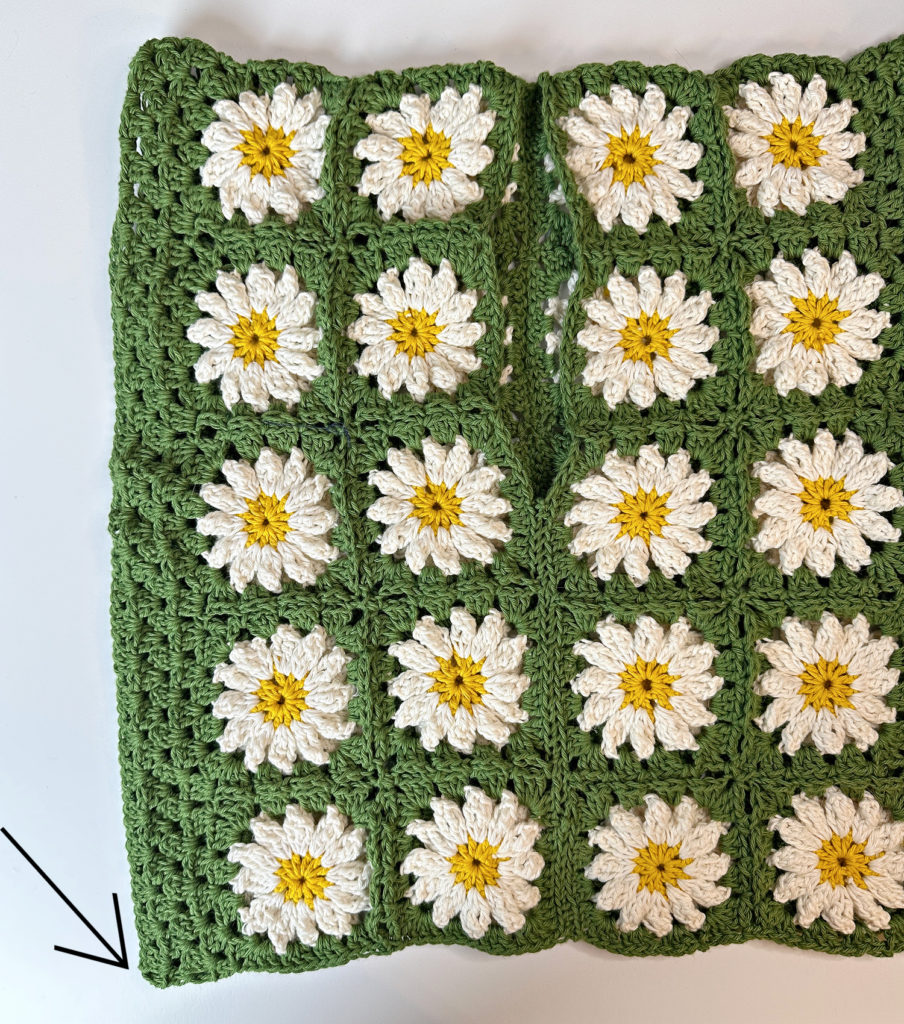
The stitch counts in this section are approximations. As long as the dc groups are worked evenly around, it will work out
Round 1: ch 3, 2 dc in same space, *3 dc in each ch-3 space, to the square corner, 3 dc in square corner, 3 dc in between 3 dc groups across to next corner, [3 dc in square corner, 3 dc in next square corner, 3 dc in square corner, 3 dc in between 3 dc groups across to next corner] repeat from [ to ] across the bottom to opposite side*, repeat from * to * across the other side of the top, join to first ch 3 with sl st ((144, 156, 168) (180, 192, 204) dc)
Round 2: ch 3, turn, 2 dc in first space between 3 dc groups, 3 dc in each space around, join to first dc with sl st ((144, 156, 168) (180, 192, 204) dc)
Repeat round 2 to Round (3, 5, 3) (5, 3, 5)
Fasten off.
Join flower center color to a space between 3 dc
Round (4, 6, 4) (6, 4, 6): repeat round 2
Or until desired length
Fasten off.
Join flower petal color to a space between 3 dc
Round (5, 7, 5) (7, 5, 7): ch 1, sc in same space, *7 dc in next space, sc in next space* repeat from * to * around, join to first sc with sl st
Fasten off. Weave in the ends.
Looking for more patterns? Follow me on Facebook, Instagram, and Pinterest! Please share a pic of your finished product with me. I’d love to see it!


One Comment