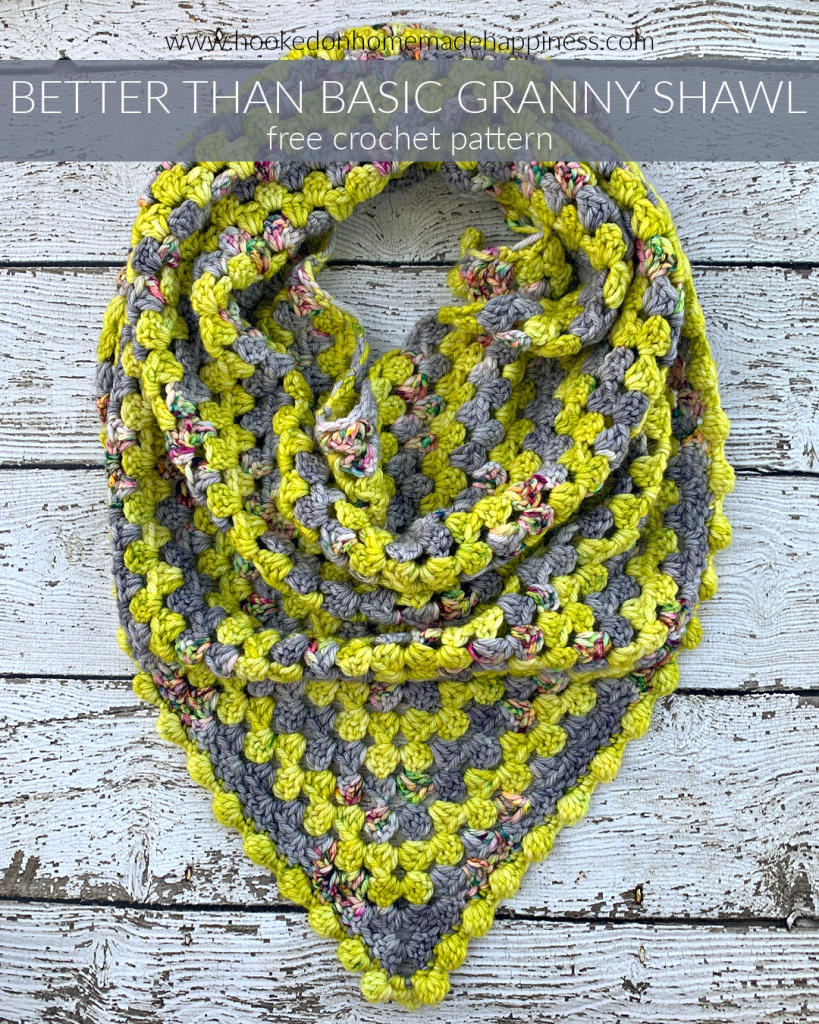
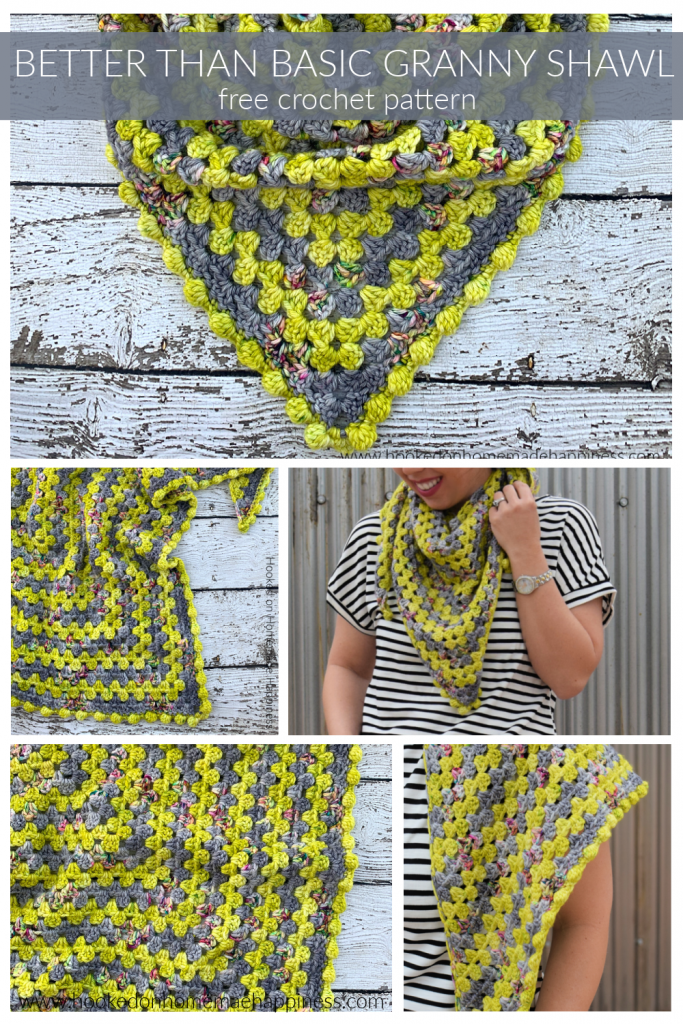
Better than Basic Granny Shawl Crochet Pattern
The Better than Basic Granny Shawl Crochet Pattern is your classic granny stripe shawl made modern and fun!
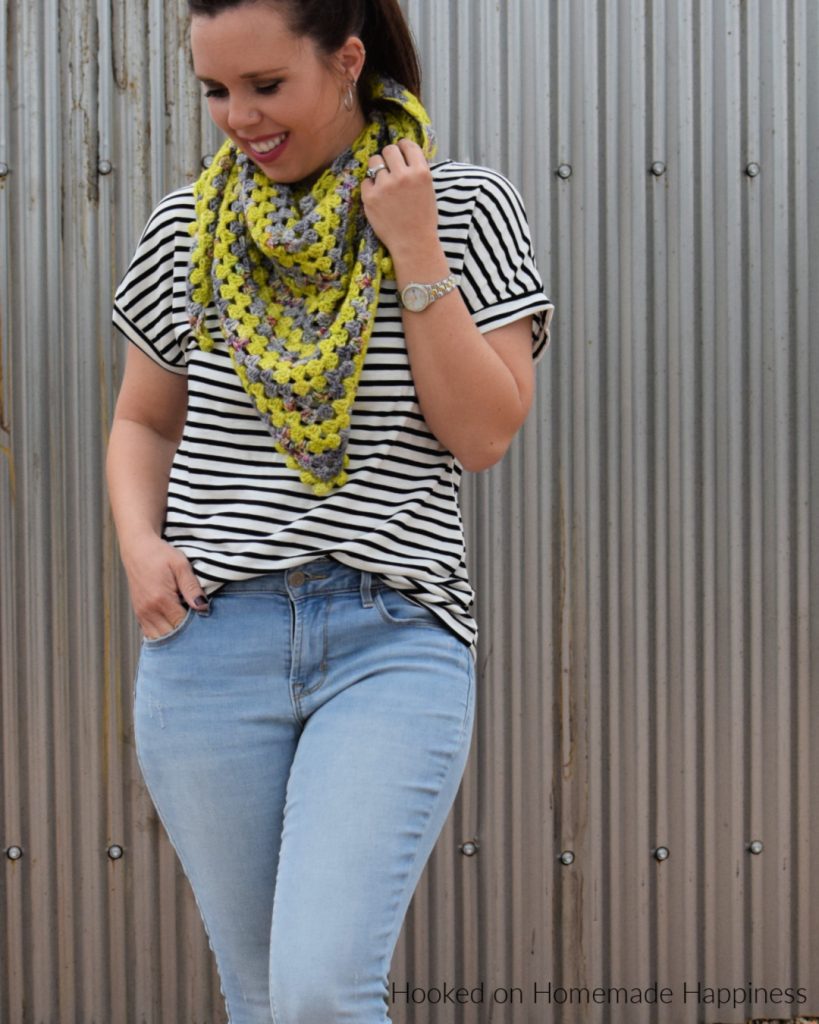
I have a photo tutorial for a basic triangle granny HERE. It’s such a simple pattern with just a 1 row repeat! I made my shawl small, but it can be adjusted for ANY size! Perfect for a beginner crocheter.
More Homemade Happiness:


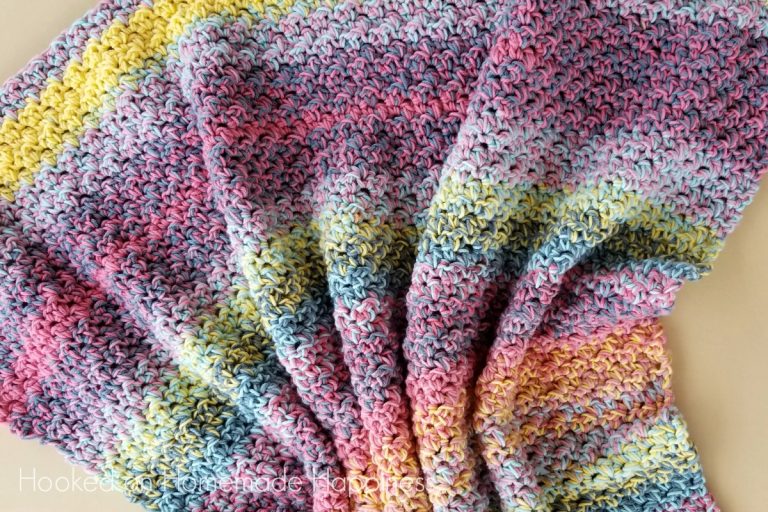
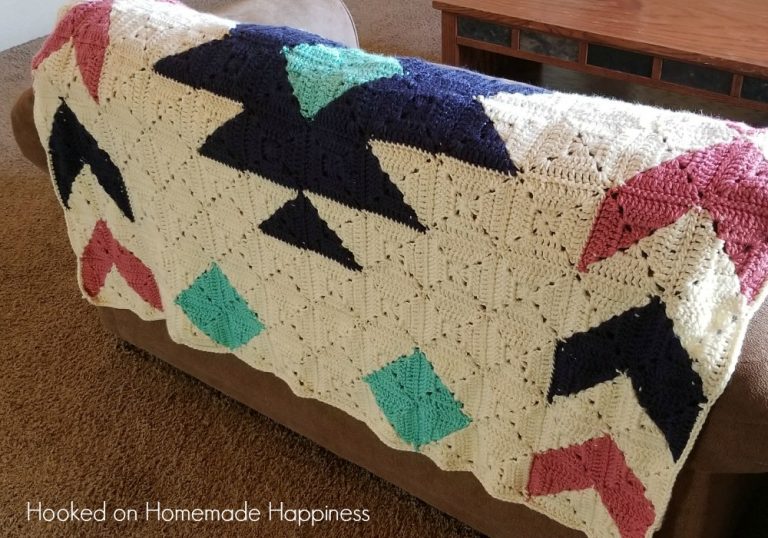
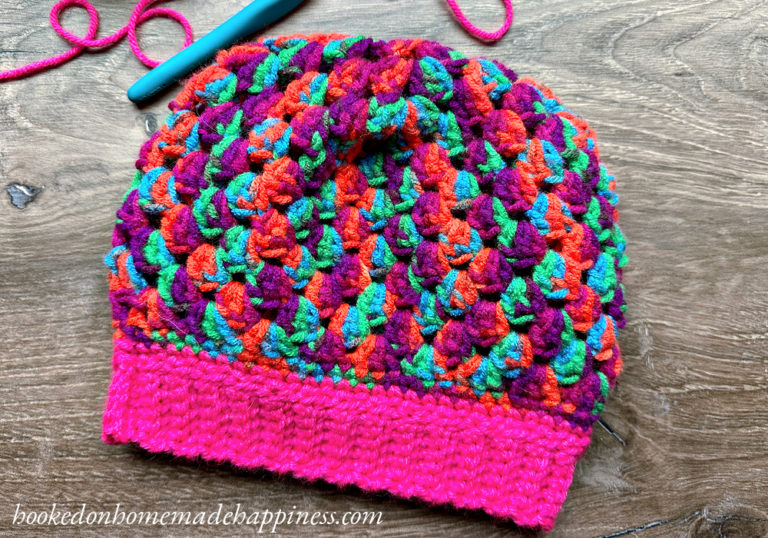
Waterfall Shawl // Sunday Shawlette // Cobblestone Shawl
Better Than Basic Granny Shawl Crochet Pattern
– PIN for later HERE
Materials
200g DK weight yarn (I used yarn from Dover Street Supply Co)
4.5 mm hook
yarn needle
scissors
Level
easy
Pattern Notes & Stitches to Know
ch – chain
sl st – slip stitch
dc – double crochet
sc – single crochet
bobble – *yarn over, insert into stitch, pull up a loop, yarn over, pull through 2 loops* repeat 2 more times. Yarn over, pull through all loops on hook
· Written in US terms
· ch 3 counts as dc
· ch 1 does not count as sc or bobble
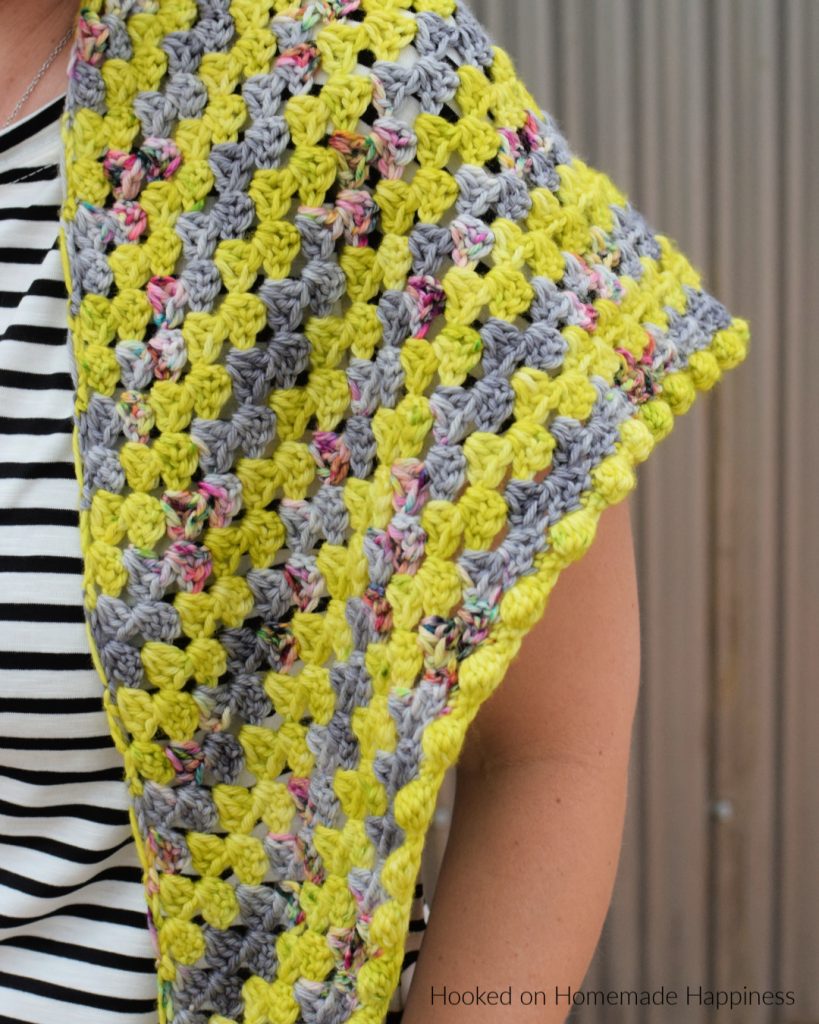
· To create stripes, change colors every 2 rows. No need to fasten off. Carry the colors up to the next row.
· To change the size, add or take out rows as needed. This shawl can be made in any size.
· Approx Finished Size: 45″ x 32″ x 32″
BETTER THAN BASIC GRANNY SHAWL CROCHET PATTERN
Ch 4, sl st into first ch to form a ring
Row 1: Ch 4 (counts as dc + ch 1) 3 dc, ch 3, 3 dc, ch 1, dc all into the ring (8 dc)
Row 2: Ch 4 (counts as dc + ch 1), turn, 3 dc into first ch 1 space, (3 dc, ch 3, 3 dc) into ch 3 space, 3 dc into ch 1 space, ch 1, dc into top of ch 3 from previous row (14 dc)
Row 3: Ch 4 (counts as dc + ch 1), turn, 3 dc into first ch 1 space, 3 dc in between 3 dc’s from previous row, (3 dc, ch 3, 3 dc) all in ch 3 space, 3 dc in between 3 dc’s from previous row, 3 dc into ch 1 space, ch 1, dc into top of ch 3 from previous row (20 dc)
Row 4: Ch 4 (counts as dc + ch 1), turn, 3 dc in first ch 1 space, and 3 dc in between the 3 dc’s from previous row along the side, (3 dc, ch 3, 3 dc) in corner ch 3 space, 3 dc in between the 3 dc’s from previous row along the other side of the triangle, 3 dc in the last ch 1 space, ch 1, dc into top of ch 3 from previous row (26 dc)
Row 5 – 34: repeat row 4
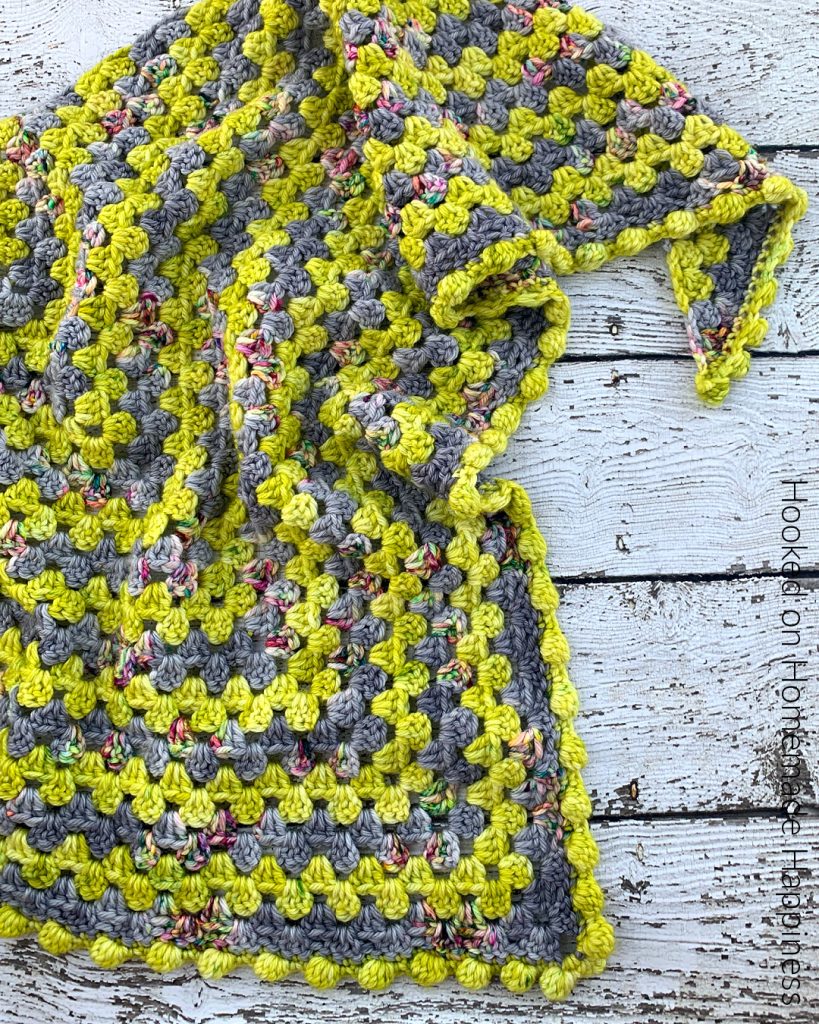
Row 35: ch 1, turn, 2 sc in first stitch, sc in first ch 1 space, sc in each stitch across to corner, (2 sc, ch 2, 2 sc) in corner, sc in each stitch across to last stitch, sc in ch 1 space, 2 sc in last stitch (212 sc)
Row 36: ch 1, turn, sc in same stitch, bobble in same stitch, sc in next 2, bobble in next stitch, *sc in next 2, bobble in next stitch* repeat from * to * across to stitch before corner, sc in next, (2 sc, ch 2, 2 sc) all in corner space, sc in next, bobble in next, repeat from * to * across, sc in last stitch with the last bobble (218)
Fasten off. Weave in the ends.
And you’re done! I hope you love your scarf.
Looking for more patterns? Follow me on Facebook, Instagram, and Pinterest! Please share a pic of your finished product with me. I’d love to see it!


Il est magnifique !