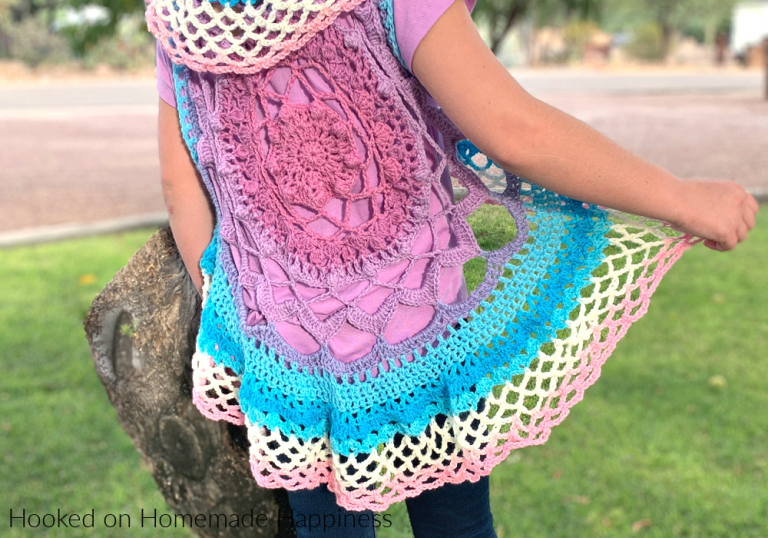
Sunday Shawlette Crochet Pattern
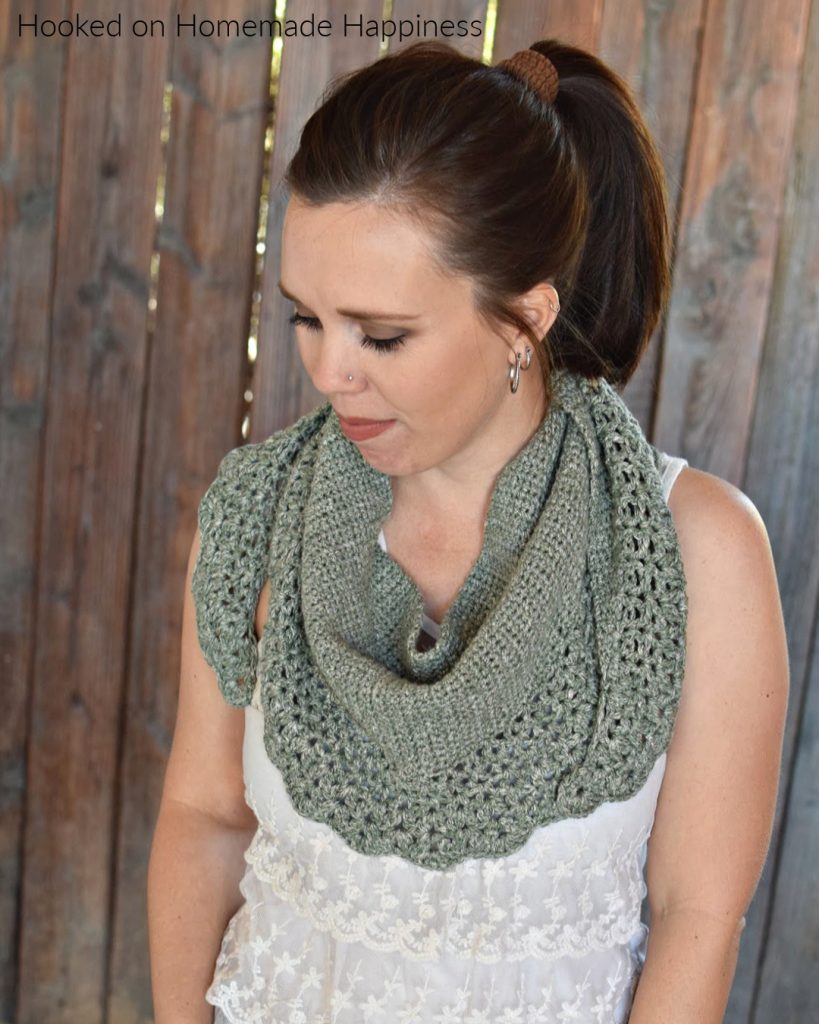
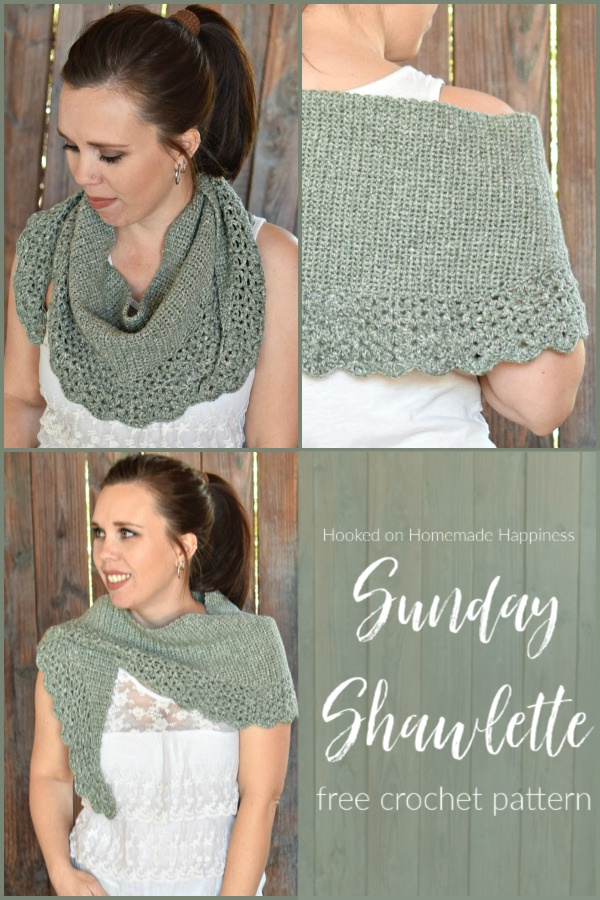
The Sunday Shawlette Crochet Pattern is a pretty & feminine design. It fits over the shoulders perfectly and is a beautiful accessory.
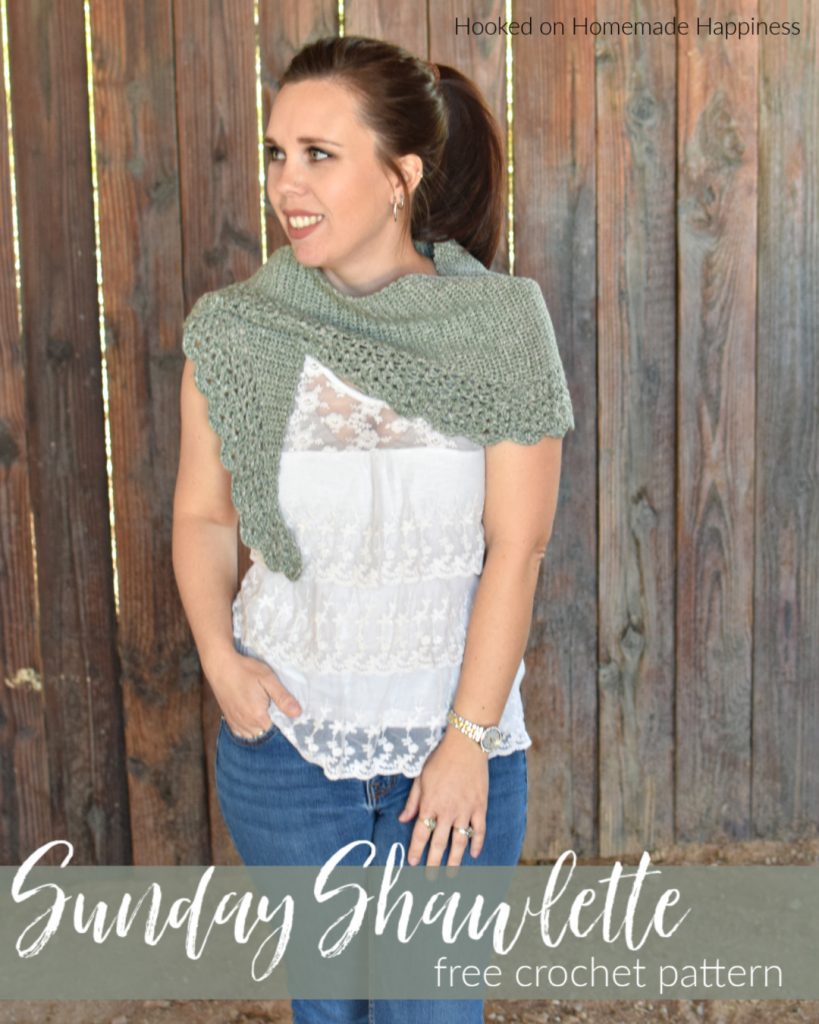
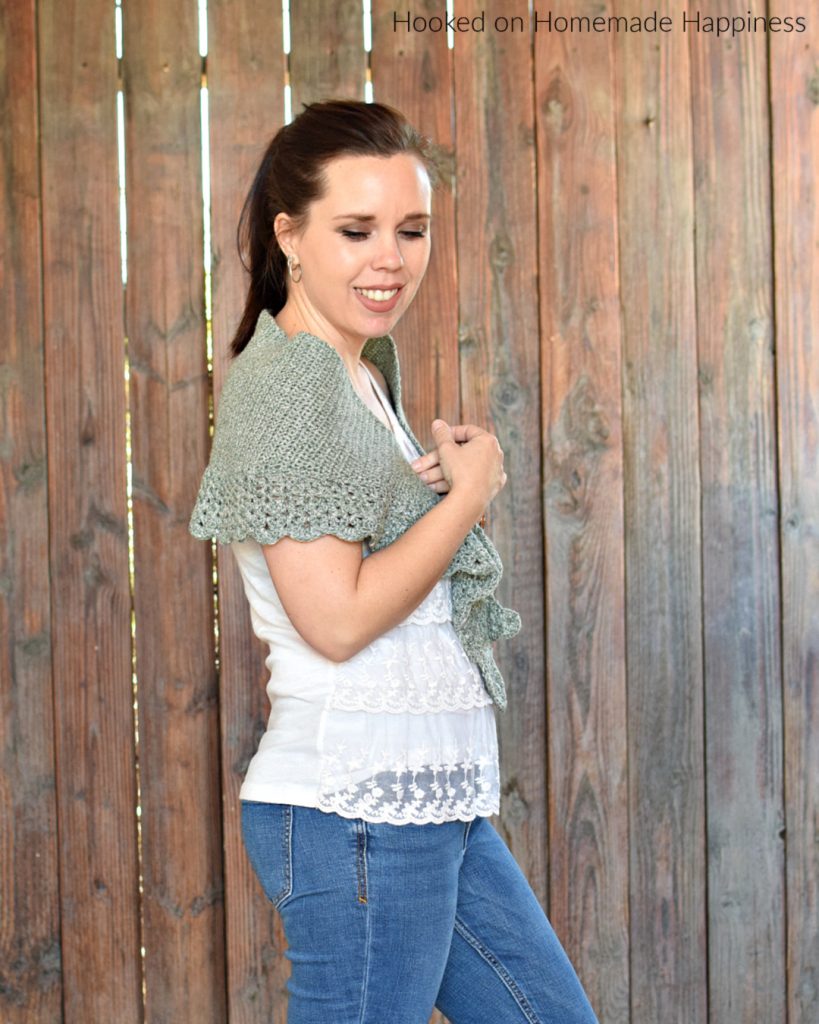
This shawlette can be worn as a shawl or as a scarf. Either way looks gorgeous! I used Lofti DK in Mistletoe from KnitCrate for this pattern. Any DK weight yarn would work great.
More Homemade Happiness:
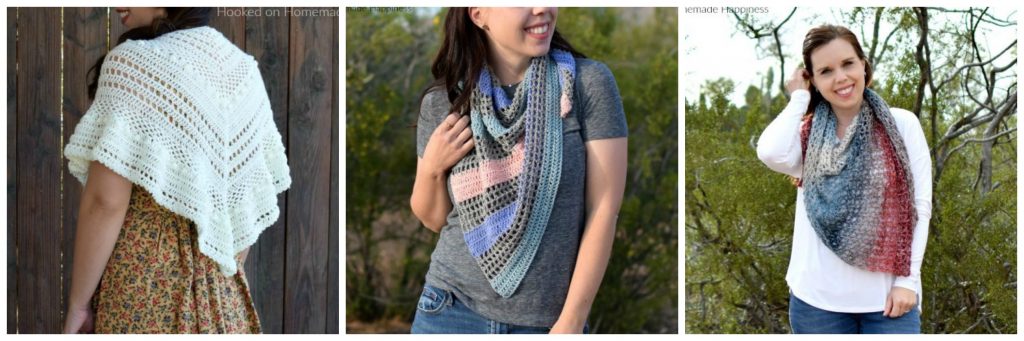
Al Fresco Shawl // Beautiful You Shawl // Moonstone Shawl
Sunday Shawlette Crochet Pattern
– Get the full pattern below or purchase the ad-free, printable PDF in my Etsy Shop or Ravelry Shop
– PIN for later HERE
– Add to your Ravelry Queue HERE
Materials
200g Lofi DK in Mistletoe (any DK weight yarn will work)
4.5 mm hook
yarn needle
scissors
Level
intermediate
Pattern notes & stitches to know
ch – chain
sc – single crochet
sc2tog – single crochet 2 together (single crochet decrease)
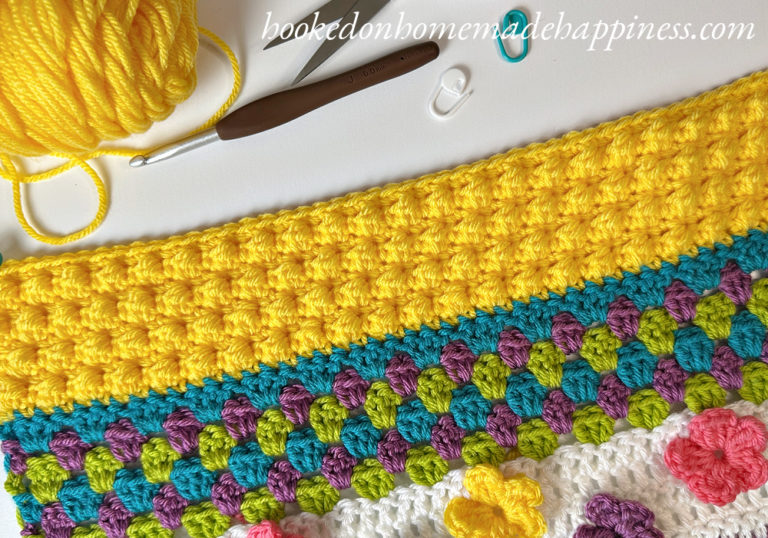
V Stitch – (dc, ch 1, dc) all in one stitch
CL – Cluster – yarn over, insert hook into stitch, pull up a loop, yarn over, pull through 2 loops, yarn over, insert hook back in same stitch, pull up a loop, yarn over, pull through 2 loops, yarn over and pull through remaining loops on hook
CL V Stitch – (CL, ch 2, CL) all in one stitch
· written in US terms
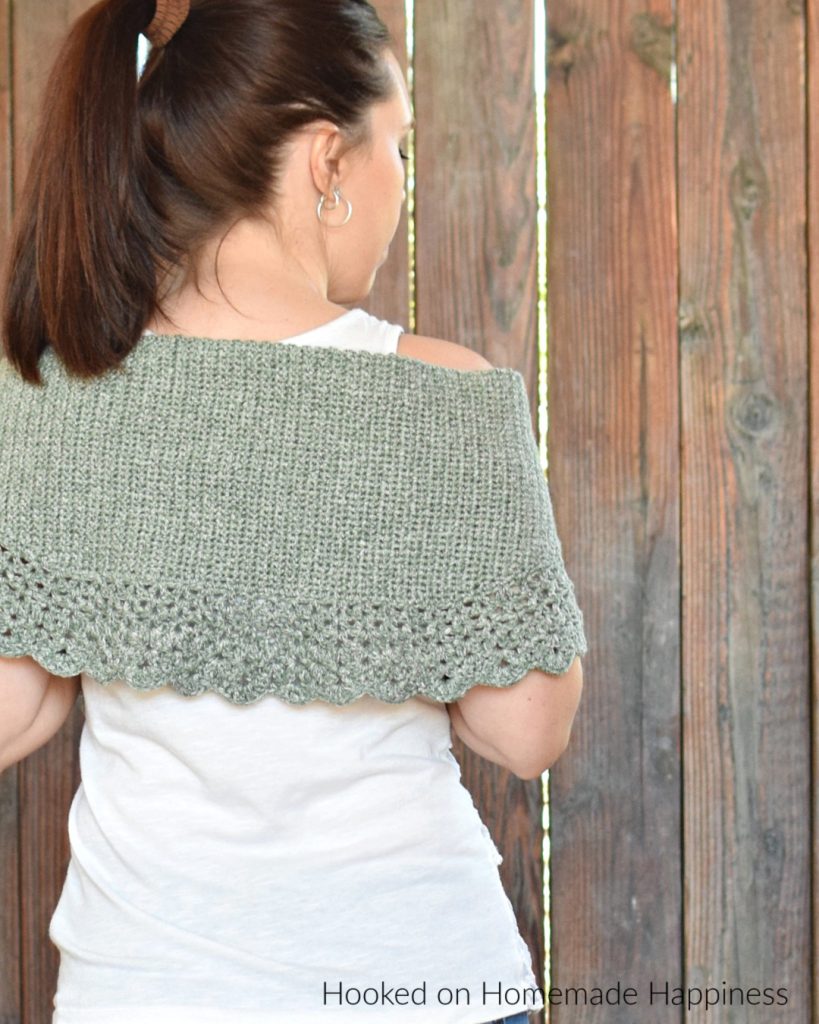
· This shawlette is made from corner to corner. The curved shape is created by increasing and decreasing along one side. Then the edging is worked along the curved edge.
· Wet blocking is highly recommended.
· ch 1 does not count as sc
· ch 3 counts as dc
· ch 4 counts as dc + ch 1
· Gauge: 21 sc x 20 rows = 4” x 4”
Approx Finished Size: 52” (across the top) x 10” (down the center)
SUNDAY SHAWLETTE CROCHET PATTERN
ch 2
Row 1: sc in 2nd ch from the hook (1 sc)
Row 2: ch 1, turn, 2 sc (2 sc)
Row 3: ch 1, turn, sc in both stitches (2 sc)
Row 4: ch 1, turn, 2 sc in first stitch, sc in next (3 sc)
Row 5: ch 1, turn, sc in each stitch across (3 sc)
Row 6: ch 1, turn, 2 sc in first stitch, sc in each stitch across (4 sc)
Row 7: ch 1, turn, sc in each stitch across (4 sc)
Repeat rows 6 & 7 to Row 72 (37 sc)
Row 73: ch 1, turn, sc in each stitch across (37 sc)
Repeat row 73 to Row 129 (37 sc)
Row 130: ch 1, turn, sc2tog, sc in each stitch across (36 sc)
Row 131: ch 1, turn, sc in each stitch across (36 sc)
Repeat rows 130 & 131 to Row 199 (3 sc)
Row 200: ch 1, turn, sc2tog, sc in next (2 sc)
Row 201: ch 1, turn, sc in each stitch (2 sc)
Row 202: ch 1, turn, sctog (1 sc)
Row 203: ch 1, turn, sc (1 sc)
Do not fasten off.
If the corners are curling, that’s normal and the edging will help.
EDGING
For the edging, work across the curved side of the shawlette
Row 1: ch 1, work 1 sc in the end of each row across to last stitch, 2 sc in last stitch (204)
Row 2: ch 4, turn, dc in same stitch, V stitch in same stitch, skip 2 stitches, *V stitch in next, skip 2 stitches* repeat from * to * across to last stitch, V stitch and 1 dc in last stitch
Row 3: ch 4, turn, dc in same stitch, V stitch in same stitch, V stitch in each ch 1 space across to last stitch, V stitch and 1 dc in last stitch
Row 4: repeat row 3
Row 5: ch 3, turn, (dc, ch 2, CL) all in first stitch, CL V stitch in each ch 1 space across to last stitch, CL V stitch and 1 dc in last stitch
Row 6: ch 3, turn, (dc, ch 2, CL) all in first stitch, CL V stitch in each ch 2 space across to last stitch, CL V stitch and 1 dc in last stitch
Row 7: ch 1, turn, sc in same stitch, 7 dc in next ch 2 space, *sc in next ch 2 space, 7 dc in next ch 2 space* repeat from * to * across, sc in last stitch
Fasten off. Weave in the ends.
And you’re done with this pretty shawlette! I hope you love it.
Looking for more patterns? Follow me on Facebook, Instagram, and Pinterest! Please share a pic of your finished product with me. I’d love to see it!


I love how the shawlette looks. I would like to make it.
How many yards does this beautiful shawlette require? I have searched Ravelry but cannot find the answer, nor can I find Lofi yarn.
Thank you.
Hola
Quisiera tener el patrón para poder hacerlo no entiendo por escrito
What is Lofi yarn…i can’t find it online.
Hi! I think it’s from KnitCrate and they have since closed.
hello. This is beautiful. Thank you for sharing. Would it be possible to make it wider than 10″ and if so how to do it please. Thanking you in advance for your help.
All the best,
Caroline
Hi! Yes, just continue with the increasing rows until it’s the width you are looking for 🙂