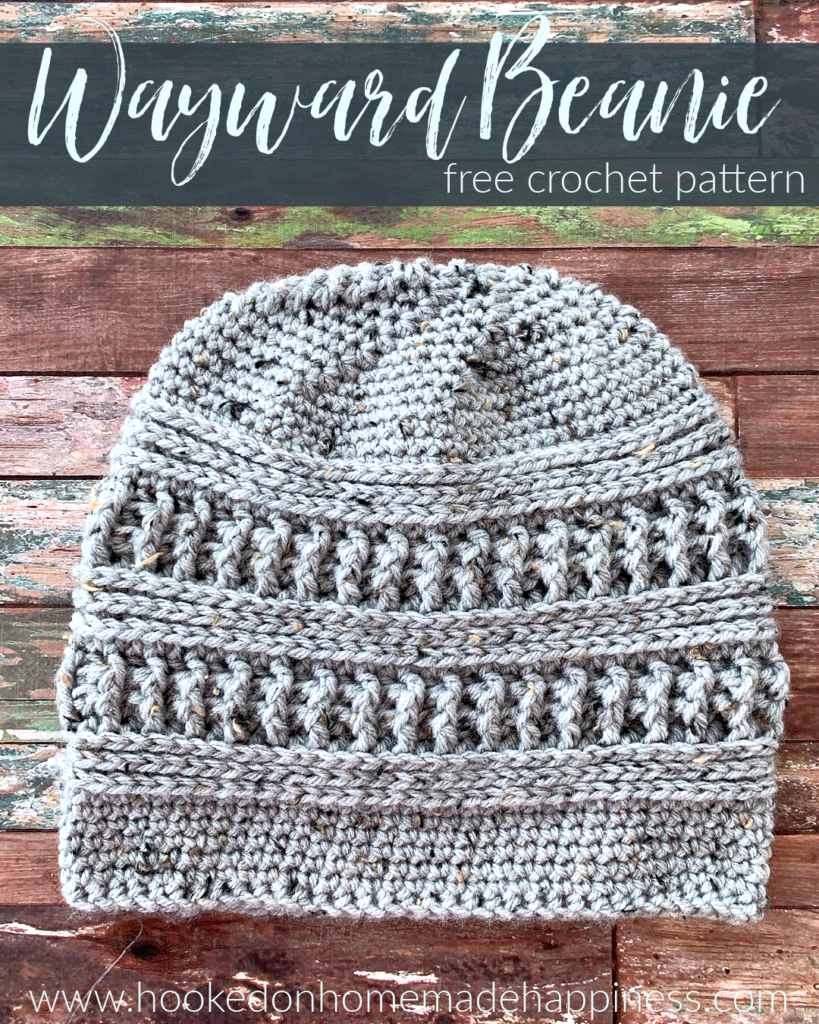
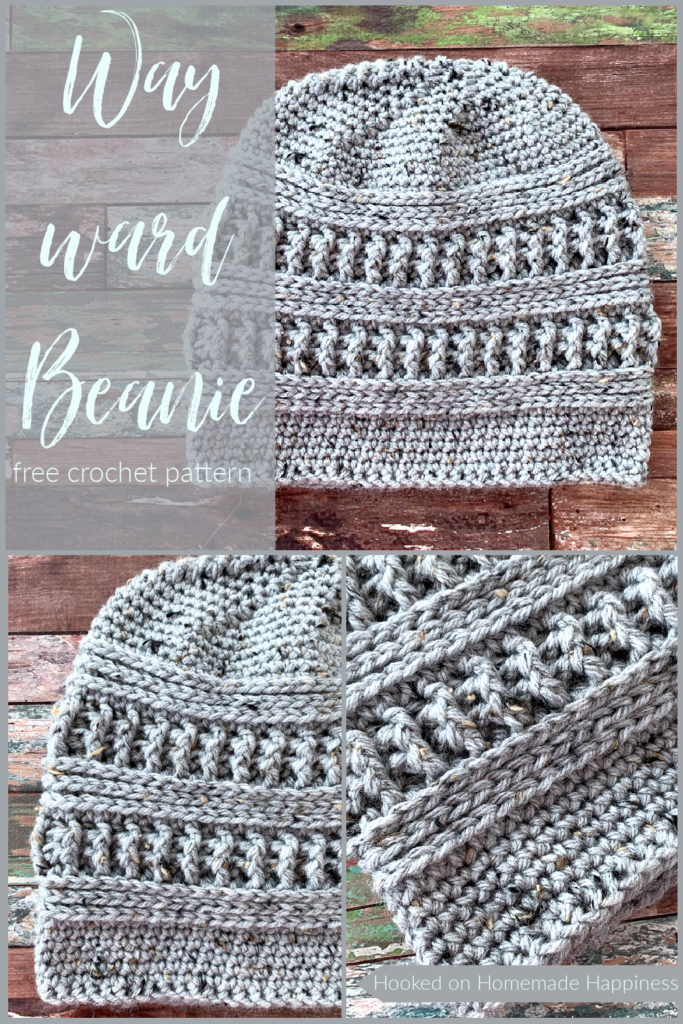
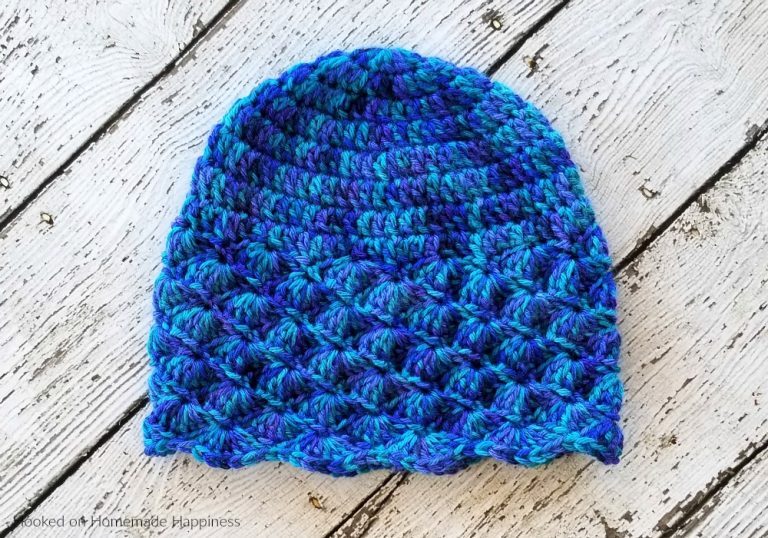
Wayward Beanie Crochet Pattern
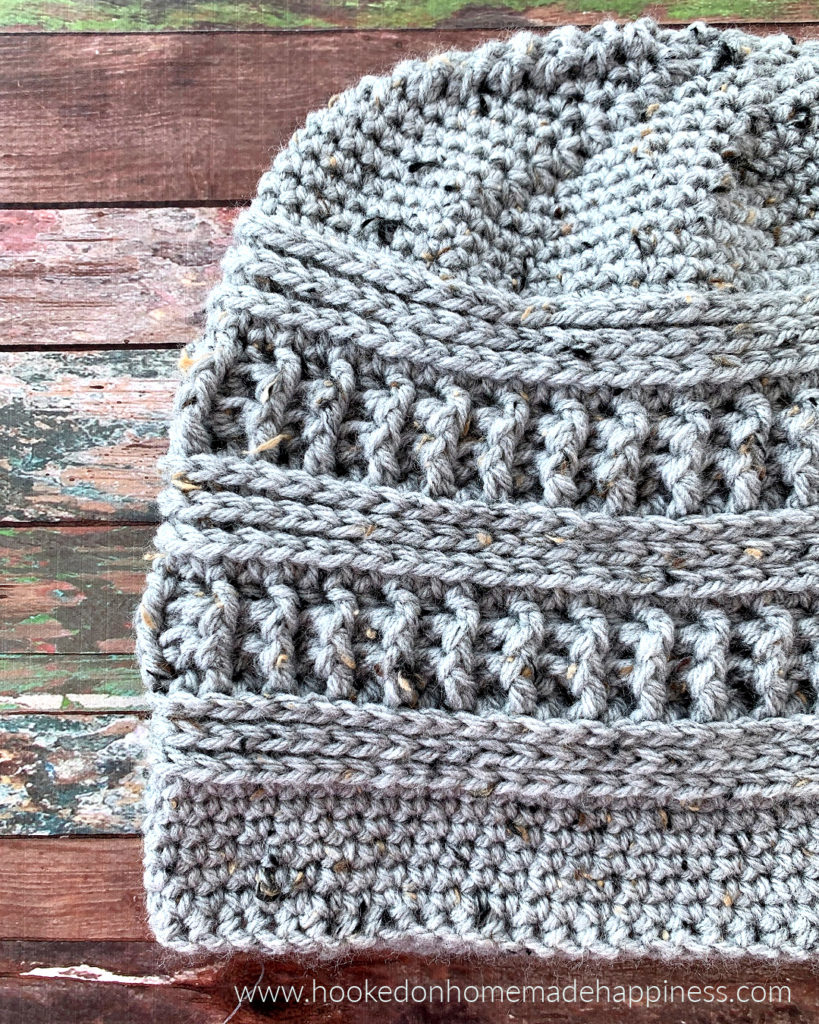
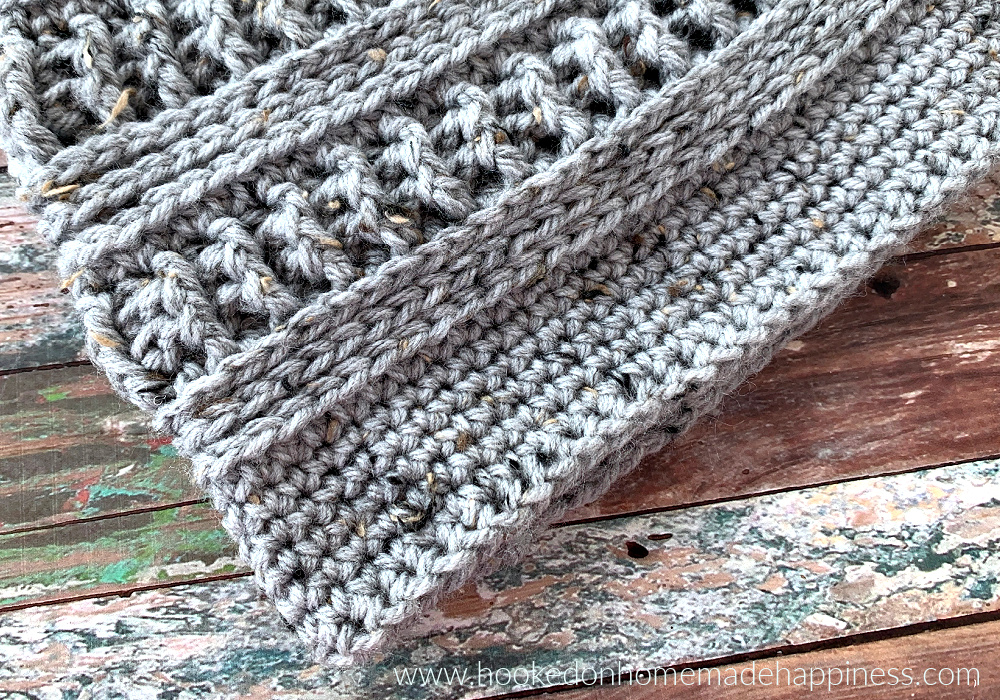
The Wayward Beanie Crochet Pattern is the perfect winter beanie! It’s textured & warm with it’s tightly woven stitches. I love the combination of vertical and horizontal lines.
This hat is the 14th pattern (and final) in the Crochet Along for a Cause. We made 1 hat per week to donate to a cancer center, school, or homeless shelter all summer long. You can find all the details and hat patterns HERE.
More Homemade Happiness:


Evergreen Beanie // Spike Beanie // XOXO Beanie
Wayward Beanie Crochet Pattern
– Get the full pattern below or download the printable PDF for free HERE
Materials
85g worsted weight yarn (I used Loops & Threads Impeccable )
H/5.0 mm hook
yarn needle
scissors
Level
intermediate
Pattern notes & Stitches to Know
sl st – slip stitch
ch – chain
foundation sc
sc – single crochet
hdc – half double crochet
3rd loop – when working into a half double crochet, insert hook into the 3rd loop, and work the stitch
dc – double crochet
fpdc – front post double crochet
bpdc – back post double crochet
sc2tog – single crochet 2 together (single crochet decrease)
· Written in US terms
· ch 1 does not count as sc
· ch 2 does not count as dc
· This beanie is made from the bottom up with joined rounds
· To change the pattern size, go up or down a hook size. You can also add or take out stitches in the foundation row (must ben even number)
· Approx Finished size (small adult) – Length: 9” Circumference: 19”
WAYWARD BEANIE CROCHET PATTERN
ch 2
Row 1: starting in the 2nd ch from the hook foundation sc 70, join to first sc with sl st (70 sc)
To change the circumference, add or take out foundation single crochets. The total number of single crochets needs to be even.
Round 2 – 6: ch 1, sc in each stitch around, join to first sc with sl st (70 sc)
Round 7: ch 2, hdc in each stitch around, join to first hdc with sl st (70 hdc)
Round 8 – 9: ch 2, hdc in 3rd loop in each stitch around, join to first hdc with sl st (70 hdc)
Round 10: ch 2, dc in 3rd loop in each stitch around, join to first dc with sl se (70 dc)
Round 11 – 12: ch 2, fpdc in first stitch, bpdc in next, *fpdc in next stitch, bpdc in next* repeat from * to * around, join to first fpdc with sl st (70)
Round 13 – 21: repeat rounds 7 – 12, ending with a round 9 repeat (70 hdc)
Round 22: ch 1, sc in 3rd loop in each stitch around, join to first sc with sl st (70 sc)
Round 23 – 25: ch 1, sc in each stich around, join to first sc with sl st (70 sc)
Round 26: ch 1, *sc in 8 stitches, sc2tog* repeat from * to * around, join to first sc with sl st (63 sc)
Round 27: ch 1, *sc in 7 stitches, sc2tog* repeat from * to * around, join to first sc with sl st (56 sc)
Round 28: ch 1, *sc in 6 stitches, sc2tog* repeat from * to * around, join to first sc with sl st (49 sc)
Round 29: ch 1, *sc in 5 stitches, sc2tog* repeat from * to * around, join to first sc with sl st (42 sc)
Round 30: ch 1, *sc in 4 stitches, sc2tog * repeat from * to * around, join to first sc with sl st (35 sc)
Round 31: ch 1, *sc in 3 stitches, sc2tog* repeat from * to * around, join to first sc with sl st (28 sc)
Round 32: ch 1, *sc in 2 stitches, sc2tog* repeat from * to * around, join to first sc with sl st (21 sc)
Round 33: ch 1, *sc in 1 stitch, sc2tog* repeat from * to * around, join to first sc with sl st (14 sc)
Round 34: ch 1, sc2tog around, join to first sc with sl st (7 sc)
Fasten off.
Leave a long end for sewing.
Use a yarn needle to weave the long end in and out of the top of the stitches in the last round.
Cinch the top closed.
(HERE is a photo tutorial showing how I sew the top of a beanie)
Use the beginning end to sew the small space left from joining round 1 closed.
Weave in all the ends.
Looking for more patterns? Follow me on Facebook, Instagram, and Pinterest! Please share a pic of your finished product with me. I’d love to see it!


another fun pattern for my donation box…this has been so much fun…thank you Breann…
Thank you so much for joining!
Is there possibly a video? I’m not sure that I am understanding rows 8/9 and those like it, since what I’m doing does not look like the photo.
Hi! I don’t have a video. Sorry! The third loop is located on the back of the hdc stitch. There is a horizontal bar, insert your hook there and make the hdc.