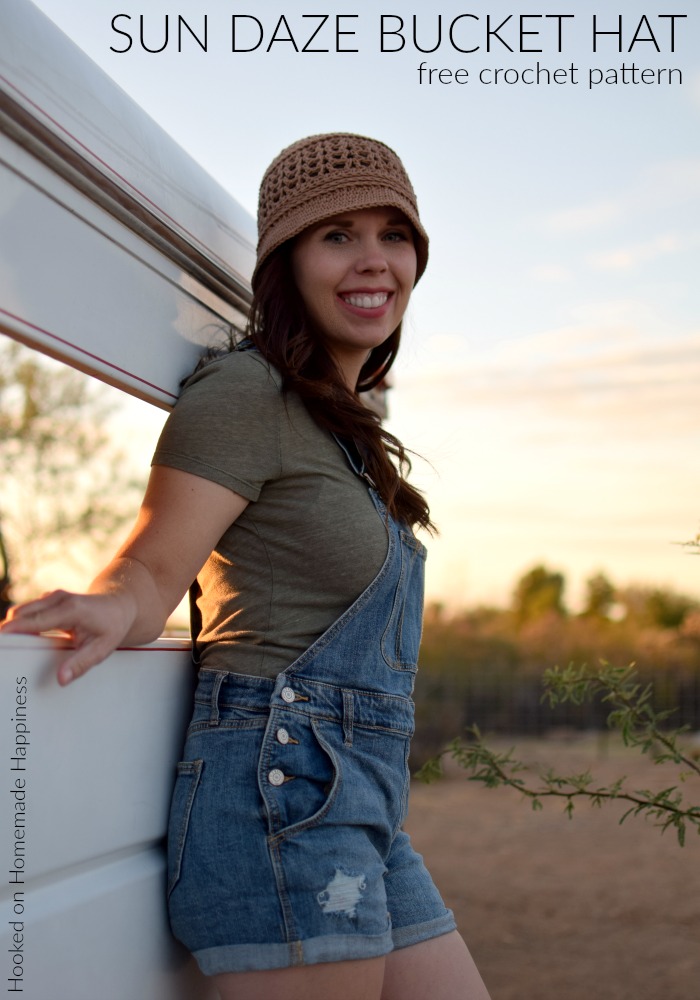
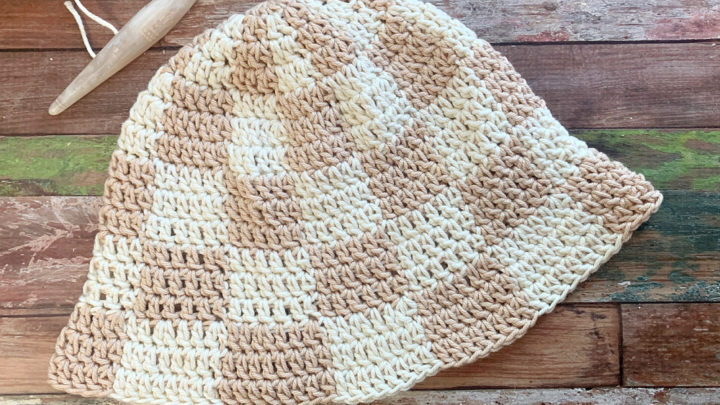
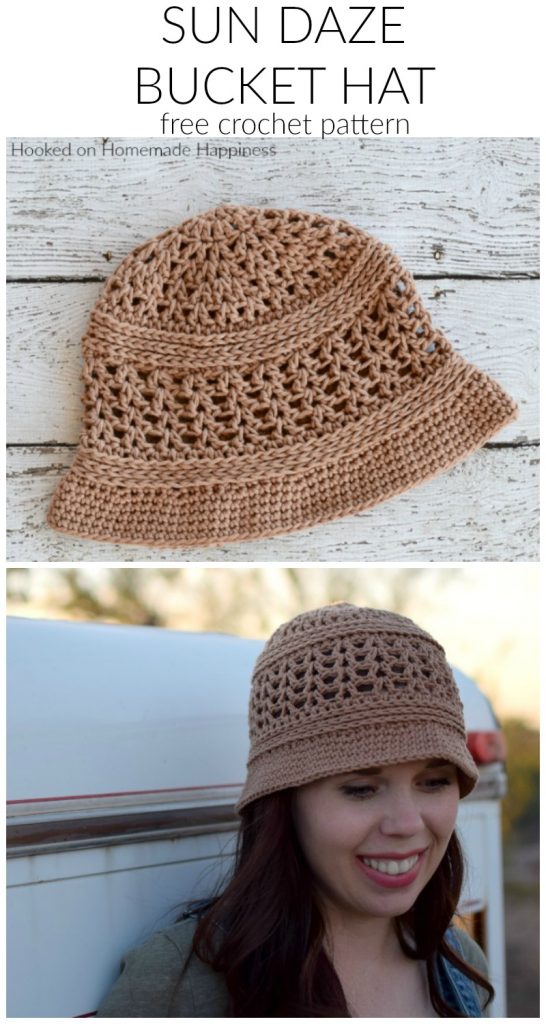
Sun Daze Bucket Hat Crochet Pattern
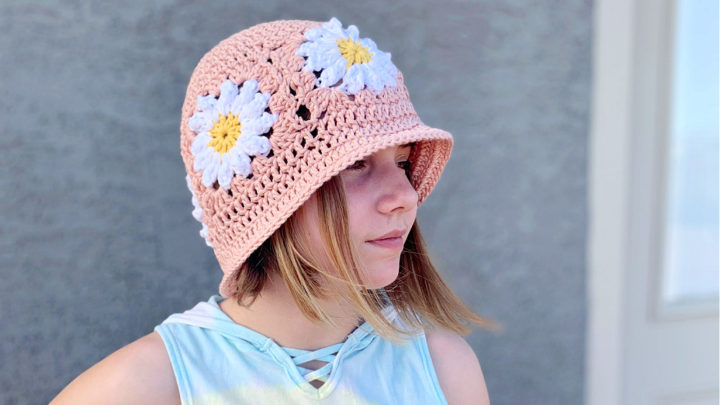
As the days get longer and the sun shines brighter, there’s no better time to pick up your hook and create something both beautiful and practical. The Sun Daze Bucket Hat Crochet Pattern is the perfect blend of fashion and function—lightweight, breathable, and just the thing to keep you shaded on sunny days. The Sun Daze Bucket Hat Crochet Pattern uses a few of my favorite stitches to create this cute and textured summer hat.
Choosing Your Yarn
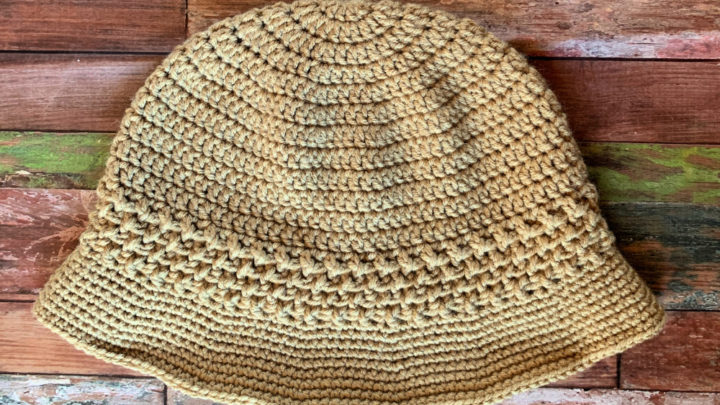
I used Paintbox Yarn Cotton Aran for this hat. This yarn is a soft, breathable 100% cotton yarn that’s ideal for summer projects like crochet hats. Its smooth texture and sturdy structure give sun hats the shape they need while still feeling light and comfortable to wear. With a wide range of vibrant colors, it’s perfect for adding a pop of personality to your warm-weather accessories. Any worsted weight cotton would work great! Some other favorites are: WeCrochet Dishie, Hobby Lobby I Love this Cotton Yarn, or Lily’s Sugar & Cream.
Getting to Know the Stitches
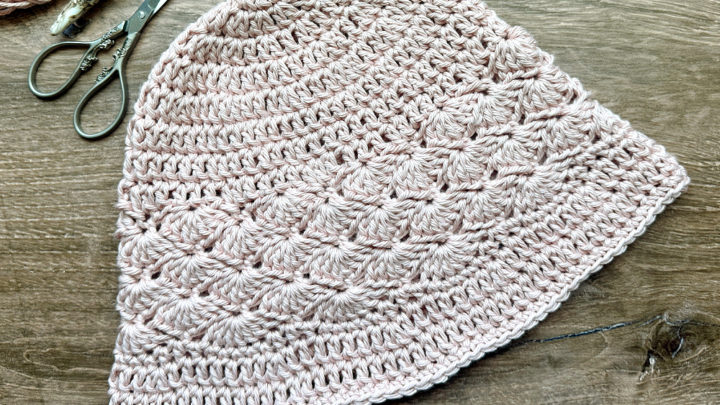
The V Stitch: The crochet V stitch (V st) is a simple yet elegant pattern made by working two double crochets into the same stitch or space, typically separated by a chain. This creates a “V” shape that gives the fabric an airy, open feel—perfect for lightweight projects like summer hats, shawls, or blankets. It’s easy to learn and adds lovely texture and drape to any design.
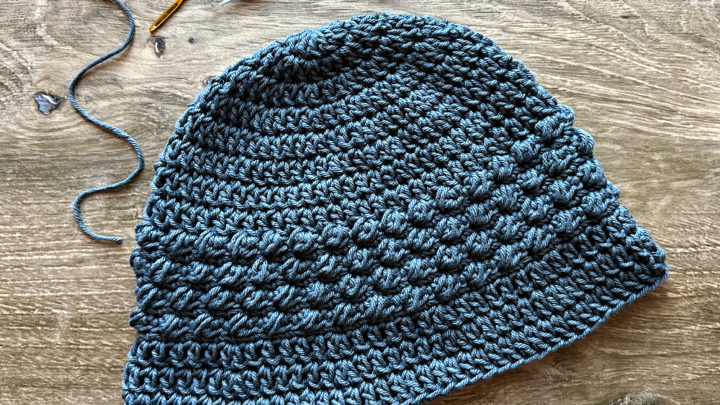
Half Double Crochet in the Third Loop: The half double crochet third loop (hdc TL) technique creates a subtle yet beautiful texture by working into the extra loop found behind the top two loops of the stitch. This pushes the top V forward, giving your fabric a knit-like, ridged look. It’s perfect for adding definition and interest to simple patterns, especially in accessories like hats and bags.
More Homemade Happiness
click here to pin this pattern for later >>>
Sun Daze Bucket Hat Crochet Pattern
– Get the free pattern below or this pattern is also available as an inexpensive, clearly formatted, PDF instant download in my Etsy shop or Ravelry Shop!
– PIN for later HERE
– Add to your Ravelry Queue HERE
Materials
Approx 140 yds Paintbox Yarn Cotton Aran in Fudge (or any worsted weight cotton or acrylic)
4.5 mm hook
yarn needle
scissors
Level
intermediate
Pattern notes & stitches to know
sl st – slip stich
ch – chain
dc – double crochet
V stitch – (dc, ch 1, dc) all in same stitch
hdc – half double crochet
hdc 3rd loop – insert hook into the bar behind the two top loops and work a hdc
sc – single crochet
sc 3rd loop – insert hook into the bar behind the two top loops ad work a sc
Written in US terms
Ch 3 counts as dc
Ch 1 does not count as hdc or sc
Approx Finished Size:
Teen/Small Adult: Length (8.5”) Width above the brim (9.25”)
Large Adult: Length(8.5”) Width above the brim (10”)
SUN DAZE BUCKET HAT CROCHET PATTERN
Pattern written in Teen/Small Adult, Large Adult noted in ( )
Make a magic circle
Round 1: ch 2, dc 8 times into circle, pull circle closed tight, join to top of first dc (8)
Round 2: ch 2, 2 dc in each stitch around, join to top of first dc (16)
Round 3: ch 3, v stitch in same stitch, *skip one stitch , v stitch in next 2 stitches* repeat from * to * around, join to first ch 3 with sl st (11 v stitch-es)
Round 4: ch 3, *v stitch in ch 1 (the ch 1 in the v stitch from the previous round), v stitch in next ch 1, v stitch in between next v stitches from previ-ous round* repeat from * to * around, join to first ch 3 with sl st (16 v stitches)
Round 5: ch 3, *v stitch in next 3 ch 1 spaces, v stitch in between next v stitches from previous round* repeat from * to * around, join to first ch 3 with sl st (21 v stitches)
Teen/Small Adult Round 6: (for Teen/Small Adult only) ch 3, V stitch in each ch 1 space around, join to first ch 3 with sl st (21 v stitches)
Large Adult Round 6: (for Large Adult size only) ch 3, *v stitch in next 4 ch 1 spaces, v stitch in between next v stitches from previous round* repeat from * to * around, join to first ch 3 with sl st (26 v stitches)
Round 7: ch 1, hdc in each dc and ch around, join to first hdc with sl st (64 (78) hdc)
Round 8: ch 1, hdc in 3rd loop in each stitch around, join to first hdc with sl st (64 (78) hdc)
Round 9: ch 1, hdc in 3rd loop in each stitch around, join to first hdc with sl st (64 (78) hdc)
Round 10: ch 1, sc in 3rd loop in each stitch around (64 (78) sc)
Round 11: ch 3, skip two stitches, *v stitch in next, skip 2 stitches* repeat from * to * around, join to first ch 3 with sl st (21 v stitches (26 v stitches))
Round 12: ch 3, v stitch in each ch 1 space around, join to first ch 3 with sl st (21 v stitches (26 v stitches))
Round 13: ch 3, v stitch in each ch 1 space around, join to first ch 3 with sl st (21 v stitches (26 v stitches))
Round 14: ch 3, v stitch in each ch 1 space around, join to first ch 3 with sl st (21 v stitches (26 v stitches))
Round 15: ch 1, hdc in each dc and ch around, join to first hdc with sl st (64 (78) hdc)
Round 16: ch 1, hdc in 3rd loop in each stitch around, join to first hdc with sl st (64 (78) hdc)
Round 17: ch 1, hdc in 3rd loop in each stitch around, join to first hdc with sl st (64 (78) hdc)
Round 18: ch 1, *sc in 3rd loop in 3 stitches, 2 sc in 3rd loop in next* repeat from * to * around, join to first sc with sl st (80 (97) sc)
Round 19: ch 1, *sc in 4 stitches, 2 sc in next* repeat from * to * around, join to first sc with sl st (96 (116) sc)
Round 20: ch 1, sc in each stitch around, join to first sc with sl st (96 (116) sc)
Repeat round 20 to Round 23 (or until desired length)
Fasten off, weave in the ends.
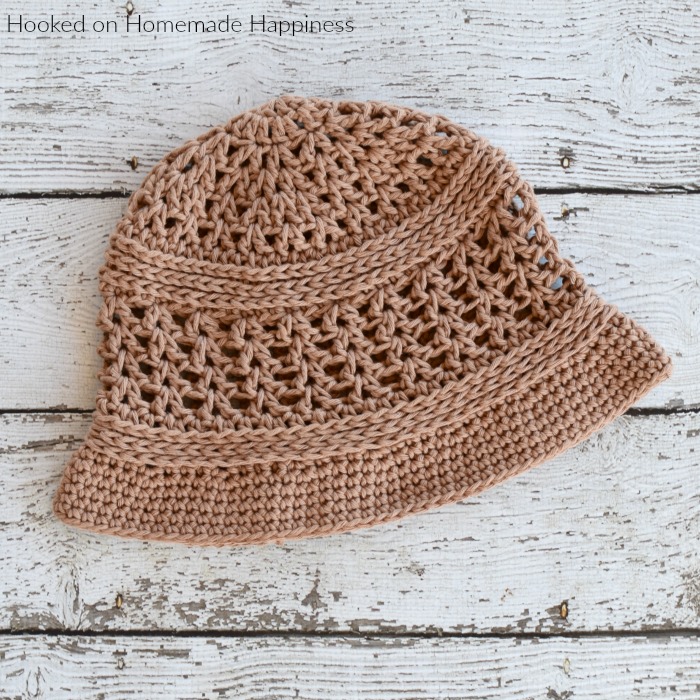
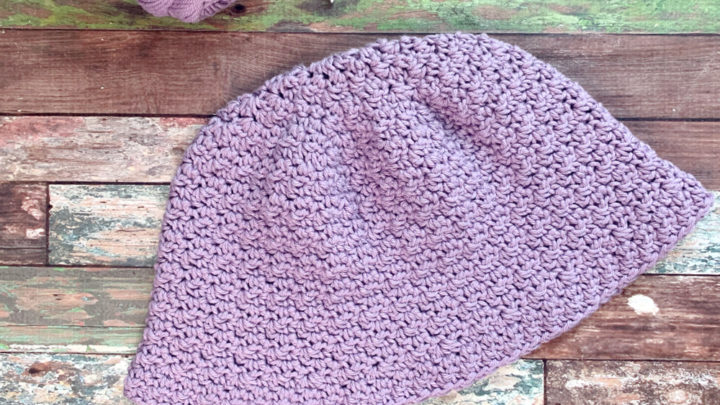
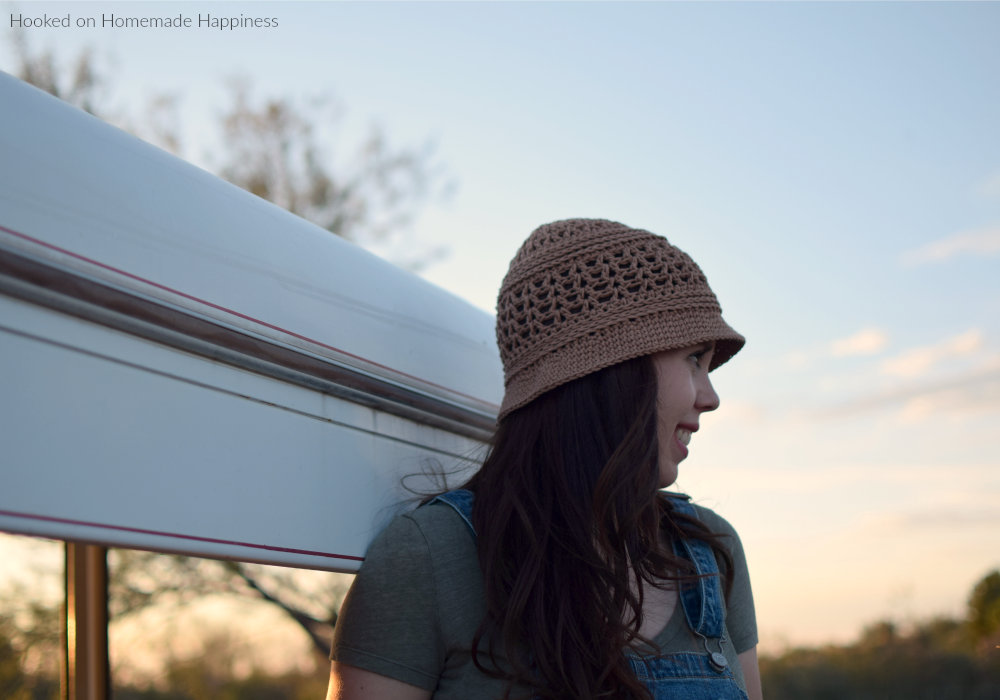
And you’re done with this cute bucket hat!
Looking for more patterns? Follow me on Facebook, Instagram, and Pinterest! Please share a pic of your finished product with me. I’d love to see it!


So pretty and perfect for the beach
I can’t wait to try this pattern, its so cute!
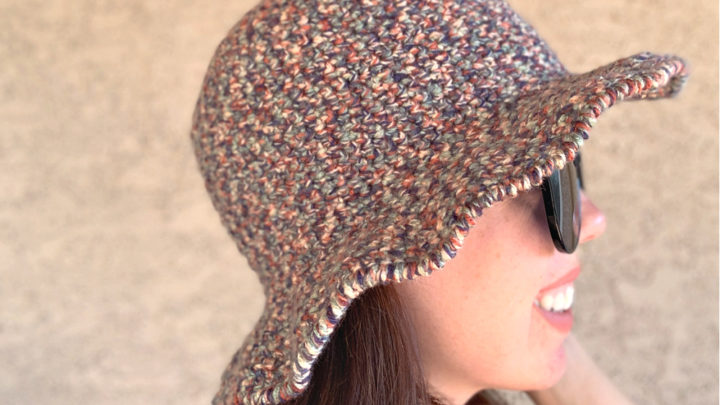
I am obsessed with this hat! I’m working on my third so far…1 in cotton, and this is the second Acrylic version of unique colorways. This pattern is great…easy to follow, fun to work up, and can work up quickly! It’s also VERY easy to customize/adapt to other yarns. One of my top 2 favorites of all-time!
Yay! Thank you so much!
How do I make the seam unnoticeable? I really like this pattern but I want the seam not to show.
With joined rounds there will always be a little bit of a seam.
I wrote part of the pattern out in pics & thought the same…going to try a seamless method, probably need to increase number of sts & or fasten off at end of each row & do standing double crochets starting off each row 🧶🌻
Cheryl@crochet365knittoo.com has instructions for invisible join. Might be of help. I hate those seams, too! Good luck.
I am doing this pattern right now and doing the joined seams like in the pattern. I hate the seams too but they aren’t really showing up. I think it is because it is more of an open stitch.
Love the hat but, I am having trouble with rounds 3 and 4. V stitch in between -how many V stitches?? from previous round.,,,????
Hi! Work one v stitch in between the next two V stitches
Thank you so much! Will try that!!
At the end, you say to repeat rows 20-23 until desired length but the pattern stops at row 20. I’ve been doing this long enough, I can figure out what you intend but I wanted to point out the mistake for you. 🙂 Really awesome patterns – I’ve done a number of yours now and I love them all. I would really appreciate a gauge check at the end of the crown – how many inches/cm should it be at this point? Thanks!!
Hi! You will repeat round 20 to round 23. So repeat that round 3 more times 🙂