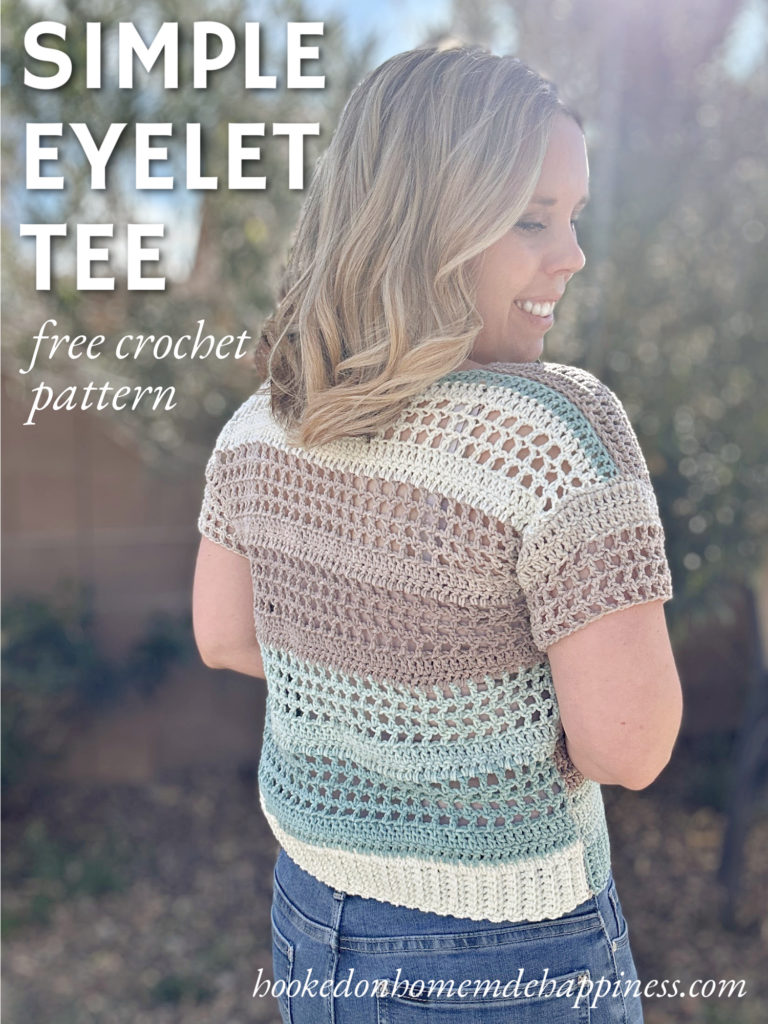
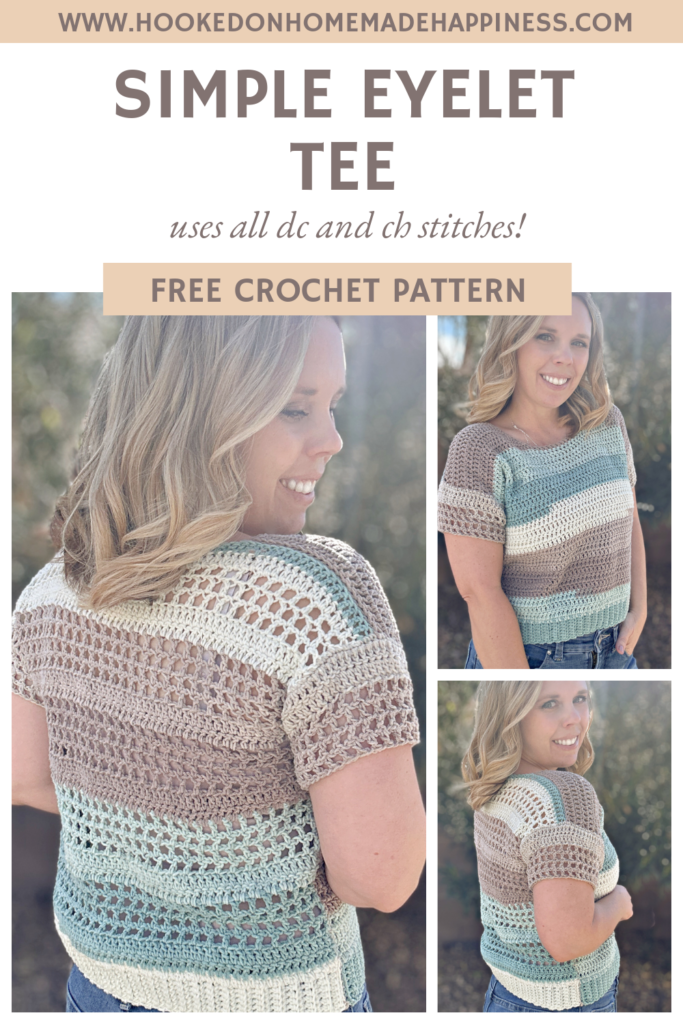
Simple Eyelet Tee Crochet Pattern
If you loved the cozy look of the Simple Eyelet Sweater, you’re going to love this warm-weather version! The Simple Eyelet Tee Crochet Pattern keeps the same easy stitch pattern and relaxed construction but swaps long sleeves for a breezy, short-sleeve tee that’s perfect for spring and summer.
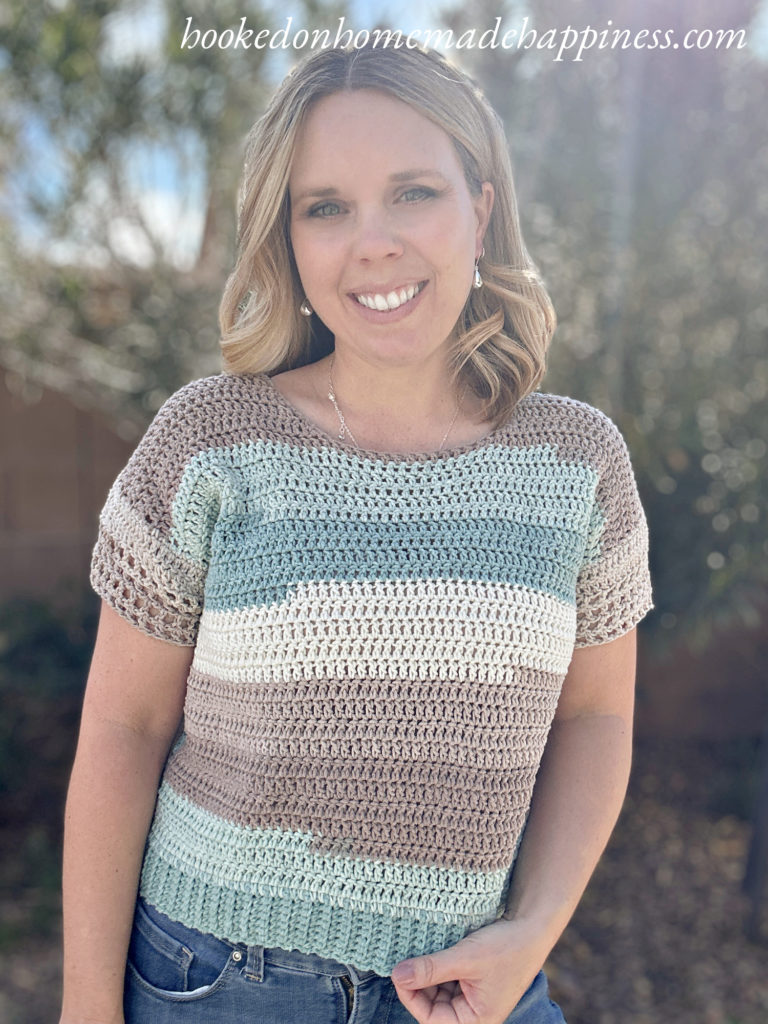
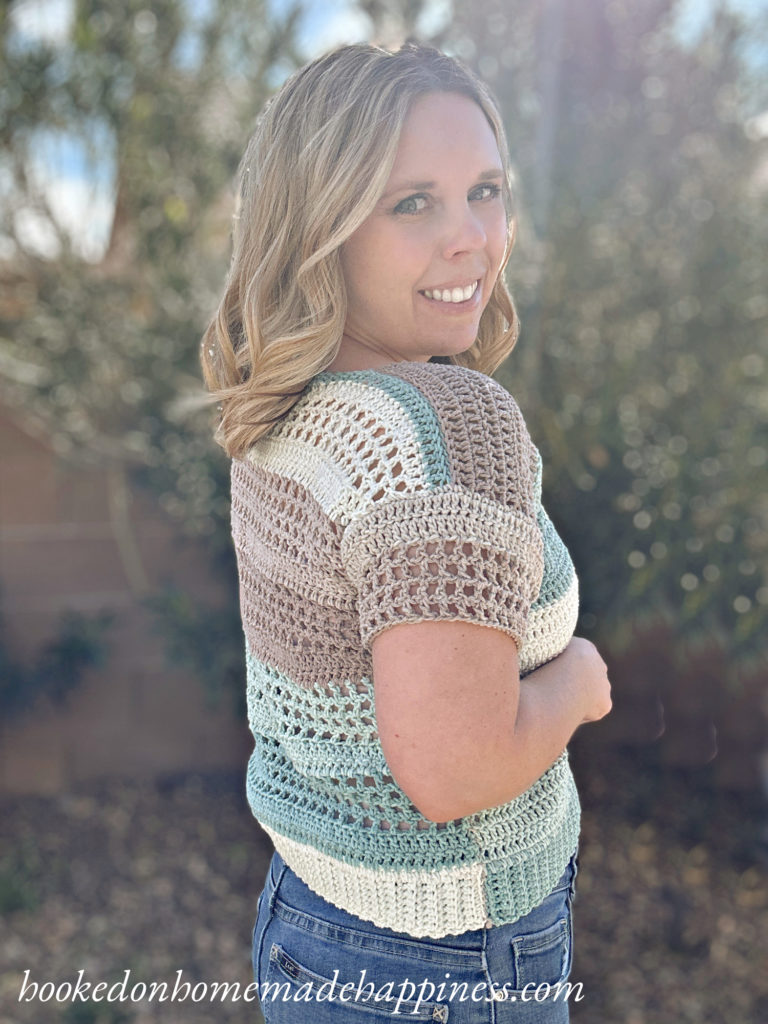
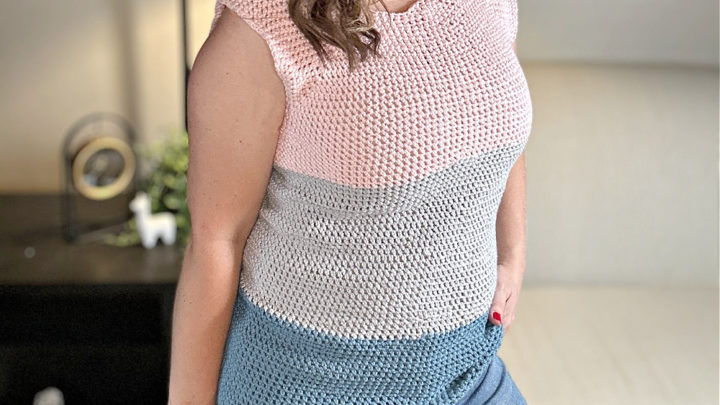
This lightweight crochet top is designed with comfort and simplicity in mind. The fabric features soft eyelet openings that add texture and airflow, making it an ideal layering piece for warmer weather. Pair it with jeans, shorts, or your favorite skirt for an effortless handmade look.
Whether you’re heading to a summer market, relaxing at the beach, or just enjoying a sunny day, the Simple Eyelet Tee is the kind of project you’ll want to wear again and again.
Purchase the ad-free, printable PDF for easy printing.
Why You’ll Love This Pattern
- Beginner-friendly stitches – uses basic crochet stitches
- Light and breathable fabric – perfect for warmer seasons
- Easy construction – simple shapes with minimal seaming
- Relaxed, comfortable fit – great for everyday wear
- Matches the Simple Eyelet Sweater – a perfect seasonal companion pattern
Pattern Details
- Skill Level: Easy
- Yarn: Caron Cotton Cakes (worsted weight)
- Hook: H/5.0 mm
- Construction: Simple panels with minimal seaming
- Fit: Relaxed tee style for spring and summer wear
Yarn
This tee is made with Caron Cotton Cakes, a soft cotton blend yarn that’s perfect for lightweight garments. Cotton blends are especially great for warm weather projects because they are breathable and help keep your crochet garments comfortable even on hot days.
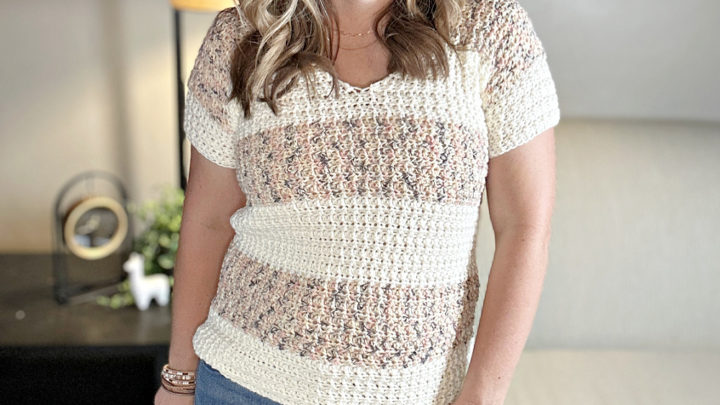
The gentle color changes in Cotton Cakes also add beautiful visual interest to the simple stitch pattern without requiring any color changes.
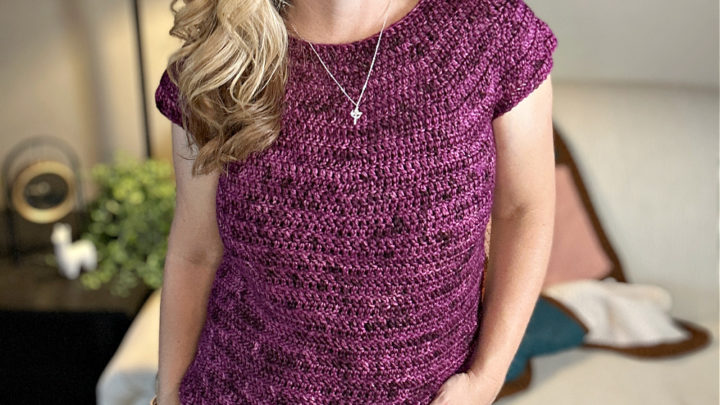
If you prefer a solid color look, this pattern also works beautifully with any worsted weight cotton or cotton blend yarn.
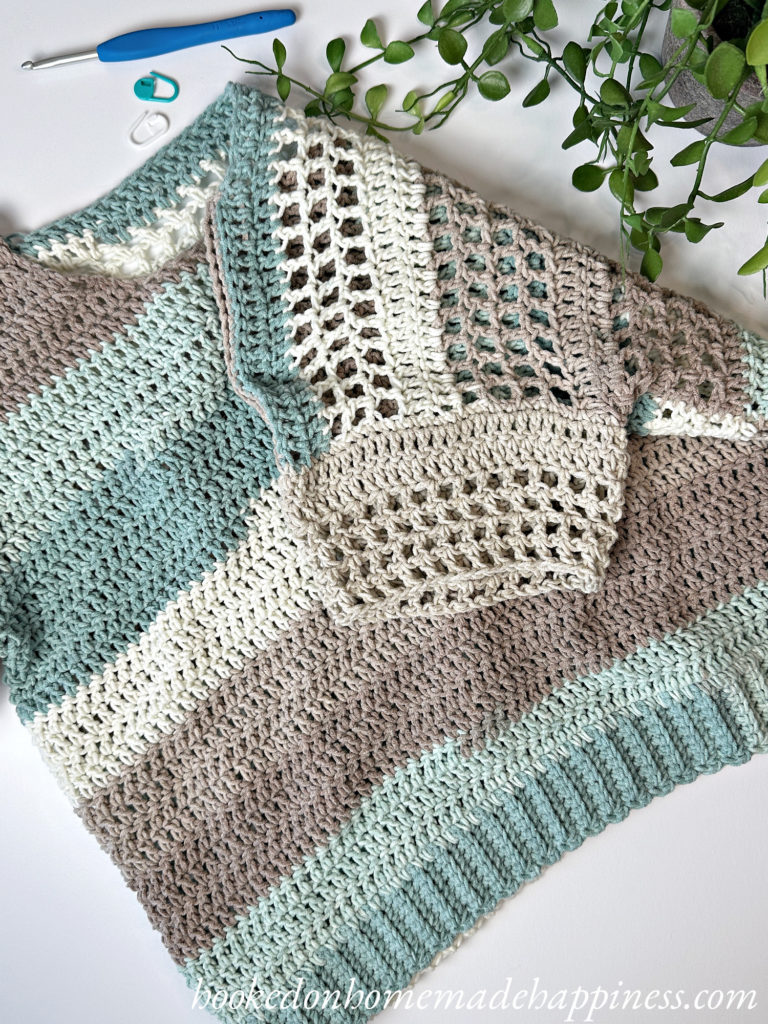
The Eyelet Stitch
The Simple Eyelet Tee uses the same easy stitch pattern as the Simple Eyelet Sweater. The design combines basic crochet stitches with chain spaces to create a repeating eyelet pattern.
These small openings create texture while also making the fabric lighter and more breathable. The result is a crochet top that looks delicate but is incredibly simple to make.
Because the stitch repeat is easy to memorize, this pattern makes a great relaxing crochet project you can work on while watching TV or listening to a podcast.

FAQ
Ready to Crochet?
Grab your yarn, hook, and favorite color of Caron Cotton Cakes, and get ready to create your new favorite handmade tee.
This easy crochet pattern works up quickly and is perfect for adding a handmade touch to your spring and summer wardrobe.
Making the Simple Eyelet Tee Crochet Pattern
Get the full free pattern below or purchase the ad-free, printable PDF
Materials
Caron Cotton Cakes (2 for S/M/L, 3 for XL/2X/3X)
H/5.0 mm hook
yarn needle
scissors
Level
intermediate
Pattern notes & stitches to know
ch – chain
sc – single crochet
sc blo – single crochet back loop only
dc – double crochet
dc2tog – double crochet 2 together
dc3tog – double crochet 3 together
· written in US terms
· ch 1 does not count as sc
· ch 3 counts as dc
· ch 4 counts as dc + ch 1
· Tee is made with 2 panels sewn together. Each panel starts at the bottom with the ribbed edging. Then the panels are sewn together across each shoulder and each side with a whip stitch.
Gauge: 12 dc x 8 rows
Sizes:
(S, M, L)(XL, 2X, 3X) – The pattern is written in these sizes consecutively. Example, when the pattern gives the end of the row count as ((65, 79, 93) (107, 121, 135) dc) 65 is for S, 79 is M, 93 is L, 107 is XL, 121 is 2X, and 135 is 3X.
This sweater is classic fit with some positive ease.
Approx Finished Size
Bust: S (38”) M (42”) L (46)” XL (50”) 2X (54”) 3X (58”)
Length: S (18”) M (18”) L (21”) XL (21”) 2X (24”) 3X (24”)
Armhole: S (7”) M (7.5”) L (8”) XL (8.5”) 2X (9”) 3X (9.5”)
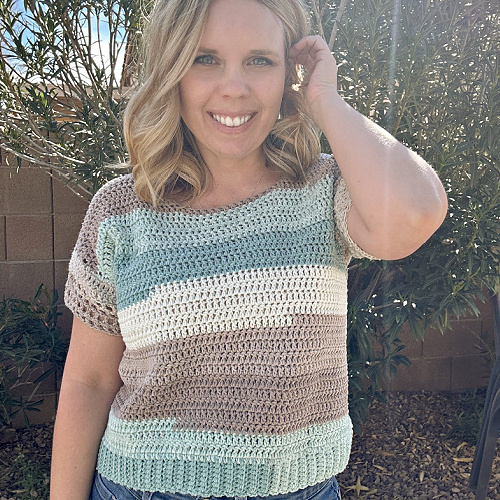
Size Small pictured on 5’0” model with 34” bust
Pattern Support
Looking for pattern support or want to share your progress? Join our Crochet Community Facebook Group! It’s the perfect place to ask questions, get help, and connect with fellow makers.
CROCHET PATTERN WRITTEN PATTERN
BACK
Ch 9
Row 1: sc in 2nd ch from the hook and in each ch across (8 sc)
Row 2: ch 1, turn, sc in first stitch, sc blo in next 6, sc in last (8 sc)
Row 3 – Row (65, 71, 77) (83, 89, 95): repeat row 2 (8 sc)
This ribbed band is the width of the top, easily adjust the width by adding or taking out rows. Ribbed band must have an odd number of rows.
Now you will turn and work across the long edge of the ribbed band
Row 1: ch 1, sc evenly across working 1 sc in the end of each row ((65, 71, 77) (83, 89, 95) sc)
Row 2: ch 3, turn, dc in each stitch across ((65, 71, 77) (83, 89, 95) dc)
Row 3: ch 3, turn, dc in each stitch across ((65, 71, 77) (83, 89, 95) dc)
Row 4: ch 4, turn, skip 1 stitch, dc in next, *ch 1, skip 1 stitch, dc in next* repeat from * to * across ((33, 36, 39) (42, 45, 48) dc)
Row 5 – 7: ch 4, turn, skip ch-1 space, dc in dc, *ch 1, skip ch-1 space, dc in dc* repeat from * to * across ((33, 36, 39) (42, 45, 48) dc)
Row 8: ch 3, turn, *dc in ch-1 space, dc in dc* repeat from * to * across ((65, 71, 77) (83, 89, 95) dc)
Row 9: ch 3, turn, dc in each stitch across ((65, 71, 77) (83, 89, 95) dc)dc)
Row 10 – Row (33, 33, 39) (39, 45, 45): repeat rows 4 – 9
Fasten off. Leave a long end for sewing.
FRONT
Ch 9
Row 1: sc in 2nd ch from the hook and in each ch across (8 sc)
Row 2: ch 1, turn, sc in first stitch, sc blo in next 6, sc in last (8 sc)
Row 3 – Row (65, 71, 77) (83, 89, 95): repeat row 2 (8 sc)
Now you will turn and work across the long edge of the ribbed band
Row 1: ch 1, sc evenly across working 1 sc in the end of each row ((65, 71, 77) (83, 89, 95) sc)
Row 2 – Row (27, 27, 30) (30, 33, 33): ch 3, turn, dc in each stitch across ((65, 71, 77) (83, 89, 95) dc)
The neckline begins in the next row. Only work partway across
Row (28, 28, 31) (31, 34, 34): ch 3, turn, dc in (22, 25, 28) (31, 34, 37) stitches, dc3tog ((24, 27, 30) (33, 36, 39) dc)
Row (29, 29, 32) (32, 35, 35): ch 3, turn, dc2tog, dc in remaining stitches across ((23, 26, 29) (32, 35, 38) dc)
Row (30, 30, 33) (33, 36, 36): ch 3, turn, dc in each stitch across to last 2 stitches, dc2tog ((22, 25, 28) (31, 34, 37) dc)
Row (31, 31, 34) (34, 37, 37): ch 3, turn, dc2tog, dc in remaining stitches across ((21, 24, 27) (30, 33, 36) dc)
Row (32, 32, 35) (35, 38, 38): ch 3, turn, dc in each stitch across ((21, 24, 27) (30, 33, 36) dc)
Repeat previous row to Row (33, 33, 39) (39, 45, 45) ((21, 24, 27) (30, 33, 36) dc)
Fasten off. Leave a long end for sewing.
Lay front panel so the neckline just made lays on the right. Rejoin yarn on left side, (26, 29, 32) (35, 38, 41) stitches in from the left on Row (28, 28, 31) (31, 34, 34)
Row (28, 28, 31) (31, 34, 34): ch 3, dc3tog, dc in remaining stitches across ((24, 27, 30) (33, 36, 39) dc)
Row (29, 29, 32) (32, 35, 35): ch 3, turn, dc in each stitch across to last 2 stitches, dc2tog ((23, 26, 29) (32, 35, 38) dc)
Row (30, 30, 33) (33, 36, 36): ch 3, turn, dc2tog, dc in remaining stitches across ((22, 25, 28) (31, 34, 37) dc)
Row (31, 31, 34) (34, 37, 37): ch 3, turn, dc in each stitch across to last 2 stitches, dc2tog ((21, 24, 27) (30, 33, 36) dc)
Row (32, 32, 35) (35, 38, 38): ch 3, turn, dc in each stitch across ((21, 24, 27) (30, 33, 36) dc)
Repeat previous row to Row (33, 33, 39) (39, 45, 45) ((21, 24, 27) (30, 33, 36) dc)
SEWING
Lay the front panel on top of the back. Sew the shoulders closed with whip stitch. Sew the sides closed leaving a (7”, 7.5”, 8”) (8.5”, 9”, 9.5”) – or desired armhole depth – space at the top for armholes.
Fasten off. Weave in the ends. Turn right side out.
SLEEVES
Join yarn to the bottom of an armhole
Round 1: ch 1, sc evenly around, working 2 sc in the end of each row, join to first sc with sl st
Round 2: ch 3, turn, dc in each stitch, join to first ch 3 with sl st
Round 3: ch 3, turn, dc in each stitch, join to first ch 3 with sl st
Round 4: ch 4, turn, skip 1 stitch, *dc in next, ch 1, skip 1 stitch* repeat from * to * around, join to first ch 3 with sl st
Round 5 – 7: ch 4, turn, skip ch-1 space, *dc in dc, ch 1, skip ch-1 space* repeat from * to * around, join to first ch 3 with sl st
Fasten off. Weave in the ends.
Repeat other sleeve.
Looking for more patterns? Follow me on Facebook, Instagram, and Pinterest! Please share a pic of your finished product with me. I’d love to see it!


Thank you very much for your kindness!
Thank you for this pattern.
Thank you so much for the beautiful Simple Summer Tee! It is really hot here where I live. I love all you Summer Tee patterns! I really need to crochet one now or soon. Thanks again for also being part of Nicki’s SPLASH into Summer. I have been subscribed to your blog and love your patterns. Amanda
Thank you!
Thank you for sharing. I now have a queue of lovely patterns to make.
Awesome! You’re welcome!