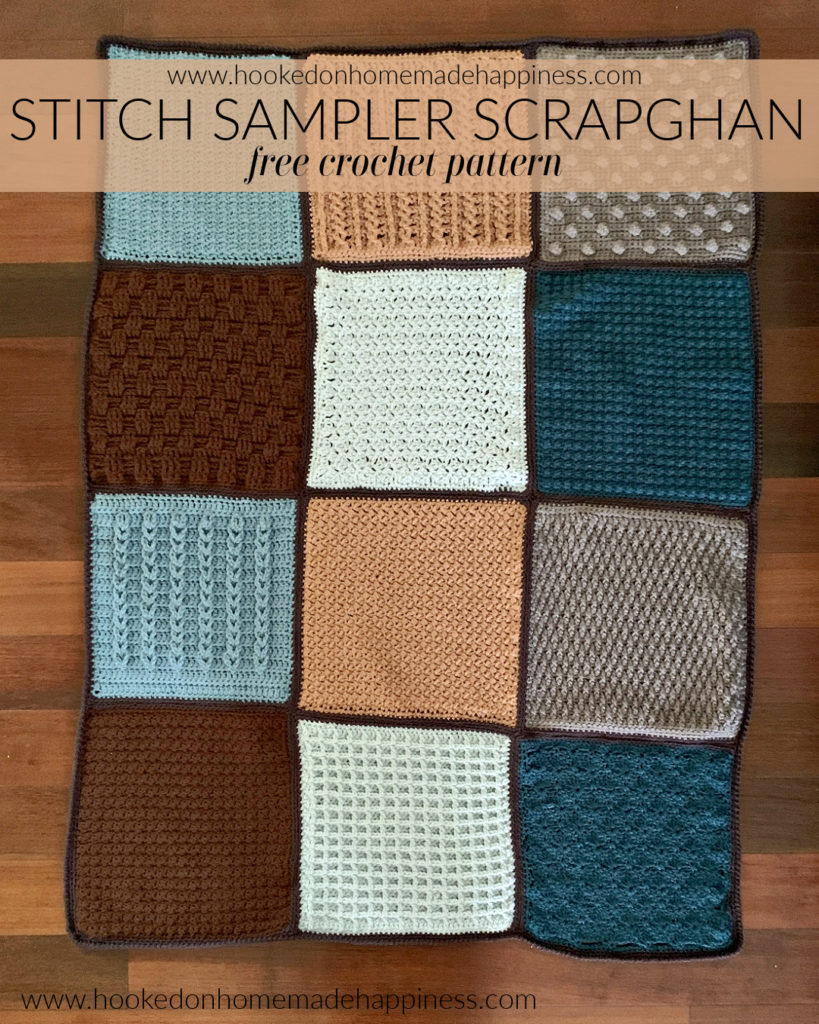
Sewing Squares Together (Stitch Sampler Scrapghan CAL 2021 – Part 13)
We finished all our squares and this week we are Sewing Squares Together!
The Stitch Sampler Scrapghan CAL is coming to an end. You can find all the Scrapghan Crochet Along info HERE. Join my FACEBOOK GROUP to share your progress with your fellow crocheters!
Sewing Squares
– Get the free pattern below or download the printable PDF for free HERE
Materials
Worsted weight yarn
Yarn needle
stitch markers
Scissors
Level
easy
Pattern notes & stitches to know
whip stitch
blo – back loop only
· written in US terms
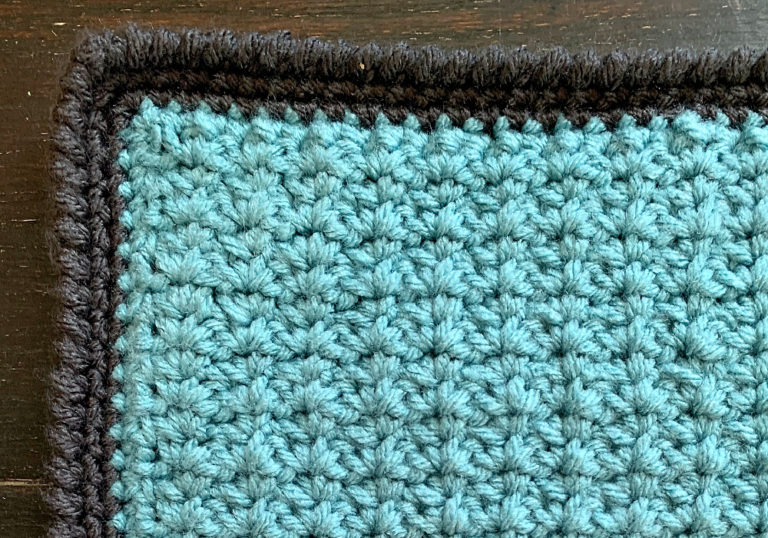
· This pattern uses a whip stitch in the blo to sew the squares together. You can use any method you prefer for sewing your squares.
· The photos are from a different set of squares, but the method is the same.
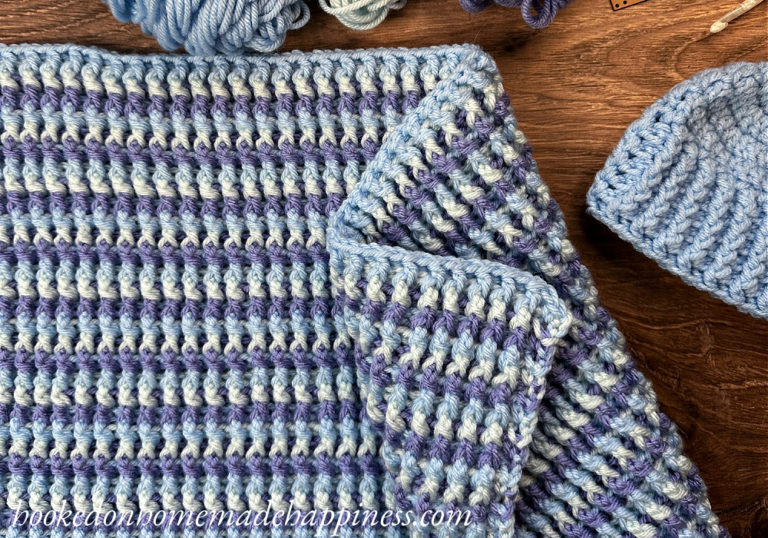
PART 13 – SEWING
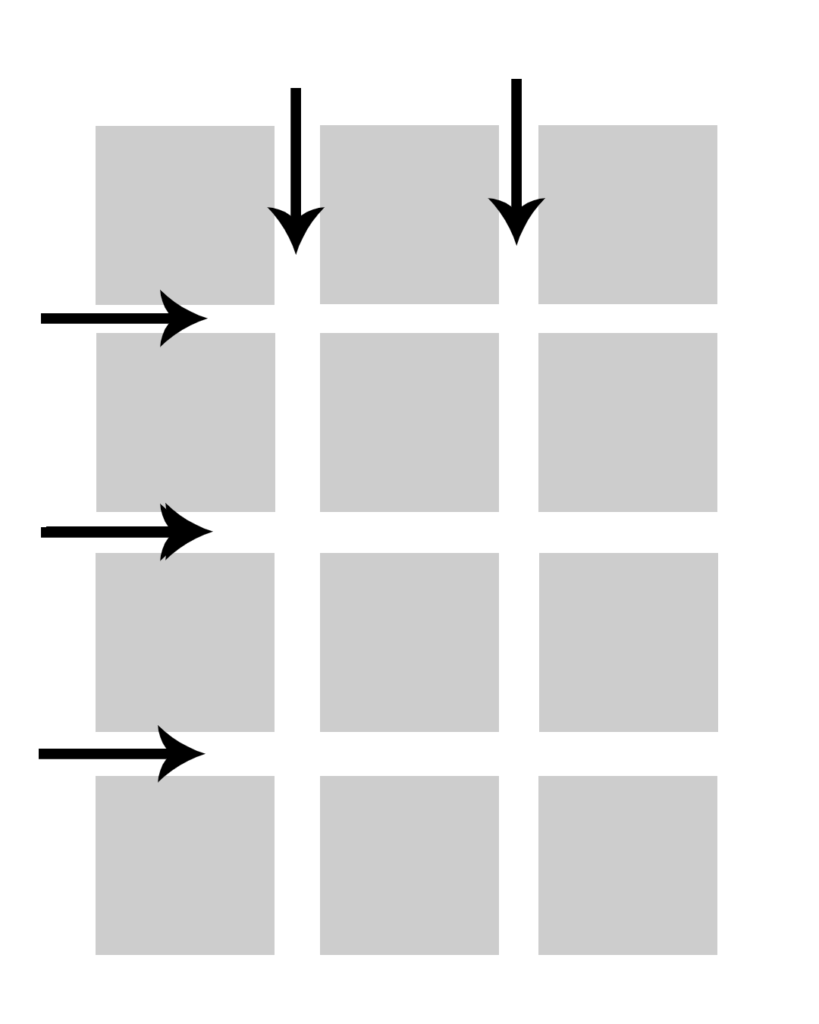
Lay the squares out in a 3 x 4, right side down
Sew down all the squares vertically, then sew across horizontally
Either use the long ends from making the squares to sew or cut a piece of yarn for sewing (no longer than 48”- otherwise it will easily get tangled)
Using stitch markers, line up your squares as evenly as possible (due to the nature of the squares for the CAL they don’t all have the same number of stitch on each side – make it as even as possible)
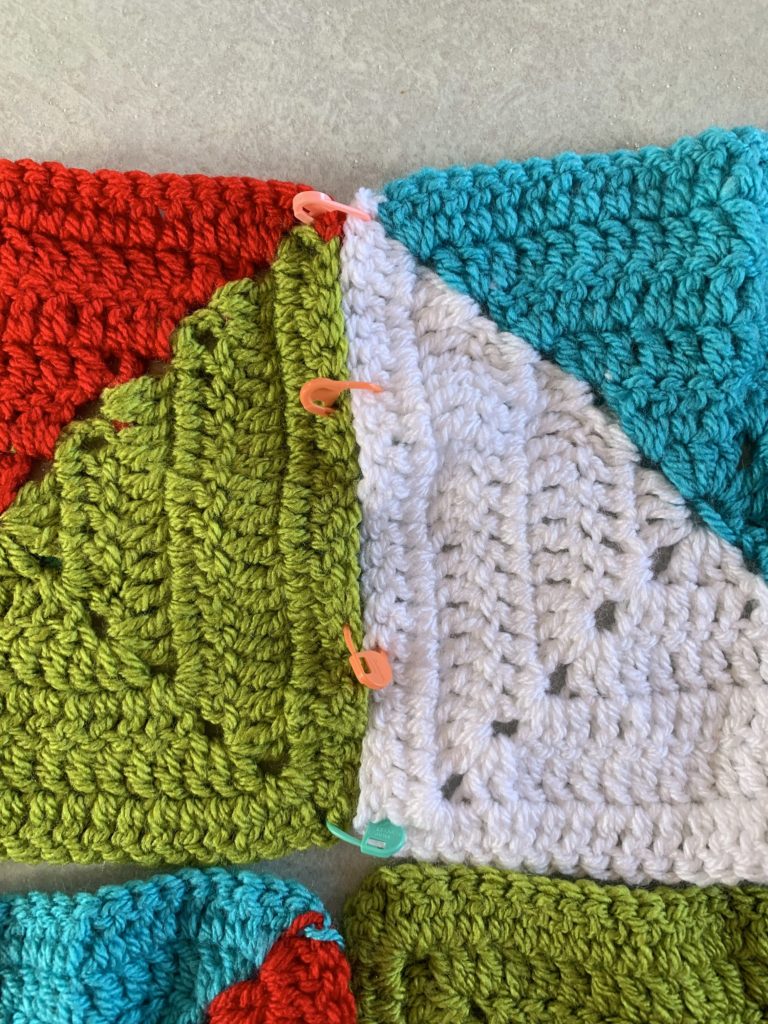
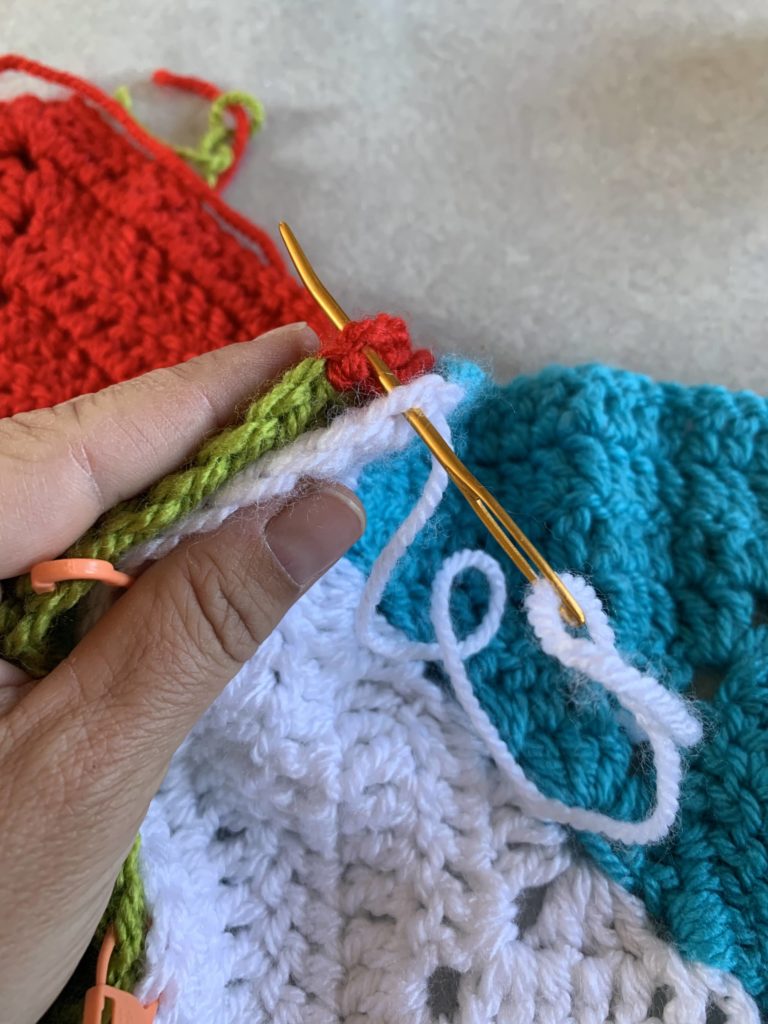
Thread yarn through the yarn needle. Insert yarn needle through the blo of the top two stitches and pull through.
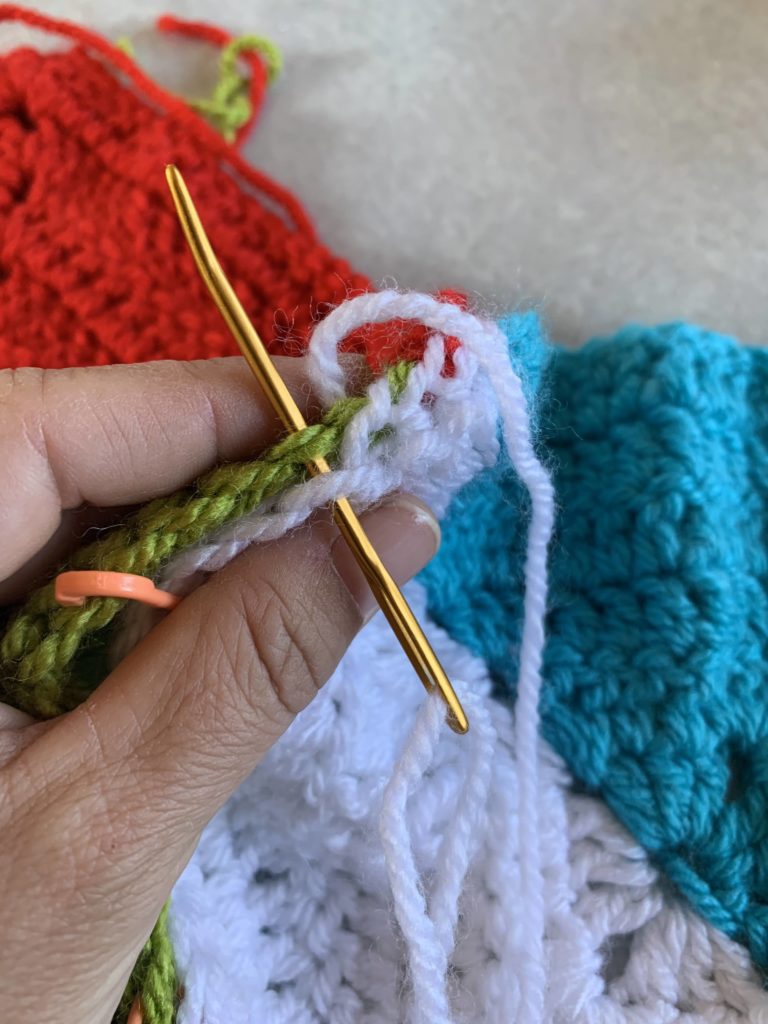
Continue working down the squares with a whip stitch blo
If two squares are being sewn together have a different number of stitches on each side, then double up on a couple stitches on the shorter side (keeping it as even as possible)
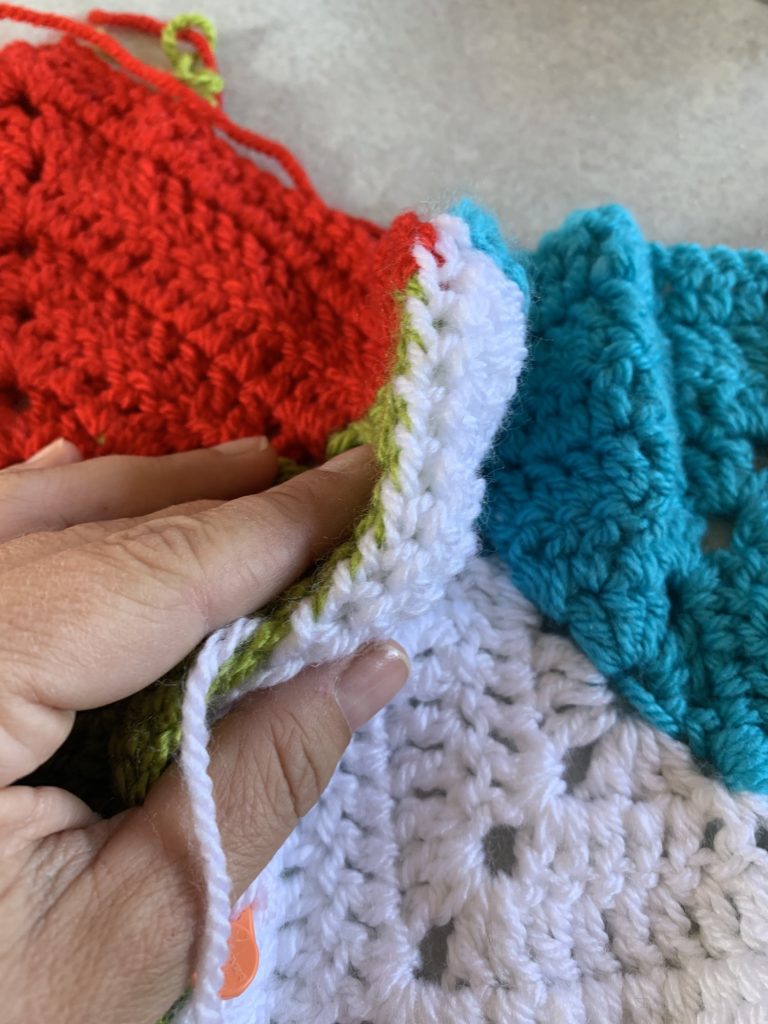
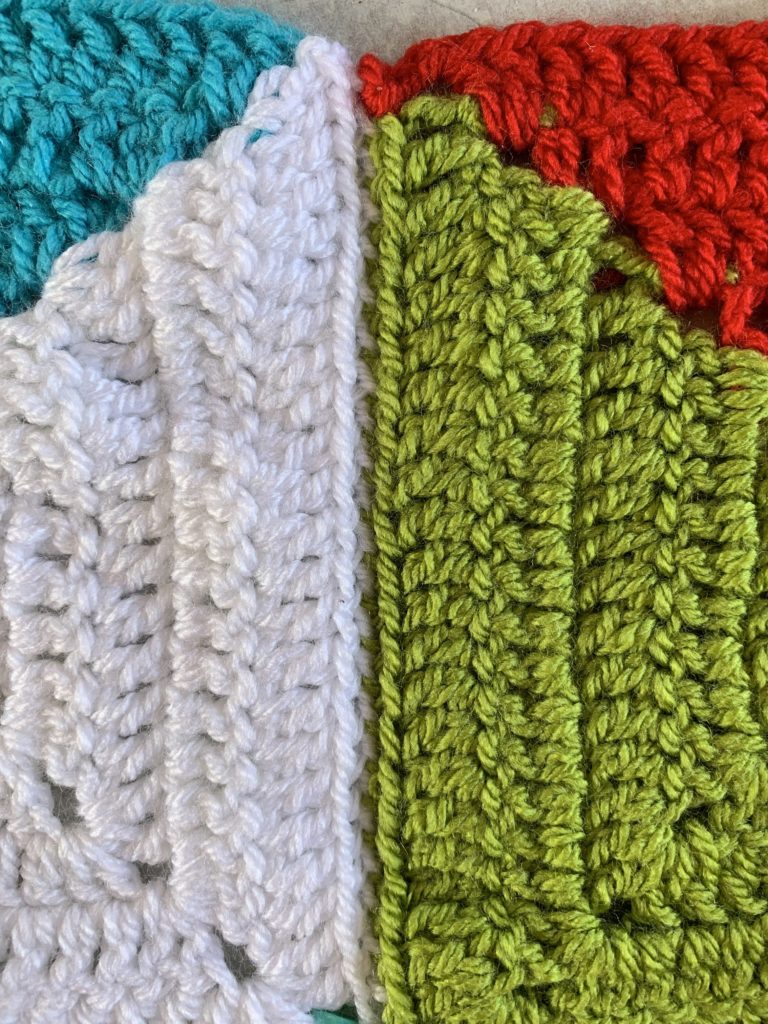
Work in this way all the way down each square vertically. Then work across horizontally.
Fasten off.
Weave in all the ends.
See you next week for the last part – the border!
Looking for more patterns? Follow me on Facebook, Instagram, and Pinterest! Please share a pic of your finished product with me. I’d love to see it!


You mentioned in some of the patterns that blocking would get squares to the right size. How do I block? I have never done that. I thought that would be part of this as well before I could sew them together.
Here’s a good blocking tutorial 🙂 https://wilmade.com/blocking/
Thank you, I will try that.