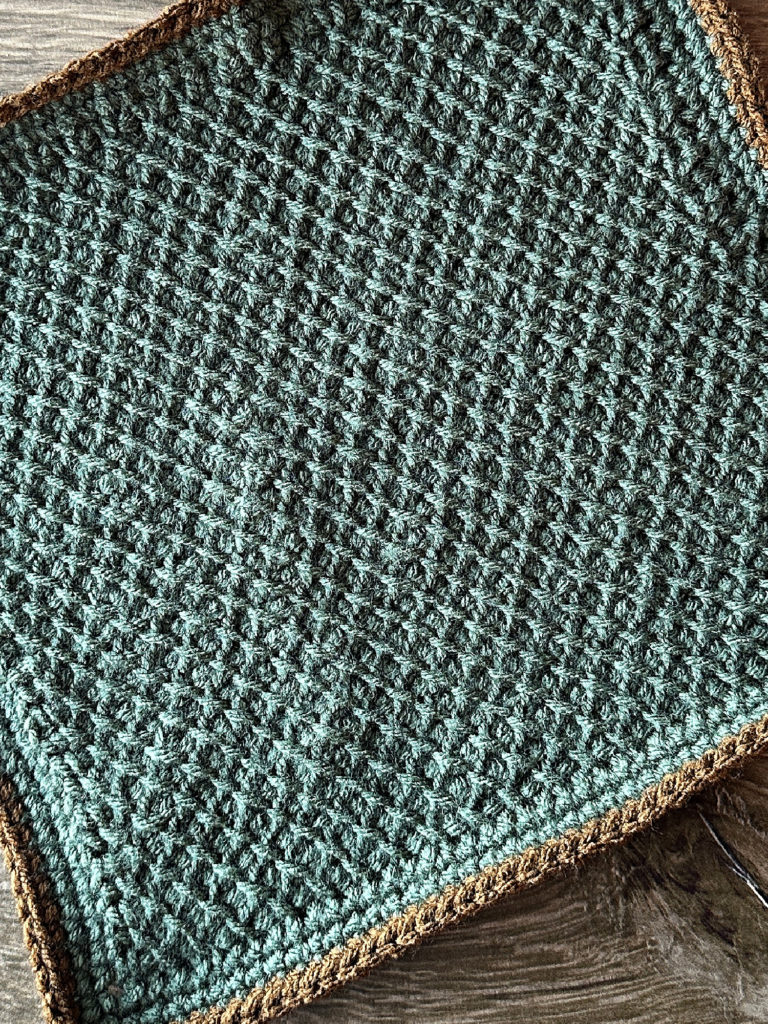
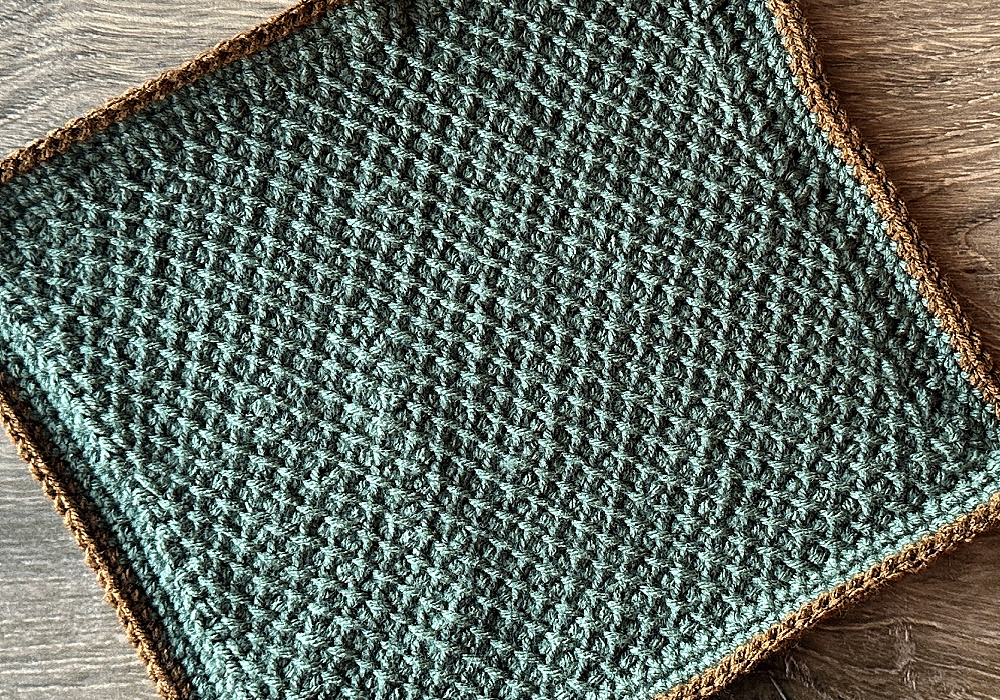
Crocheting has been a beloved craft for centuries, with each culture and region adding its own unique touch to the art form. And when it comes to Tunisian crochet, the possibilities are endless. The Tunisian Diagonal Lattice Stitch stands out for its elegance and versatility! Whether you’re a seasoned crochet pro or just starting on your stitching journey, this simple yet stunning stitch is sure to catch your eye. So grab your crochet hook and yarn, and get ready to level up your crochet game with this timeless stitch.

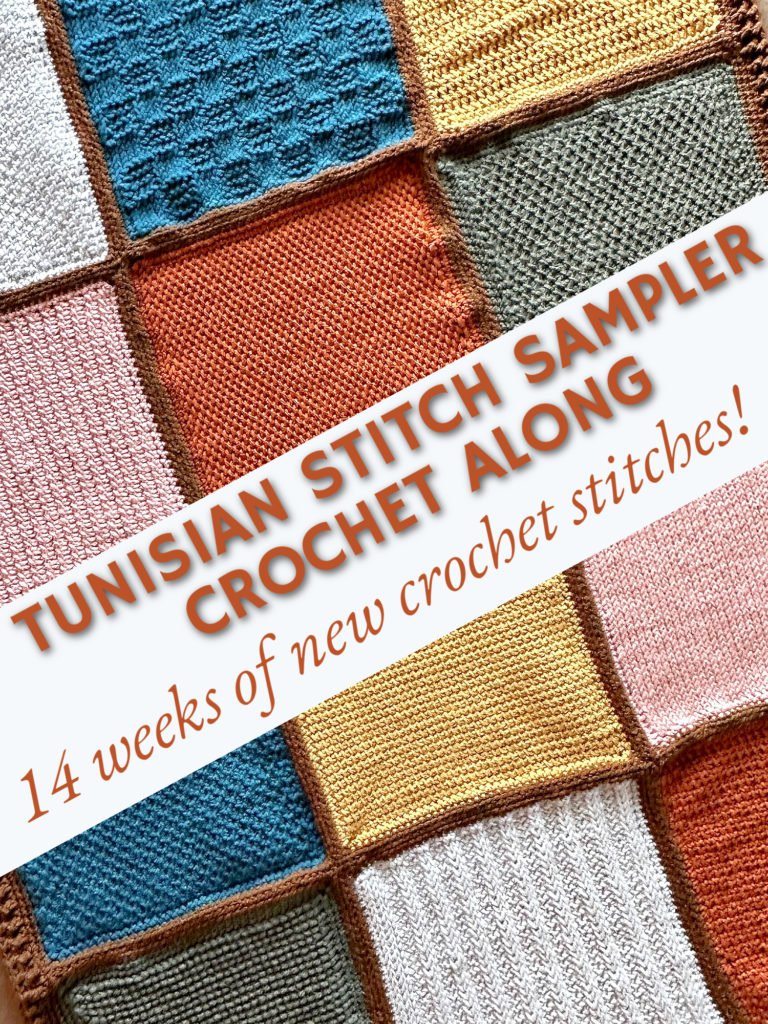
It’s not too late to join the Tunisian Stitch Scrapghan CAL! You can find all the Scrapghan Crochet Along info HERE. Join my FACEBOOK GROUP to share your progress with your fellow crocheters!

Tunisian Diagonal Lattice Stitch
Get the full pattern below or download the printable PDF for free HERE
PIN for later HERE
Add to your Ravelry Queue HERE
Materials
approx. 70g worsted weight yarn + small amount for the border (the same color that will be used for sewing – optional)
J/6.0 mm Tunisian crochet hook
H/5.0 mm hook
yarn needle
scissors
Level
Intermediate/advanced
Curling Level
medium
Pattern notes & stitches to know
ch – chain
TSS – Tunisian simple stitch (insert hook into vertical bar, yarn over, pull up a loop)
TSS2TOG – Tunisian Simple Stitch 2 Together (or decrease) – (insert hook into next 2 vertical bars, yarn over, pull up a loop)
sc – single crochet
sl st – slip stitch
· written in US terms
· Starting ch needs to be an odd number
· Return Pass: ch 1, *yarn over, pull through 2 loops on hook* repeat from * to * across until 1 loop remains on hook
· Bind Off: insert hook into 2nd vertical bar from hook, yarn over and pull up a loop. Pull loop through the loop on the hook. *Insert hook into next vertical bar, yarn over and pull up a loop. Pull loop through the loop on the hook* repeat from * to * across
Approximate Finished Size (after border & blocking): 11” x 11”
Scrapghan Tips
· If you’re having trouble getting the sizing right, remember that it’s easier to adjust a square that’s too small than one that’s too big.
· If a square comes out too small you can add an additional round for the border, go up a hook size, and/or steam block and stretch the square to the size you want.
· The edges might curl. This can be fixed with some steam blocking. It won’t be noticeable after sewing.
· Each square has at least 2 rounds of border. For the last round of the border I used the same color for each square (the dark brown). This is the same color used for the sewing.
· Each square does not need the same number of stitches for the border.
PART 11 – TUNISIAN DIAGONAL LATTICE STITCH
Ch 45
Row 1: insert hook into 2nd ch from hook, yarn over and pull up a loop, *insert hook into next ch, yarn over and pull up a loop* repeat from * to * across. (45 stitches on hook) Return Pass.
Row 2: *TSS2TOG, TSS in first stitch of decrease* repeat from * to * across to last stitch, TSS in last stitch. Make edge stitch. (45 stitches on hook) Return Pass.
Row 3: TSS in first stitch, *TSS2TOG, TSS in first stitch of decrease* repeat from * to * across. Make edge stitch. (45 stitches on hook) Return Pass
Row 4 – 30: repeat row 2 & 3
Bind off.
Do not fasten off.
BORDER
Change to H/5.0 mm regular crochet hook
With the same color used for the square, work around the entire square
Round 1 (rs): ch 1, sc along the side of the square, working 1 sc in the side of each row to the corner, (sc, ch 2, sc) in corner, sc in each stitch across to next corner, (sc, ch 2, sc) in corner, sc along the side of the square, working 1 sc in the side of each row to the corner, (sc, ch 2, sc) in corner, sc in each stitch to last, (sc, ch 2, sc) in last stitch, join to first sc
Fasten off.
Join border color to ch-2 space
Round 2 (rs): ch 1, *(sc, ch 2, sc) in ch-2 space, sc in each stitch across to ch-2 space* repeat from * to * around, join to first sc with sl st
Fasten off. Weave in the ends.
And that’s it for Part 11! See you next week for Part 12 🙂
Looking for more patterns? Follow me on Facebook, Instagram, and Pinterest! Please share a pic of your finished product with me. I’d love to see it!


Challenges for sure! hope everyone is coming along well. I’m trying to catch up. But I’m happy that I’m challenging myself on this project. Thank you!