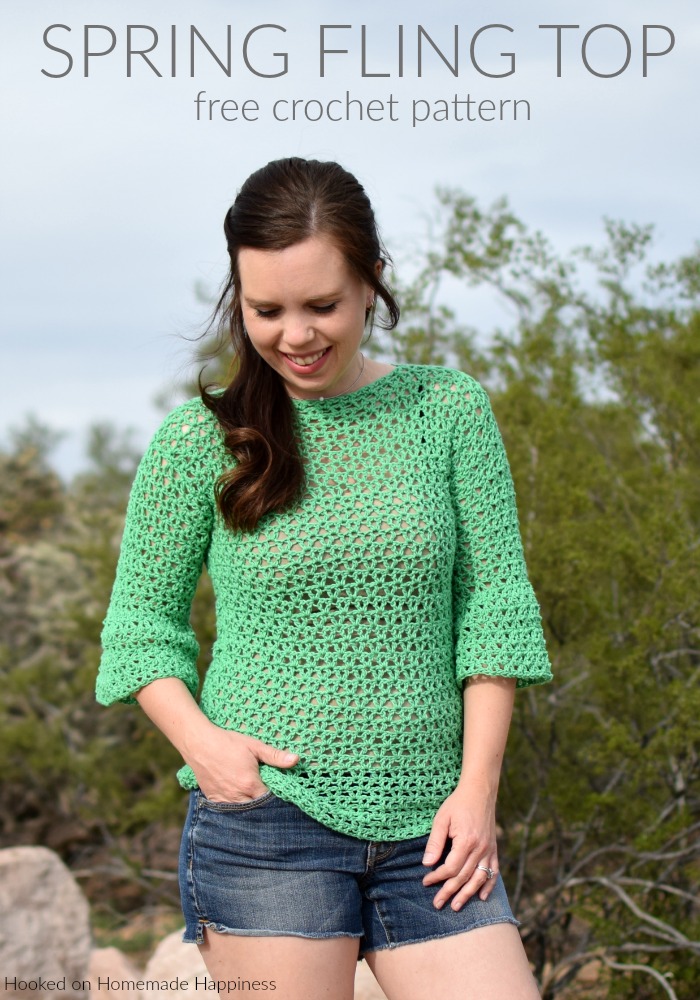
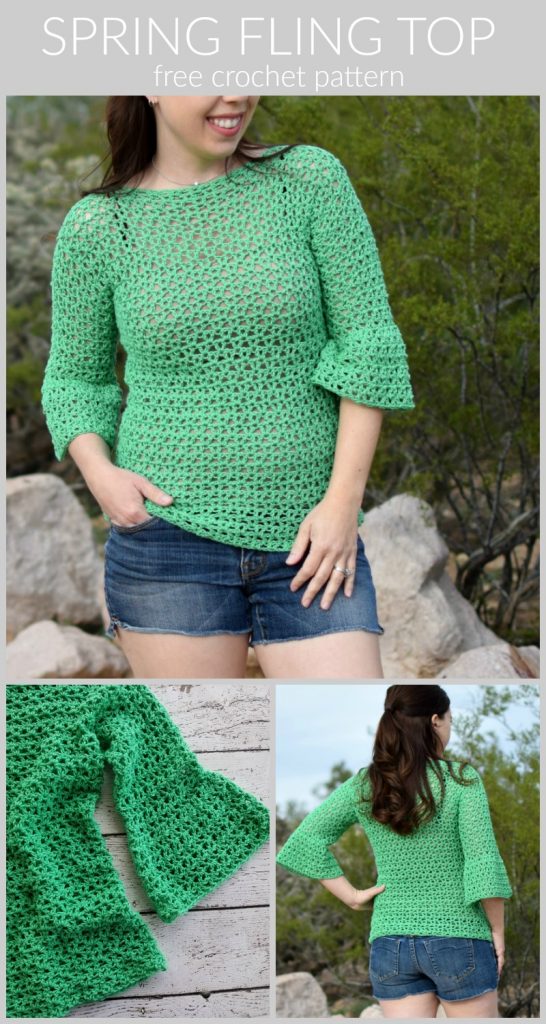
Spring Fling Crochet Top Pattern
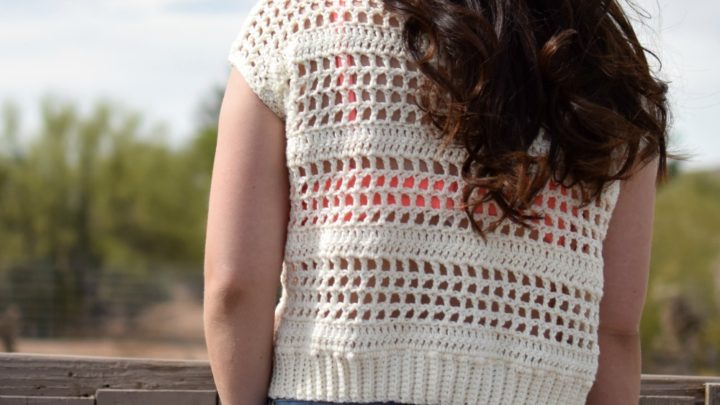
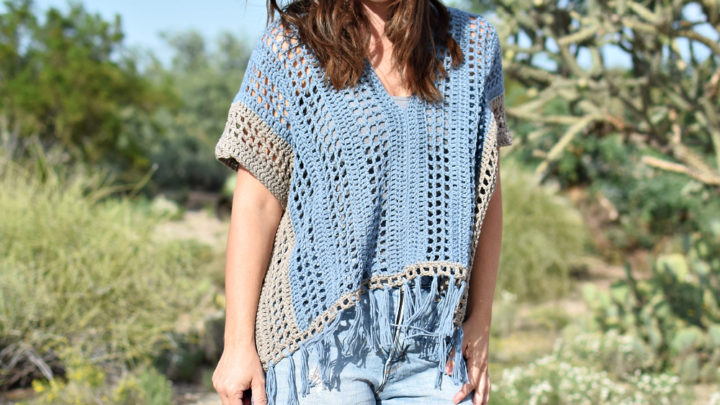
As the warm breeze of spring begins to bring life back into the world, many of us are eager to shed our heavy winter layers and embrace the lighter, brighter season ahead. And what better way to do that than with some fresh, fashionable crochet patterns? Spring is the perfect time to pick up your hooks and dive into some new projects, and with the abundance of stunning crochet patterns available, the options can feel overwhelming. The Spring Fling Crochet Top Pattern is such a fun top for spring! It uses DK cotton yarn and one of my favorite stitches, the Offset V Stitch, and has cute bell shaped sleeves.
Let’s talk yarn! For this top I used Paintbox Simply Cotton DK. This is a 100% cotton, DK weight (3) yarn. Any DK weight yarn would work for this sweater. Some other yarns that I love are: CotLin (a cotton/linen blend), Brava Recycle (an affordable, acrylic), or Swish DK (a luxury, merino wool)

click here to pin for later >>>
Spring Fling Crochet Top Pattern
– Get the free pattern below or this pattern is also available as an inexpensive, clearly formatted, PDF instant download in my Ravelry Shop!
– PIN for later HERE
– Add to your Ravelry Queue HERE
Materials
Paintbox Cotton DK in Spearmint (250g for S, 300g for M & L, 350g for XL)
4.5 mm hook
yarn needle
scissors
Level
Easy -you must be very familiar with basic crochet stitches
Pattern notes & stitches to know
sl st – slip stich
ch – chain
dc – double crochet
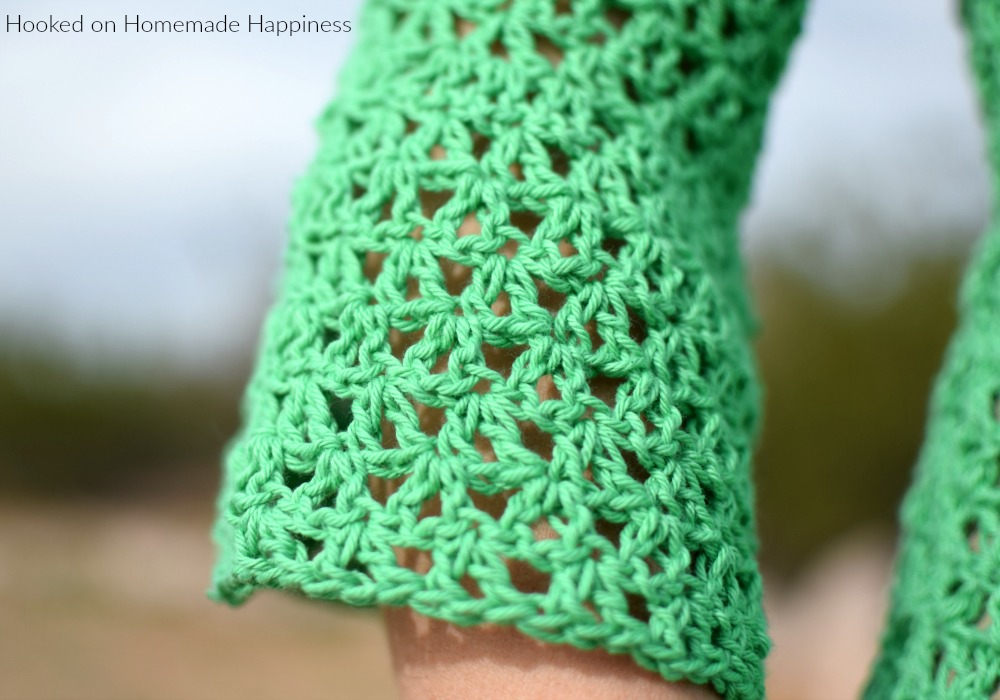
V stitch – (dc, ch 1, dc) in same stitch
Written in US terms
Ch 3 counts as dc
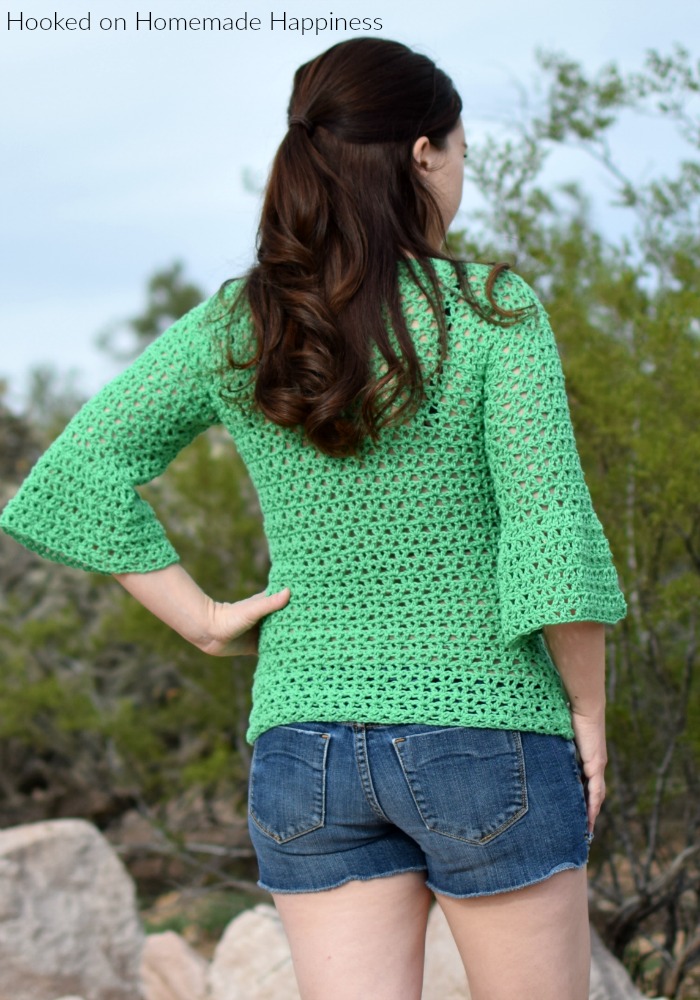
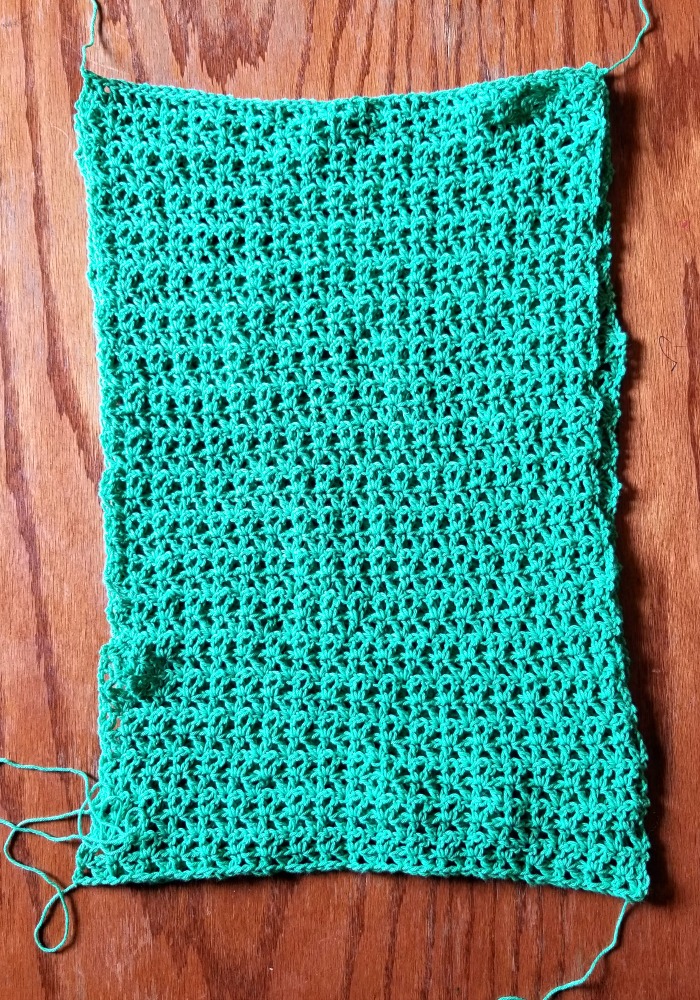
This simple pattern is made by sewing two rectangles together for the front and back. Then the sleeves are made with joined, turned rounds.
Approximate Finished Size:
Bust: S (32”) M (36”) L (40”) XL (44”)
Width across the back: S (16’) M (18”) L (20”) XL (22”)
Length: S (20”) M (22”) L (24”) XL (26”)
Armhole: S (6”) M (6.5”) L (7”) XL (7.5”)
Sleeve Length: S (14”) M (16”) L (18”) XL (20”)
Gauge: 5 V stitch x 7 rows = 4” x 4”
SPRING FLING CROCHET TOP PATTERN
FRONT
Pattern written in S, M noted in ( ), L noted in [ ], XL noted in { }
Ch 62 (68) [74] {80} (leave a long end for sewing)
Row 1: dc in 5th ch from the hook, (ch 4 counts as dc + ch 1) *skip 2 stitches, v stitch in next* repeat from * to * across to last 3 stitches, skip 2, dc in last (19 V stitch, (21 V stitch), [23 V stitch], {25 V stitch})
Row 2: ch 4 (counts as dc + ch 1), dc in same stitch, *skip next dc and ch, v stitch in next dc* repeat from * to * across to last v stitch, dc in last stitch (the turning ch from previous row) (19 V stitch, (21 V stitch), [23 V stitch], {25 V stitch})
Repeat row 2 to Row 39 (43) [47] {51} (19 V stitch, (21 V stitch), [23 V stitch], {25 V stitch})
Fasten off. Leave a long end for sewing.
Repeat pattern for back
SEWING
Lay both pieces with one on top of the other. TIP: I made sure there was one long end on each corner.
Sew the shoulders closed with a whip stitch using the long end, leaving a 9.5” (10”) [10.5”) {11”} opening in the middle for the neck.
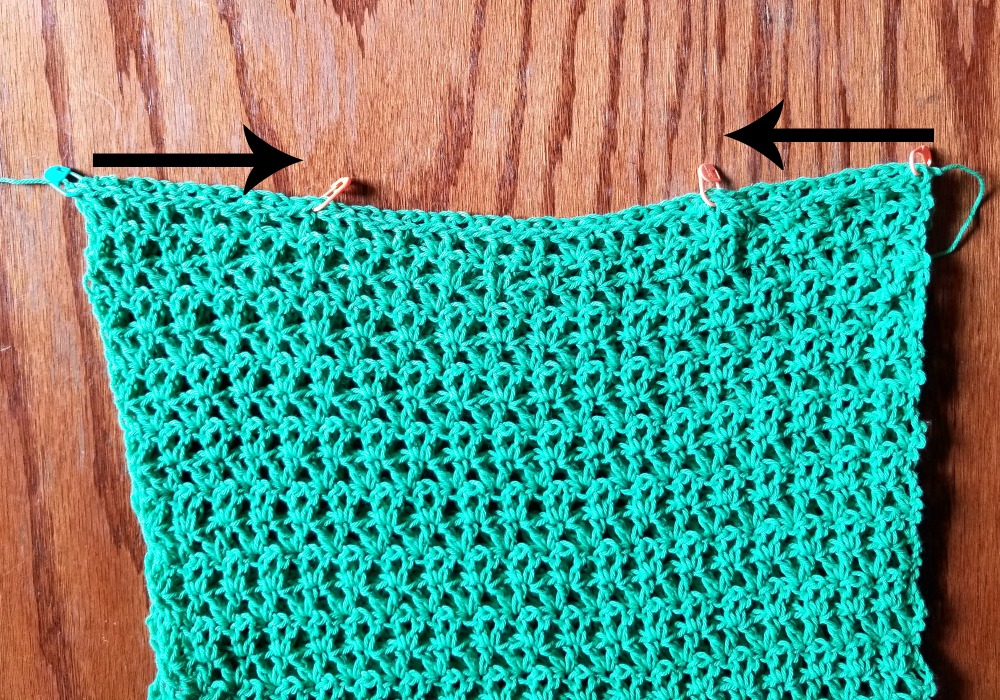
Sew the sides closed with a whip stitch using the long ends. Leave a 6” (6.5”) [7”] {7.5”} opening at the top for arm holes.
Fasten off. Weave in the ends. Turn right side out.

SLEEVES
Join yarn to the bottom of an arm hole.
Round 1: ch 1, sc evenly around (work approximately 2 sc in the side of each dc – this needs to be a multiple of 3), join to first sc with sl st
(approximately 48 (54) [60] {66} stitches – if this is not exact that’s ok, as long as it’s a mult of 3)
Round 2: ch 4, turn, dc in same stitch as the join, skip 2 stitches, *V stitch in next dc, skip 2 stitches* repeat from * to * around, join to first ch 3 with sl st
Round 3: ch 4, turn, dc in same stitch as the join, skip next dc and ch, *V stitch in next dc, skip next dc and ch* repeat from * to * around, join to first ch 3 with sl st
Repeat round 3 to Round 14 (16) [18] {20}
NOTE: The bell sleeves are created in the next round. The repeat does not have to work out perfectly, as long as there is an increase it will work
Round 14: ch 4, turn, dc in same stitch as the join, *skip next dc and ch, V stitch in next dc, V stitch in next ch 1 space, V stitch in next dc* repeat from * to * around, join to first ch 3 with sl st
Repeat round 3 to Round 22 (26) [30] {34}
Fasten off, weave in the ends
Repeat other sleeve.
And you’re done! I hope you love this cute top!
Looking for more patterns? Follow me on Facebook, Instagram, and Pinterest! Please share a pic of your finished product with me. I’d love to see it!


WOW,
Simple instructions, easy to follow pattern, and finished top in brilliant color is really a great Wear.
The increase bit would be clearer if a video was posted just for those few stitches; or a stitch diagram would be helpful.
Love all the summer patterns to crochet!