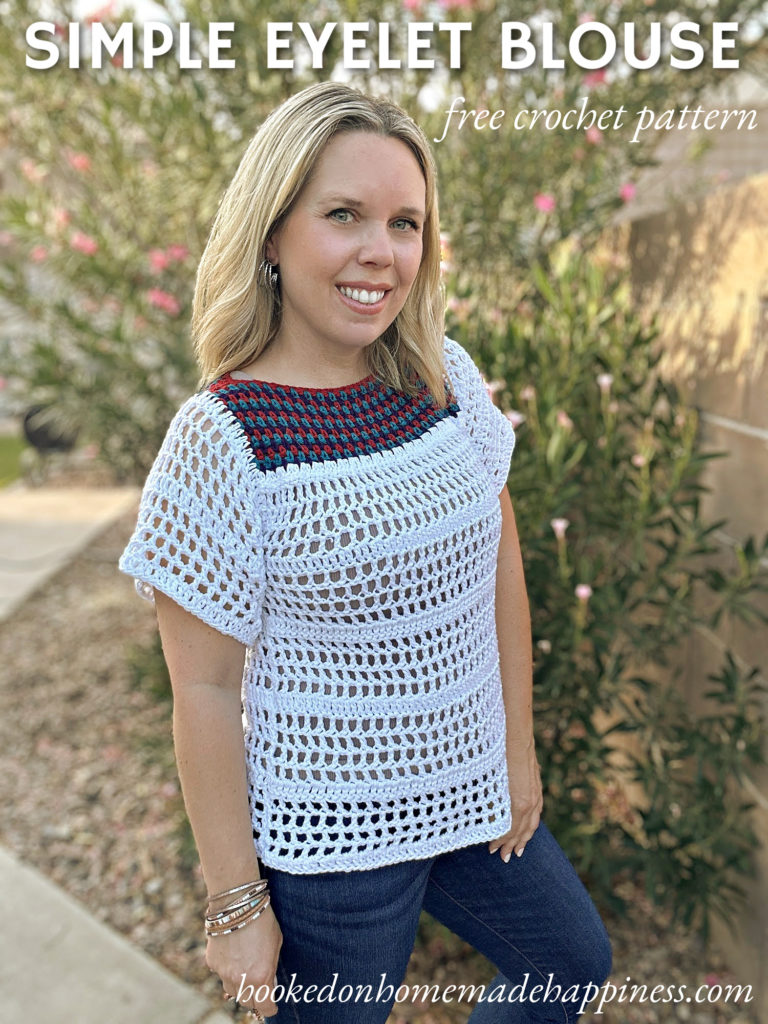
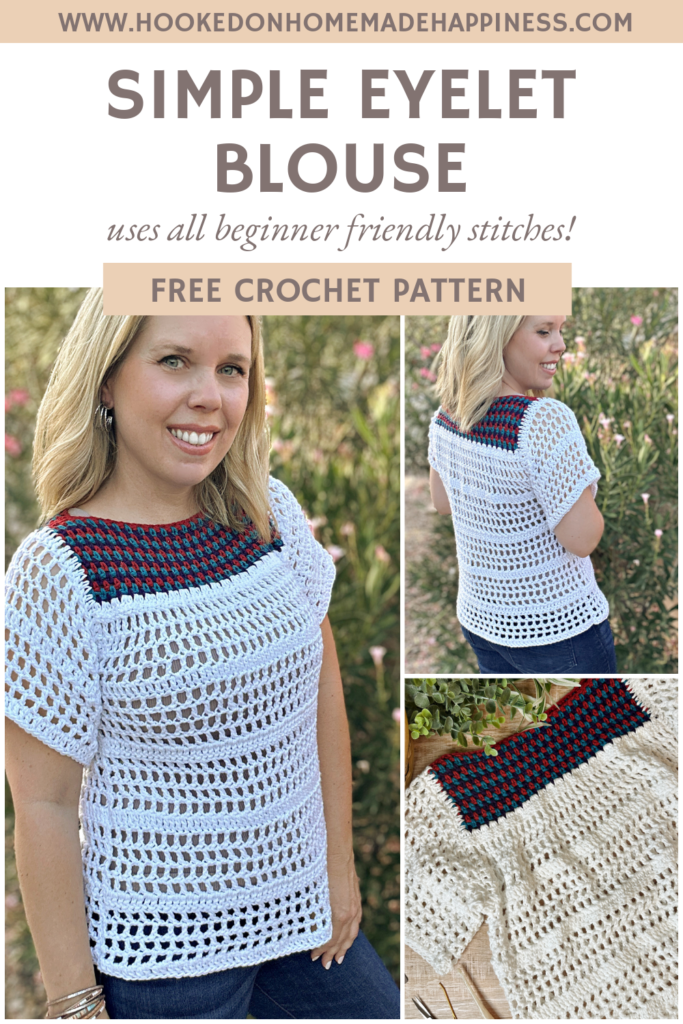
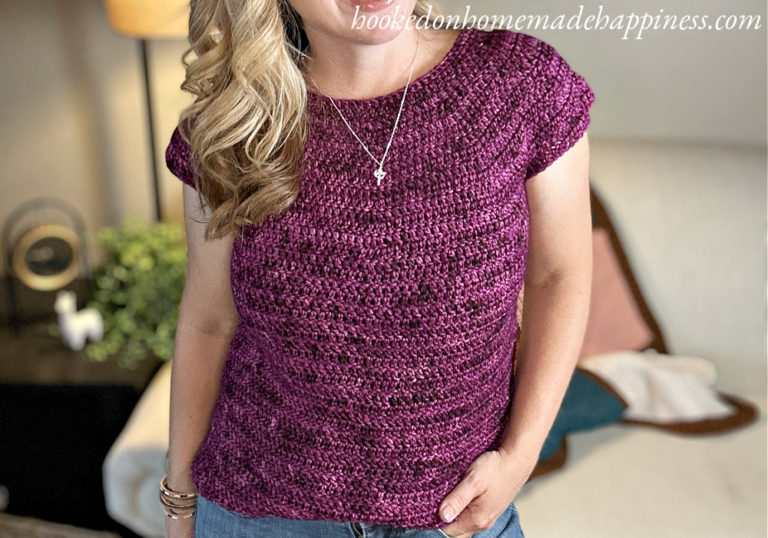
Simple Eyelet Blouse Crochet Pattern
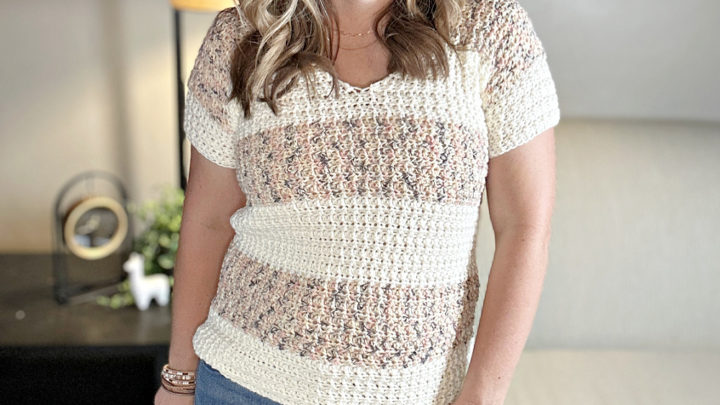
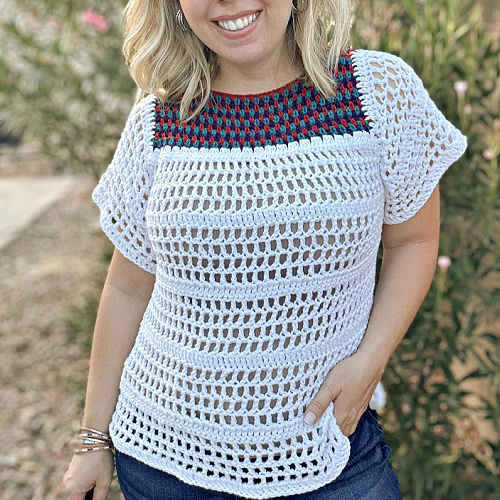
Looking for a lightweight crochet top that’s easy to make and perfect for warm weather? The Simple Eyelet Blouse Crochet Pattern is a simple and stylish crochet pattern featuring airy eyelet stitches, colorful moss stitch accents, and a relaxed fit. Made with just two panels sewn together and sleeves worked in the round, this beginner-friendly project creates a soft, flowy blouse you’ll love wearing all season long.
Purchase the ad-free, printable PDF for easy printing.
Materials
- Worsted weight cotton yarn
- J/6.0 mm crochet hook
- Tapestry needle
- Scissors
Why You’ll Love This Pattern
- Lightweight and breathable design
- Easy eyelet stitch pattern using basic stitches
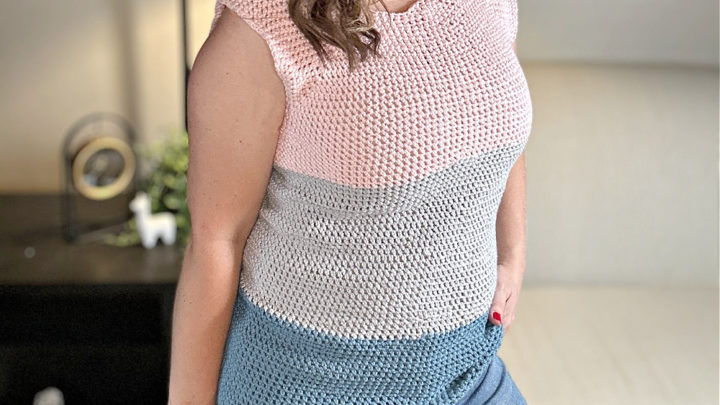
- Colorful moss stitch detailing across the yoke
- Made from simple rectangular panels
- Sleeves worked in the round for a polished finish
- Beginner-friendly construction
- Full video tutorial included
Pattern Details
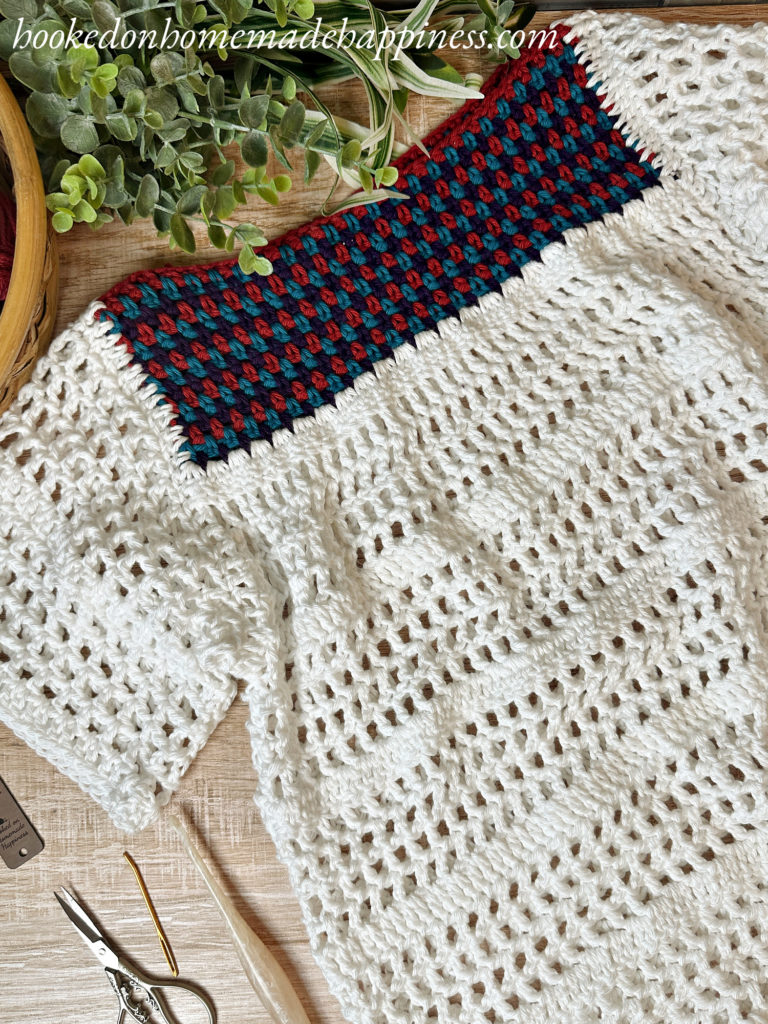
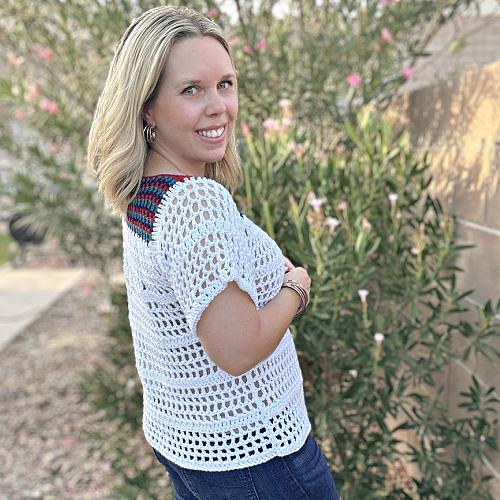
The Simple Eyelet Blouse is worked from the top down using two separate panels. The top portion of each panel features colorful moss stitch stripes that add subtle texture and visual interest, while the body is worked in a solid color using double crochet and chain stitches to create delicate eyelets throughout.
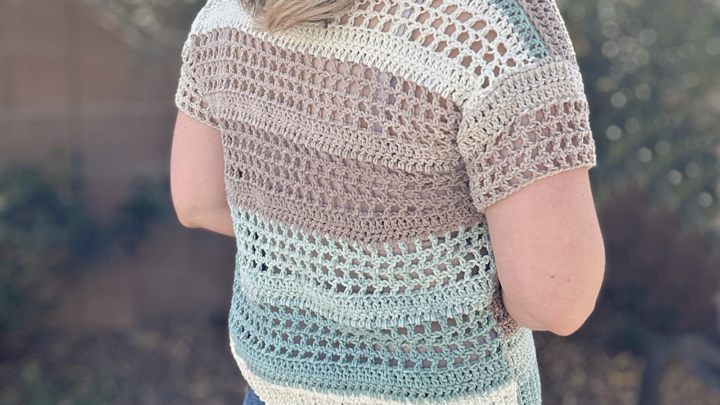
Once the panels are complete, they are sewn together at the shoulders and sides to form the blouse. Sleeves are then added directly to the arm openings and worked in the round for a seamless finish.
Using worsted weight cotton yarn gives this top beautiful drape while keeping it light and breathable. The open eyelet fabric creates an airy feel that’s perfect for spring, summer, and layering throughout the year.
Making the Simple Eyelet Blouse Crochet Pattern
Get the full free pattern below or purchase the ad-free, printable PDF
Materials
I Love this Cotton Yarn in White (4 skeins for S/M, 5 skeins, for L/XL, 6 skeins for 2X/3X, ), Deep Teal, Burnt Sienna, Purple (less than one skein each)
6.0 mm hook
yarn needle
scissors
Level
easy+
Pattern notes & stitches to know
ch – chain
dc – double crochet
rep – repeat
sc – single crochet
sk – skip
sl st – slip stitch
sp – space
st(s) – stitch(es)
t – turn
* * – work step in between asterisks
- Written in US terms
- ch 1 counts as sc
- ch 2 counts as sc + ch 1
- ch 3 counts as dc
- ch 4 counts as dc + ch 1
- The is made with two panels sewn together with a space for the neckline, and two armholes. The yarn is joined to the armhole for the sleeves. The sleeves are made with joined rounds.
- Each panel is made from the top down, starting with the striped detailing at the yolk. Use 3 colors for the stripes. Do not fasten off. Carry the yarn.
- Color A is the red, Color B is the teal, Color C is purple. The white is the main color.
- Sizes – (S, M, L) (XL, 2X, 3X) – The pattern is written in these sizes consecutively.
Gauge: 13 dc x 6 rows = 4″ x 4″
| Size | Bust (in) | Width (in) | Length (in) | Armhole Depth (in) | Fits Bust |
| S | 38 | 19 | 19 | 8 | 34-36″ |
| M | 42 | 21 | 19 | 8.5 | 38-40″ |
| L | 46 | 23 | 22 | 9 | 42-44″ |
| XL | 50 | 25 | 22 | 9.5 | 46-48″ |
| 2X | 54 | 27 | 25 | 10 | 50-52″ |
| 3X | 58 | 29 | 25 | 10.5 | 54-56″ |
Watch the Tutorial
See how it’s done! This easy-to-follow video tutorial will walk you through each step of the pattern.
Pattern Support
Looking for pattern support or want to share your progress? Join our Crochet Community Facebook Group! It’s the perfect place to ask questions, get help, and connect with fellow makers.
CROCHET PATTERN WRITTEN INSTRUCTIONS
YOLK DETAILING
Starting with Color A, ch (50, 54, 58) (62, 66, 70) – leave a long starting end for sewing
Row 1 : sc in 4th ch from the hook, *ch 1, sk 1 st, sc in next* rep from * to * across ((25, 27, 29) (31, 33, 35) sc)
Change to Color B
Row 2: ch 1, t, sc in first ch-1 space, *ch 1, sc in next ch-1 sp* rep from * to * across ending with sc in turning ch sp ((25, 27, 29) (31, 33, 35) sc)
Color C
Row 3 – 15: rep row 2 – changing color each row ((25, 27, 29) (31, 33, 35) sc)
BODY
Change to Main Color. Fasten off all other colors.
Row 1: ch 3, t, *2 dc in ch-1 sp, dc in sc* rep from * to across to last dc, 1 sc in turning ch ((71, 77, 83) (89, 95, 101) dc)
Row 2: ch 4, t, sk 1 st, dc in next, *ch 1, sk 1 st, dc in next* rep from * to * across ((36, 39, 42) (45, 48, 51) dc)
Round 3 – 5: ch 4, t, dc in dc, *ch 1, dc in dc* rep from * to * across ((36, 39, 42) (45, 48, 51) dc)
Row 6: ch 3, t, dc in each ch-1 sp and st across ((71, 77, 83) (89, 95, 101) dc)
Row 7 – Row (26, 26, 31) (31, 36, 36): rep rows 2 – 6
Fasten off. Leave a long end for sewing.
Repeat for other panel.
SEWING
Lay one panel on top of the other. Use the long ends to sew the shoulders closed. Leave a (9″, 9″, 9.5″) (9.5″, 10″, 10″) space in the center for the neckline.
Use the long end to sew the sides. Leave a (8″, 8.5″, 9″) (9.5″, 10″, 10.5″) space at the top for the armholes.
Weave in the ends. Turn right side out.
SLEEVES
Join yarn to the bottom of an armhole
Round 1: ch 3, dc eveny around, placing 2 dc along dc rows and 1 dc along sc rows, join to first dc with sl st (make sure to have an even number of stitches)
Round 2: ch 4, skip 1 st, *dc in next, ch 1, sk 1 st* rep from * to * around, join to first st with sl st
Round 3: ch 4, *dc in dc, ch 1* rep from * to * around, join to first st with sl st
Round 4 – 5: ch 4, *dc in dc, ch 1* rep from * to * around, join to first sl st
Round 6: ch 3, dc in each ch-1 sp and st around, join to first dc with sl st
Round 7 – 11: rep round 2 – 6
Fasten off. Weave in the ends.
Repeat other sleeve.
Looking for more patterns? Follow me on Facebook, Instagram, and Pinterest! Please share a pic of your finished product with me. I’d love to see it!


Looks so comfortable! Do you have equivalent bust sizes for the width?
The width is for the entire length (except for the colored top portion)
Oohh this is beautiful. Would love to make myself one.
Can you perhaps provide a pattern or advise for larges sizes for us plus size ladies?
Thank you
Hi! The starting ch needs to be an even number, so you can add chs to make it the size you want 🙂
Should the yarn be washed before hand if it’s a cotton? Won’t it shrink?
Love the fit , might just make a few.
Nicely done. Love the inset sleeves. Makes the blouse fit better.
is the 32″ width measurement for one side of the top or both combined?
That’s the width across the front 🙂
Hi, I am a little confused, up till row 12 I was doing sc + ch1, then when it gets to row 13 it changes to work into ch2 sp? Where does that come in. How do I change into a ch2 sp when I only had ch1 sps? Can you explain that to me please? Thankyou, I really love this la bonita blouse.
Hi! Yes, it should say ch-1 space 🙂
Hi,
I am trying to decide which size to make and purchase yarn to make. Is the 32 inch widthifor just one side front) so ends up being 64 inches around when they’re sewed together?
Hi! That is the width of just one side 🙂