Garden Gate Blanket Crochet Pattern
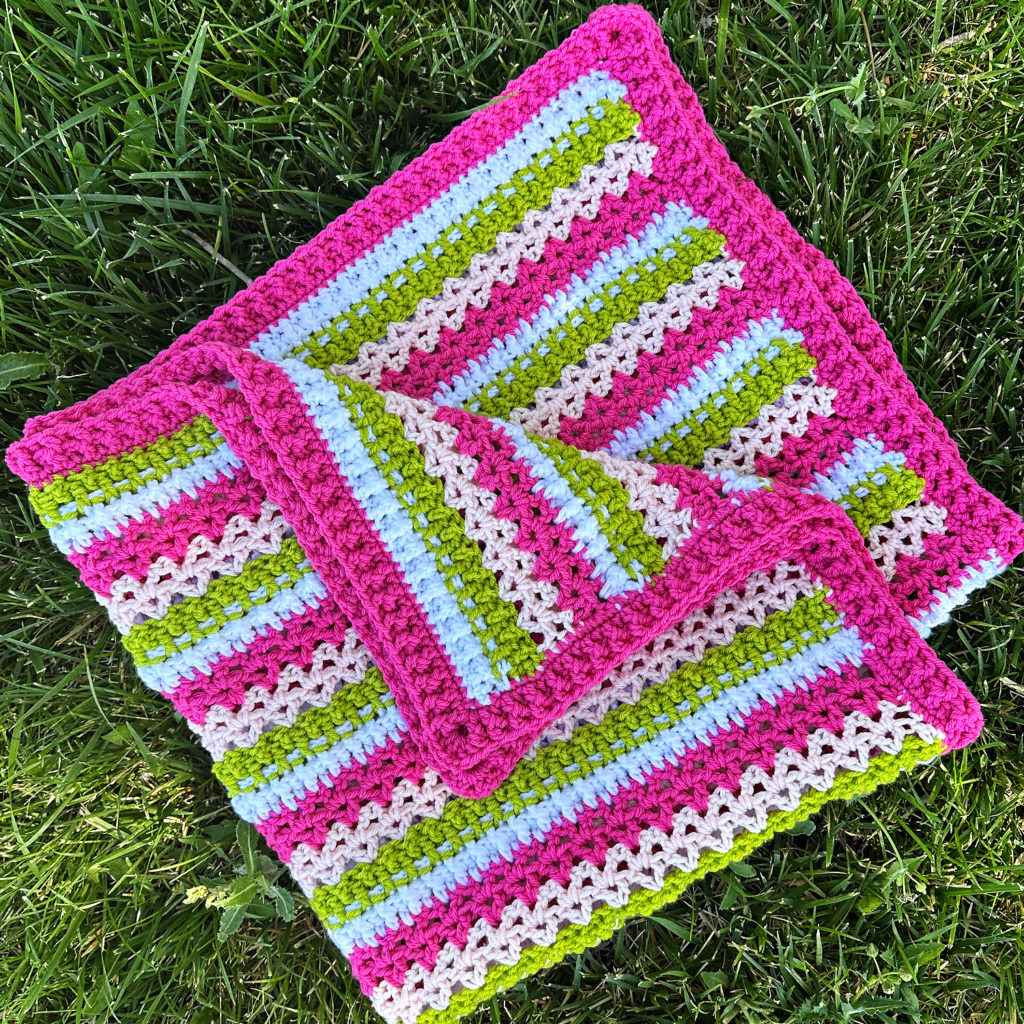
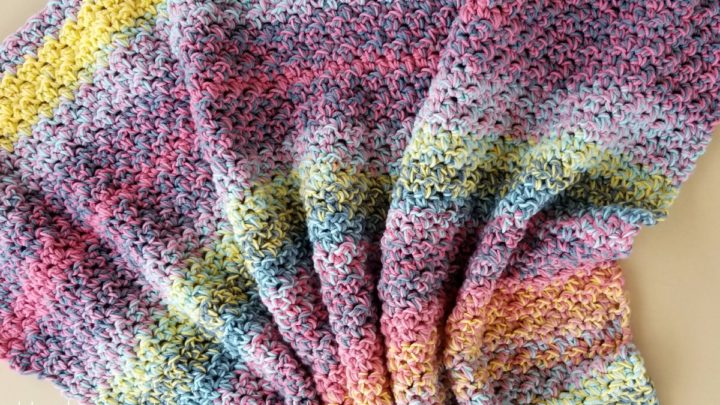
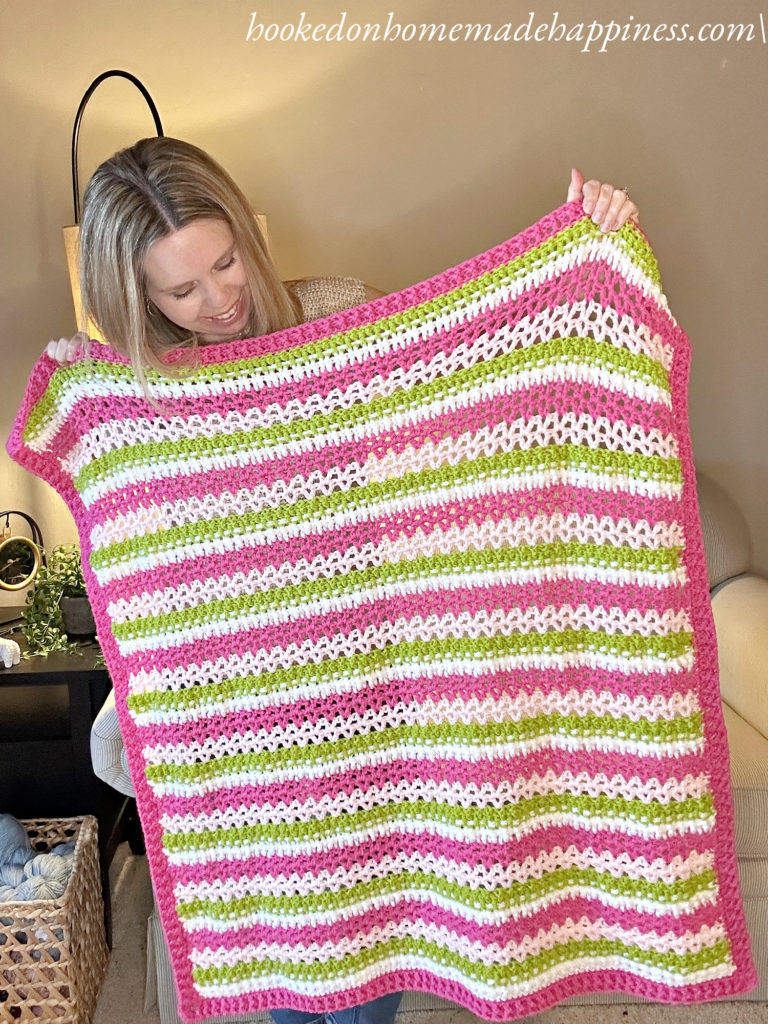
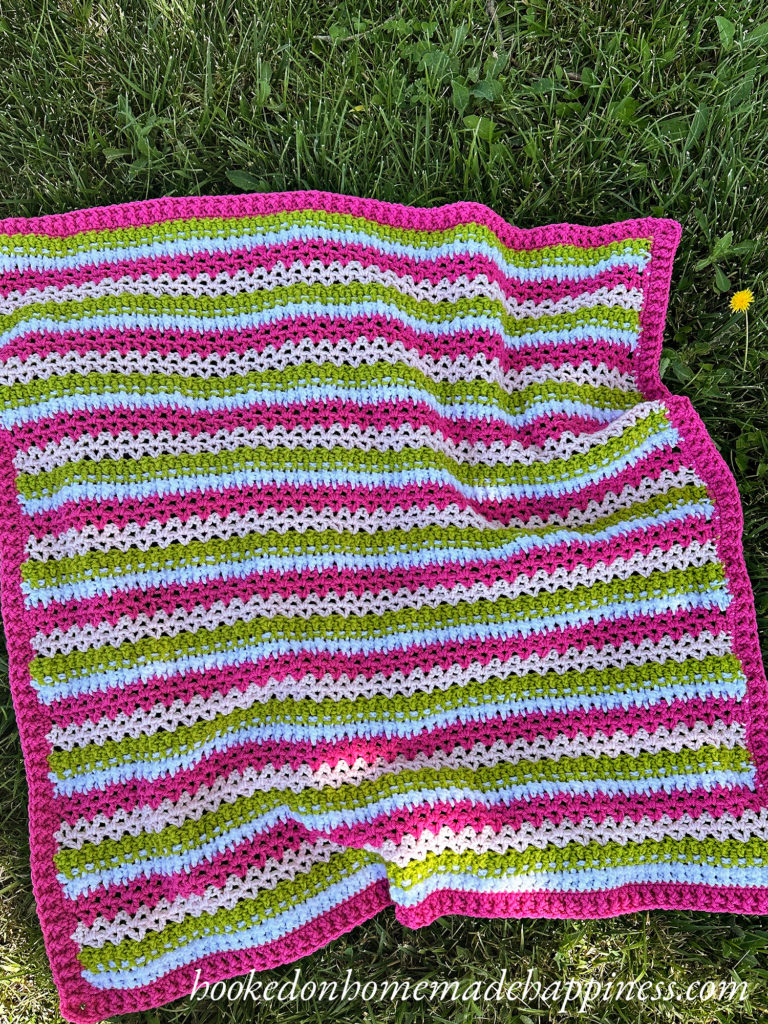
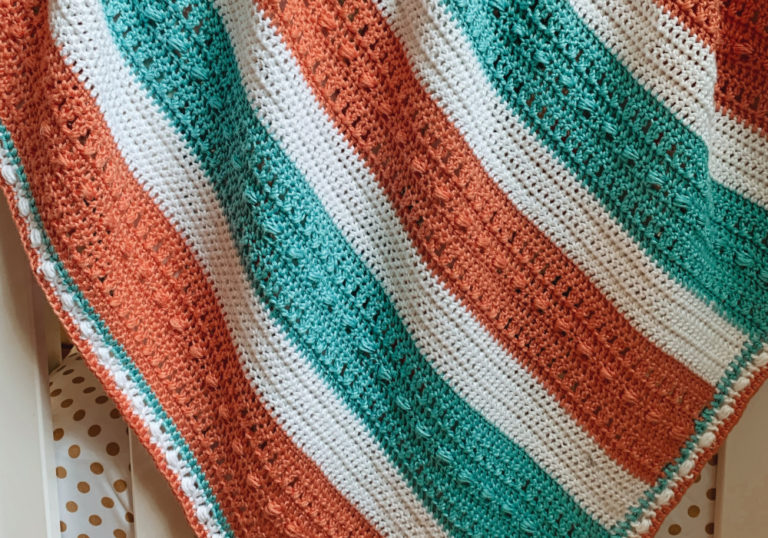
Wrap yourself in color and texture with the Garden Gate Blanket Crochet Pattern! This eye-catching design features a playful mix of post stitches and v-stitches, creating a beautifully textured fabric that’s as fun to crochet as it is to snuggle under. Inspired by blooming gardens and sunny days, the bright, summery color palette brings a cheerful vibe to any space. Whether you’re making it for your home or as a gift, the Garden Gate Blanket is the perfect project to keep your hook moving all season long.

Choosing Your Yarn
For this blanket I used I Love This Yarn from Hobby Lobby. This yarn is a great choice for crochet blankets. It’s a soft, worsted weight acrylic yarn that’s both cozy and durable—perfect for everyday use. With a wide range of vibrant colors and subtle shades, it’s easy to find the perfect palette for your project. Plus, it’s machine washable and holds up well over time, making it ideal for a blanket that’s meant to be loved and used often.
Making the Blanket
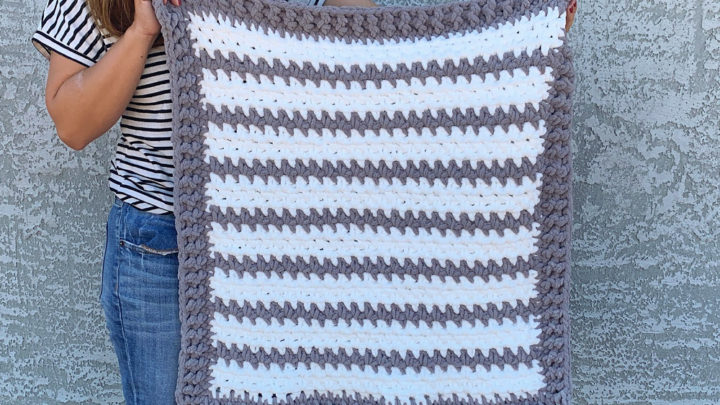
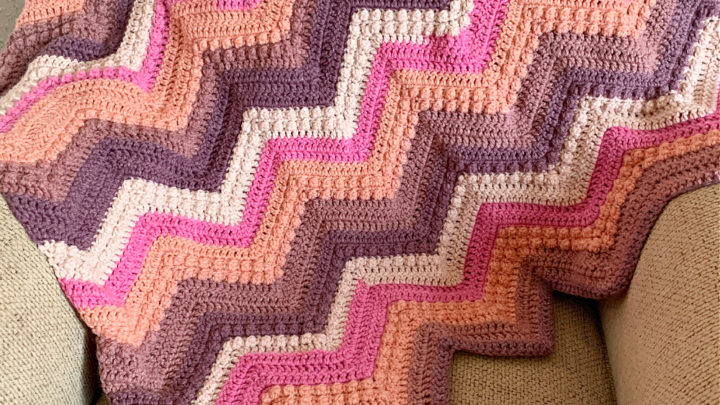
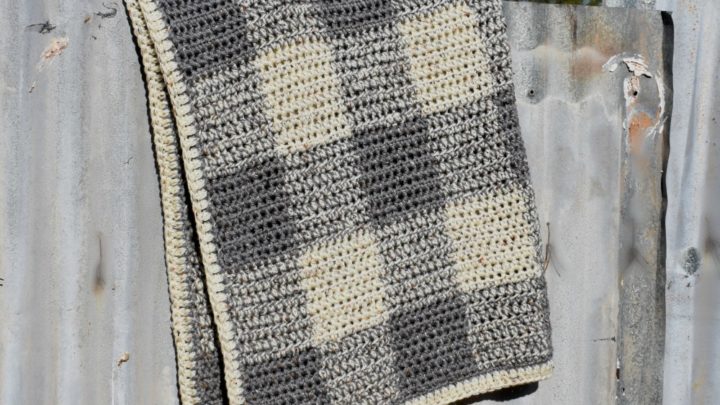
Post Stitches: Alternating front and back post stitches is a simple yet effective way to add rich texture to your crochet projects. By working around the post of the stitch instead of into the top loops, you create raised and recessed areas that form a subtle ribbed or woven effect. When you alternate between front post and back post stitches, the texture really pops, adding depth and visual interest to your blanket. It’s an easy technique that elevates the overall look, making even basic stitches feel bold and dimensional.
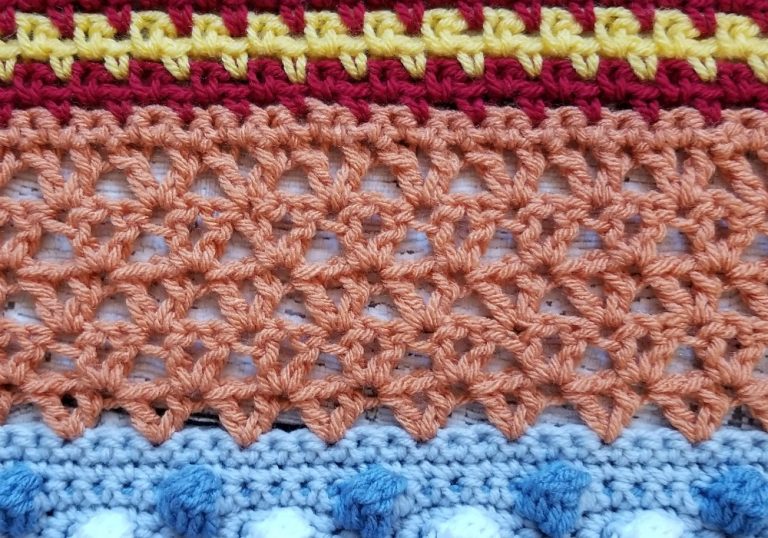
V-Stitch: V-stitches are a beautiful and versatile stitch that add openness and visual interest to your crochet projects. Created by working two stitches—usually double crochets—into the same space with a chain in between, the V-stitch forms a delicate, airy “V” shape. This stitch is great for adding a touch of lightness to a project, especially when paired with more solid or textured stitches. In blankets, V-stitches help break up dense sections and create a lovely balance of structure and flow, making your finished piece both eye-catching and breathable.
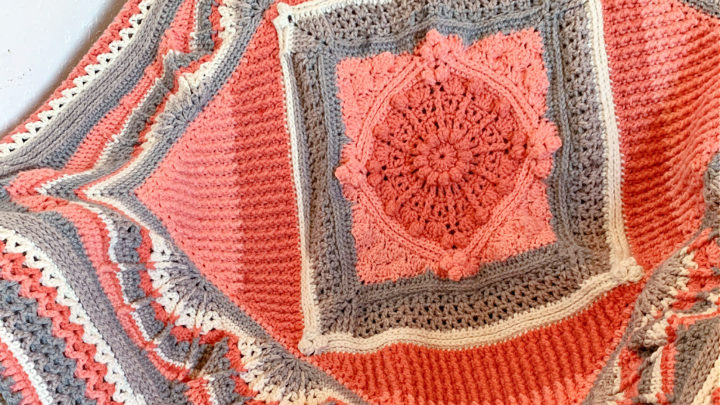
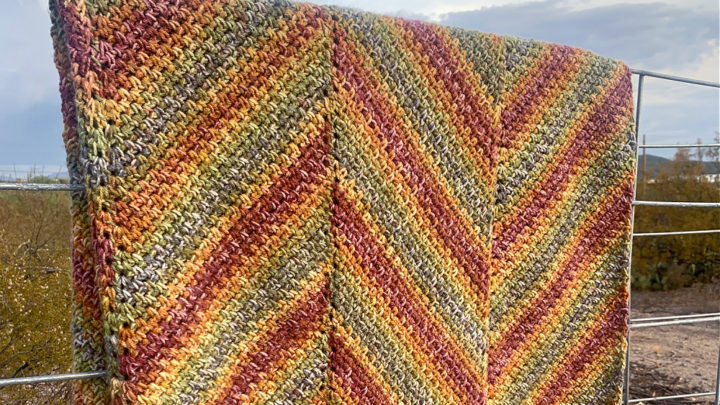
More Homemade Happiness
click here to pin this pattern for later >>>
Garden Gate Blanket Crochet Pattern
PIN for later HERE
Add to your Ravelry Queue HERE
Materials
Hobby Lobby I Love This Yarn in 4 colors (I used Soft Pink, Hot Rose, White, & Keylime)
J/6.0 mm hook
yarn needle
scissors
Level
intermediate
Pattern Notes & Stitches to Know
ch – chain
sl st – slip stitch
dc – double crochet
hdc – half double crochet
vst – v stitch (dc, ch 1, dc)
fpdc – front post double crochet
bpdc – back post double crochet
· written in US terms
· ch 2 does not count as dc
· To change the size, add or take out chains. The starting ch must be a mult of 6.
· Pattern is made in stripes of 4 colors. White is Color A, green is Color B, light pink is Color C, and dark pink is color D.
· Colors change every 2 rows. Do not fasten off colors, carry yarn along the side.
· Approx Finished Size: 37″ x 37″
GARDEN GATE BLANKET CROCHET PATTERN
Starting with Color A, ch 114
Row 1: dc in 3rd ch from hook and across (112 dc)
Row 2: ch 2, turn, hdc in first stitch, *fpdc in next stitch, bpdc in next* repeat from * to * across to last stitch, hdc in last (112)
Change to Color B
Row 3: ch 2, turn, hdc in first stitch, *bpdc in first stitch, fpdc in next* repeat from * to * across to last stitch, hdc in last (112)
Row 4: ch 2, turn, hdc in first stitch, *fpdc in next stitch, bpdc in next* repeat from * to * across to last stitch, hdc in last (112)
Change to Color C
Row 5: ch 2, turn, dc in first stitch, *skip 2 stitches, vst in next* repeat from * to * across to last 3 stitches, skip 2, dc in last (36 vst)
Row 6: ch 2, turn, dc in first stitch, vst in each ch-1 space across, dc in last (36 vst)
Change to Color D
Row 7: ch 2, turn, dc in first stitch, vst in each ch-1 space across, dc in last (36 vst)
Row 8: ch 2, turn, dc in first stitch, vst in each ch-1 space across, dc in last (36 vst)
Change to Color A
Row 9: ch 2, turn, dc in first stitch, dc in between dc and next vst, dc in each dc and ch-1 space across (112 dc)
Row 10: ch 2, turn, hdc in first stitch, *fpdc in next stitch, bpdc in next* repeat from * to * across to last stitch, hdc in last (112)
Change to Color B
Row 11: ch 2, turn, hdc in first stitch, *bpdc in first stitch, fpdc in next* repeat from * to * across to last stitch, hdc in last (112)
Row 12: ch 2, turn, hdc in first stitch, *fpdc in next stitch, bpdc in next* repeat from * to * across to last stitch, hdc in last (112)
Row 13 – Row 68: repeat rows 5 – 12
Or until desired length.
Fasten off. Weave in the ends.
BORDER
Join Color D (or any border color) to the top corner stitch
Round 1: ch 1, sc in each stitch across to corner, (sc, ch 2, sc) in corner, sc evenly down the side (working approx 2 sc in the side of each dc and 1 sc in the side of each hdc) to the corner, (sc, ch 2, sc) in corner, sc in each stitch across the bottom to the corner, (sc, ch 2, sc) in corner, sc evenly along the side (working approx 2 sc in the side of each dc and 1 sc in the side of each hdc) to the corner, sc, ch 2, join to first sc with sl st
Round 2: ch 2, *dc in each stitch across to ch-2 space, (2 dc, ch 2, 2 dc) in ch-2 space* repeat from * to * around, join to first dc with sl st
Round 3: ch 2, fpdc in first stitch, bpdc in next *alternate fpdc and bpdc across to ch-2 space, (2 dc, ch 2, 2 dc) in ch-2 space* repeat from * to * around to last 2 stitches, fpdc in next, bpdc in last, join to first dc with sl st
Fasten off. Weave in the ends.
Looking for more patterns? Follow me on Facebook, Instagram, and Pinterest! Please share a pic of your finished product with me. I’d love to see it!


In the first 3 rows should the fpdc be worked into the bpdc so that its making a ribbed look? Or is it the opposite?
Opposite 😊