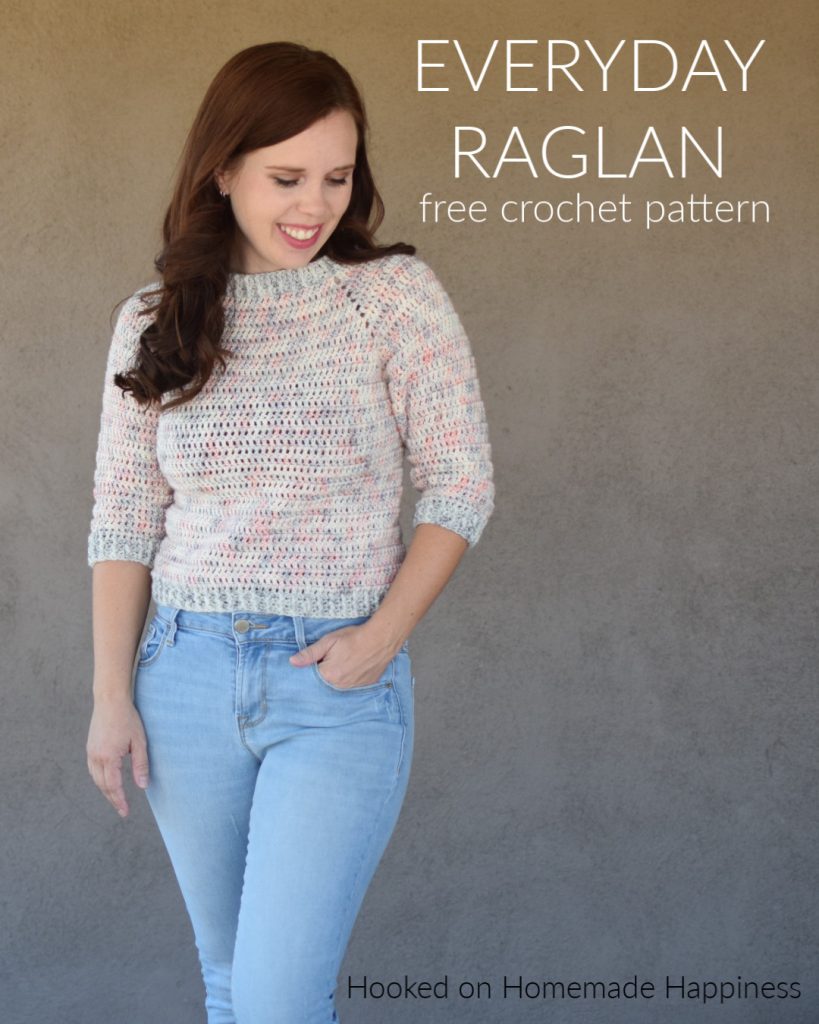
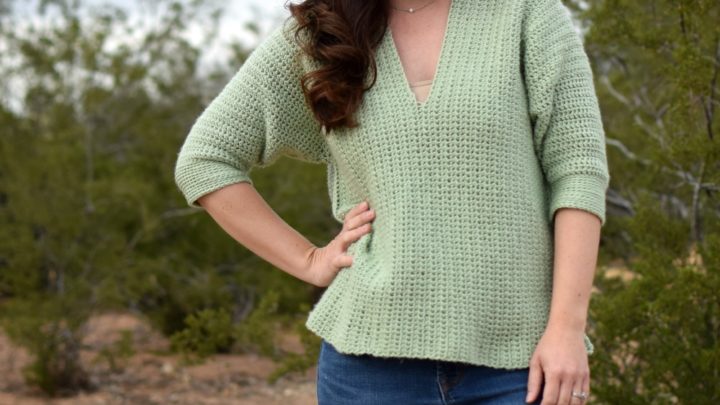
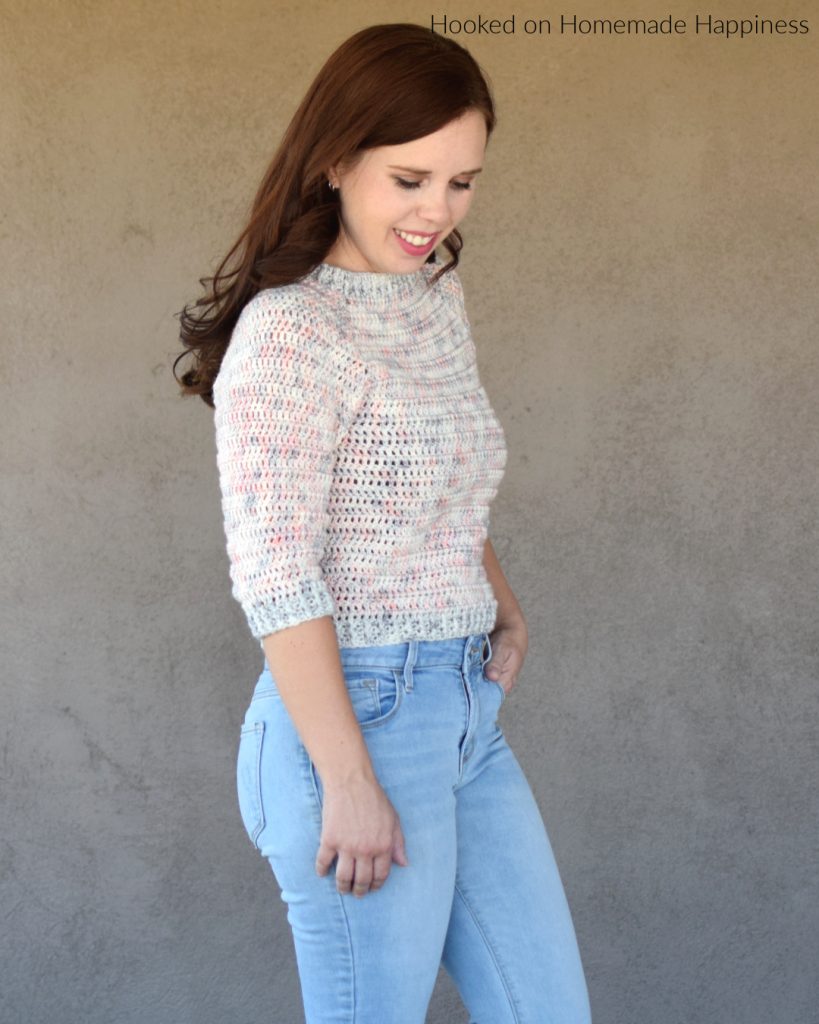
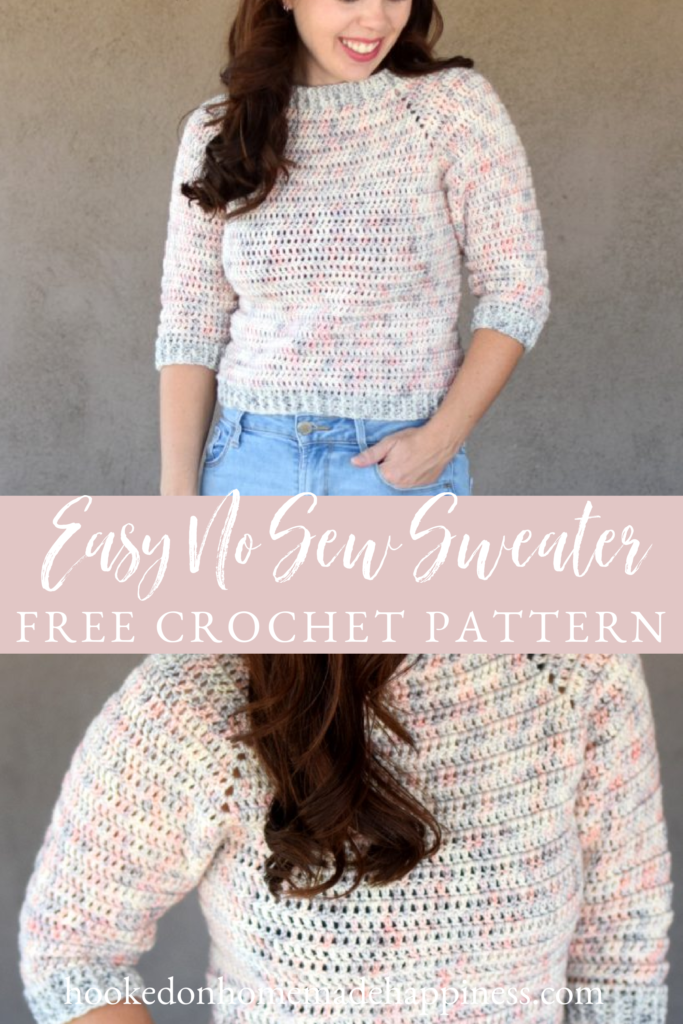
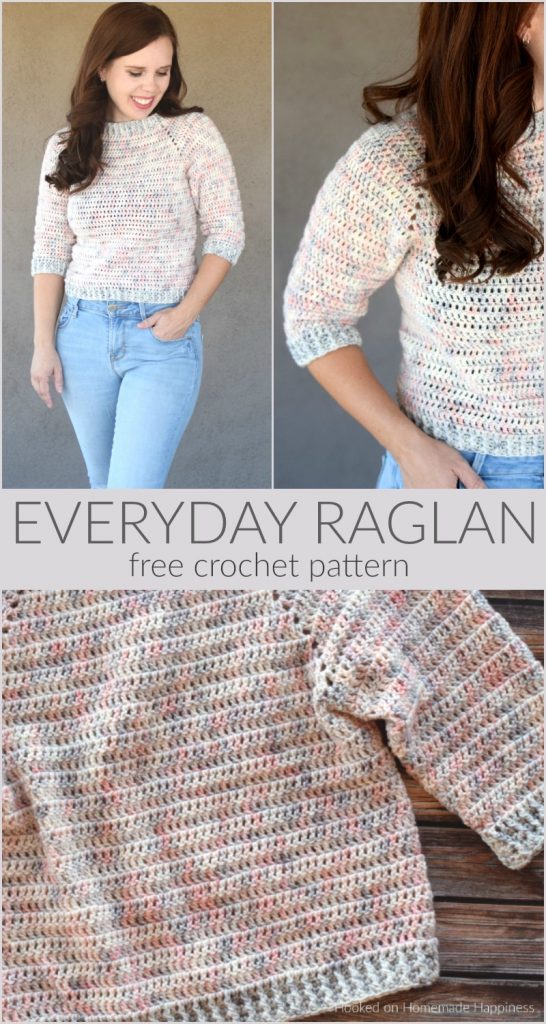
Everyday Raglan Crochet Pattern
Looking for a simple and stylish crochet sweater project? This Everyday Raglan Crochet Pattern is just the thing! Made entirely with double crochet stitches and DK weight yarn, it’s a beginner-friendly design that works up quickly and looks great in any color. Whether you’re making it for a cozy layer or a handmade gift, this classic raglan is a fun and satisfying project that’s perfect for building your garment-making confidence.
Choosing Your Yarn
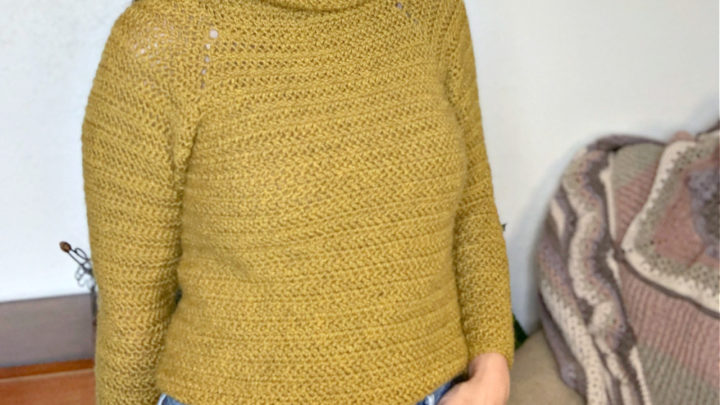
This sweater pattern calls for DK weight (3) yarn. I used hand dyed superwash merino wool. An acrylic or cotton yarn would work great, too! DK weight yarn is a great choice for sweaters because it offers the perfect balance between warmth and drape. It’s lightweight enough for comfortable layering but still provides enough structure to hold the shape of a garment. DK yarn also creates a smooth, even fabric that shows off stitch definition beautifully, making your finished sweater look clean and polished.
Making Your Sweater
To create a beautiful and functional no sew crochet sweater, you will only need to know basic crochet stitches. The foundation chain, single crochet, double crochet, and slip stitch are some of the fundamental stitches that you’ll need to know to bring your sweater to life.
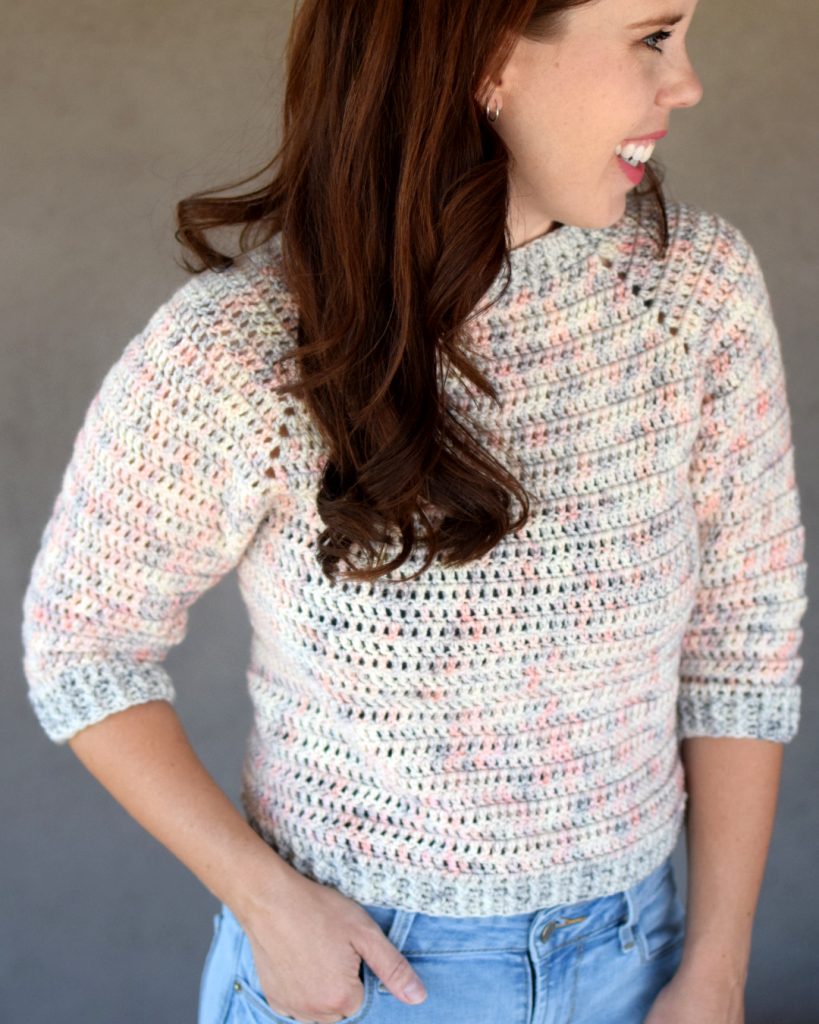
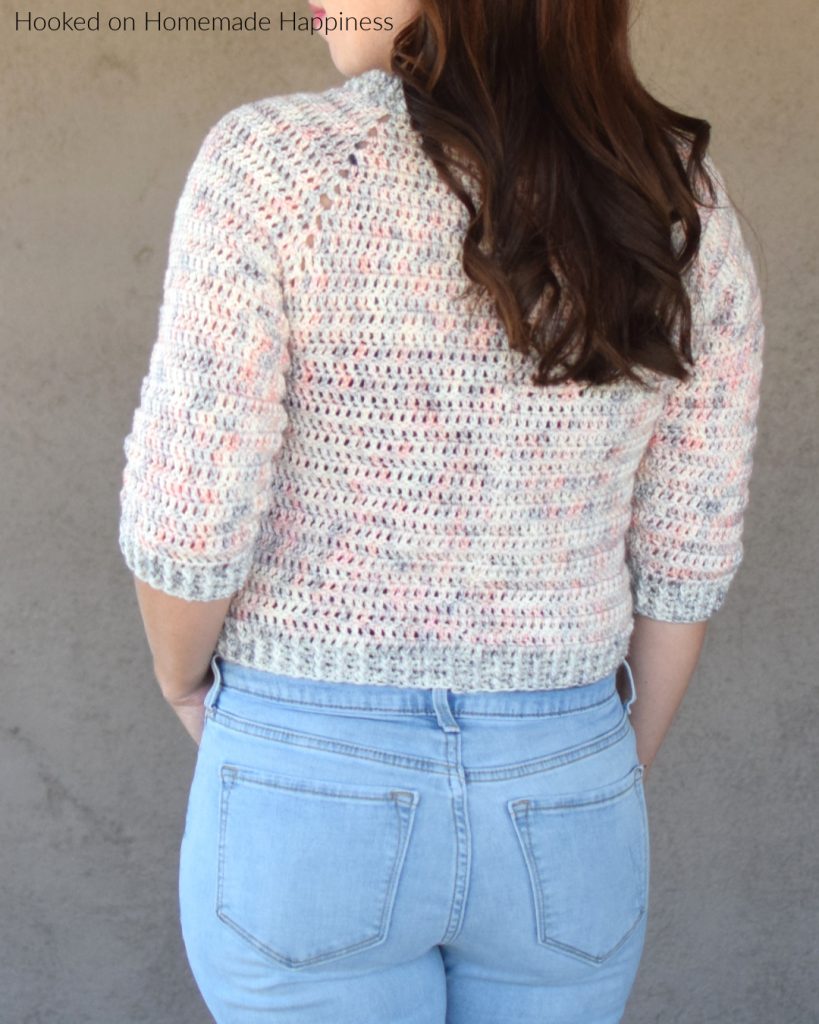
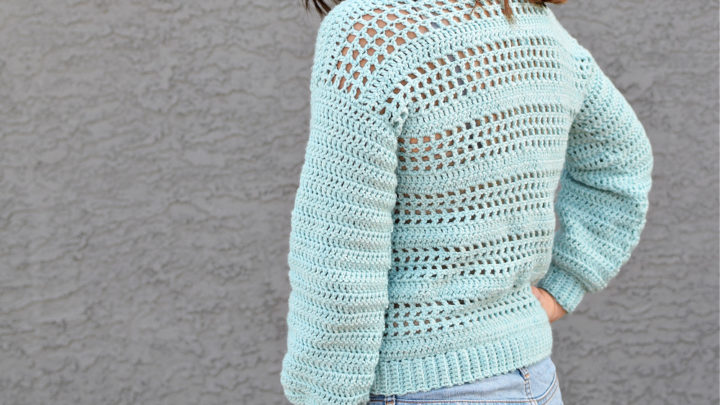
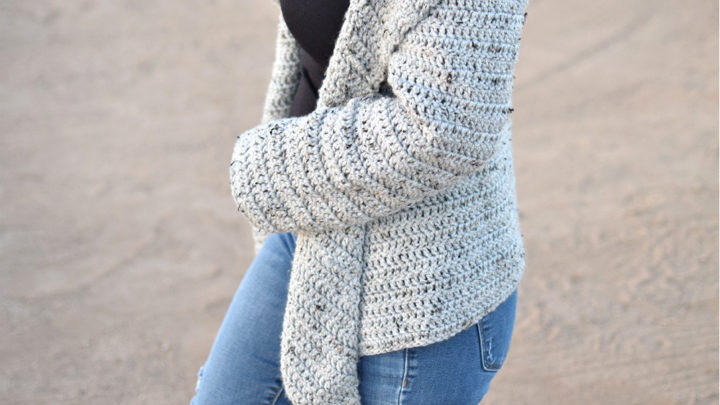
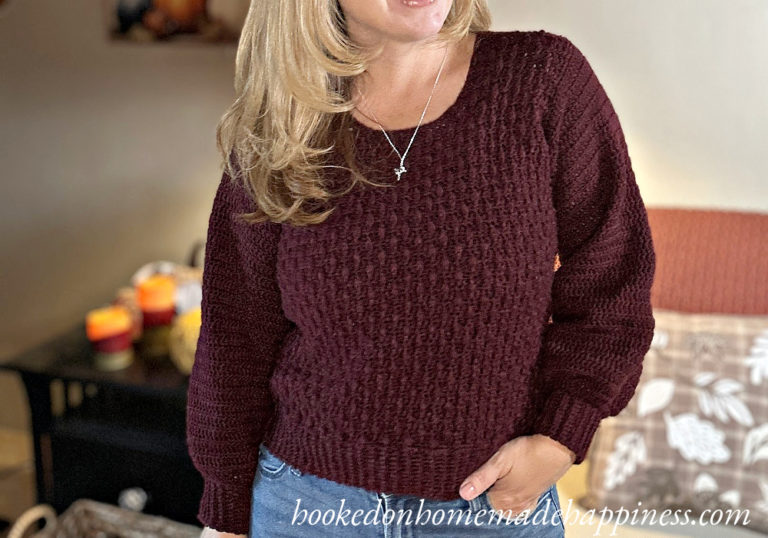
This crochet raglan-style sweater is worked from the top down in one seamless piece. It starts at the neckline and increases are made at four raglan points to shape the yoke. Once the yoke is complete, the stitches are separated for the sleeves and body, which are then worked straight down. This construction allows for easy adjustments in length and fit, making it a great option for beginners and customizable projects.

Finishing touches and customization
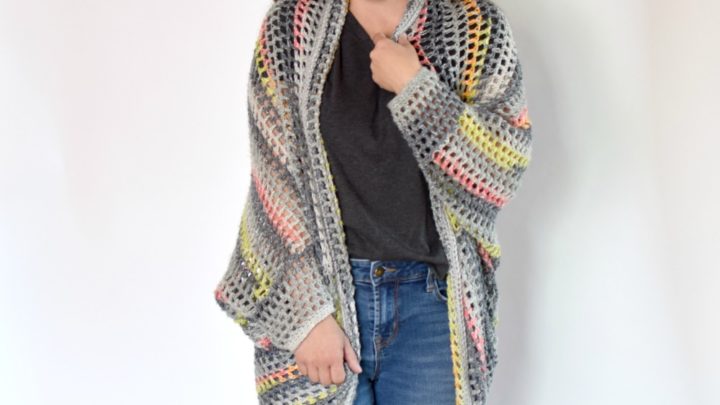
This sweater is highly customizable and it’s easy to make it your own! You can easily add some finishing touches and customize your sweater to make it truly unique. If you’d like a longer sweater, simply continue the round repeat until it’s the desired length. Same with the sleeves! I made a 3/4 length sleeve, but it can be either short sleeve or long sleeve. You can also experiment with different colors or even incorporate different stitch patterns for a one-of-a-kind look. Don’t be afraid to let your creativity shine through in this final stage of the process.
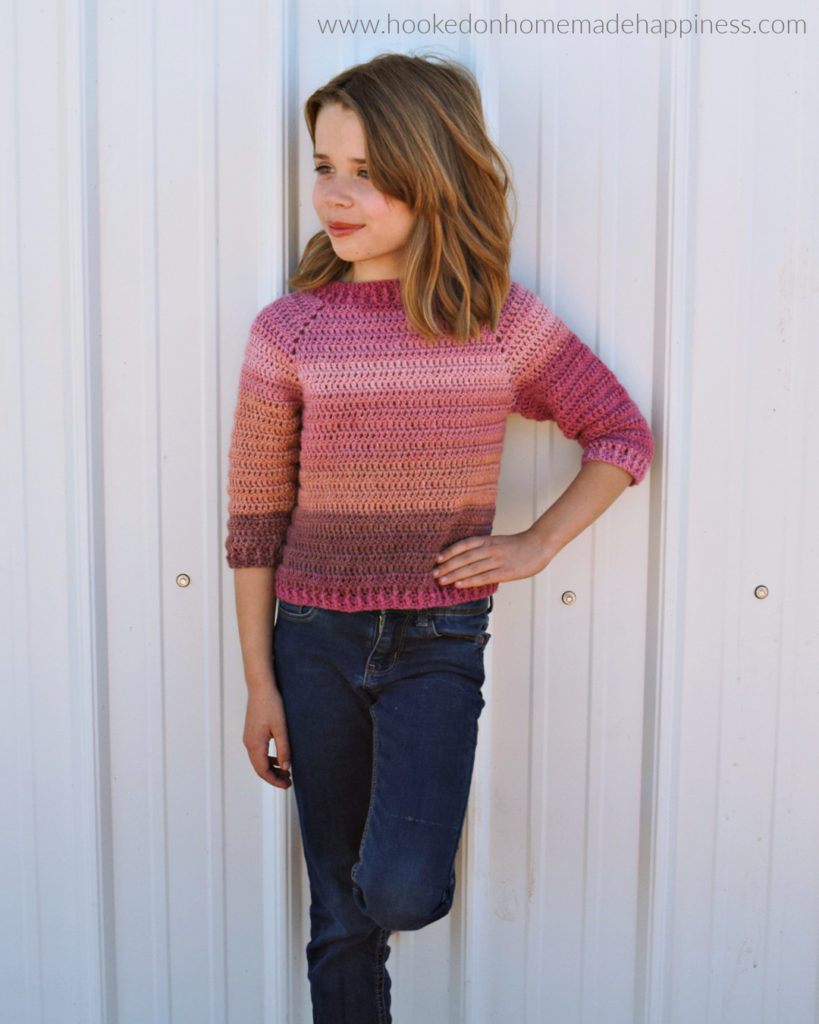
This easy pattern is also available in kid’s sizes 2 – 12! You can make this quick, beginner friendly sweater for the little one in your life.
Check out the Kid’s Everyday Raglan Crochet Pattern!
click here to pin this pattern for later >>>
Everyday Raglan Crochet Pattern
Get the free pattern below or purchase the ad-free, printable PDF in my Ravelry Shop
PIN for later HERE
Add to your Ravelry Queue HERE
Materials
dk weight yarn in 2 colors – I used yarn I dyed myself (Main color: approx. 300g for S, 400g for M/L, 500g for XL/2X, 600g for 3X. Secondary color: 100g)
4.5 mm hook
yarn needle
scissors
Level
Easy
Pattern notes
Stitches & Abbreviations – US terms
ch – chain
sl st – slip stitch
sc – single crochet
dc – double crochet
dc2tog – double crochet 2 together
fpdc – front post double crochet
bpdc – back post double crochet
· written in US terms
· ch 1 does not count as sc
· ch 2 does not count as dc
· Gauge: 13 dc x 8 rows = 4” x 4”
· This top is made raglan style. It is worked in turned rounds.
· This top is close fitting with zero to negative ease. If you would like a looser fit, size up or go up a hook size.
Sizes: S, M, L, XL, 2X, 3X – The pattern is written in these sizes consecutively. Example, when the pattern gives the end of the row count as (74, 82, 90, 98, 106, 114 dc), the 74 is for S, 82 is M, 90 is L, 98 is XL, 106 is 2X, 114 is 3X.
Approx Finished Size:
Bust: S (31”) M (34.5”) L (38)” XL (41.5”) 2X (45”) 3X (48.5”)
Length: S (18”) M (20”) L (22”) XL (24”) 2X (26”) 3X (28”)
Sleeve Length: S (16”) M (18”) L (20”) XL (22”) 2X (24”) 3X (26”)
Size Small pictured I am 5’0” with a 34C” bust
EVERYDAY RAGLAN CROCHET PATTERN
Starting with the secondary color, ch 76, 84, 92, 100, 108, 116
Row 1: dc in the 3rd ch from the hook and in each ch across, join to first dc with sl st (74, 82, 90, 98, 106, 114 dc)
Now you will be working in rounds
Round 2: ch 1, turn, *sc, fpdc in next* repeat from * to * around, join to first sc with sl st (74, 82, 90, 98, 106, 114)
Round 3: ch 1, turn, *bpdc, sc in next* repeat from * to * around, join to first bpdc with sl st (74, 82, 90, 98, 106, 114)
Repeat round 2 & 3 one more time to Round 4 (74, 82, 90, 98, 106, 114)
Change to main color
Round 5: ch 1, turn, dc in 10, 11, 12, 13, 14, 15 stitches, 2 dc in next, ch 2, 2 dc in next, dc in 13, 15, 17, 19, 21, 23 stitches, 2 dc in next, ch 2, 2 dc in next, dc in 20, 22, 24, 26, 28, 30 stitches, 2 dc in next, ch 2, 2 dc in next, dc in 13, 15, 17, 19, 21, 23 stitches, 2 dc in next, ch 2, 2 dc in next, dc in remaining stitches, join to first dc with sl st (82, 90, 98, 106, 114, 122 dc)
Round 6: ch 2, turn, *dc in each stitch to the ch 2 space, (dc, ch 2, dc) in ch 2 space*, repeat from * to * around, dc in remaining stitches, join to first dc with sl st (90, 98, 106, 114, 122, 130 dc)
Repeat round 6 to Round 18, 20, 22, 24, 26, 28 (186, 210, 234, 258, 282, 306 dc)
The sleeves are created in the next round.
Round 19, 21, 23, 25, 27, 29: ch 2, turn, dc in each stitch to the ch 2 space, dc in the ch 2 space, ch 3, dc in the next ch 2 space (skipping an entire section, this will be the first sleeve), dc in each stitch to the next ch 2 space, dc in ch 2 space, ch 3, dc in next ch 2 space (skipping an entire section, this will be the second sleeve), dc in remaining stitches, join to first dc with sl st (104, 116, 128, 140, 152, 164 dc)
Round 20, 22, 24, 26, 28, 30: ch 2, turn, dc in each stitch and ch around, join to first dc with sl st (110, 122, 134, 146, 158, 170 dc)
Round 21, 23, 25, 27, 29, 31: ch 2, turn, dc in each stitch around, join to first dc with sl st (110, 122, 134, 146, 158, 170 dc)
Repeat previous round to Round 38, 42, 46, 50, 54, 58 (110, 122, 134, 146, 158, 170 dc) (or until top is approx. 1.75” shorter than desired length)
Change to secondary color
Round 39, 43, 47, 51, 55, 59: ch 2, turn, dc in each stitch around, join to first dc with sl st
Round 40, 44, 48, 52, 56, 60: ch 1, turn, *sc, fpdc in next* repeat from * to * around, join to first sc with sl st (110, 122, 134, 146, 158, 170)
Round 41, 45, 49, 53, 57, 61: ch 2, turn, *bpdc, sc in next* repeat from * to * around, join to first bpdc with sl st (110, 122, 134, 146, 158, 170)
Repeat previous 2 rounds to Round 44, 48, 52, 56, 60, 64 (110, 122, 134, 146, 158, 170)
Fasten off. Weave in the ends.
SLEEVES
Join yarn to the bottom of one arm hole at round 18, 20, 22, 24, 26, 28
Round 19, 21, 23, 25, 27, 29: ch 2, dc evenly around, join to first dc with sl st
Round 20, 22, 24, 26, 28, 30: ch 2, turn, dc in each stitch around, join to first dc with sl st
The next rounds include a dc2tog. Each round will decrease by 1 stitch. Decreasing is optional and you can stop any time the sleeve is tight enough.
Round 21, 23, 25, 27, 29, 31: ch 2, turn, dc2tog, dc in remaining stitches around, join to first dc2tog with sl st
Repeat previous round to Round 36, 40, 44, 48, 52, 56 (or until sleeve is approx. 1.75” shorter than desired length)
Change to secondary color
Round 37, 41, 45, 49, 53, 57: ch 2, turn, dc in each stitch around, join to first dc with sl st
Round 38, 42, 46, 50, 54, 58: ch 1, turn, *sc, fpdc in next* repeat from * to * around, join to first sc with sl st
Round 39, 43, 47, 51, 55, 59: ch 2, turn, *bpdc, sc in next* repeat from * to * around, join to first bpdc with sl st
Repeat previous 2 rounds to Round 42, 46, 50, 54, 58, 62
Fasten off. Weave in the ends.
Repeat for the other sleeve.
And you’re done with this simple raglan! I hope you love it!
Looking for more patterns? Follow me on Facebook, Instagram, and Pinterest! Please share a pic of your finished product with me. I’d love to see it!


Love the top will go on my list to do
May have to make longer as I’m a rather large lady and crop top won’t look good lol.
Thank you!! It can be made in any length 🙂
I’m a tad confused about the rounds since there are more then one round for some of the rounds. Like there are two rounds with eve sleeves…Round 23 is stated two times…along with Round 25…27…29. Please advise.
Hi! I’m not sure what you mean. Are you looking at the Round number? When is says Round 19, 21, 23, 25, 27, 29? Those refer to the different sizes ?
Why can’t we simply repeat round 2 as 3 and 4.. instead of turning our work?? We would hav to do fpdc instead of body… is there a reason you are turning?? Sorry my knowledge is very low.. just trying to understand
Hi! The turn will hide the seam, make the seam straighter, and creates a different texture 🙂 Hope this helps!
Breann
Is there instructions for the sweater you are wearing on your home page?
Regards susan
Hi, I love the look of this top, but don’t quite understand how to make the rounds after the first row is crocheted. Do you have a video tutorial for this pattern?
Hi! Join to the first stitch of the row to make a circle ?
Breann…I purchased pattern on etsy. I’m a beginner so I have some questions…is the pattern starting with the bottom ribbing and working up to the neck ribbing?
I did a swatch and it matches your measurements. However when I finished the first row of double crochets, the band (is it the bottom band?} is way too tight. I’m usually a large but I made followed instructions for 2x and used a 5.0 mm rather than a 4.5mm. Why is it too tight?
Hi! This sweater is worked from the top down 🙂 The first rounds are the neckline. Hope this helps!
What size is the model wearing?
Small 🙂
I am just starting this sweater and am on row 4 (row 2 & 3 repeated). It appears that I am crocheting the sweater inside out since the pattern is on the inside of the circle. Did i do something wrong?
Hi! The stitch shows up on both sides 🙂
Hello Breann!
Thank you for this pattern. I made a swatch with DK yarn and a 4.5mm hook but it measures 3″ by 3″ instead of 4″ by 4″. What do I do? Do I use a bigger hook?
Hi! Yes, go up a hook size.
I have used a 5mm hook and my swatch doesn’t still measure. I have also used a 6mm hook and it measures. However, I do not want this sweater to be loose fit. What can I do now?
Thanks for your help, Breann!
Hi! I would use whatever hook matches gauge. I tend to crochet loose so you might just crochet tighter than me 🙂
I have used a 5mm hook and my swatch still doesn’t measure yours. But I have used a 6mm hook and it measures. However, I do not want this garment to be loose fit. What do I do?
Thank you for your help, Breann.
Okay. I’d go ahead with the 6mm hook then. I really love this pattern and I want my raglan top to come out perfectly. But do you suggest that I size down, given the hook I’m going to be using? My bust measured 42″. Since I’m using a 6mm hook and my top may come out stretchy, do you think I should follow the instructions for L?
Hello Breann!
I’m still here waiting for you to reply my last comment. ?
Thank you!!
If you’re matching gauge with the 6 mm hook then you’re sweater should be the same amount of “stretchiness” as mine 🙂 I would stick with your measurements with the hook that matches gauge. Hope that helps!!
Hello Breann! Hope all is well. I am wondering if I could make this using size 1yarn? I can’t wrap my head around what adjustments would need to be made to fit gauge. Any way you could explain? Thanks a bunch!
Hi! You’ll have to use a large hook. I don’t think you’ll be able to make gauge with such small yarn. The stitches would have to be really large.
Thank you very much for your help. I really want to use this yarn but most patterns call for the thicker yarns 🙃
This is just a thought…if you have lots of yarn, you may be able to meet gauge by using three or 4 strands of the thin yarn. Maybe using 1 strand of your thin yarn and one strand of a size 2 or 3. This may or not work out.
That’s a good idea!
Thank you for that idea! I sure have plenty of this color so think I will try it!
On another project I came across a question similar to mine, she wanted to know if you could substitute smaller yarn, it was suggested to go up a size (or two) in the pattern, I haven’t tried this but I hope to and I’ll let you know how it goes 🙂
Hi I’m sorry to sound daft , but this is my first time trying a jumper and I’m already lost . On row 2 it say sc, fpdc in the next stich dose that mean sc THEN fpdc in the next stitch and carry on not sc and fpdc in the same stich . I’d be so grateful if you could help me I’m on the verge of tears lol x
Hi! sc in one stitch, then fpdc in the next
In round6, when we chain 2 and then do dc, Do we have to do dc into the same stitch or the next stitch?
Hi! In the corner ch 2 space work (dc, ch 2, dc) all in the ch 2 space. Then dc in the next stitch and across to the next ch 2 space 🙂
Sorry, I might not be clear. I mean when we start the round, do ch2 and turn then dc in the next stitch or the same stitch (that ch2 comes out)? Thank you for your explaination ^_^
The next stitch 🙂 Since your turning, where the ch 2 comes is actually the sl st. So you’re very last stitch goes with the ch 2
Hello!
Round 19, it says skip a whole section. What do you mean buy the whole section??
An entire side of the rectangle 🙂
Hi! I love the sweater! ❤️
About how many yards of yarn will I need for this pattern?
Hi! I used Dk weight yarn and 100g is about 200 yds.
Hi, I don’t understand on the neck rib, it’s says after rnd 3 to repeat rnd 2&3 one more time to rnd 4, wouldn’t that be rnd 5?
Hello I am at round 5c it says change to main color, chain one and then dc in stitches 10? What about the first 9 stitches, do we slip stitch til stitch 10?
Hi! Dc in the first 10 stitches 🙂
Is there a reason why you turn with each row of the pattern instead of working in a spiral and avoiding the turn chain that shows on the back the sweater? Do you think that it would work to just work in a continuous spiral?
Hi! I personally don’t like working in a spiral with double crochet 🙂
For the “Easy No Sew Sweater.” I am confused. It says to repeat round 2 & 3 one more time, change colour and go to round 5…. If you repeat round 2, that would be round 4, and repeat round 3, that would be round 5, and we would pick up again at round 6 and not 5?? Am I missing something???
Round 3: ch 1, turn, *bpdc, sc in next* repeat from * to * around, join to first bpdc with sl st (74, 82, 90, 98, 106, 114)
Repeat round 2 & 3 one more time to Round 4 (74, 82, 90, 98, 106, 114)
Change to main color
Round 5: ch 1, turn, dc in 10, 11, 12, 13, 14, 15 stitches, 2 dc in next, ch 2, 2 dc in next, dc in 13, 15, 17, 19, 21, 23 stitches, 2 dc in next, ch 2, 2 dc in next, dc in 20, 22, 24, 26, 28, 30 stitches, 2 dc in next, ch 2, 2 dc in next, dc in 13, 15, 17, 19, 21, 23 stitches, 2 dc in next, ch 2, 2 dc in next, dc in remaining stitches, join to first dc with sl st (82, 90, 98, 106, 114, 122 dc)
Sorry about that, repeat 1 more time. Change colors for round 5
I need help! I also thought this started at the bottom. My “neckline” made meeting gauge with a 6mm & dk yarn was 15″ around. I understand gauge and met it. Why is the neck of a XL/2XL sweater that large? What is the neck supposed to measure for the 2XL? I just spent 2 hours on that neck ribbing to have to take it out because I saw your comment that it is top down. no sweater needs a 15″ neck. Please help. Now I’m just depressed.
I got gauge with do & 6mm. Neck is 15″ which is too big. Trigger it & now depressed. 2 hours wasted because I read at end that it’s topdown. Suggestions without make an entire sweater yolk? Maybe try a 5.5. I crochet tight.
Hi! You can go down a size and see how that fits