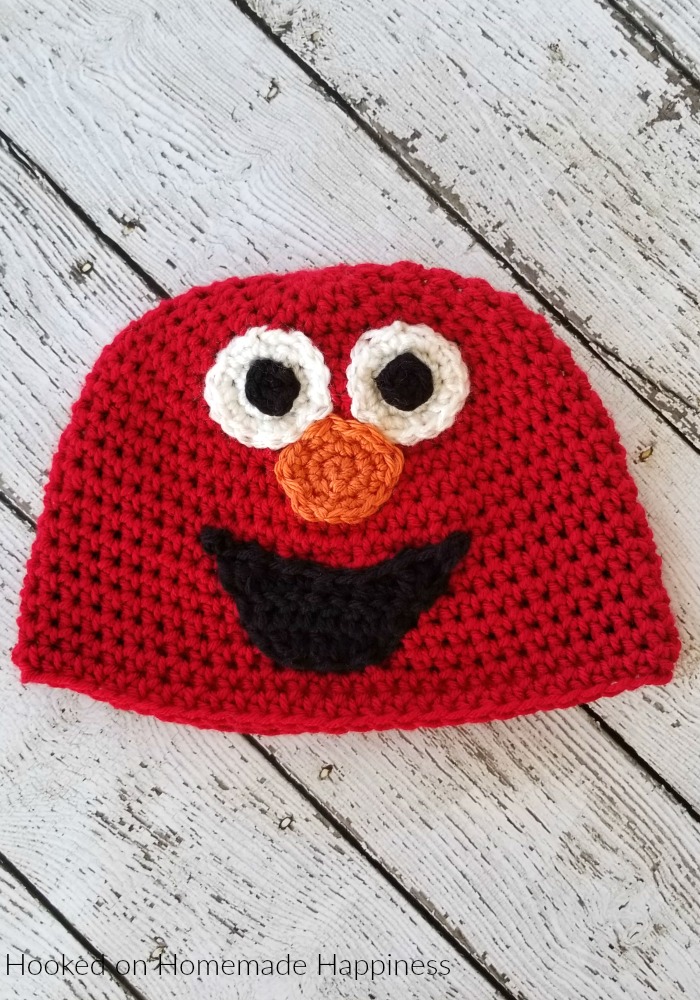
Elmo Crochet Beanie Pattern (Crochet Along for a Cause)
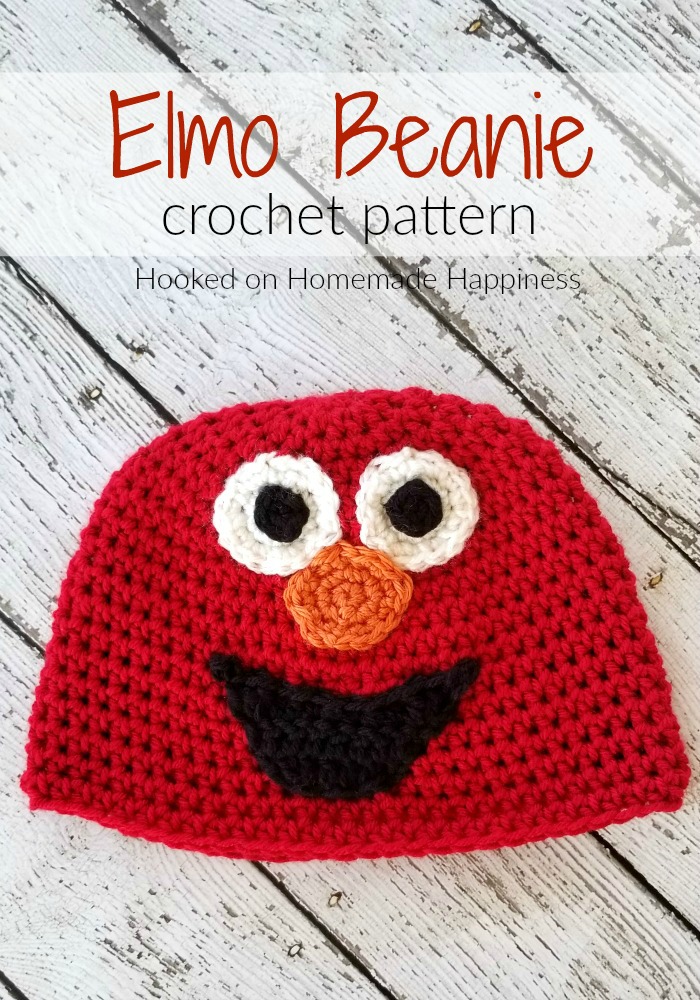
Do you know an Elmo fan? My son loves this Elmo Crochet Beanie Pattern and has already claimed this one as his own. I’ll have to make another one! (This hat comfortably fits my 4 year old) You could easily make this hat into Grover by making is blue and the nose pink, or you could make cookie monster with a blue hat, no nose and silly eyes. So cute!
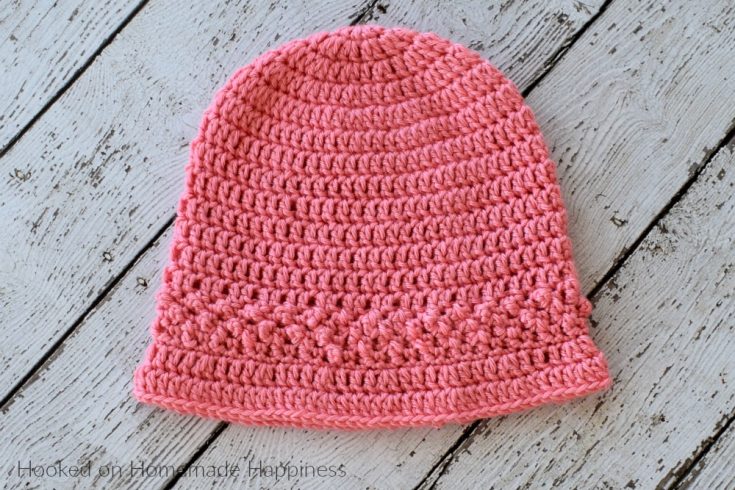
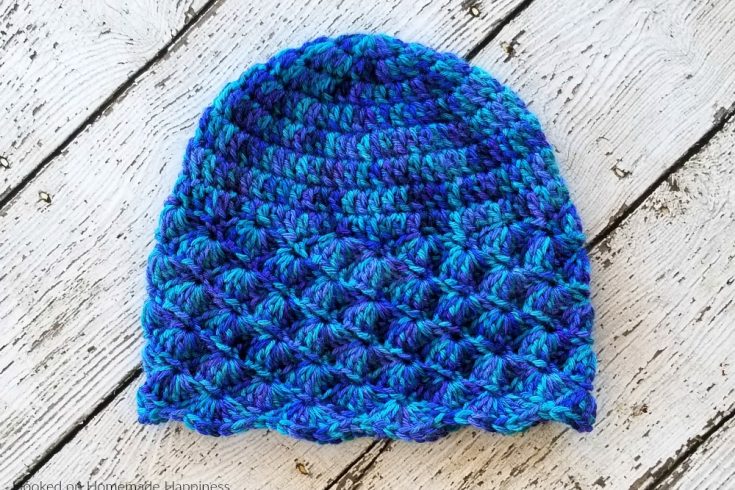
This is the third hat for the Crochet Along for a Cause. If you’re new to the CAL, you can find all the details HERE. The patterns are posted every Friday, all summer long. The first two patterns are the Strawberry Patch Hat and the Shell Beanie.
Elmo Crochet Beanie Pattern
– Get the full free pattern below or download the PDF for free HERE
– PIN for later HERE
– Add to your Ravelry Queue HERE
Materials
Soft worsted weight cotton or acrylic yarn in red (I used I Love this Yarn in Red), a small amount of orange, black and white (these pieces won’t be touching the scalp so they don’t necessarily need to be soft yarn)
6.0 mm hook
yarn needle
scissors
stitch markers
Level
easy to intermediate
Pattern Notes & Stitches to Know
sl st – slip stitch
ch – chain
hdc – half double crochet
sc – single crochet
dc – double crochet
magic ring
The hat is worked in the round without joining
Approximate Finished Size:
Length: 6.75”
Width: 10”
ELMO BEANIE
This hat is made in the round and are not joined at the end of each round (I like using this method with half double crochet because the join likes to go sideways)
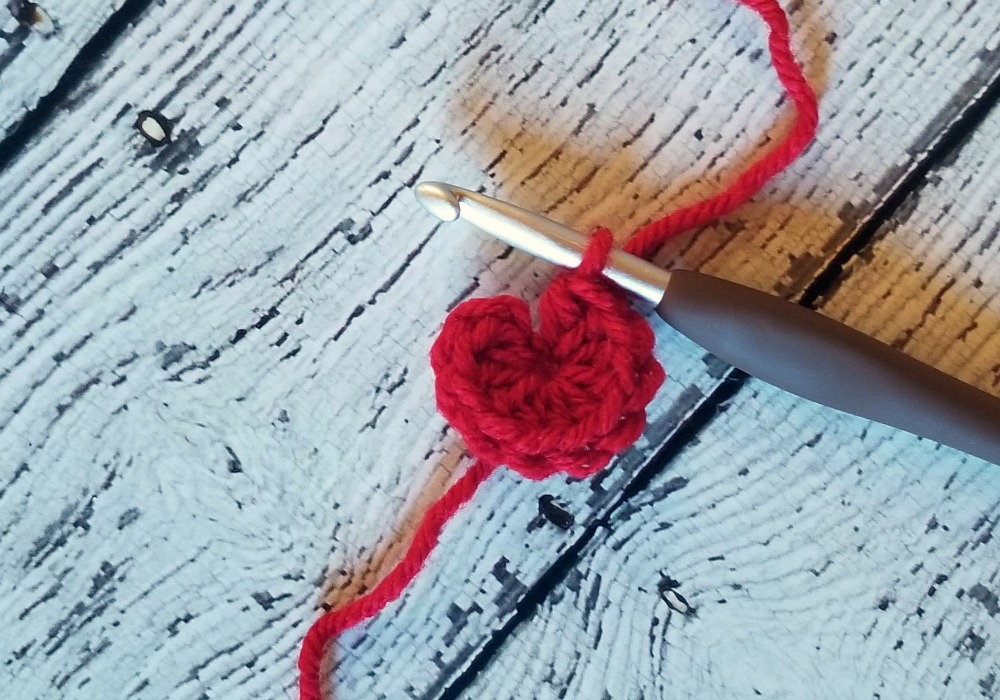
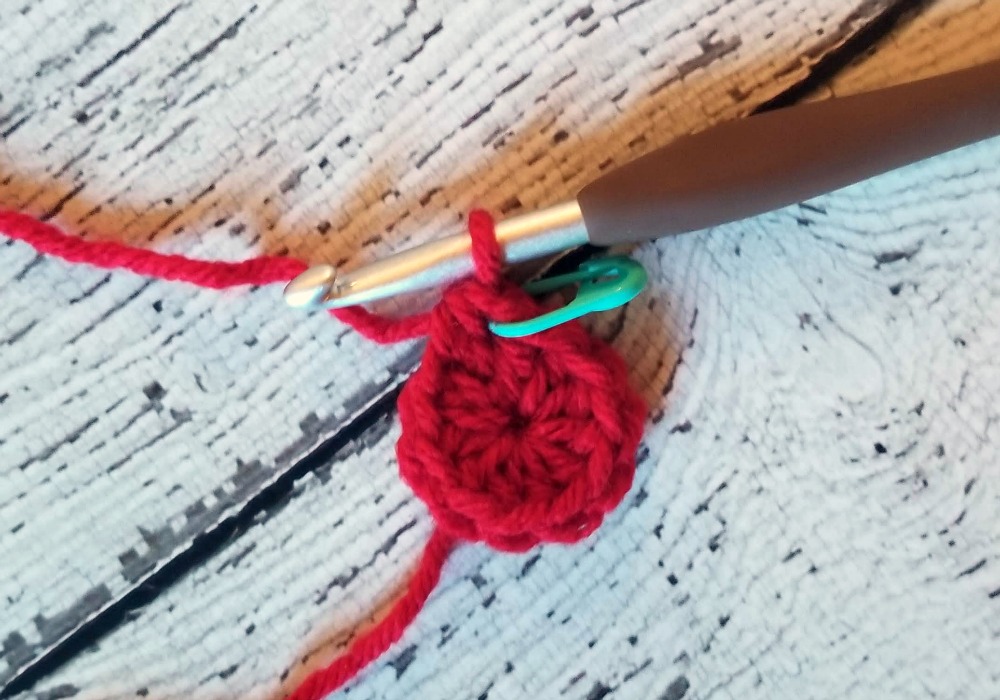
With red make a magic ring (or ch 3 and join to first ch to make a loop)
Round 1: ch 1, hdc 10 into ring (10 hdc)
Remember not to join. Continue the next round working in the first stitch of round 1. You will be working in a spiral. Put your stitch marker in the first hdc of the next round
Round 2: 2 hdc in each stitch around (20 hdc)
Again, do not join. Move your stitch marker to the first hdc of round 3.
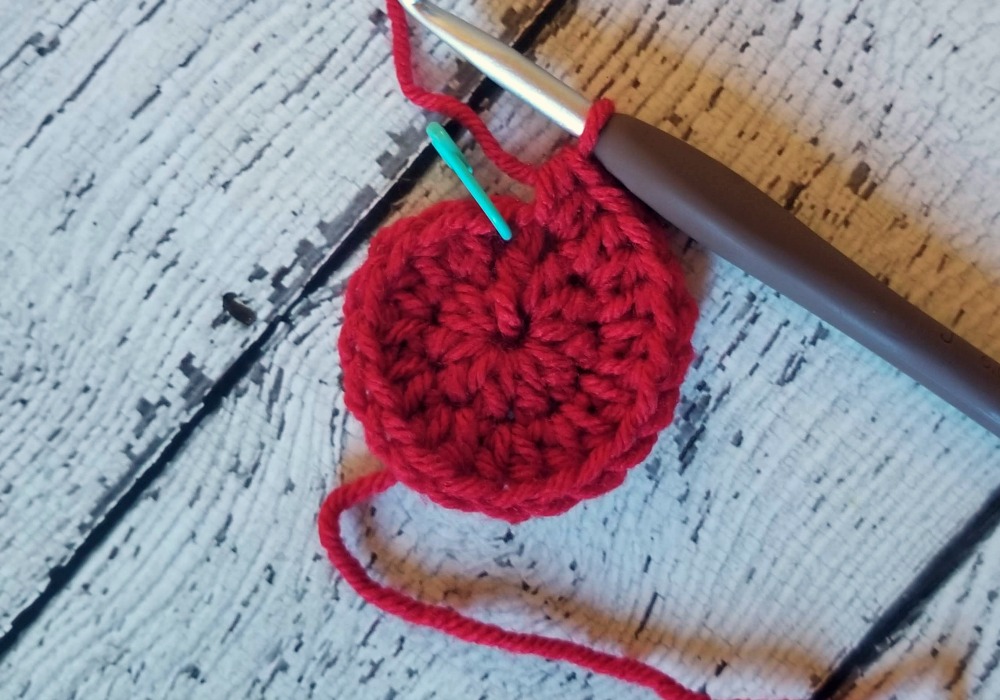
Round 3: *hdc in 1, 2 hdc in next* repeat from * to * around (30 hdc)
Round 4: *hdc in 2, 2 hdc in next* repeat from * to * around (40 hdc)
Round 5: *hdc in 3, 2 hdc in next* repeat from * to * around (50 hdc)
Round 6: *hdc in 4, 2 hdc in next* repeat from * to * around, (60 hdc)
Circle should be approx 5.5” in diameter
Round 7 – 19: hdc in each stitch aorund (60 hdc)
Sc in next 2, sl st in 1. Fasten off, weave in the ends.
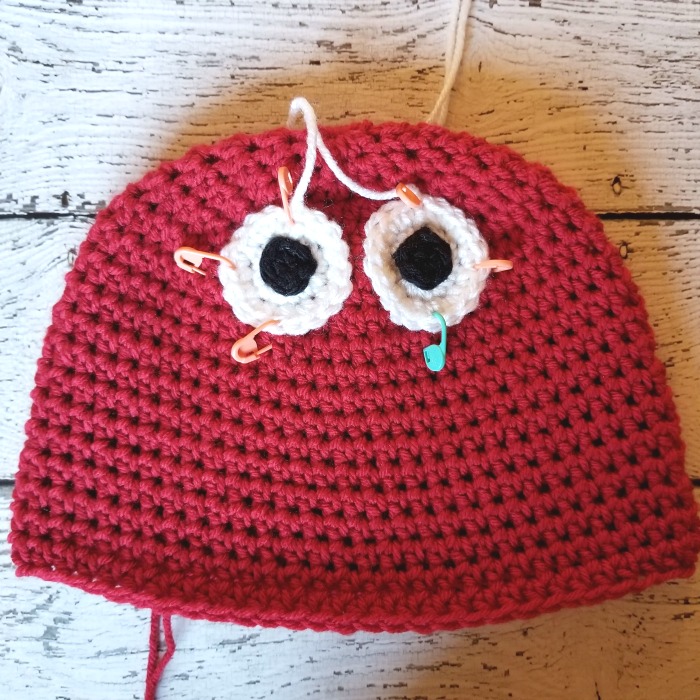
EYES (make 2 white and 2 black pieces)
With white make a magic ring (or ch 3, sl st to first ch to make a loop)
Round 1: sc 6 into ring, join to first sc with sl st, pull ring closed (6 sc)
Round 2: ch 1, 2 sc in each stitch around, join to first sc with sl st (12 sc)
Round 3: ch 1, *sc in 1, 2 sc in next* repeat from * to * around, join to first sc with sl st (18 sc)
Fasten off, leave a long tail for sewing
With black make a magic ring (or ch 3, sl st to first ch to make a loop)
Round 1: sc 6 into ring, join to first sc with sl st, pull ring closed (6 sc)
Fasten off leave a long tail for sewing.
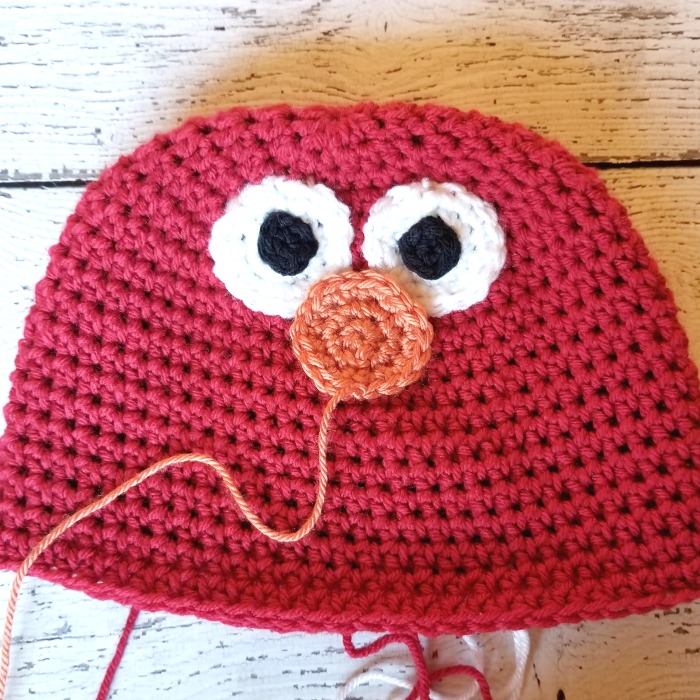
NOSE
With orange make a magic ring (or ch 3, sl st to first ch to make a loop)
Round 1: sc 6 into ring, join to first sc with sl st, pull ring closed (6 sc)
Round 2: ch 1, 2 sc in each stitch around, join to first sc with sl st (12 sc)
Round 3: ch 1, *sc in 1, 2 sc in next* repeat from * to * around, join to first sc with sl st (18 sc)
Fasten off, leave a long tail for sewing
MOUTH
With black ch 8
Row 1: dc in 4th ch from hook(3 ch counts as dc) and in each ch across to the last, 2 dc in the last (7 dc)
Row 2: ch 3 (counts as dc), turn, dc in same stitch, dc in each stitch across to the last stitch, 2 dc in last (9 dc)
Row 3: ch 3 (counts as dc), picot, turn, 2 dc in first stitch of the row, hdc in next 2, sc in next 3, hdc in next 2, 3 dc in last, picot (13)
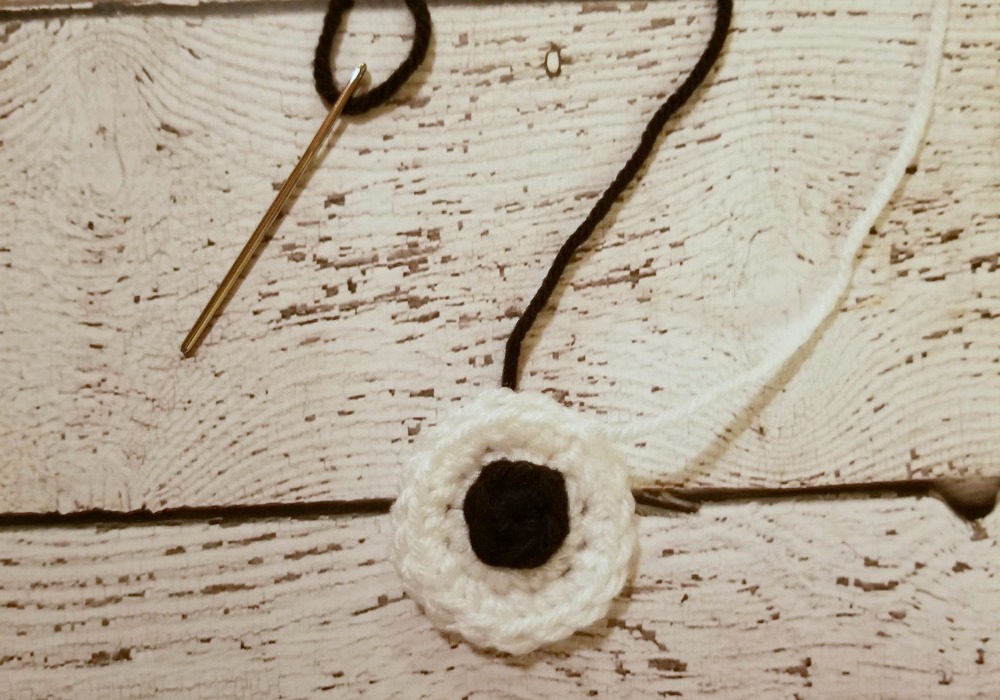
SEWING
Sew the black circles to the center of the white eyes using the long tail and yarn needle. Leave a long white tail for sewing. Weave in other ends.
Lay all your pieces on your hat how you want them. I put the eyes between round 4 and 8 and about 2 stitches apart. Then I placed the nose between them slightly overlapping. Place the mouth centered under the nose
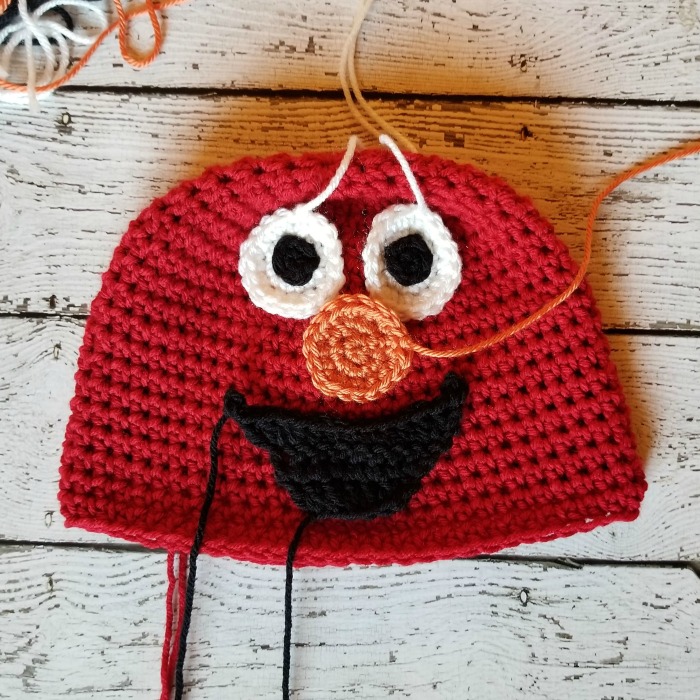
Then I used my stitch markers to pin the eyes in place. I used the long tail and yarn needle to sew them to the hat
Repeat for the nose
Repeat for the mouth. Try to stretch up the picots to get that deep smile shape. Weave in all your ends

And you’re done with the cutest beanie ever!!
Looking for more patterns? Follow me on Facebook, Instagram, and Pinterest! Please share a pic of your finished product with me. I’d love to see it!


Good morning! I think your stitch count for round 1 of the beanie is off. You say to hdc 10, but in () you said 8. I counted 10 in your picture though…
Oops!! I fixed it ?
Just letting you know stitch count for row one has a typo. I believe you meant it to say (10) instead of (8). Thanks for the great patterns. I am having fun creating as we go!
I’ve enjoyed making this hat so much! Part nostalgia and part imagining a child’s delight. Thanks for letting me CAL!!
Thank you for joining! 🙂
Breann a question: On the Mouth, Row 2: Ch 3 (counts as dc), dc in same stitch, dc in each stitch across to the last stitch, 2 dc in last (9 dc). Should you turn your work after the ch 3?Also on Row 3 after the first ch 3? Thank you. I’m almost done. ??❤️
Yes, you should turn after each row ?
Before or after the ch 3?
I usually turn after the ch 3
Thanks so much. That’s what I thought. ???
In the Free PDF it does not state to turn…….❤️
Uh oh! I’ll get that fixed 🙂
Can you explain “PICOT”
It’s ch 3, then sl st into the first ch
When you say the width of the hat is 10″ is it around. I want to make this for my grandson who is 2 1/2 yrs old Or is it when you lay the hat flat.
The width when it’s laying flat 🙂