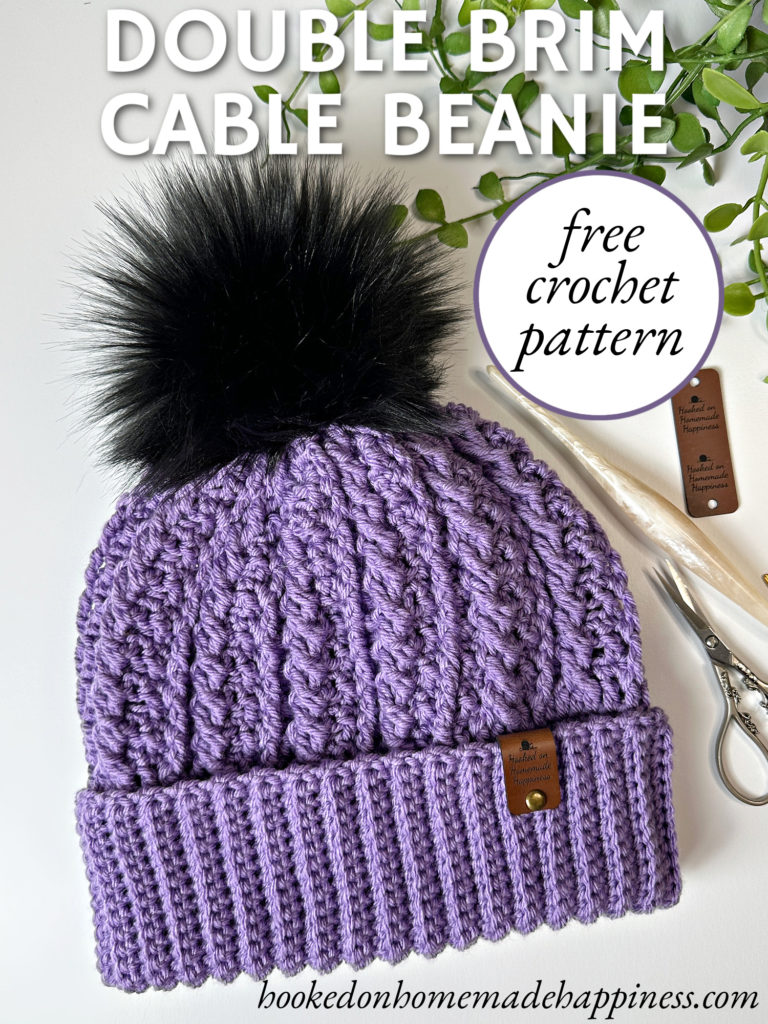
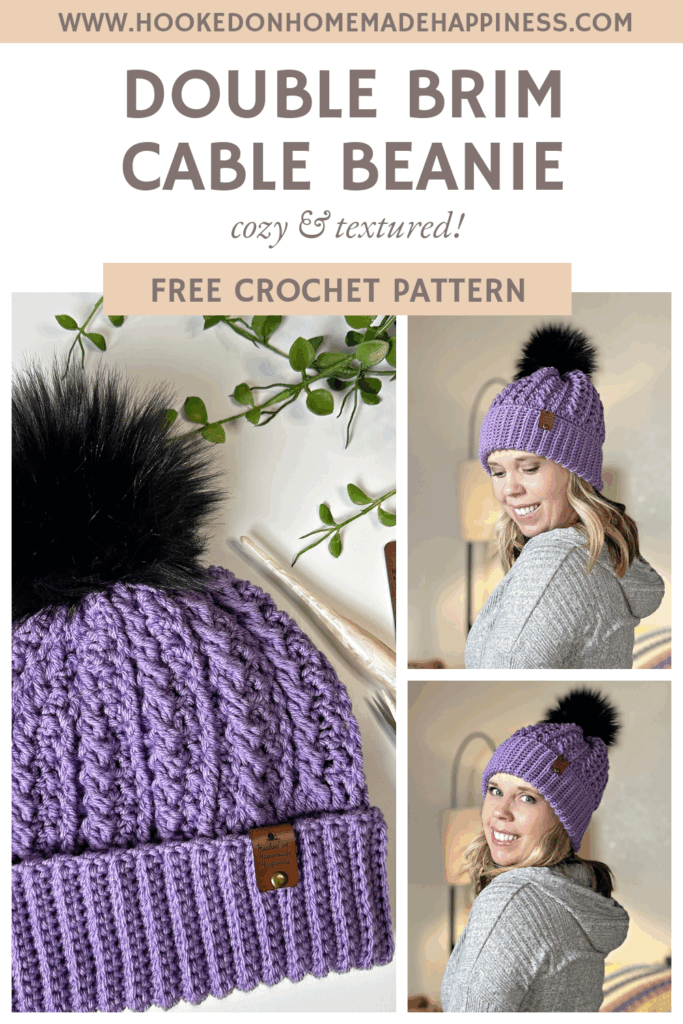
Double Brim Cable Crochet Beanie Pattern
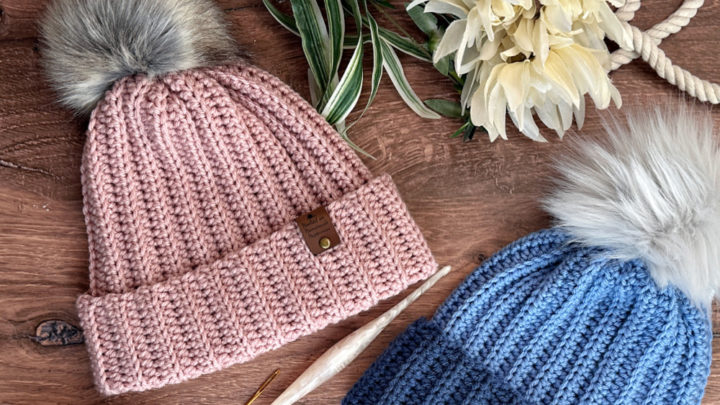
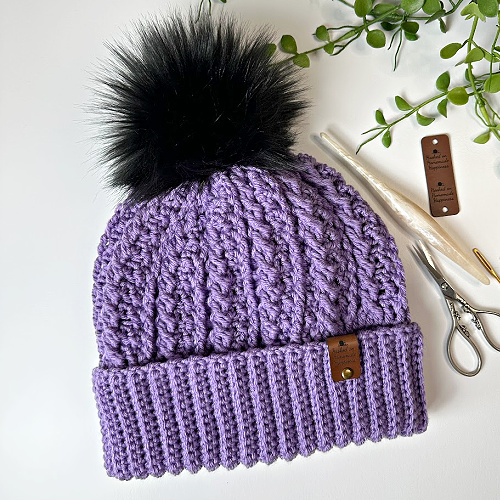
If you love a cozy beanie with beautiful texture, this Double Brim Cable Beanie Crochet Pattern is about to become your new favorite project. Featuring a thick, fold-over brim and a stunning braided cable design, this hat combines warmth, structure, and timeless style.
Worked from the bottom up, this beanie starts with an extra-long single crochet ribbed brim that folds over for a double layer of warmth. The body of the hat showcases a braided cable stitch — an intermediate-level technique with a simple two-row repeat that creates gorgeous, eye-catching texture.
Whether you’re crocheting for yourself, gifting, or prepping for market season, this cable beanie makes a statement while staying classic and wearable.
Purchase the ad-free, printable PDF for easy printing.
Why You’ll Love This Pattern
- ✔ Thick, cozy double brim for extra warmth
- ✔ Beautiful braided cable texture
- ✔ Bottom-up construction
- ✔ Intermediate-level project with a simple 2-row cable repeat
- ✔ Classic style that works for all ages
Pattern Details
- Skill Level: Intermediate
- Construction: Bottom-up
- Brim: Single crochet ribbing (extra length for folding)
- Main Stitch: Braided cable stitch (2-row repeat)
- Fit: Folded double brim for a snug, structured finish
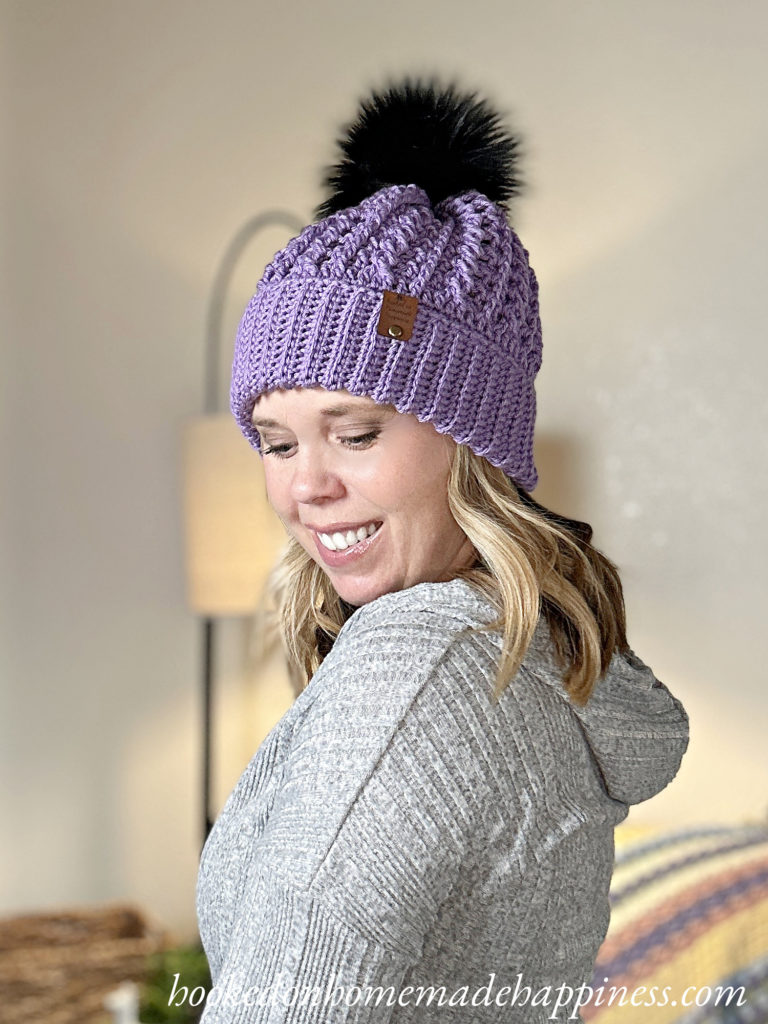
The Double Brim Design
The beanie begins with a single crochet ribbed brim worked in rows. By working in the back loops only, you create that classic knit-look ribbing that’s stretchy and comfortable.
The brim is intentionally made extra long, so when folded, it forms a double layer around the ears. This not only adds warmth but also gives the hat structure and a polished finish. Once the brim is complete, it’s joined into a circle, and the body of the hat is worked upward in rounds.
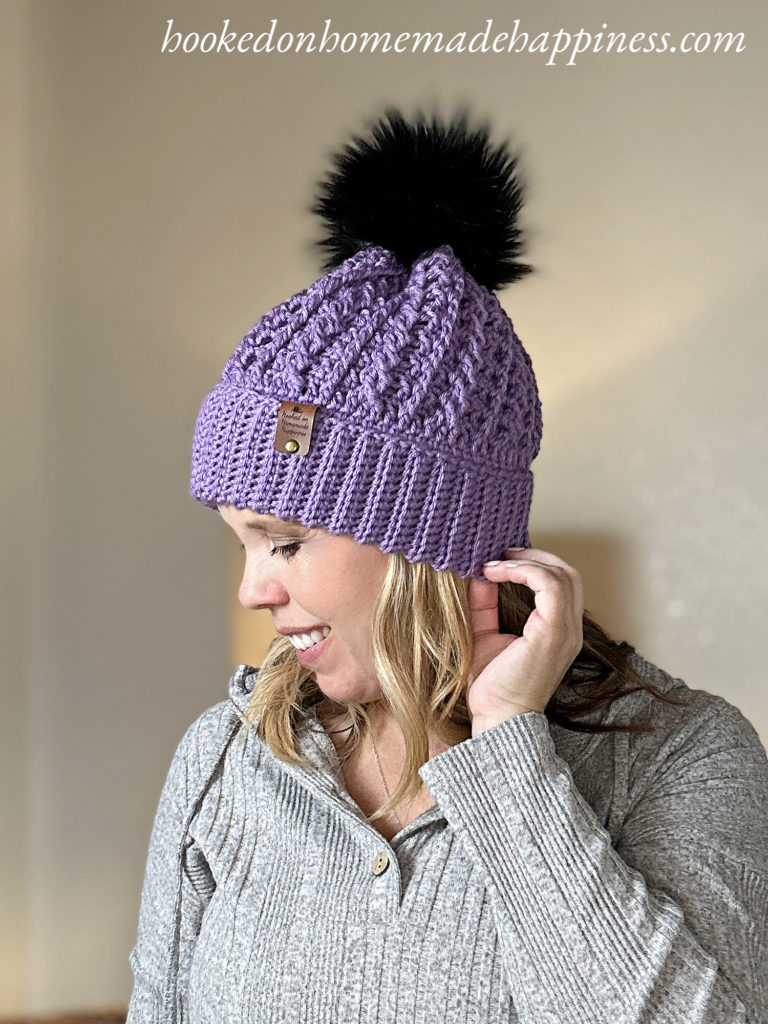
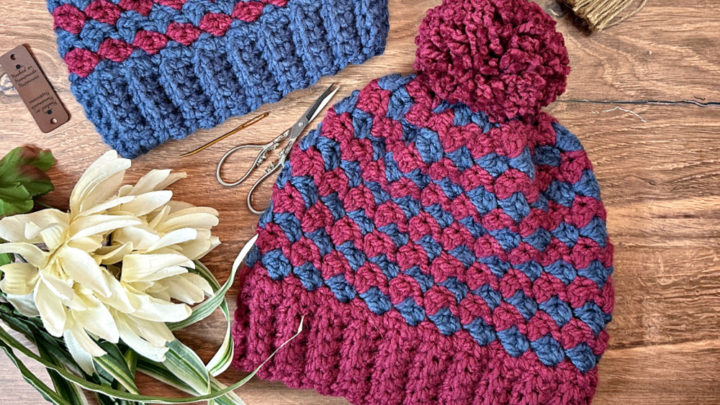
The Braided Cable Stitch
The main section of the beanie features the braided cable stitch — a bold, textured cable that stands out beautifully against the background stitches.
This stitch uses front post stitches to create crossing sections that mimic knit-style cables. While cables may look intimidating, this pattern uses a simple two-row repeat, making it much easier than it appears.
If you’re comfortable with:
- Front post treble crochet
- Skipping stitches
- Working stitches out of order
…then you’re ready to tackle this gorgeous cable design!
FAQ
Ready to Crochet?
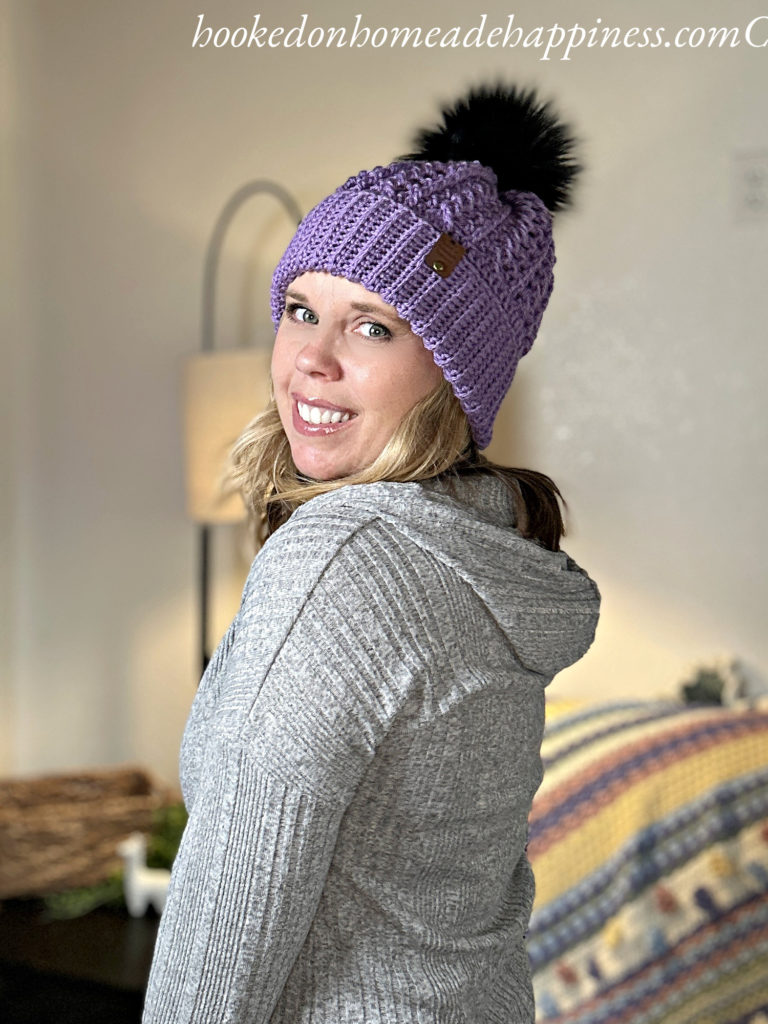
The Double Brim Cable Beanie is the perfect blend of cozy and classic. The thick folded brim keeps you warm on chilly days, while the braided cable stitch adds stunning texture that looks far more complicated than it is.
If you love textured stitches and timeless accessories, this is a must-make for your winter crochet list.
Happy crocheting! 🧶
Making the Double Brim Cable Crochet Beanie Pattern
Get the full free pattern below or purchase the ad-free, printable PDF
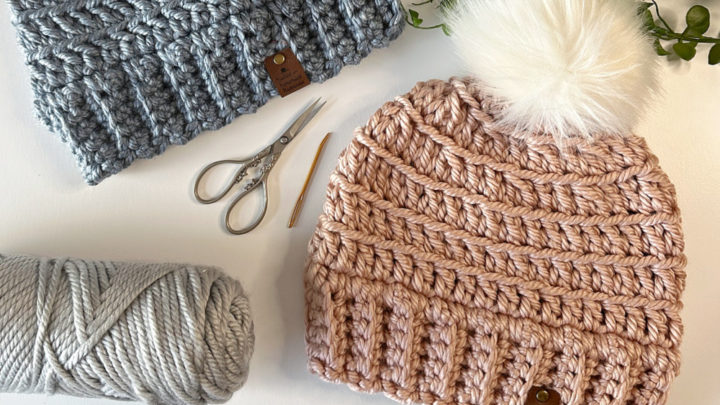
Materials
approx. 200g worsted weight yarn
H/5,0 mm hook
yarn needle
scissors
Level
intermediate
Pattern notes & stitches to know
sl st – slip stich
ch – chain
sc – single crochet
sc blo – single crochet back loop only
dc – double crochet
fptr – front post treble crochet
sc2tog – single crochet 2 together (single crochet decrease)
HOW TO CROCHET SC RIBBING VIDEO TUTORIAL
HOW TO CROCHET THE BRAIDED CABLE STITCH VIDEO TUTORIAL
· written in US terms
· ch 1 does not count as sc
· ch 2 does not count as dc
· This beanie is worked from the bottom up, starting with the sc ribbing. The ribbing is worked flat, in rows. The main body of the beanie is made in joined rounds.
· Sizes: Pattern is written in 3 sizes, Child, Small Adult and Large Adult consecutively. Example, when the pattern gives the end of the row count as ((67, 73, 79) sc), the 67 is the child the 73 is the small and the 79 is the large.
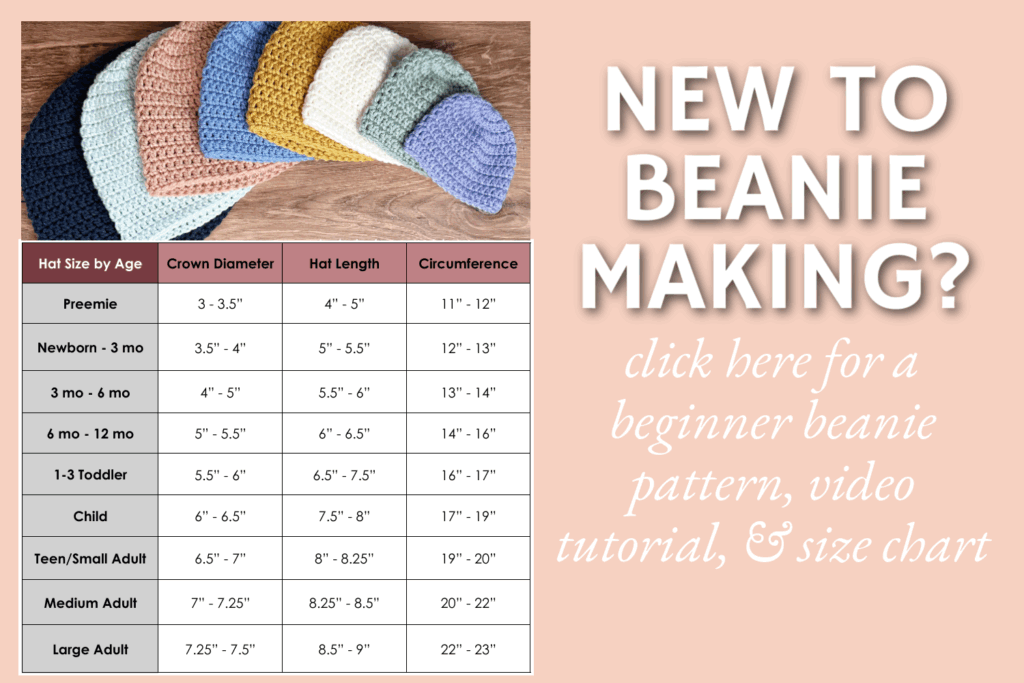
Approximate Finished Size:
Circumference: Child (17”) Sm (19”) Lg (21”)
Length (with fold, w/out pom pom): Child (7.5”) Sm (9”) Lg (10.5”)
Pattern Support
Looking for pattern support or want to share your progress? Join our Crochet Community Facebook Group! It’s the perfect place to ask questions, get help, and connect with fellow makers.
DOUBLE BRIM CABLE BEANIE CROCHET PATTERN
Ch (19, 25, 31)
Row 1: sc in 2nd ch from the hook and across ((18, 24, 30) sc)
Row 2: ch 1, turn, sc in first stitch, sc blo across to last stitch, sc in last stitch ((18, 24, 30) sc)
Repeat row 2 to Row (67, 73, 79)
Bring both ends together and sew them together with sc
Now you are going to work around the brim in rounds.
Round 1: insert hook in both ends of the folded brim, work a sc. Repeat around working 1 sc in the end of each row, join to first sc with sl st ((67, 73, 79) sc)
Round 2: ch 2, dc in each stitch around, join to first dc with sl st ((67, 73, 79) dc)
Round 3: ch 1, sc in each stitch around, join to first sc with sl st ((67, 73, 79) sc)
Round 4: ch 2, *dc, fptr around dc from below previous round, dc in next, skip 1 stitch, fptr in next 2 dc from below previous round, fptr in skipped dc from below previous round* repeat from * to * around to last stitch, dc in last stitch ((67, 73, 79))
Repeat round 3 & 4 to Round (16, 18, 20)
Decreasing starts in the next round
Round (17, 19, 21): ch 1, *sc in 4 stitches, sc2tog* repeat from * to * around to last stitch, sc in last stitch ((56, 61, 66) sc)
Round (18, 20, 22): ch 1, *sc in 3 stitches, sc2tog* repeat from * to * around to last stitch, sc in last ((45, 49, 53) sc)
Fasten off, leave a long end for sewing.
Use the long end to weave in and out of the top loops of the last row. Pull end tight to cinch closed. Sew the top closed. Weave in the ends.
Add a pom pom!
Looking for more patterns? Follow me on Facebook, Instagram, and Pinterest! Please share a pic of your finished product with me. I’d love to see it!


I loved it. I’m weaving and it’s beautiful.
Although it is not cold enough in Brazil, I can not help doing something so beautiful.
Thank you!! It’s not cool enough here either ;D
I love it!! Versatile too!!
Love the pattern. Though, I’m having difficulty with after row 4. Would find it very helpful if your tutorial included rows 5 & 6. As it was I had to watch another tutorial in how to identify the post stitches for the FPTR.
Also confusion as to whether you mean to continue cables in previous row dc (should this be FPTR in previous row FPTR or SC) after row 4 FPTR. im sure you can tell this is my first time crocheting cables. Do you have a You Tube video for the Double Brim Cable Beanie?
Thank you,
Hi! All cables should be worked in 1 row before the previous row. Around either a fpdc or fptr. Hope that helps! No, I don’t have a video.
I also have a problem with row 4. I chained 2 and then it says dc (do I dc in the same place as the chain 2 or do I dc in the next sc?) it then says fptr round dc below previous round, dc in next, (meaning dc in the next single crochet?) Stumped and I purchased your pattern.
Because the ch 2 does not count as a stitch, the first dc will be in the first stitch. After you fptr you will dc in the next, which is the sc. Sorry you’re having trouble!
Sorry for round 4 it’s states ch2, then dc, but from the pictures it looks like a sc, then fptr, then sc, then 2 fptr.
Slightly confused
Thanks
Hi! It’s double crochet 🙂
Hi there. For round 5 I will be doing round 3. ch1 SC around….should be 79 stitches. My question is what am I doing in the skipped stitch? A sc or fptr? Thank you.
Hi! Sc in every stitch around ?
Because of skipped stitches in round 4, I don’t have 79 stitches around, right? So how am I going to have 79 sc when repeating round 3?
No, there aren’t any skipped stitches in round 4. After you skip a stitch, you work 2 fptr in the next 2. Then go back and work a fptr in the skipped stitch and that’s what creates the crossed shape. So at the end of the round there should be 79 stitches. I hope that helps!
I’m trying to work round 5 (sc, should be 79) and I’m coming up with 10 extra. Am I doing something wrong with row 4?
Hi! Make sure that you’re not single crocheting in the same stitch as the front post treble crochet ?
Got it, thank you!!
I can’t find where it says to go back and work in the skipped stitch
In round 4, under the picture 🙂
Could you provide a gauge?
Hi, what will be the last stitch on row 4. Shouldn’t it be ftpr in skipped dc to keep the symmetry? I’m getting confused about how to end row 4 to get 79 stitches. Can you please post a picture from the side where the row ends and a new row starts?
The very last stitch is a dc. The one before that is the fptr in the skipped dc. I hope that helps!
Hello, what l have to do on row 4 after the fptr dc or sc ?
dc
Is the pattern in UK, or US terms? I plan on starting this tomorrow, and want to make sure I am using the correct stitches. I LOVE this hat, and i have the perfect yarn, color, and pom for it. Can’t wait to get started.
Thank you!
US
Hello, what will be after the fptr on row 4 dc or sc ?
Thank you
Is this for an adult size hat?
Yes 🙂
What would be the increase amount from 79 rows if it is too tight? I thought maybe 6+1 but I am not sure.
Yes, a multiple of 6 + 1 🙂
I need help with row 6… I’m not sure where the 3rd trpl goes since we skipped before. What post does it go around? I’m not seeing it. The one that stretches across the two trpl
In round 6 the fptr goes around the fptr from round 4
I am confused about the row thing….am I crocheting the row 4 into the sc row for rows 5 and 6? It doesn’t look right if I try to crochet row 6 in row 4 but it also doesn’t look right if I crochet into row 5.
Yes, work the fptr in round 6 around the fptr from round 4 🙂 Skip over the rows of single crochet when doing the fptr
Can i make 75 row instead of 79 ?
You can do as many rows as you like 🙂
Thank you so much ?
So there’s no stitch multiple?
Please post a video of row! ? I’m such a visual learner and I just love this hat but just can’t seem to figure it out!
Can I make less rounds for smaller size
Yes 🙂 You’ll probably want to make the brim shorter, too
Thank you for the beautiful hat pattern. I have some teenage granddaughters who will love it, too.
I’m struggling with row 4 as I’m left handed–any advice would be greatly appreciated. Thanks
Hello Victoria… All I can suggest is to see if there is a video on YOUTUBE for Crochet Cables ( lefthanded) it’s a good place for visual help.
Hi, it’s a beautiful hat. I was wondering if I could just make a single-layer brim. It does get pretty cold here but I still think it would be too much. I really like the cable look.
Hi! Yes, definitely! You can start with a ch 13 and then you’ll have 12 sc in each row of the ribbing
Is it possible to make this with bulky yarn? I subtracted by 6+1 so going by your other comments this should be fine but I just wanted to check for advice. Thank you so much! Beautiful hat!
Hi! Yes, you definitely can 🙂 Keep in mind that this is a pretty bulky hat to begin with.
Can you explain the sc row I have tried a couple of times and I keep ending up with alot of stitches About double of the 79 that I’m supposed to have. Thanks
Hi! Here is a video tutorial for this stitch used 🙂 https://www.youtube.com/watch?v=PBvLXtA_2IE
Hi Breann, this pattern looks exactly like what I’ve been looking for as a gift. Warm with an interesting texture without being overly busy. I would really like to make a matching scarf. Looking at the pattern stitch, I think it could also be used to make a scarf? What do you think? I haven’t started the hat yet and I’m just trying to visualize doing the scarf in a matching stitch pattern (and estimate how much yarn that might need). Thanks much!
Hi! Yes, this stitch would work as a scarf. It will be one sided though 🙂
Oh right of course, thank you, I hadn’t thought that out. Not sure a one sided pattern would look good in a scarf, may have to search for another pattern. Thanks again!
I think at the end of row 4 you do a sl. Correct?
Yes 🙂
Please help me. What is worsted yarn. Here in south africa we get 4 ply double knit chunky
4 ply
Round 4 is very confusing, as written pattern does not say go back to skipped stitch. So I am getting less stitches than round 3. Can you explain please?
Hi! It does after the photo 🙂