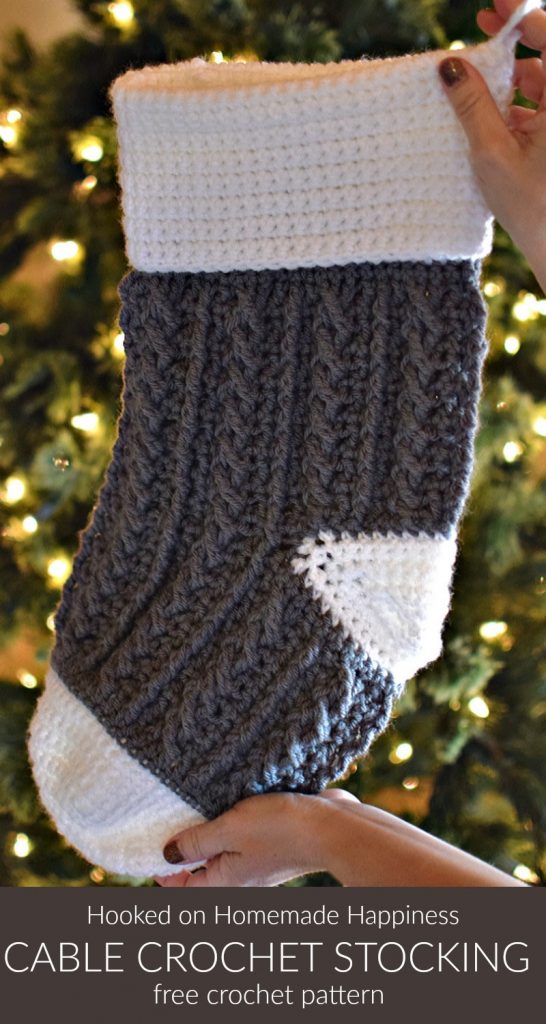
Cable Crochet Stocking Pattern
This Cable Crochet Stocking Pattern is so festive and cute! Because of the bulky weight yarn, it works up surprisingly fast. This stocking is a good size and can hold LOTS of goodies from Santa!
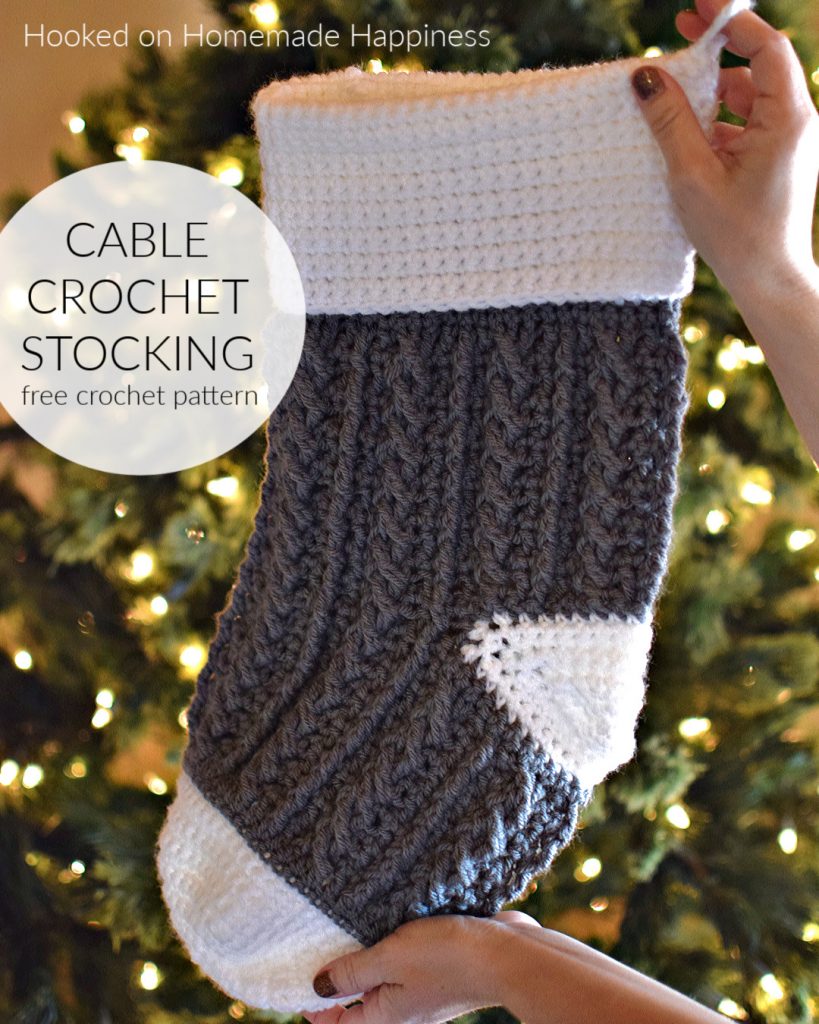
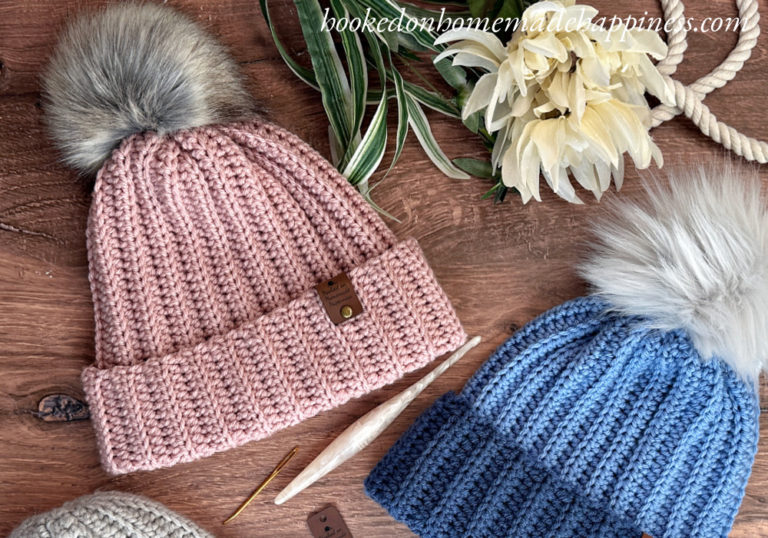
For this stocking, I used the same cable pattern as the Double Brim Cable Beanie. It’s such an easy cable stitch with just a 2 row repeat! This pattern calls for bulky weight yarn and a J/6.0 mm hook. But worsted weight yarn could definitely be used. I would go down to an H/5.0 mm hook and your stocking will come out slightly smaller than the pattern suggests.
Cable Crochet Stocking Pattern
– Get the free pattern below or purchase the ad-free, printable PDF in my Etsy Shop or Ravelry Shop
– PIN for later HERE
– Add to your Ravelry Queue HERE
Materials
Bulky weight yarn in 2 colors, 200g each color (I used Paintbox Simply Chunky)
J/6.0 mm hook
yarn needle
scissors
Level
intermediate
Pattern notes & stitches to know
magic ring
sl st – slip stitch
ch – chain
sc – single crochet
dc – double crochet
fptr – front post treble crochet
fpdc – front post double crochet
sc2tog – single crochet 2 together, single crochet decrease
· written in US terms
· ch 1 does not count as sc
· ch 2 does not count as dc
· White is referred to as Color A and gray as Color B
· Pattern is made from the bottom up with turned rounds
· Gauge: 12 sc x 14 rows = 4” x 4”
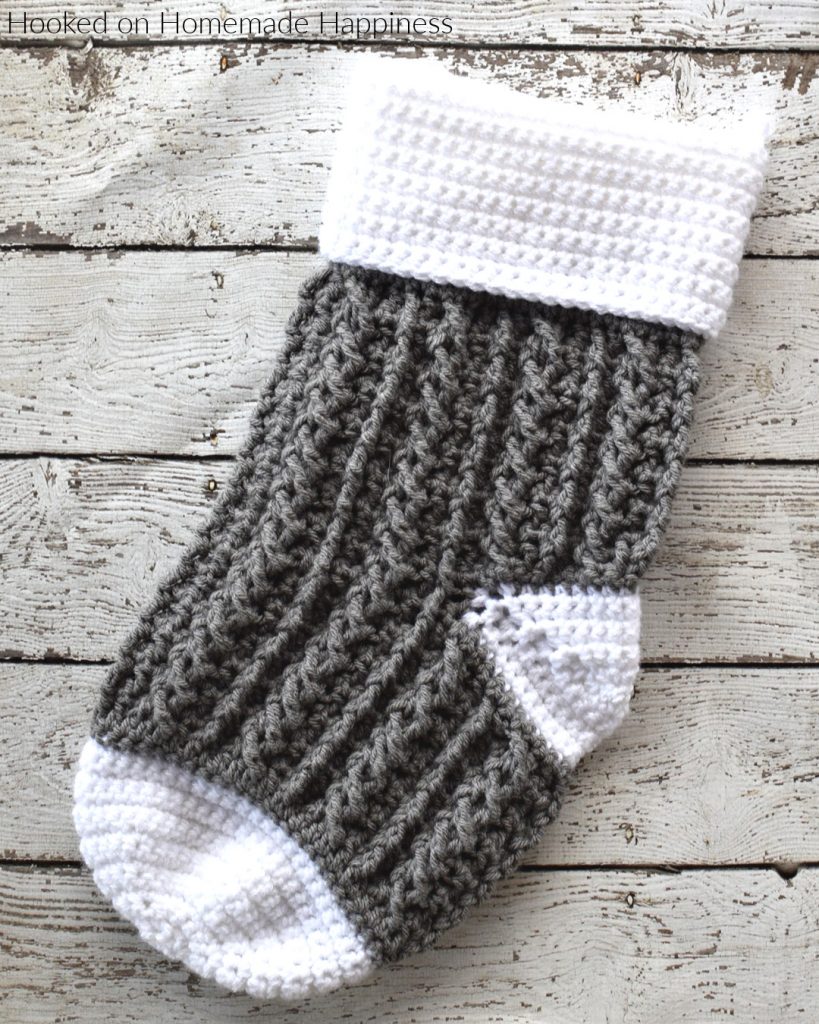
· Approx Finished Size (with cuff folded): 19” x 8.5”
CABLE CROCHET STOCKING PATTERN
With Color A, make a magic ring
TOE
Round 1: ch 1, 6 sc in ring, pull ring closed tight, join to first sc with sl st (6 sc)
Round 2: ch 1, turn, 2 sc in each stitch around, join to first sc with sl st (12 sc)
Round 3: ch 1, turn, *sc in 1 stitch, 2 sc in next* repeat from * to * around, join to first sc with sl st (18 sc)
Round 4: ch 1, turn, *sc in 2 stitches, 2 sc in next* repeat from * to * around (24 sc)
Round 5: ch 1, turn, *sc in 3 stitches, 2 sc in next* repeat from * to * around, join to first sc with sl st (30 sc)
Round 6: ch 1, turn, *sc in 4 stitches, 2 sc in next* repeat from * to * around, join to first sc with sl st (36 sc)
Round 7: ch 1, turn, *sc in 5 stitches, 2 sc in next* repeat from * to * around, join to first sc with sl st (42 sc)
Round 8: ch 1, turn, *sc in 6 stitches, 2 sc in next* repeat from * to around, join to first sc with sl st (48 sc)
Round 9: ch 1, turn, sc in each stitch around to the last, 2 sc in the last stitch, join to first sc with sl st (49 sc)
Round 10 – 14: ch 1, turn, sc in each stitch around, join to first sc with sl st (49 sc)
Change to Color B
Round 15: ch 1, turn, sc in each stitch around, join to first sc with sl st (49 sc)
Round 16: ch 2, turn, dc in each stitch around, join to first dc with sl st (49)
Round 17: ch 1, turn, sc in each stitch around, join to first sc with sl st (49)
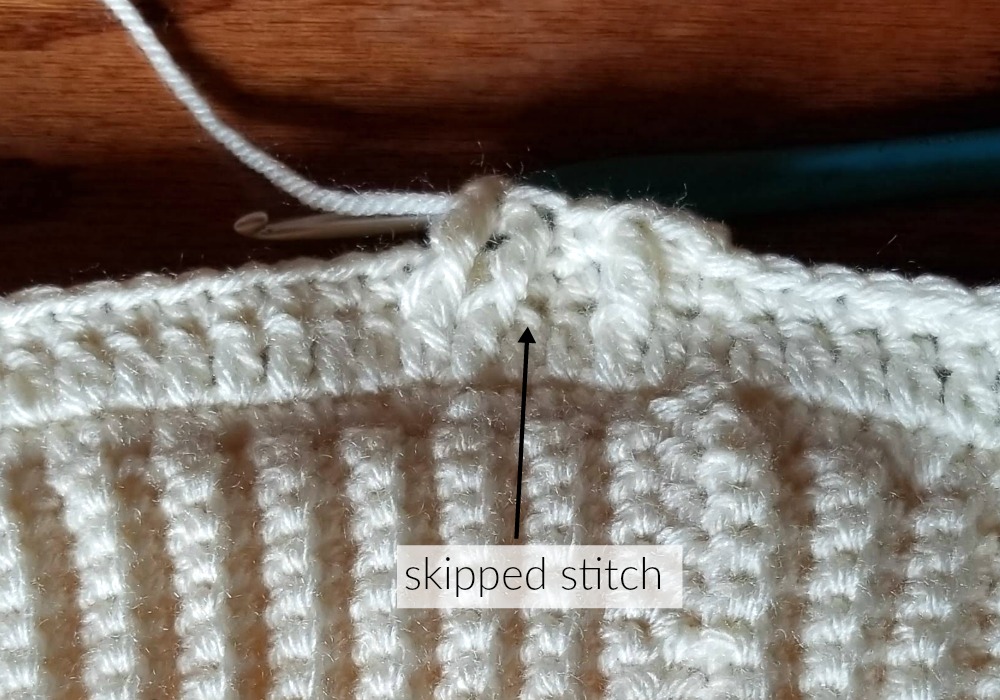
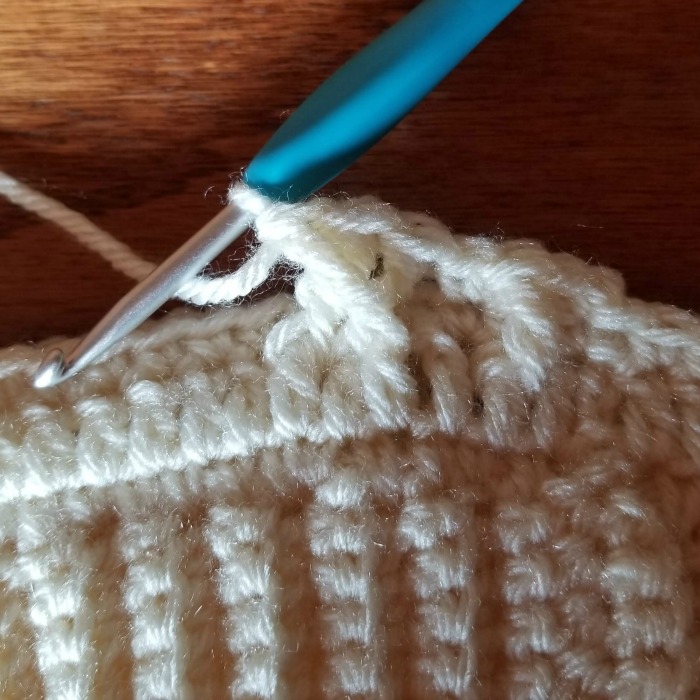
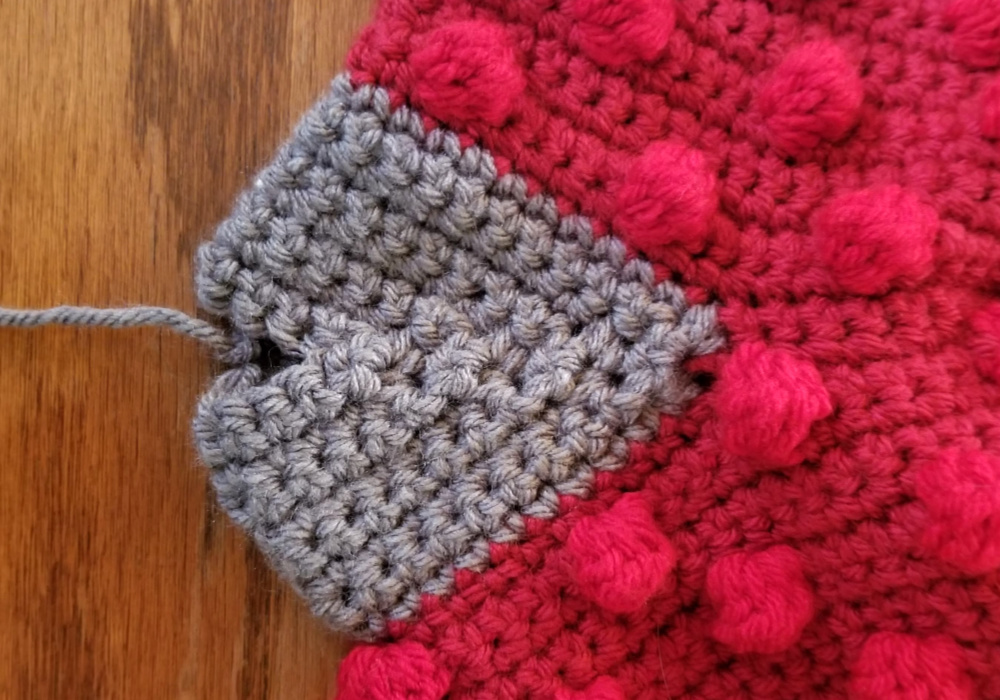
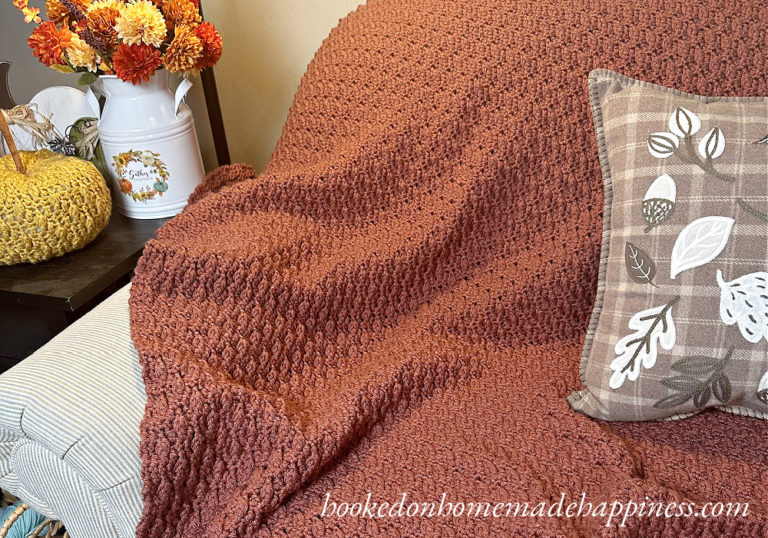
(photos are from a different project, but the cable stitch is the same)
Round 18: ch 2, turn, *dc, fptr around dc from below previous round (round 16), dc in next, skip 1 stitch, fptr in next 2 dc from below previous round fptr in skipped dc from below previous round* repeat from * to * around to last stitch, dc in last stitch (49)
Repeat round 17 & 18 to Round 29
The space for the heel is made in the next round.
Round 30: Ch 2, turn, dc, fptr around dc from below previous round, dc in next, skip 1 stitch, fptr in next 2 dc from below previous round fptr in skipped dc from below previous round, dc, fptr around dc from below previous round, dc in next, ch 21, skip 21 stitches, *dc, fptr around dc from below previous round, dc in next, skip 1 stitch, fptr in next 2 dc from below previous round fptr in skipped dc from below previous round* repeat from * to * around to last stitch, dc in last stitch, join to first dc with sl st (27)
There will be a hole where the heel is. Leave it for now. The heel will be finished at the end.
Round 31: ch 1, turn, sc in each stitch and ch around, join to first sc with sl st (49)
The next round is a cable round. When working around the heel use fpdc around the sc from the previous round.
Round 32: Ch 2, turn, dc, fptr around dc from below previous round, dc in next, skip 1 stitch, fptr in next 2 dc from below previous round fptr in skipped dc from below previous round, dc, fptr around dc from below previous round, dc in next, (around the heel work fpdc in the sc stitches from the previous round), skip 1 stitch, fpdc in next 2 sc, fpdc in skipped stitch, *dc, fpdc in sc, dc in next, skip 1 stitch, fpdc in next 2 sc, fpdc in skipped stitch* repeat from * to * 2 more times across the heel, *dc, fptr around dc from below previous round, dc in next, skip 1 stitch, fptr in next 2 dc from below previous round fptr in skipped dc from below previous round* repeat from * to * around to last stitch, dc in last stitch, join to first dc with sl st (49)
Repeat rounds 17 & 18 to Round 45 (49)
CUFF
Change to color A
Round 46 – 58: ch 1, turn, sc in each stitch around, join to first sc with sl st (49 sc)
The hanger is made in the next round. Make sure it’s lined up with the back of the heel.
Round 59: ch 1, turn, sc in each stitch to the back of the heel (approx., 20 stitches) ch 6, sc in next stitch (do not skip any stitches), sc in remaining stitches around, join to first sc with sl st (49 sc)
Round 60 – 73: ch 1, turn, sc in each stitch around, join to first sc with sl st (49 sc)
Fasten off. Weave in the ends.
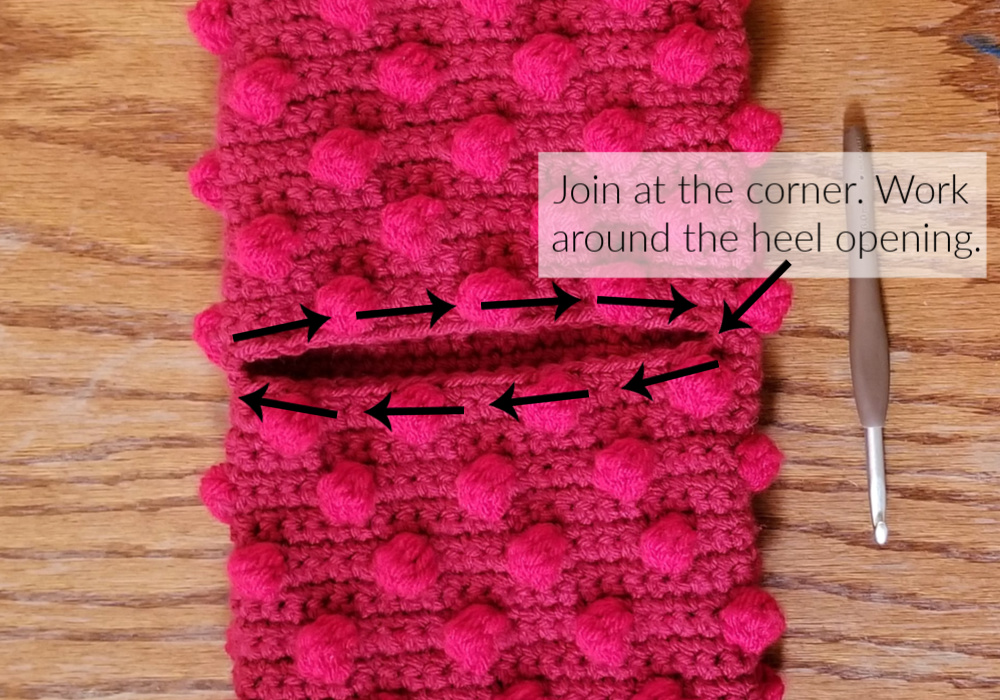
HEEL
(photos are from a different stocking, but the pattern is the same)
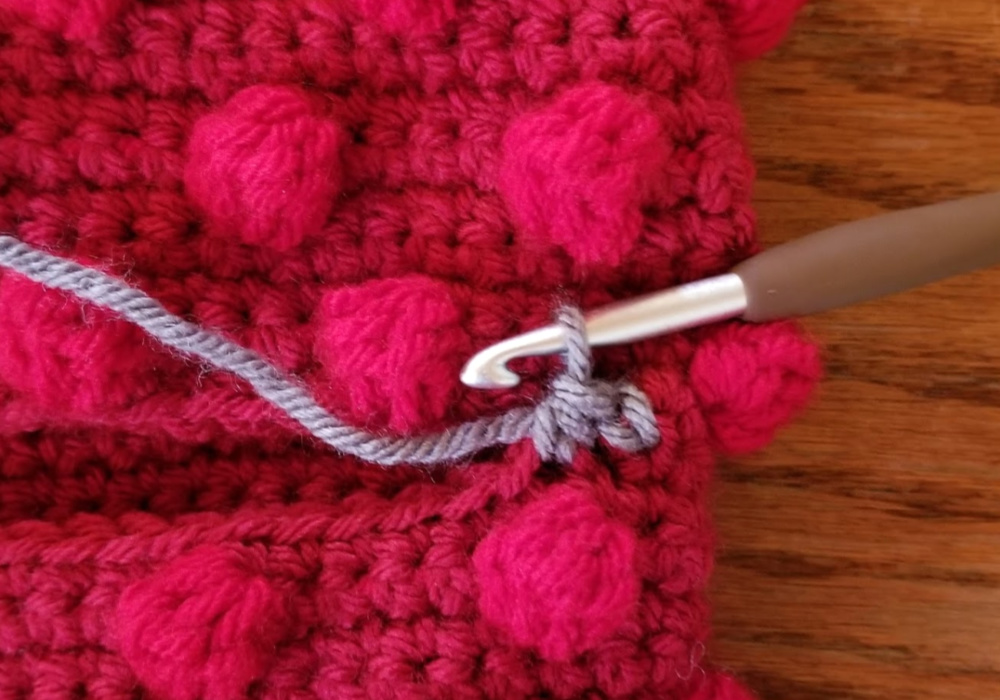
Join Color A to the corner of the heel space
Round 1: ch 1, sc2tog, sc across to opposite corner (approx. 19 stitches), sc2tog, turn so your working across the top of the heel, sc2tog, sc across (approx. 19 stitches) to last 2 stitches, sc2tog, join to first sc2tog with sl st
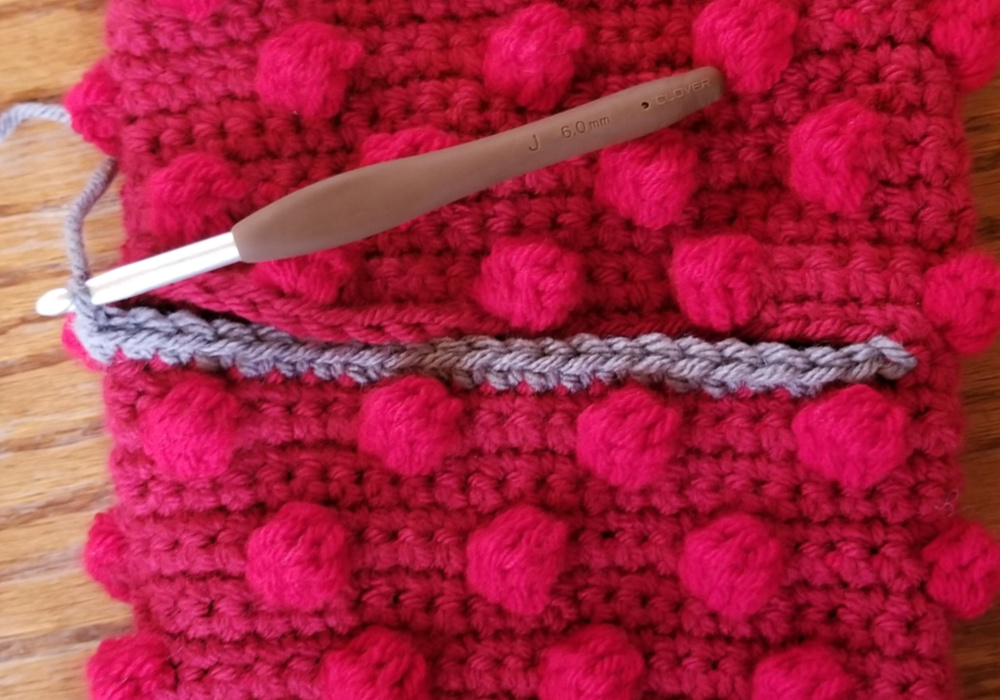
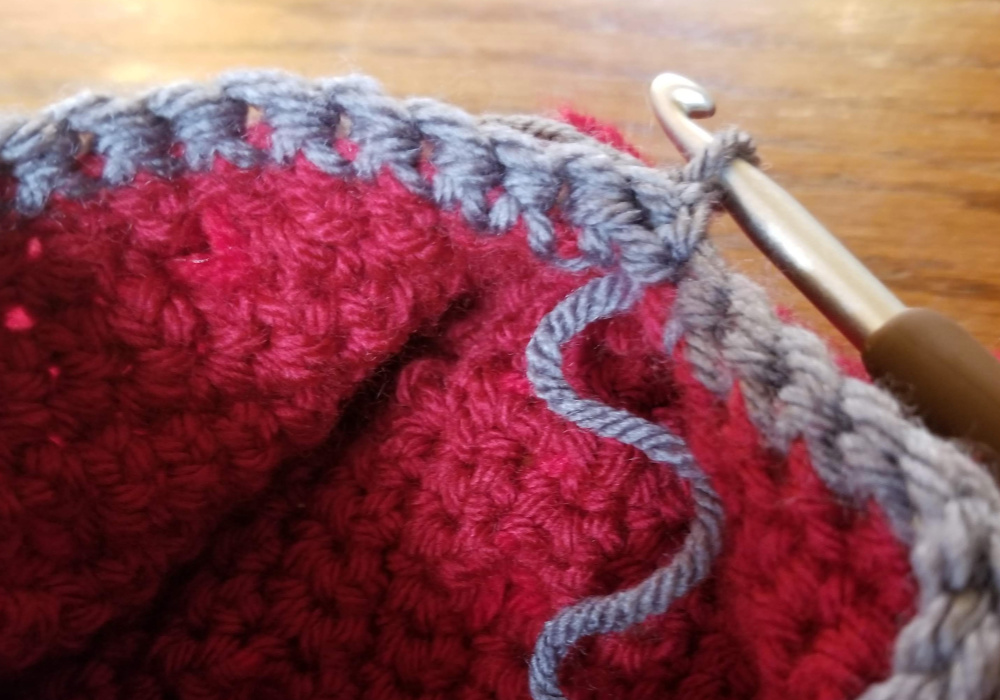
Round 2: ch 1, turn, sc2tog, sc across to opposite corner (approx. 17 stitches), sc2tog, turn so your working across the top of the heel, sc2tog, sc in across (approx. 17 stitches) to last 2 stitches, sc2tog, join to first sc2tog with sl st
Repeat round 2, decreasing the stitch count by 4 each round, to Round 8
Fasten off. Leave a long end for sewing.
Use the long end to sew the opening closed.
Weave in the ends.
And you’re finished! I hope you love this stocking!
Looking for more patterns? Follow me on Facebook, Instagram, and Pinterest! Please share a pic of your finished product with me. I’d love to see it!


I’m struggling with the cabble section. Do you have a video that could help please
Hi! No, I don’t. What are you having trouble with?
Hi. I’ve never done cable before so when I try it, it looks a mess. I don’t know where I’m going wrong. I’ve tried to YouTube how to do it but the video that I watched talked about 9 stitches and I got lost xx
Yea… it’s difficult to help over typed words….. Your best bet is to find another video, that you can understand & follow … there are many… don’t give up…. You may need to slow the video down … use the settings icon ( it looks like a small gear) it will then show you different speed settings …. I hope this helps
I am confused on Rnd 18.
It says to dc, fptr around DC from below…
There are only sc below.
I just realized Rnd 16 was supposed to be DC, not sc.
OK, let me know if you have any other questions 🙂
I want to know how to do the red part with the balls. 🙂 They’re so cute!
Hi! I think this is the pattern you are looking for 🙂 https://www.hookedonhomemadehappiness.com/bobble-crochet-stocking-pattern/