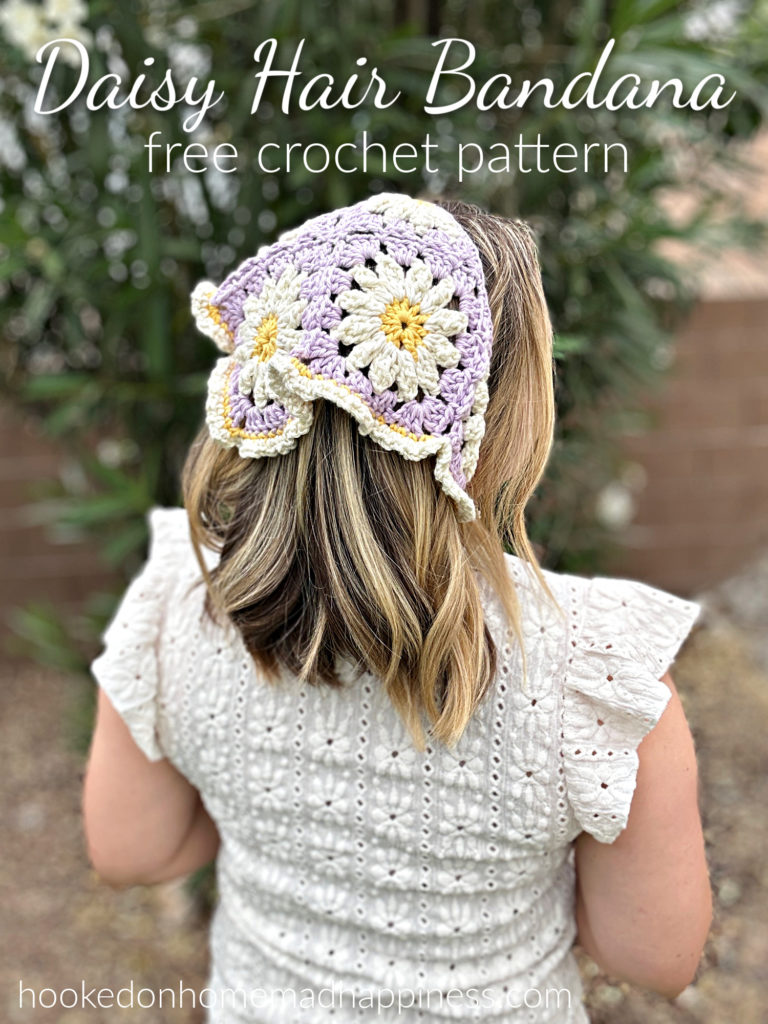
Daisy Hair Bandana Crochet Pattern
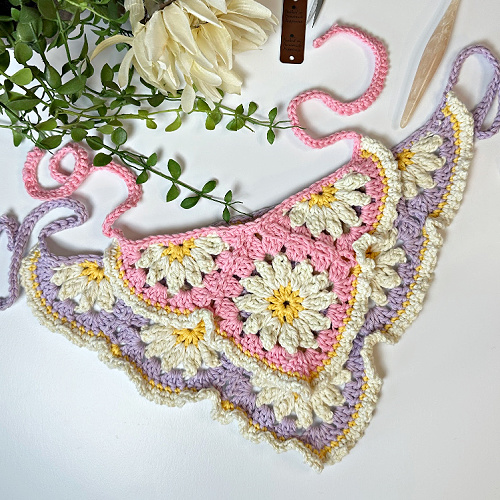
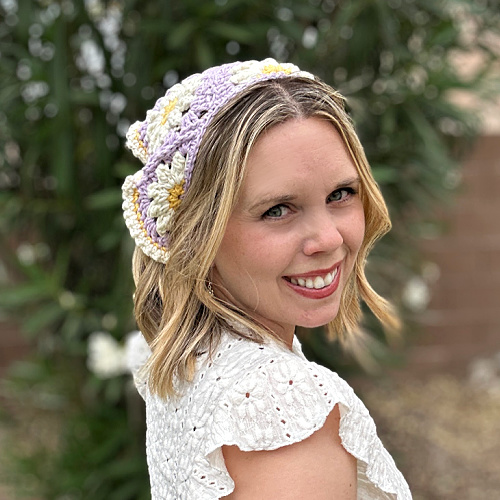
If you love quick, pretty projects that actually get worn, this Daisy Hair Bandana Crochet Pattern is about to become your new favorite. It’s lightweight, beginner-friendly, and the perfect mix of vintage charm and modern style. Whether you’re heading out on a sunny day or just want a cute way to keep your hair back, this bandana checks all the boxes.
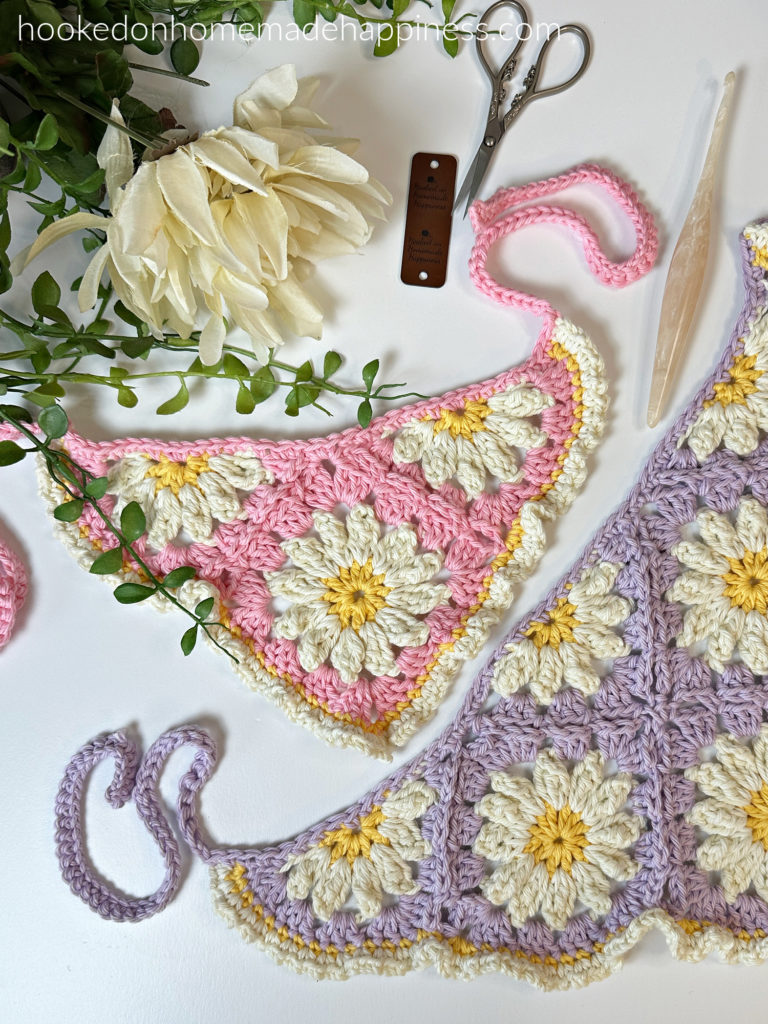
This pattern uses daisy granny squares (with a full video tutorial available!) combined with half squares to create a soft triangle shape. Add a sweet ruffled edging and ties, and you’ve got an accessory that looks much more complicated than it actually is.
Purchase the ad-free, printable PDF for easy printing.
Pattern Details
- Skill Level: Easy
- Sizes: Child & Adult
- Yarn: Worsted weight cotton yarn
- Hook: 5.0 mm (H)
- Construction: Granny squares + half squares, joined to form a triangle
- Finishing: Ruffled border + tie straps
About the Design
This bandana is made by combining full daisy granny squares with half squares to shape the triangle. If you’ve never made a half granny square before—don’t worry—it’s much easier than it sounds and gives the bandana that clean, tapered edge.
Once your pieces are joined, you’ll add:
- A soft ruffled border for a feminine touch
- Simple ties so you can adjust the fit perfectly
The result is a comfortable, breathable bandana that stays in place and looks adorable from every angle.
Yarn Notes
For this pattern, I recommend worsted weight cotton yarn because:
- It’s lightweight and breathable
- Holds its shape well
- Perfect for warm weather wear
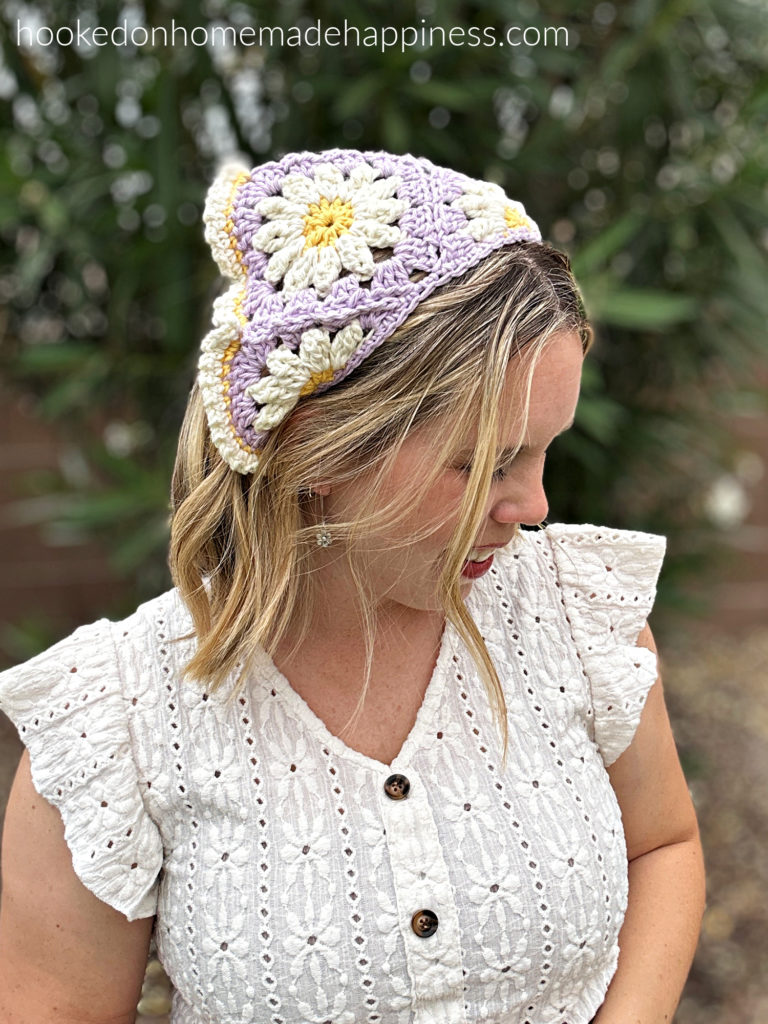
You can also get creative with color combinations:
- Classic white petals + yellow centers
- Soft pastels for a spring vibe
- Bold colors for a fun statement piece
Sizing
This pattern includes two sizes:
- Child – slightly smaller triangle and shorter ties
- Adult – fuller coverage with longer ties
The adjustable ties make it easy to customize the fit even further.
Why You’ll Love This Pattern
- Quick and satisfying project
- Great stash buster
- Beginner-friendly with video support
- Perfect handmade gift idea
- Stylish AND practical
Ready to Crochet?
Grab your yarn, hook, and your favorite colors—it’s time to create your own Daisy Hair Bandana! 🌼
Once you make one, don’t be surprised if you want one in every color.
Making the Daisy Hair Bandana Crochet Pattern
Get the full free pattern below or purchase the ad-free, printable PDF
Materials
Hobby Lobby I Love This Cotton yarn in 3 colors (less than 1 skein each color)
H/5.0 mm hook
yarn needle
scissors
stitch markers
Level
intermediate
Pattern Notes & Stitches to Know
ch – chain
dc – double crochet
rep – repeat
RS – right side
sl st – slip stitch
sc – single crochet
sp – space
st(s) – stitch(es)
tr – treble stitch
t – turn
* * – work step in between asterick
Special Stitches:
trpc – treble popcorn (insert hook into next stitch, pull up a loop, insert hook into next stitch, pull up a loop, yarn over, pull through all 3 loops on hook)
JAYG – join as you go – watch the video tutorial here: https://tr.ee/Xqngcx
fsc – foundation single crochet – watch the video tutorial here: https://tr.ee/uqucXV
- written in US terms
- ch 3 counts as dc in round 1 & round 3 (noted in pattern)
- ch 2 does not count as dc
- ch 4 counts as dc + ch 1
- These bandanas are made with flower granny squares and triangles joined together to make a triangular bandana.
- Use any joining method you prefer. I used the Join-As-You-Go method. A video tutorial for this method is included.
- 3 colors are used for the sample. A flower center color, petal color, and main color
- The pattern is written in only 2 sizes, but the ties are long and make for easy adjustment.
- Sizes: Pattern is written in 2 sizes, Child & Adult consecutively. Example, when the pattern gives the end of the row count as (60, 92), the 60 is the child the 92 is the adult.
- Gauge is listed, but it isn’t important for this pattern. Use as a general guideline
- To make a size smaller of each, go down a hook size.
Gauge: each square = 4″ x 4″
| Size | Width | Length |
| Child | 11″ | 6.5″ |
| Adult | 16″ | 9″ |
Watch the Tutorial
See how it’s done! This easy-to-follow video tutorial will walk you through each step of the flower square.
Pattern Support
Looking for pattern support or want to share your progress? Join our Crochet Community Facebook Group! It’s the perfect place to ask questions, get help, and connect with fellow makers.
CROCHET PATTERN WRITTEN INSTRUCTIONS
DAISY SQUARE
Kid’s Size – make
Adult Size – make 3
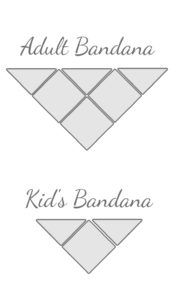
If using the JAYG method, join the squares and triangles as pictured below
Starting with flower center color, ch 4, join to first ch with sl st
Round 1 (RS): ch 3 (counts as dc), work 11 dc in middle of the circle, join to first ch 3 with sl st (12 dc)
Fasten off first color
Join petal color in between 2 dc
Round 2 (RS): ch 3, *trpc in space between 2 dc, ch 3* rep from * to * in each sp around, join to first trpc with sl st (12 trpc)
Fasten off second color
Join main color in a ch-3 space
If using the JAYG method, remember to join in round 3
Round 3 (RS): ch 3 (counts as dc), (2 dc, ch 3, 3 dc) in same ch-3 sp, 3 dc in next ch-3 sp, 3 dc in next ch-3 sp, *(3 dc, ch 3, 3 dc) in next ch-3 sp, 3 dc in next ch-3 sp, 3 dc in next ch-3 sp* repeat from * to * around, join to first ch 3 with sl st (48 dc)
Fasten off. Weave in the ends.
DAISY HALF SQUARE
Kid’s Size – make 2
Adult Size – make 3
The half squares are made in rows, not joined rounds.
Starting with flower center color, ch 4, join to first ch with sl st
Round 1 (RS): ch 3 (counts as dc), work 6 dc in middle of the circle (7 dc)
Fasten off first color
Join petal color to starting ch 3
Round 2 (RS): ch 4 (counts as dc + ch 1), *trpc in space between 2 dc, ch 3* rep from * to * in each space, ch 1, dc in last st (6 trpc)
Fasten off petal color.
Join main color to starting ch 3
If using the JAYG method, remember to join in round 3
Round 3 (RS): ch 3, 3 dc in ch-1 space, 3 dc in next ch-3 sp, 3 dc in next ch-3 sp, (3 dc, ch 2, 3 dc) in next ch-3 sp, 3 dc in next ch-3 sp, 3 dc in next ch-3 sp, 3 dc in ch-1 sp, dc in last st (26 dc)
Fasten off. Weave in the ends.
CONSTRUCTION
If a method other than JAYG is being used, arrange the squares and triangles as pictured above. Sew the squares together using the final round color.
Fasten off. Weave in the ends.
RUFFLE BORDER
With the RS facing up, join the center color to the top left corner of the bandana and work around the triangle to the opposite corner
Row 1 (RS): ch 1, sc in each st across to ch-2 sp, *2 sc in ch-2 sp, 2 sc in ch-2 sp, sc in each st across to ch-2 sp* rep from * to * across to peak ch-2 sp, (sc, ch 2, sc) in ch-2 sp, sc in each st across to ch-2 sp, rep from * to * across (approx 60, 92 sc)
Fasten off first color.
Join petal color, to the first st of row 1 with the RS facing up
Row 2 (RS): ch 1, (sc, ch 1, sc) in each st across to ch-2, (sc, ch 2, sc) in ch-2 sp, (sc, ch 1, sc) in each st across (approx 120, 184 sc)
Fasten off. Weave in the ends.
TIES
With main color, ch 2, starting in the 2nd ch from the hook, fsc 50. Without fastening off, with the bandana facing RS up, sc evenly across the top of the bandana. Working 2 sts into the sides of each row to the opposite side. Without, fastening off, ch 2, starting in the 2nd ch from the hook, fsc 50.
Fasten off. Weave in the ends.
You did it! Your bandana is complete—now it’s time to enjoy wearing your handmade piece.
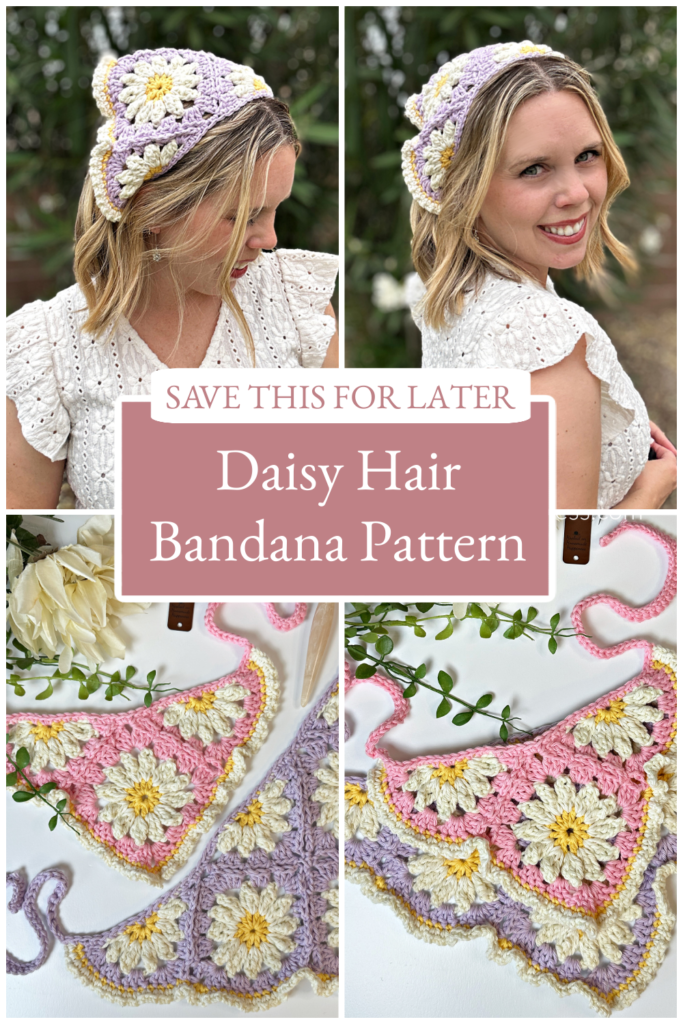
Looking for more patterns? Follow me on Facebook, Instagram, and Pinterest! Please share a pic of your finished product with me. I’d love to see it!




One Comment