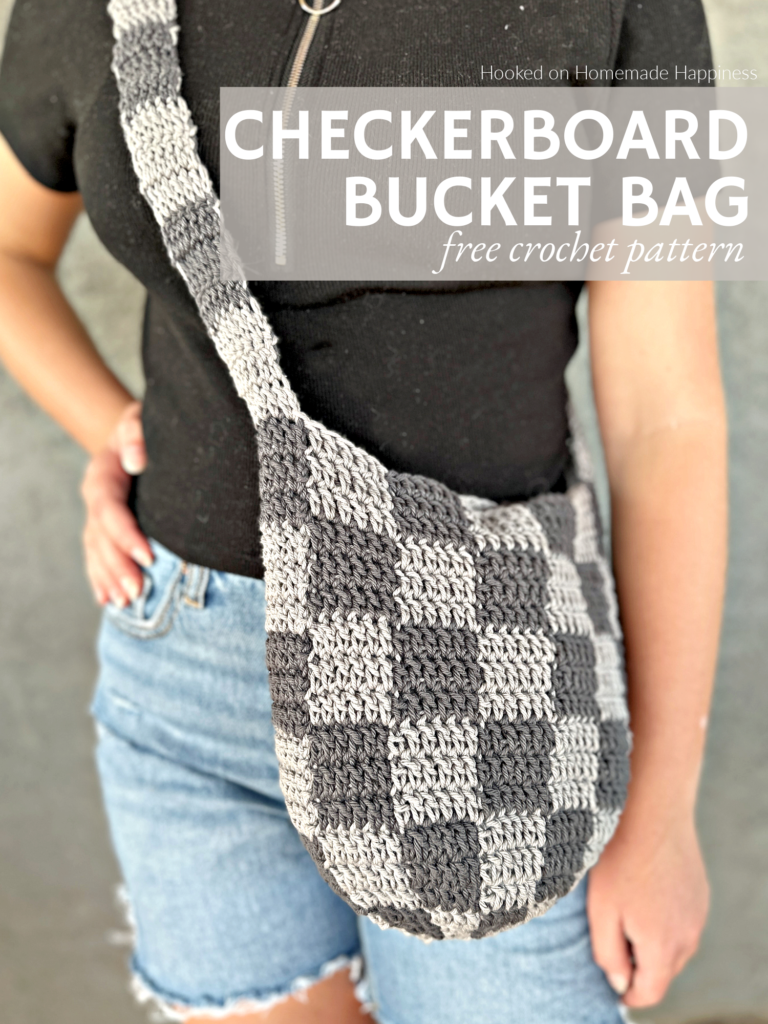
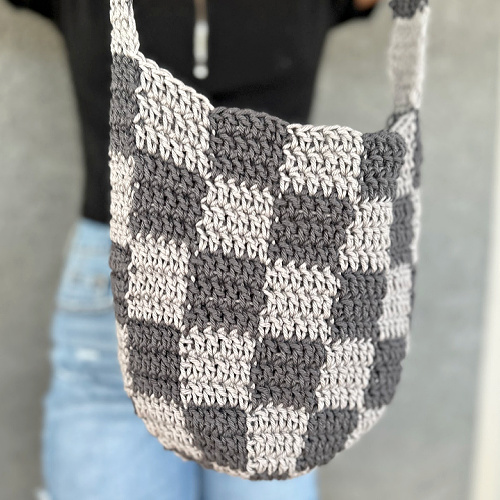
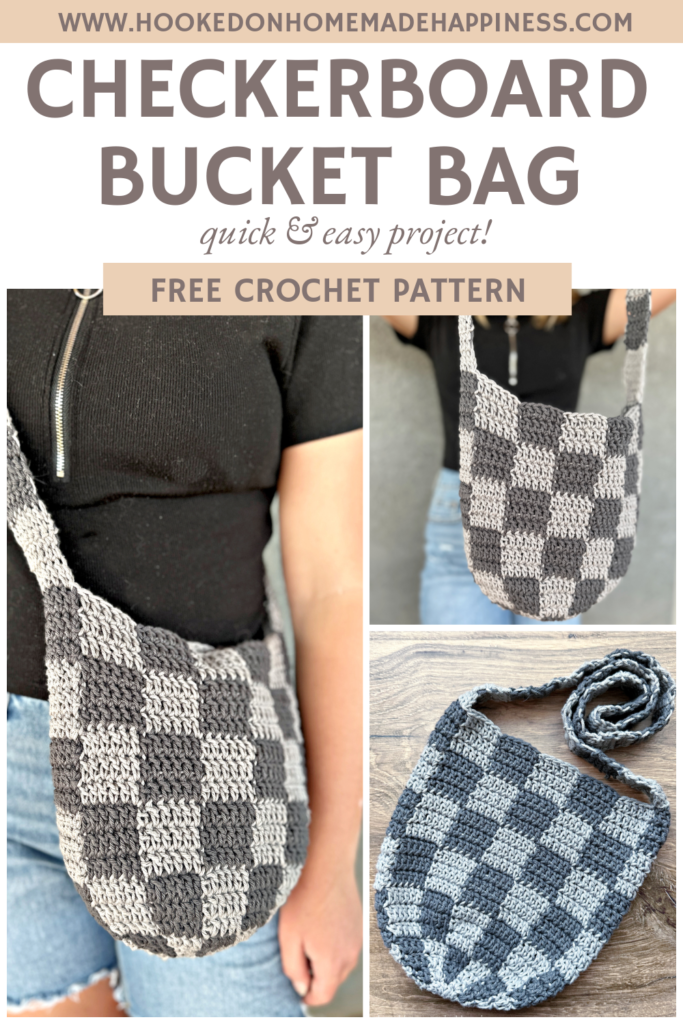
Checkerboard Bucket Bag Crochet Pattern
Looking for a stylish and functional crochet bag that’s both beginner-friendly and eye-catching? This Checkerboard Bucket Bag Crochet Pattern is the perfect project! With its classic checkerboard design and simple stitches, this bag is a fun make that works up beautifully in sturdy cotton yarn.
Whether you’re heading to the farmer’s market, the beach, or just out running errands, this bag is the perfect grab-and-go accessory.
Purchase the ad-free, printable PDF for easy printing.
Why You’ll Love This Pattern
- 🧶 Simple stitches only – made entirely with double crochet
- 🎨 Classic checkerboard design – timeless and trendy
- 👜 Sturdy and practical – perfect for everyday use
- 🔁 Worked in joined rounds – great for practicing color changes
- ⚡ Quick project – satisfying and fast to complete
About the Pattern
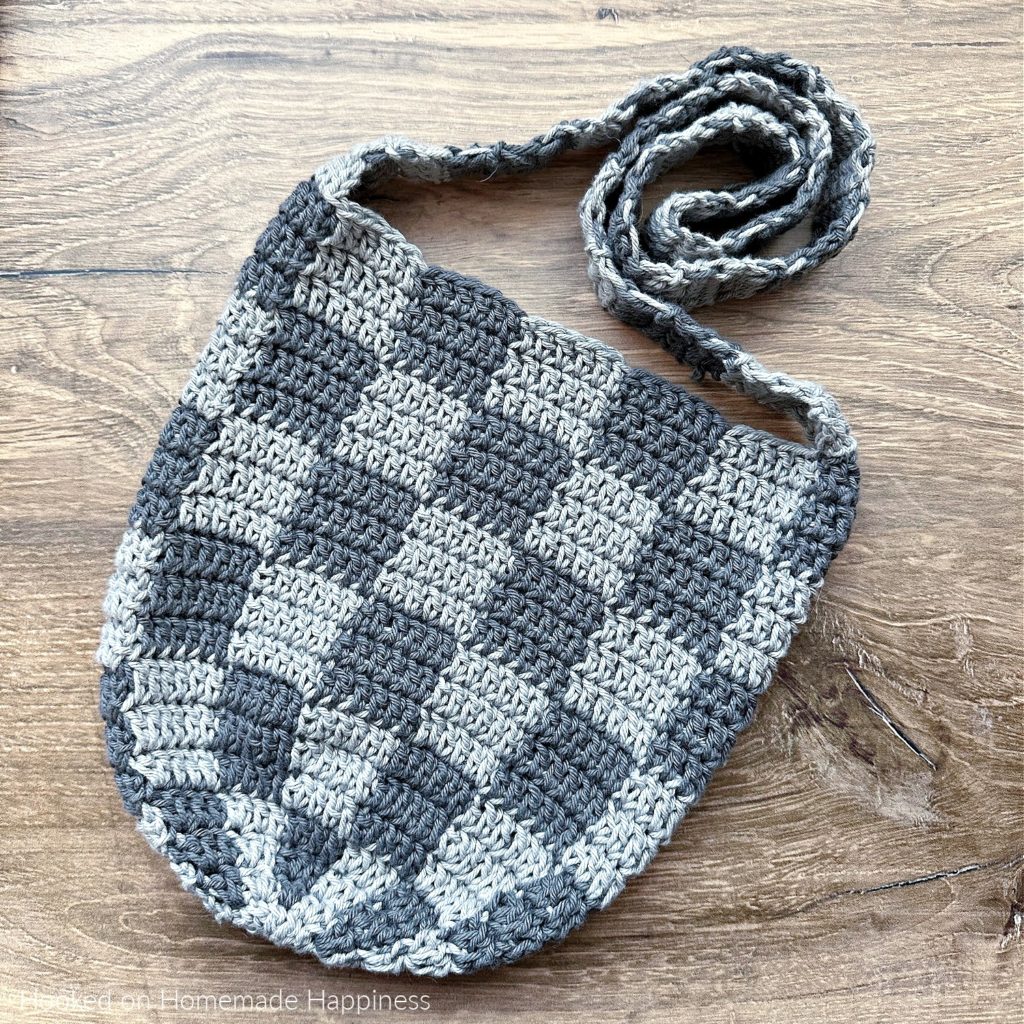
This bag is worked from the bottom up, starting with a circle base and continuing in joined rounds to build the body. The checkerboard effect is created by alternating colors in blocks, giving the bag a bold and modern look.
The entire bag is made using double crochet stitches, making it a great project for confident beginners who want to try colorwork without complicated techniques.
Using cotton yarn helps the bag hold its shape while still remaining flexible enough for everyday use.
Ready to Crochet?
Grab your yarn and hook and start stitching your very own Checkerboard Bucket Bag! This is the kind of project that’s as fun to make as it is to use.
Making the Checkerboard Bucket Bag Crochet Pattern
Get the full free pattern below or purchase the ad-free, printable PDF
Materials
1 skein each color WeCrochet Dishie in Silver & Ash (any worsted weight cotton)
H/5.0 m hook
yarn needle
scissors
Level
intermediate
Pattern notes & Stitches to Know
ch – chain
sl st – slip stitch
dc – double crochet
· Written in US terms
· This bag is made from the bottom up in joined rounds. Do not fasten off the colors. Carry them throughout.
· Silver is Color A. Ash is Color B.
· When changing colors, always change color on the last step of the stitch just before the color change
· To change the pattern size, go up or down a hook size.
· I have another checkerboard pattern that’s very similar to this bag with a full video tutorial. Both patterns begin the same way and the video can be followed for this bag pattern. VIDEO TUTORIAL HERE
· ch 2 does not count as dc
Approx. Finished Size: 10″ x 25″
CHECKERBOARD BUCKET BAG CROCHET PATTERN
With Color A, make a magic circle
Round 1: ch 2, 12 dc in circle, pull circle closed tight, join to first dc with sl st (12 dc)
Round 2: ch 2, starting in the first stitch, *2 dc in next stitch, change to Color B, 2 dc in next stitch, change to Color A* repeat from * to * around, join to first dc with sl st (24 dc)
Round 3: continuing with Color A, ch 2 *dc in 1 stitch, 2 dc in next, change to Color B, dc in 1 stitch, 2 dc in next, change to Color A* repeat from * to * around, join to first dc with sl st (36 dc)
Round 4: continuing with Color A, ch 2 *dc in 2 stitches, 2 dc in next, change to Color B, dc in 2 stitches, 2 dc in next, change to Color A* repeat from * to * around to last stitch, do not change to color A, join to first dc with sl st (48 dc)
Round 5: continuing with Color B, ch 2, *dc in 3 stitches, 2 dc in next, change to Color A, dc in 3 stitches, 2 dc in next, change to Color B* repeat from * to * around, join to first dc with sl st (60 dc)
Round 6: continuing with Color B, ch 2 *dc in 4 stitches, 2 dc in next, change to Color A, dc in 4 stitches, 2 dc in next, change to Color B* repeat from * to * around, join to first dc with sl st (72 dc)
Round 7: continuing with Color B, ch 2 *dc in 6 stitches, change to Color A, dc in 6 stitches, change to Color B* repeat from * to * around to last stitch, do not change to Color B, join to first dc with sl st (72 dc)
Round 8 – 10: continuing with color A, ch 2, *dc in 6 stitches, change to Color B, dc in 6 stitches, change to Color A* repeat from * to * around, join to first dc with sl st (72 dc)
do not change colors on last stitch of round 10
Round 11 – 13: continuing with Color B, ch 2, *dc in 6 stitches, change to Color A, dc in 6 stitches, change to Color B* repeat from * to * around, join to first dc with sl st (72 dc)
do not change colors on last stitch of round 13
Round 14 – 16: continuing with color A, ch 2, *dc in 6 stitches, change to Color B, dc in 6 stitches, change to Color A* repeat from * to * around, join to first dc with sl st (72 dc)
do not change colors on last stitch of round 16
Round 17 – 19: continuing with Color B, ch 2, *dc in 6 stitches, change to Color A, dc in 6 stitches, change to Color B* repeat from * to * around, join to first dc with sl st (72 dc)
do not change colors on last stitch of round 19
do not fasten off
continue carrying both colors throughout the strap
STRAP
Row 1: continuing with color A, ch 2, dc in 6 stitches (6 dc)
Row 2: continuing with color A, ch 2, turn, dc across (6 dc)
Row 3: continuing with color A, ch 2, turn, dc across (6 dc)
change to Color B
Row 4 – 6: continuing with color B, ch 2, turn, dc across (6 dc)
change to Color A
Row 7 – 9: continuing with Color A, ch 2, turn, dc across (6 dc)
change to Color B
Row 10 – 51: repeat rows 4 – 9, changing color every 3 rows
Sew to opposite side of the bag using sl st
Fasten off.
Weave in the ends.
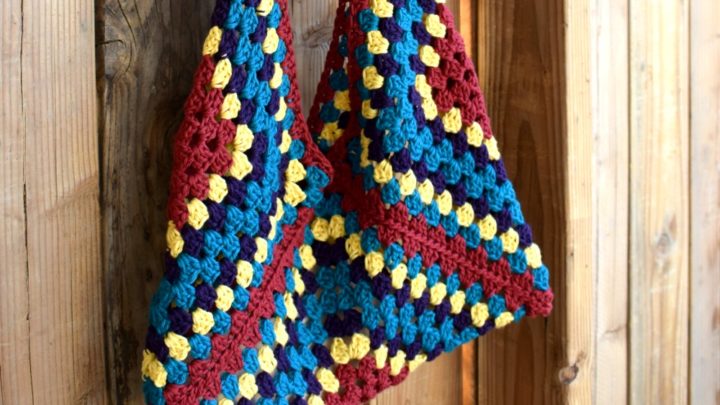
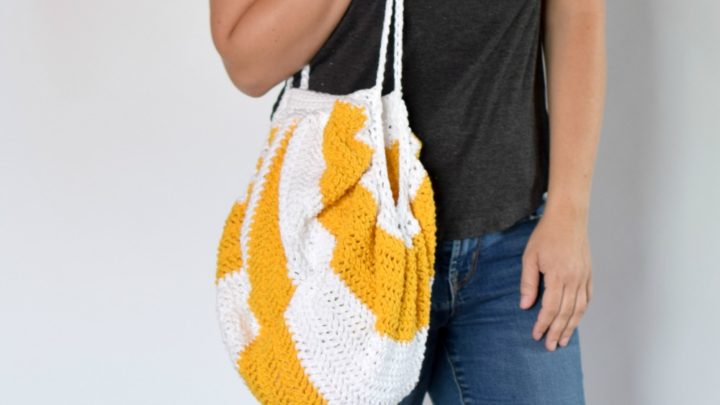
Looking for more patterns? Follow me on Facebook, Instagram, and Pinterest! Please share a pic of your finished product with me. I’d love to see it!


2 Comments