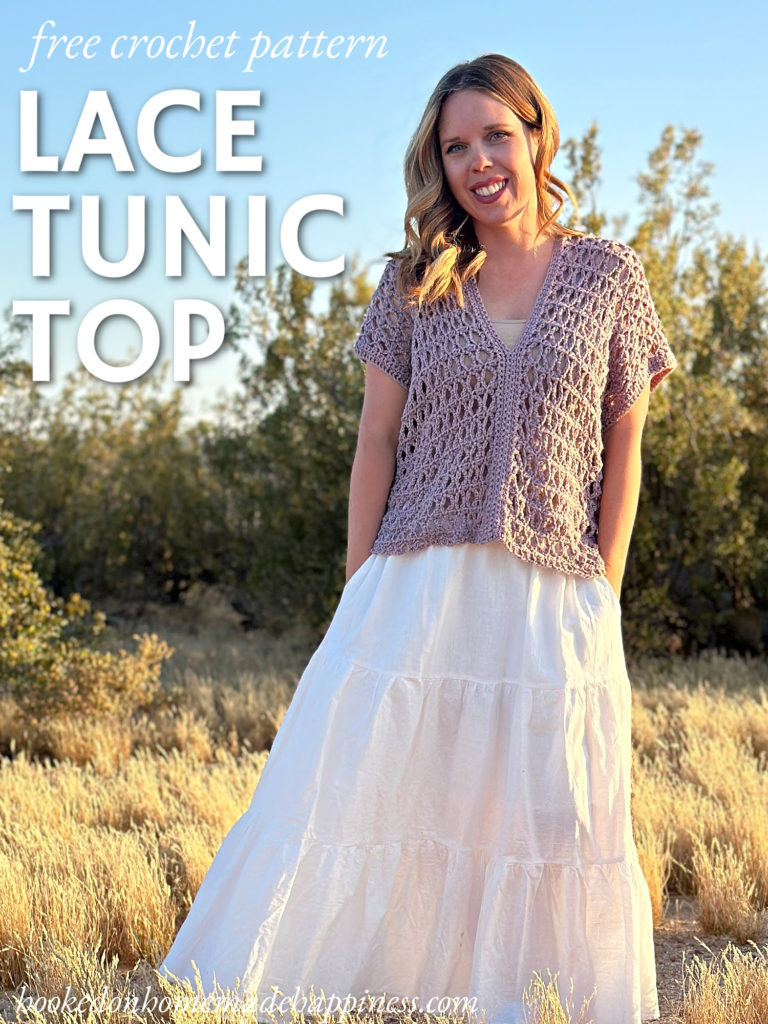
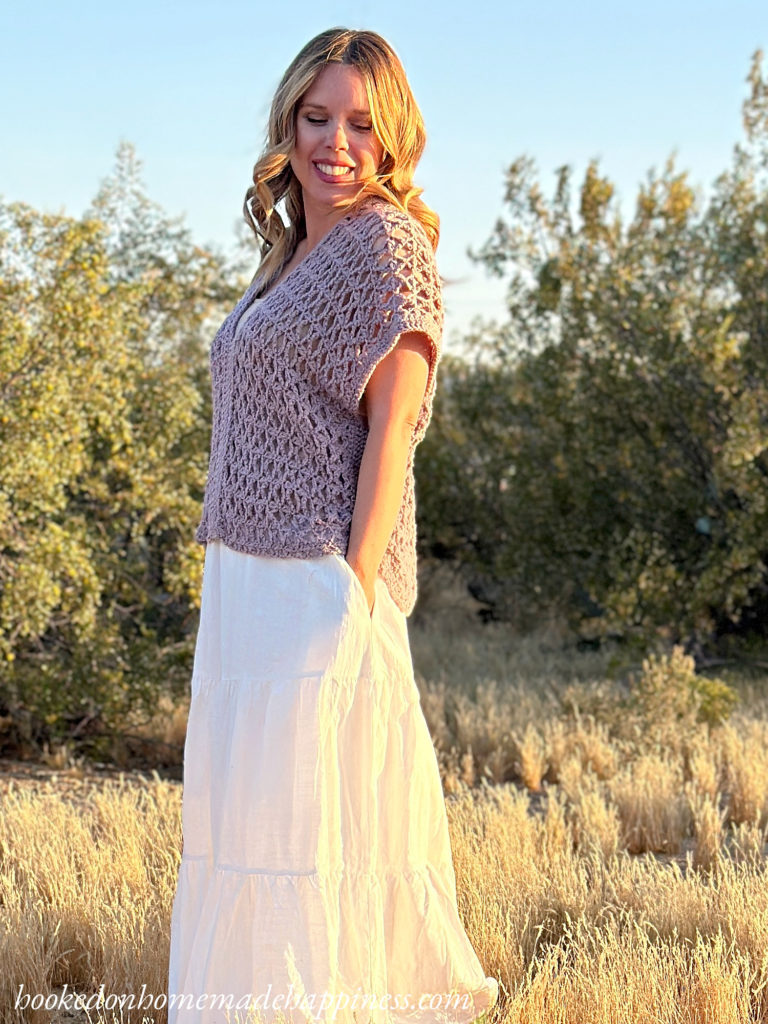
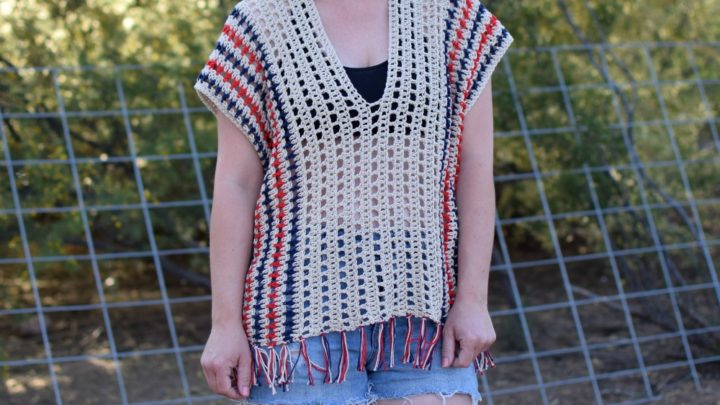
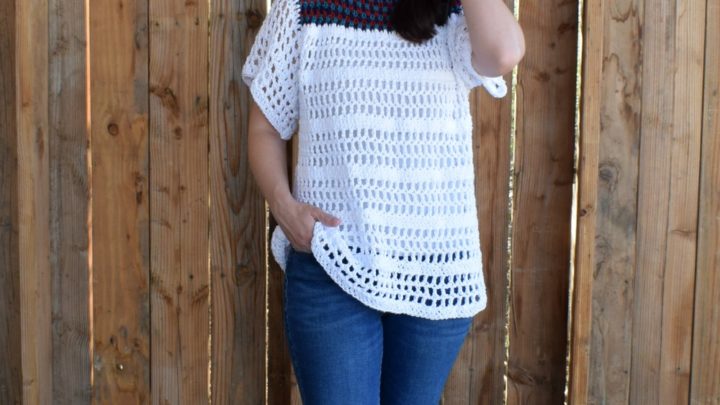
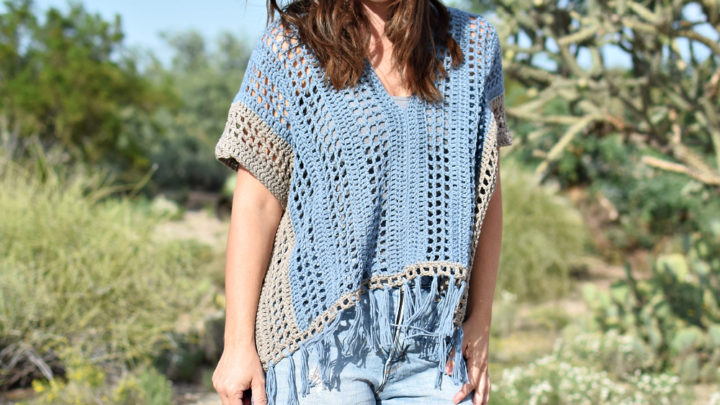
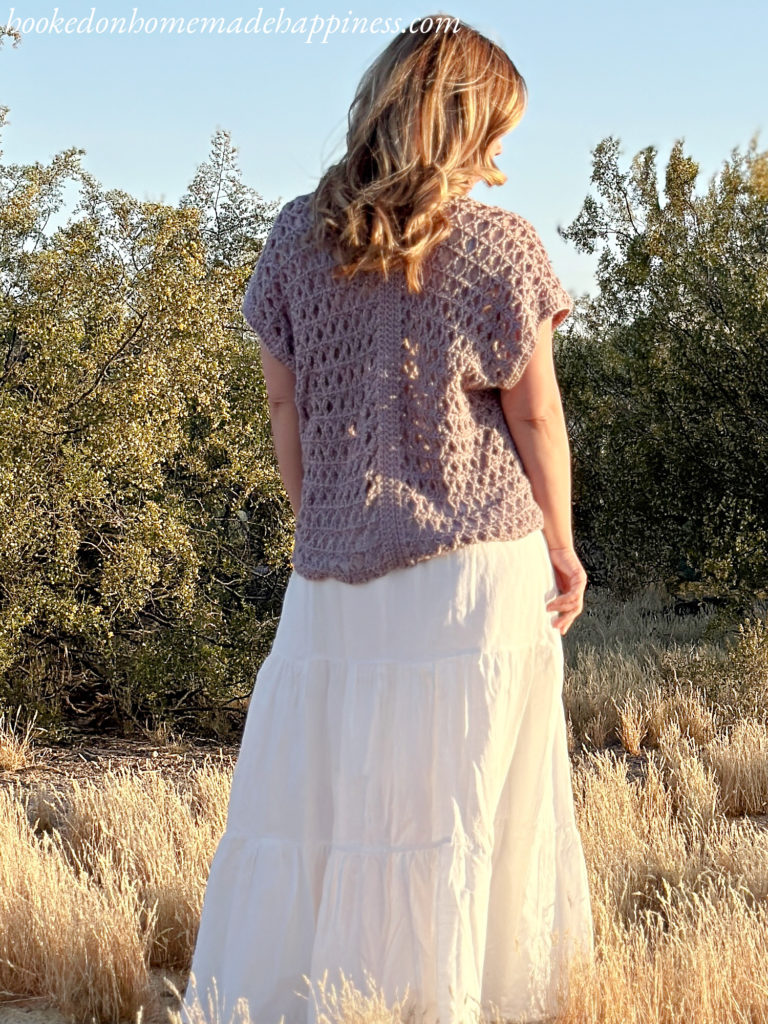
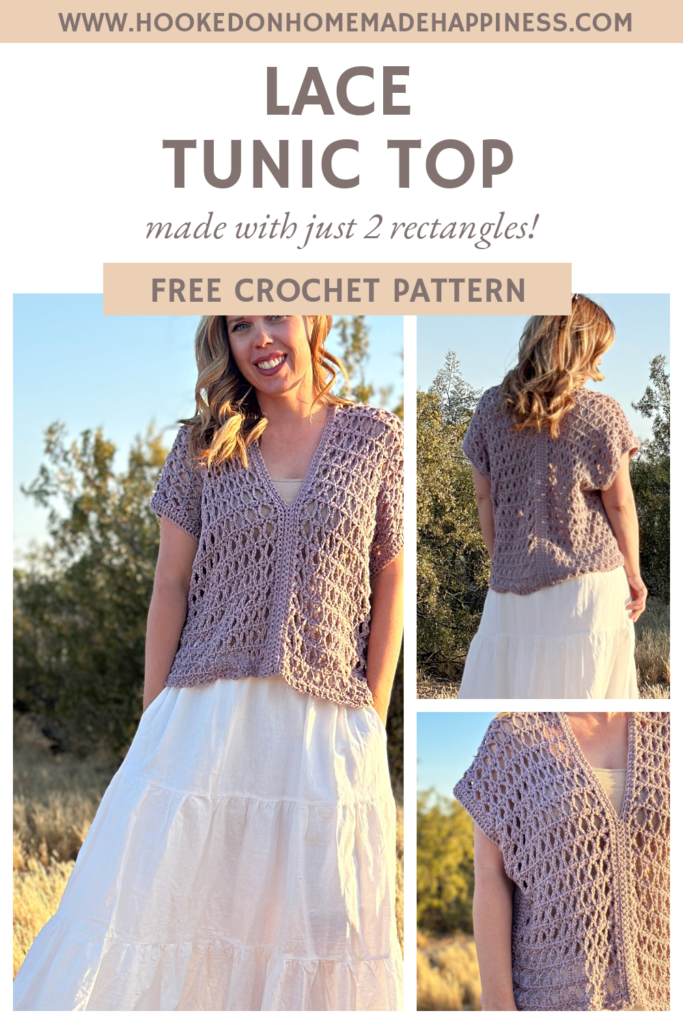
Lace Tunic Top Crochet Pattern
Get ready to add a touch of elegance to your warm-weather wardrobe with the Lace Tunic Top Crochet Pattern! This lightweight and breezy design features a simple lace stitch pattern with just a two-row repeat—making it both beginner-friendly and relaxing to work up. The tunic-style fit gives it a beautiful drape and versatility, perfect for layering over tanks, swimsuits, or dresses. Made with sport weight yarn, this top is cool and comfortable while still offering a polished, handmade look you’ll love wearing all season long.
Choosing Your Yarn
Brava Sport yarn is a great choice for summer tops thanks to its lightweight feel and easy care. Made from 100% premium acrylic, it’s soft against the skin and holds up well to frequent wear and washing—perfect for warm-weather garments. With excellent stitch definition and a wide range of colors, Brava Sport brings both comfort and style to your summer crochet projects. Any sport weight yarn (cotton, wool, or acrylic) would work for this pattern.
Making the Top
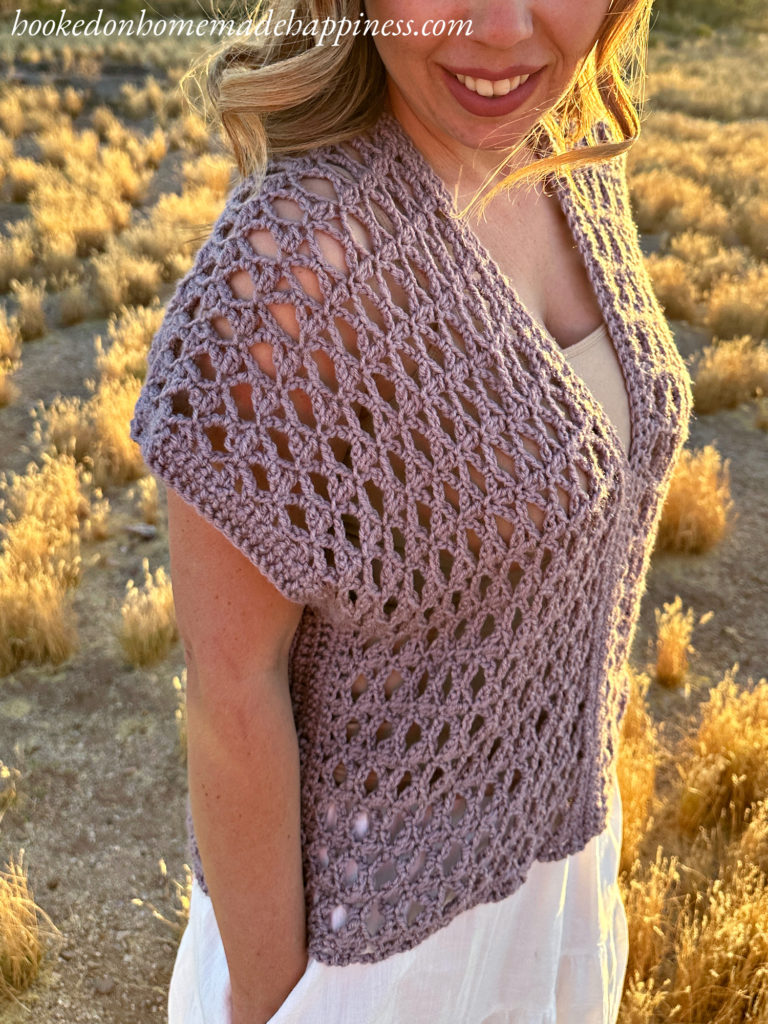
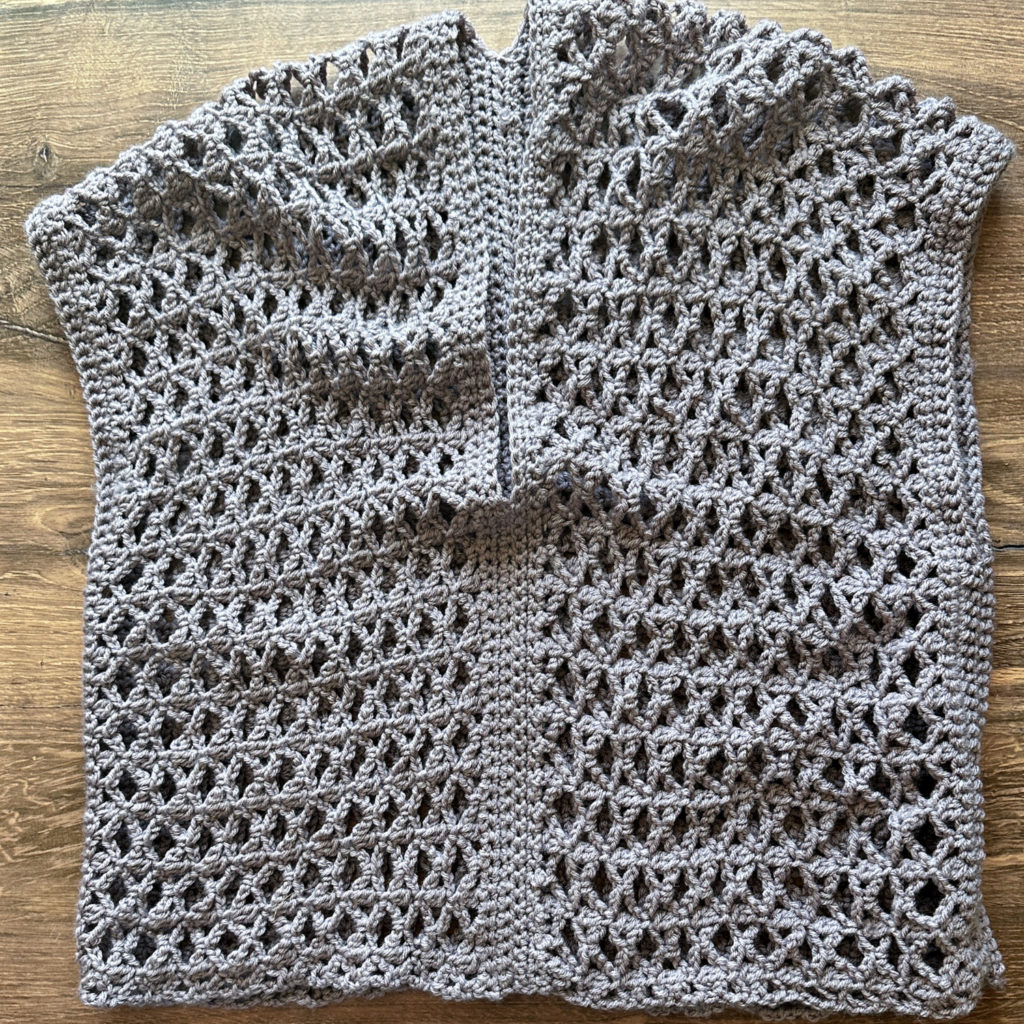
The Lace Tunic Top is constructed from two simple rectangles, making it an approachable project for crocheters of all skill levels. Each rectangle is worked flat using the easy two-row lace stitch pattern, then sewn together vertically along the sides and center to create the tunic shape. This method forms flattering side slits and a clean, elegant drape without any shaping required. The straightforward construction paired with the delicate stitch detail results in a timeless and versatile summer piece.

click here to pin for later >>>
Lace Tunic Top Crochet Pattern
Get the full pattern below or purchase the ad-free, printable PDF in my Ravelry Shop
PIN for later HERE
Add to your Ravelry Queue HERE
Materials
sport weight acrylic yarn (I used Brava Sport in Seraphim) – 3 skeins for S/M, 4 skeins for L/XL, 5 skeins for 2X/3X
H/5.0 mm hook
G/4.0 mm hook
yarn needle
scissors
stitch markers
Level
intermediate
Pattern notes & stitches to know
ch – chain
sc – single crochet
fsc – foundation single crochet (VIDEO TUTORIAL)
dc – double crochet
CL – 2 dc cluster (yarn over, insert hook into stitch, pull up a loop, yarn over, pull through 2 loops, yarn over, insert hook into same stitch, pull up a loop, yarn over, pull through 2 loops, yarn over, pull through 3 loops)
tr – treble crochet
· written in US terms
· ch 1 does not count as sc
· ch 5 counts as tr + 1
· This top is make with 2 rectangles sewn together.
· Foundation row needs to be a mult of 4 + 1
Gauge (with H/5.0 mm hook): 11 sc x 14 rows = 4” x 4”
Sizes:
S, M, L, XL, 2X, 3X – The pattern is written in these sizes consecutively. Example, when the pattern gives the end of the row count as (133, 137, 141) (145, 149, 153) 133 is for S, 137 is M, 141 is L, 145 is XL, 149 is 2X, and 153 is 3X.
This top is oversized with generous positive ease.
Approx Finished Size (sizes can be easily adjusted within pattern):
Bust: S (42”) M (46”) L (50”) XL (54”) 2X (58”) 3X (62”)
Length: S (23”) M (24”) L (25”) XL (26”) 2X (27”) 3X (28”)
Armhole Depth: S (10”) M (10.5”) L (11”) XL (11.5”) 2X (12”) 3X (12.5”)
Size S pictured. I’m 5’0” with 34” bust.
LACE TUNIC TOP CROCHET PATTERN
MAKE 2
With H/5.0 mm hook, ch 2 (leave a long end for sewing)
Row 1: starting in 2nd ch from the hook, fsc (133, 137, 141) (145, 149, 153) ((133, 137, 141) (145, 149, 153) sc)
Row 2: ch 1, turn, sc in each stitch across ((133, 137, 141) (145, 149, 153) sc)
Row 3: ch 1, turn, sc in each stitch across ((133, 137, 141) (145, 149, 153) sc)
Change to G/4.0 mm hook
Row 4: ch 1, turn, sc in first sc, *ch 2, skip 1 stitch, CL in next, ch 2, skip 1 stitch, sc in next* repeat from * to * across ((33, 34, 35) (36, 37, 38) CL)
Row 5: ch 5, turn, sc in first CL, *ch 5, sc in next CL* repeat from * to * across to last CL, ch 1, tr in last stitch ((33, 34, 35) (36, 37, 38) sc)
Row 6: ch 1, turn, sc in tr, *ch 2, CL in next sc, ch 2, sc in ch-5 space* repeat from * to * across to last sc, CL in last sc, ch 2, sc in ch 3 of turning ch ((33, 34, 35) (36, 37, 38) CL)
Row 7 – (24, 26, 28) (30, 32, 34): repeat rows 5 & 6
Change to H/5.0 mm hook
Row (25, 27, 29) (31, 33, 35): ch 1, turn, sc in each stitch and ch-2 space across ((133, 137, 141) (145, 149, 153) sc)
Row (26, 28, 30) (32, 34, 36): ch 1, turn, sc in each stitch across ((133, 137, 141) (145, 149, 153) sc)
Row (27, 29, 31) (33, 35, 37): ch 1, turn, sc in each stitch across ((133, 137, 141) (145, 149, 153) sc)
Fasten off. Leave a long end for sewing
SEWING
Fold each rectangle in half, long ways.
Lay both panels side by side, vertically.
Using the long end and yarn needle, sew the back with a whip stitch. Sew to the fold at the top.
Sew the front with a whip stitch, about halfway up.
Sew the sides closed with a whip stitch. Leave a (10”, 10.5”, 11”) (11.5”, 12”, 12.5”) space open at the top for an armhole.
Fasten off. Weave in the ends. Turn right side out.
Looking for more patterns? Follow me on Facebook, Instagram, and Pinterest! Please share a pic of your finished product with me. I’d love to see it!


Hello, I love this top. I have read the pattern and I am confused about the stitch count before and after changing to the smaller hook.
Before is 133 stitches and after is 33 stitches.
Is there a typo? If there is no typo, what accounts for the 100 stitches difference? Sorry if I am being dense. I am not a confident crocheter! Thank you.
Hi! No typo. The row count decreases because you will be skipping stitches and the end of row count only mentions the CL, not the sc.