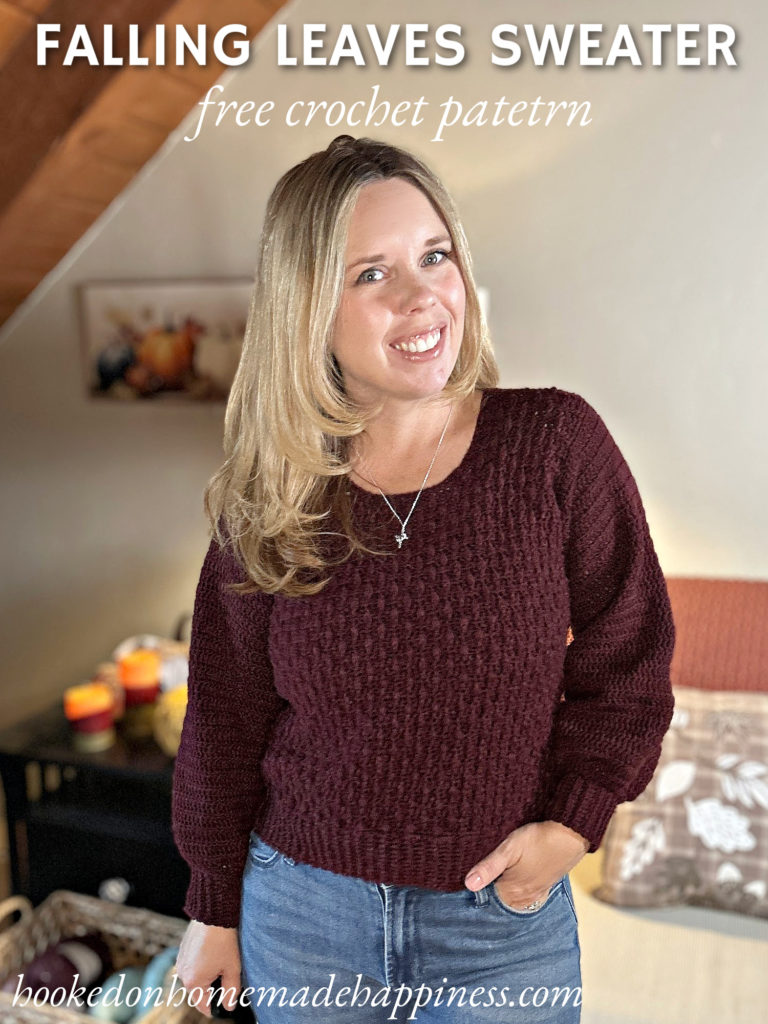
Falling Leaves Sweater Crochet Pattern
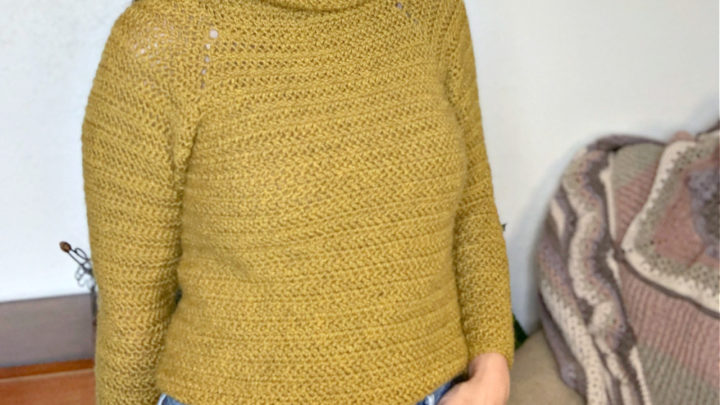
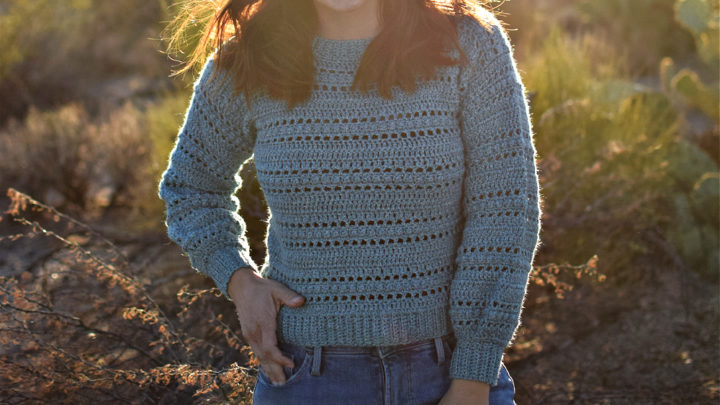
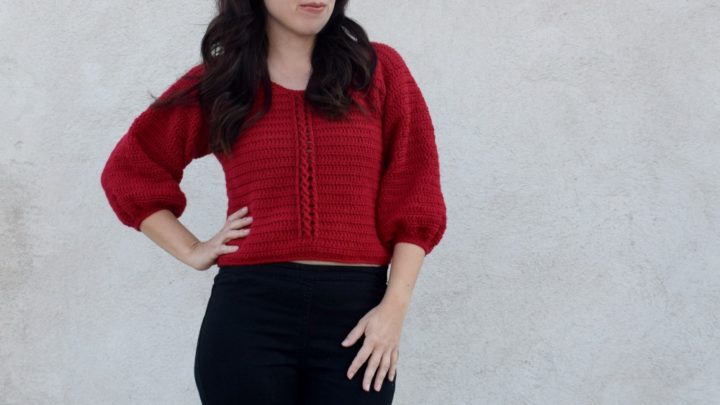
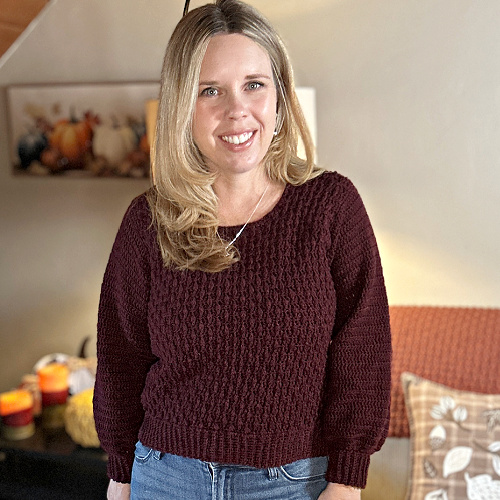
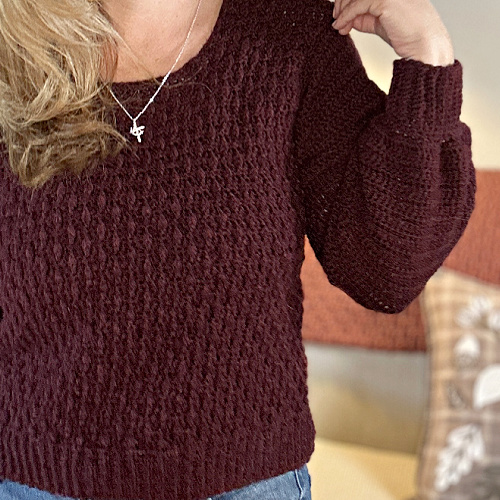
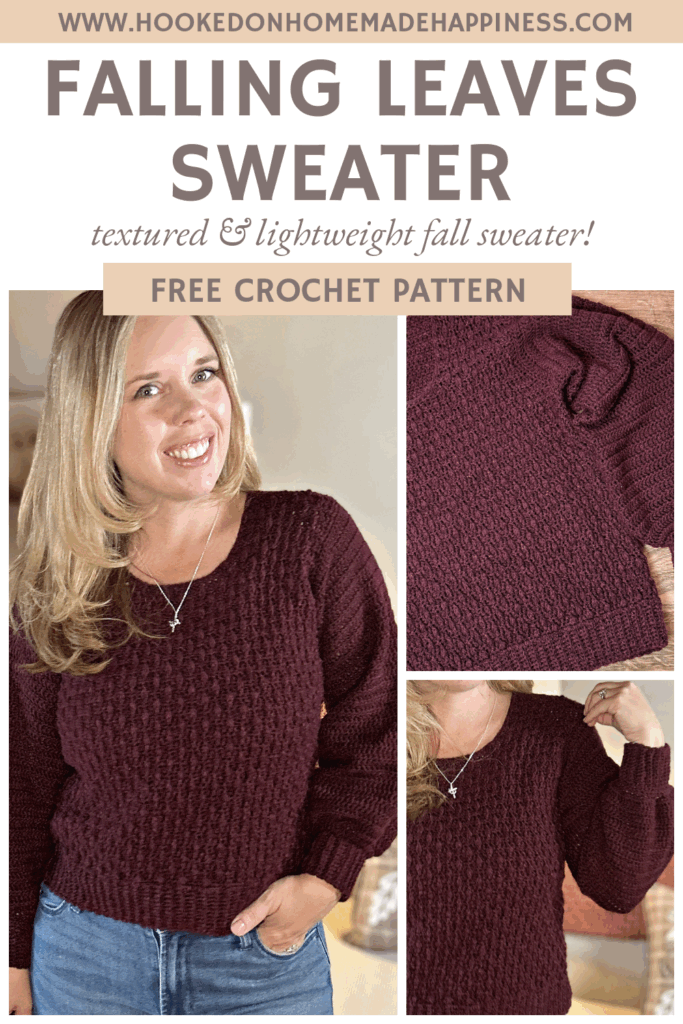
The Falling Leaves Sweater Crochet Pattern is a cozy and textured design perfect for crisp fall days. This stylish sweater features beautiful leaf-like texture on the front panel, worked using DK weight yarn for a soft, lightweight feel with just the right amount of warmth.
Designed with thoughtful shaping and polished details, this sweater looks and feels professionally made — while still being completely handmade by you!
Purchase the ad-free, printable PDF for easy printing.
🍂 Pattern Features
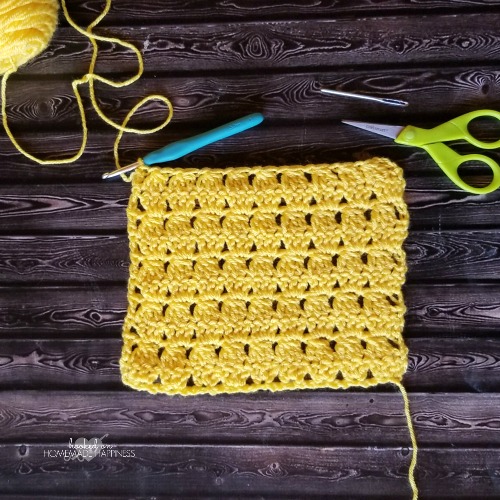
- Textured Front Panel: The Falling Leaves stitch creates beautiful texture and visual interest.
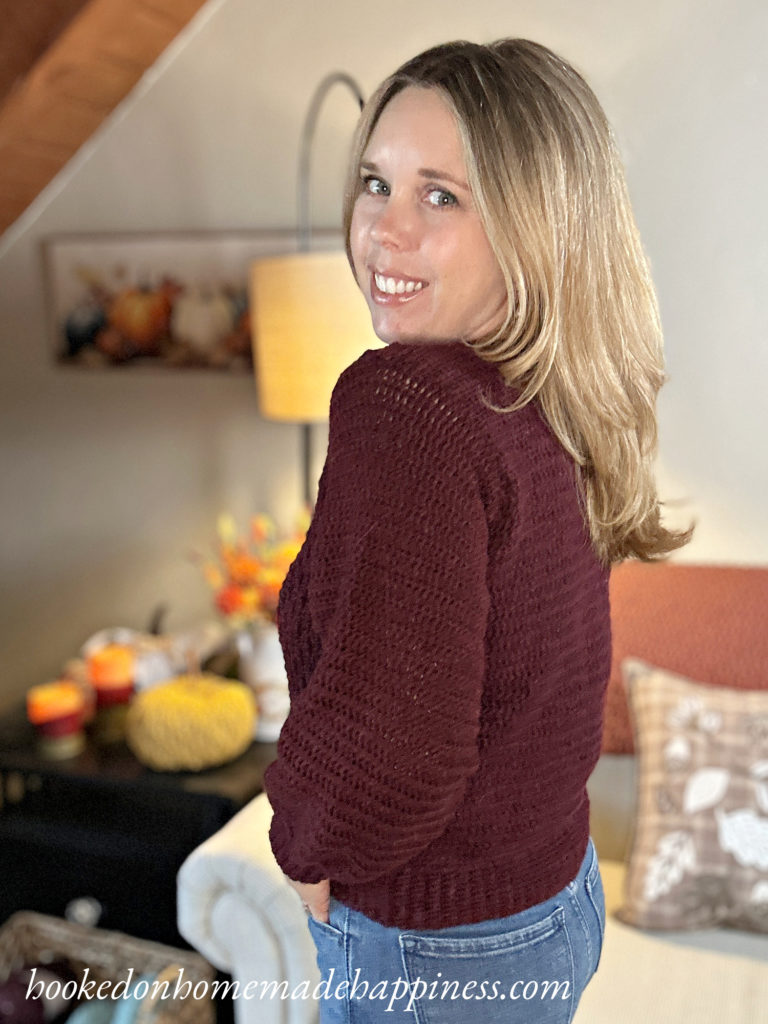
- Polished Fit: Shaping around the neckline and armholes gives this sweater a flattering, tailored look.
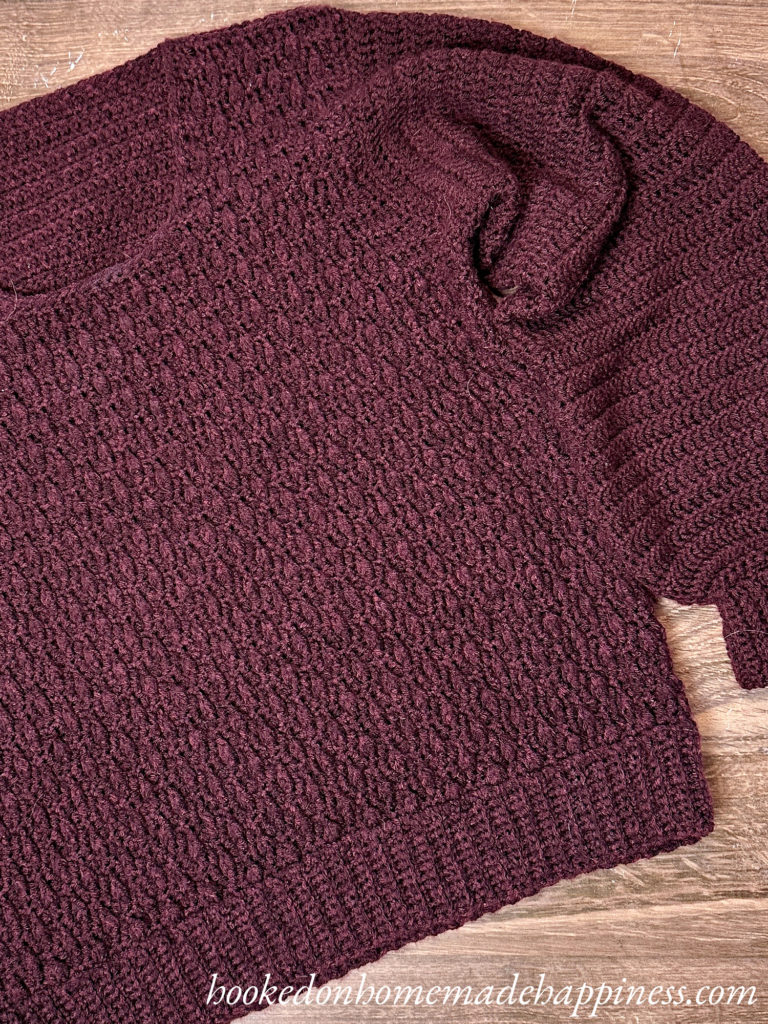
- Ribbed Finishes: Single crochet in the back loop only (sc blo) ribbing adds stretch and a clean finish to the cuffs and hem.
- Lightweight Comfort: Made with DK weight yarn for a breathable, easy-to-wear garment.

🧶 Materials
- Yarn: DK weight yarn
- Hook: Size appropriate for gauge (see pattern for details)
- Notions: Yarn needle, stitch markers, scissors
🪡 Construction
- The front panel features the Falling Leaves stitch for texture.
- The back panel and sleeves are simple, allowing the textured panel to stand out.
- Pieces are seamed together with shaping around the neckline and armholes for a sleek fit.
- Finished with sc blo ribbing along the bottom, cuffs, and neckline.
✨ Skill Level
Intermediate — You’ll need basic crochet knowledge and comfort with stitch repeats, shaping, and seaming.
Making the Falling Leaves Sweater Crochet Pattern
Get the full free pattern below or purchase the ad-free, printable PDF
Materials
DK weight (3) yarn (I used Yarn Bee Soft & Sleek – 4 skeins S & M, 5 skeins for L & XL, 5 skeins for 2X & 3X)
4.5 mm hook
yarn needle
scissors
stitch marker
Level
intermediate
Pattern notes & stitches to know
ch – chain
sl st – slip stitch
sc – single crochet
blo – back loop only
dc – double crochet
fp – front post
CL – *yarn over, insert hook in stitch, pull up a loop* x2, yarn over, pull through 4 loops, yarn over, pull through 2
lfpCL – long front post cluster (front post double crochet in the row below the previous row)
dc2tog – double crochet 2 together
dc3tog – double crochet 3 together
sc2tog – single crochet 2 together
· written in US terms
· ch 1 does not count as sc
· ch 2 does not count as dc
· This sweater is made with two panels sewn together. Then the sleeves are made in joined rounds around the armhole.
· The panels start from the bottom up, with the single crochet ribbing.
· Gauge: 18 dc x 13 rows (alternating rows of dc & sc) = 4” x 4”
Sizes:
(S, M, L) (XL, 2X, 3X) – The pattern is written in these sizes consecutively. Example, when the pattern gives the end of row count ((77, 85, 93) (101, 109, 117) sc) the 77 is for S, 85 is M, 93 is L, 101 is XL, 109 is 2X, 117 is 3X.
This sweater is a classic fit with 2-3” positive ease.
Approx Finished Size:
Bust: S (36”) M (40”) L (44”) XL (48”) 2X (52”) 3X (56”)
Length: S (20”) M (21.5”) L (23”) XL (24.5”) 2X (36”) 3X (27.5”)
Armhole Width: S (7.5”) M (8.25”) L (9”) XL (9.75”) 2X (10.5”) 3X (11.25”)
Sleeve Length (at armhole): S (19”) M (19.75”) L (20.5”) XL (21.25”) 2X (22”) 3X (22.75”)
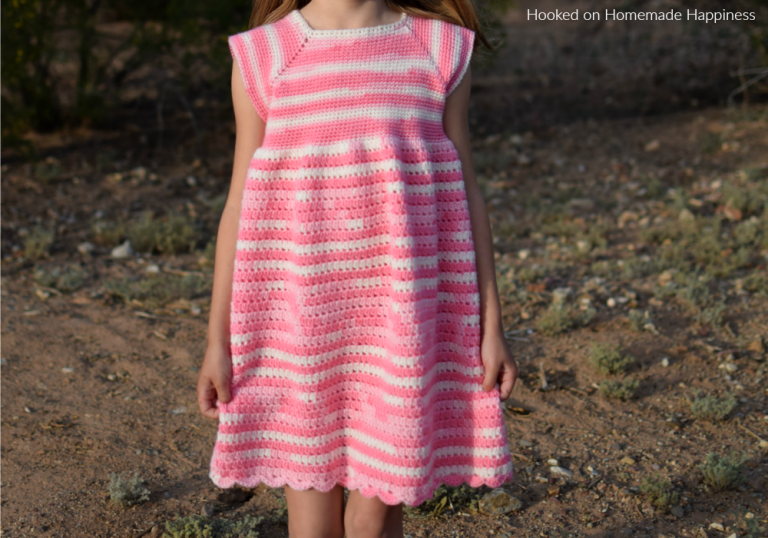
Size Small pictured. I am 5’0” with 34” bust
Watch the Stitch Tutorial
See how it’s done! This easy-to-follow video tutorial will walk you through each step of the pattern.
Pattern Support
Looking for pattern support or want to share your progress? Join our Crochet Community Facebook Group! It’s the perfect place to ask questions, get help, and connect with fellow makers.
CROCHET PATTERN WRITTEN INSTRUCTIONS
FRONT
HOW TO CROCHET SINGLE CROCHET RIBBING VIDEO TUTORIAL
Ch 13
Row 1: sc in 2nd ch from the hook and across (12 sc)
Row 2: ch 1, turn, sc in first stitch, sc blo in next 10, sc in last stitch (12)
Row 3 – (77, 85, 93) (101, 109, 117): repeat row 2
Now you will turn and work across the long edge of the ribbed band
HOW TO CROCHET THE FALLING LEAVES STITCH VIDEO TUTORIAL
Row 1: ch 1, sc evenly across working 1 sc in the end of each row ((77, 85, 93) (101, 109, 117) sc)
Row 2: ch 1, turn, sc in each stitch across ((77, 85, 93) (101, 109, 117) sc)
Row 3: ch 2, turn, dc in 4 stitches, lfpCL in next, *dc in next 3 stitches, lfpCL in next* repeat from * to * across to last 4 stitches, dc in last 4 ((77, 85, 93) (101, 109, 117) dc)
Row 4: ch 1, turn, sc in each stitch across ((77, 85, 93) (101, 109, 117) sc)
Row 5: ch 2, turn, dc in 2 stitches, lfpCL in next, *dc in 3 stitches, lfpCL in next* repeat from * to * across to last 2 stitches, dc in last 2 ((77, 85, 93) (101, 109, 117) dc)
Row 6: ch 1, turn sc in each stitch around, join to first sc with sl st ((77, 85, 93) (101, 109, 117) sc)
Row 7 – Row (40, 44, 48) (52, 56, 60): repeat rows 3 – 6
Decreasing for the armhole shaping begins in the next row
Row (41, 45, 49) (53, 57, 61): ch 2, turn, dc3tog, dc in 3 stitches, lfpCL in next, *dc in next 3 stitches, lfpCL in next* repeat from * to * across to last 6 stitches, dc in next 3 stitches, dc3tog ((73, 81, 89) (97, 105, 113) dc)
Row (42, 46, 50) (54, 58, 62): ch 1, turn, sc in each stitch across (((73, 81, 89) (97, 105, 113) sc)
Row (43, 47, 51) (55, 59, 63): ch 2, turn, dc3tog, dc in 3 stitches, lfpCL in next, *dc in next 3 stitches, lfpCL in next* repeat from * to * across to last 6 stitches, dc in next 3 stitches, dc3tog ((69, 77, 85) (93, 101, 109) dc)
Row (44, 48, 52) (56, 60, 64): ch 1, turn, sc in each stitch across ((69, 77, 85) (93, 101, 109) sc)
Row (45, 49, 53) (57, 61, 65): ch 2, turn, dc3tog, dc in 3 stitches, lfpCL in next, *dc in next 3 stitches, lfpCL in next* repeat from * to * across to last 6 stitches, dc in next 3 stitches, dc3tog ((65, 73, 81) (89, 97, 105) dc)
Row (46, 50, 54) (58, 62, 66): ch 1, turn, sc in each stitch across ((65, 73, 81) (89, 97, 105) sc)
Row (47, 51, 55) (59, 63, 67): ch 2, turn, dc3tog, dc in 3 stitches, lfpCL in next, *dc in next 3 stitches, lfpCL in next* repeat from * to * across to last 6 stitches, dc in next 3 stitches, dc3tog ((61, 69, 77) (85, 93, 101) dc)
Row (48, 52, 56) (60, 64, 68): ch 1, turn, sc in each stitch across ((61, 69, 77) (85, 93, 101) sc)
Row (49, 53, 57) (61, 65, 69): ch 2, turn, dc3tog, dc in 3 stitches, lfpCL in next, *dc in next 3 stitches, lfpCL in next* repeat from * to * across to last 6 stitches, dc in next 3 stitches, dc3tog ((57, 65, 73) (81, 89, 97) dc)
Row (50, 54, 58) (62, 66, 70): ch 1, turn, sc in each stitch across ((57, 65, 73) (81, 89, 97) sc)
Row (51, 55, 59) (63, 67, 71): ch 2, turn, dc3tog, dc in 3 stitches, lfpCL in next, *dc in next 3 stitches, lfpCL in next* repeat from * to * across to last 6 stitches, dc in next 3 stitches, dc3tog ((53, 61, 69) (77, 85, 93) dc)
Row (52, 56, 60) (64, 68, 72): ch 1, turn, sc in each stitch across ((53, 61, 69) (77, 85, 93) sc)
Row (53, 57, 61) (65, 69, 73): ch 2, turn, dc in 2 stitches, lfpCL in next, *dc in 3 stitches, lfpCL in next* repeat from * to * across to last 2 stitches, dc in last 2 ((53, 61, 69) (77, 85, 93) dc)
Row (54, 58, 62) (66, 70, 74): ch 1, turn, sc in each stitch across (53 sc)
NECKLINE
Place a stitch marker in the first stitch of the next row to mark the beginning of the neckline.
Work one side of the neckline at a time and only work partway across the row.
Row 1: ch 2, turn, dc in 4 stitches, lfpCL in next, *dc in next 3, lfpCL in next* ((x3, x4, x5), x6, x7, x8)), dc3tog ((18, 22, 26) (30, 34, 38) dc)
Row 2: ch 1, turn, sc in each stitch across ((18, 22, 26) (30, 34, 38) sc)
Row 3: ch 2, turn, dc in 2 stitches, lfpCL in next, *dc in next 3, lfpCL in next* repeat from * to * across to last 3 stitches, dc in next, dc2tog ((17, 21, 25) (29, 33, 37) dc)
Row 4: ch 1, turn, sc in each stitch across ((17, 21, 25) (29, 33, 37) sc)
Row 5: ch 2, turn, dc in 4 stitches, lfpCL in next, *dc in next 3 stitches, lfpCL in next* repeat from * to * across to last 4 stitches, dc in last 4 ((17, 21, 25) (29, 33, 37) dc)
Row 6: ch 1, turn, sc in each stitch across ((17, 21, 25) (29, 33, 37) sc)
Row 7: ch 2, turn, dc in 2 stitches, lfpCL in next, *dc in 3 stitches, lfpCL in next* repeat from * to * across to last 2 stitches, dc in last 2 ((17, 21, 25) (29, 33, 37) dc)
Row 8: ch 1, turn, sc in each stitch across ((17, 21, 25) (29, 33, 37) sc)
Row 9 – Row (14, 16, 18) (20, 22, 24): repeat rows 5 – 8
Fasten off. Leave a long end for sewing
Lay panel with right side facing up. The side of the neckline just made is on the right.
Rejoin yarn (20, 24, 28) (32, 36, 40) stitches from the left in row 1 of the neckline.
Row 1: ch 2, dc3tog, lfpCL in next, *dc in next 3, lfpCL in next* across to last 4 stitches, dc in last 4 stitches ((18, 22, 26) (30, 34, 38) dc)
Row 2: ch 1, turn, sc in each stitch across ((18, 22, 26) (30, 34, 38) sc)
Row 3: ch 2, turn, dc2tog, dc in next, lfpCL in next, *dc in next 3, lfpCL in next* repeat from * to * across to last 2 stitches, dc in last 2 ((17, 21, 25) (29, 33, 37) dc)
Row 4: ch 1, turn, sc in each stitch across ((17, 21, 25) (29, 33, 37) sc)
Row 5: ch 2, turn, dc in 4 stitches, lfpCL in next, *dc in next 3 stitches, lfpCL in next* repeat from * to * across to last 4 stitches, dc in last 4 ((17, 21, 25) (29, 33, 37) dc)
Row 6: ch 1, turn, sc in each stitch across ((17, 21, 25) (29, 33, 37) sc)
Row 7: ch 2, turn, dc in 2 stitches, lfpCL in next, *dc in 3 stitches, lfpCL in next* repeat from * to * across to last 2 stitches, dc in last 2 ((17, 21, 25) (29, 33, 37) dc)
Row 8: ch 1, turn, sc in each stitch across ((17, 21, 25) (29, 33, 37) sc)
Row 9 – Row (14, 16, 18) (20, 22, 24): repeat rows 5 – 8
Fasten off. Leave a long end for sewing.
BACK
Ch 13
Row 1: sc in 2nd ch from the hook and across (12 sc)
Row 2: ch 1, turn, sc in first stitch, sc blo in next 10, sc in last stitch (12)
Row 3 – (77, 85, 93) (101, 109, 117): repeat row 2
The ribbing is the width of the sweater, easily adjust the width by adding or taking out rows.
Now you will turn and work across the long edge of the ribbed band
Row 1: ch 1, sc evenly across working 1 sc in the end of each row ((77, 85, 93) (101, 109, 117) sc)
Row 2: ch 1, turn, sc in each stitch across ((77, 85, 93) (101, 109, 117) sc)
Row 3: ch 2, turn, dc in each stitch across ((77, 85, 93) (101, 109, 117) dc)
Row 4 – Row (40, 44, 48) (52, 56, 60): repeat rows 2 & 3
Decreasing for the armhole shaping begins in the next row
Row (41, 45, 49) (53, 57, 61): ch 2, turn, dc3tog, dc in each stitch across to last 3 stitches, dc3tog ((73, 81, 89) (97, 105, 113) dc)
Row (42, 46, 50) (54, 58, 62): ch 1, turn, sc in each stitch across (((73, 81, 89) (97, 105, 113) sc)
Row (43, 47, 51) (55, 59, 63): ch 2, turn, dc3tog, dc in each stitch across to last 3 stitches, dc3tog ((69, 77, 85) (93, 101, 109) dc)
Row (44, 48, 52) (56, 60, 64): ch 1, turn, sc in each stitch across ((69, 77, 85) (93, 101, 109) sc)
Row (45, 49, 53) (57, 61, 65): ch 2, turn, dc3tog, dc in each stitch across to last 3 stitches, dc3tog ((65, 73, 81) (89, 97, 105) dc)
Row (46, 50, 54) (58, 62, 66): ch 1, turn, sc in each stitch across ((65, 73, 81) (89, 97, 105) sc)
Row (47, 51, 55) (59, 63, 67): ch 2, turn, dc3tog, dc in each stitch across to last 3 stitches, dc3tog ((61, 69, 77) (85, 93, 101) dc)
Row (48, 52, 56) (60, 64, 68): ch 1, turn, sc in each stitch across ((61, 69, 77) (85, 93, 101) sc)
Row (49, 53, 57) (61, 65, 69): ch 2, turn, dc3tog, dc in each stitch across to last 3 stitches, dc3tog ((57, 65, 73) (81, 89, 97) dc)
Row (50, 54, 58) (62, 66, 70): ch 1, turn, sc in each stitch across ((57, 65, 73) (81, 89, 97) sc)
Row (51, 55, 59) (63, 67, 71): ch 2, turn, dc3tog, dc in each stitch across to last 3 stitches, dc3tog ((53, 61, 69) (77, 85, 93) dc)
Row (52, 56, 60) (64, 68, 72): ch 1, turn, sc in each stitch across ((53, 61, 69) (77, 85, 93) sc)
Row (53, 57, 61) (65, 69, 73): ch 2, turn, dc in each stitch across((53, 61, 69) (77, 85, 93) dc)
Row (54, 58, 62) (66, 70, 74): ch 1, turn, sc in each stitch across ((53, 61, 69) (77, 85, 93) sc)
Repeat previous 2 rows to Row (68, 74, 80) (86, 92, 98):
Fasten off. Leave a long end for sewing.
NOTE: the back panel will be slightly larger than the front (due to the long post stitches in the front) but will not be noticeable after sewing.
SEWING
Lay the front panel on top of the back. Both with the right side facing the inside. Use the long ends to sew the shoulders closed with a whip stitch.
Weave in the ends.
Use the long ends to sew the sides closed with a whip stitch. Sew from the bottom to where the shaping for the armhole begins.
Weave in the ends, Turn right side out.
NECKLINE
Join yarn to top right corner of the neckline. Ch 1, sc evenly around the neckline, join to first sc with sl st
Fasten off.
SLEEVES
Join yarn to the bottom of an armhole.
Round 1: ch 1, sc evenly around the armhole, join to first sc with sl st
Round 2: ch 1, turn, sc in each stitch around, join to first sc with sl st
Round 3: ch 2, turn, dc in each stitch around, join to first dc with sl st
Round 4 – (56, 58, 60) (62, 64, 66): repeat rounds 2 & 3
Decreasing for the cuff begins in next round
Round (57, 59, 61) (63, 65, 67): ch 1, turn, sc2tog around, join to first sc with sl st
Round (58, 60, 62) (64, 66, 68): ch 1, turn sc in each stitch around
CUFFS – APPLIED RIBBING
HOW TO CROCHET APPLIED RIBBING VIDEO TUTORIAL
ch 13
Row 1: sc in 2nd ch from the hook and in each ch across, sl st to the last round of the sleeve (12 sc)
Row 2: sl st to the next stitch in the last round of the sleeve, turn, sc in first stitch, sc blo in next 10, sc in last stitch (12 sc)
Row 3: ch 1, turn, sc in first stitch, sc blo in next 10, sc in last, sl st to next stitch in the last round of the sleeve (12)
Repeat row 2 & 3 until you work all the way around the sleeve. Sew the cuff closed with a whip stitch
Fasten off, weave in the ends.
Repeat for other sleeve
Looking for more patterns? Follow me on Facebook, Instagram, and Pinterest! Please share a pic of your finished product with me. I’d love to see it!


This sweater is so pretty! I hope I get some time to try it!
Oh I love this pullover pattern! Thank you so much!!
PS. I love your hair!!!
Thank you so much!!
I’m making the large size, and I’m on the sleeves. You do this # of stitches around, and you only decrease one row at the end before the cuff, so I’m having a hard time seeing how the cuff will be small enough to actually be fitted. Can you give any more details on how the sleeves should be done for the bigger sizes?
Hi! You can add an additional decrease round if you’d like the cuff tighter 🙂