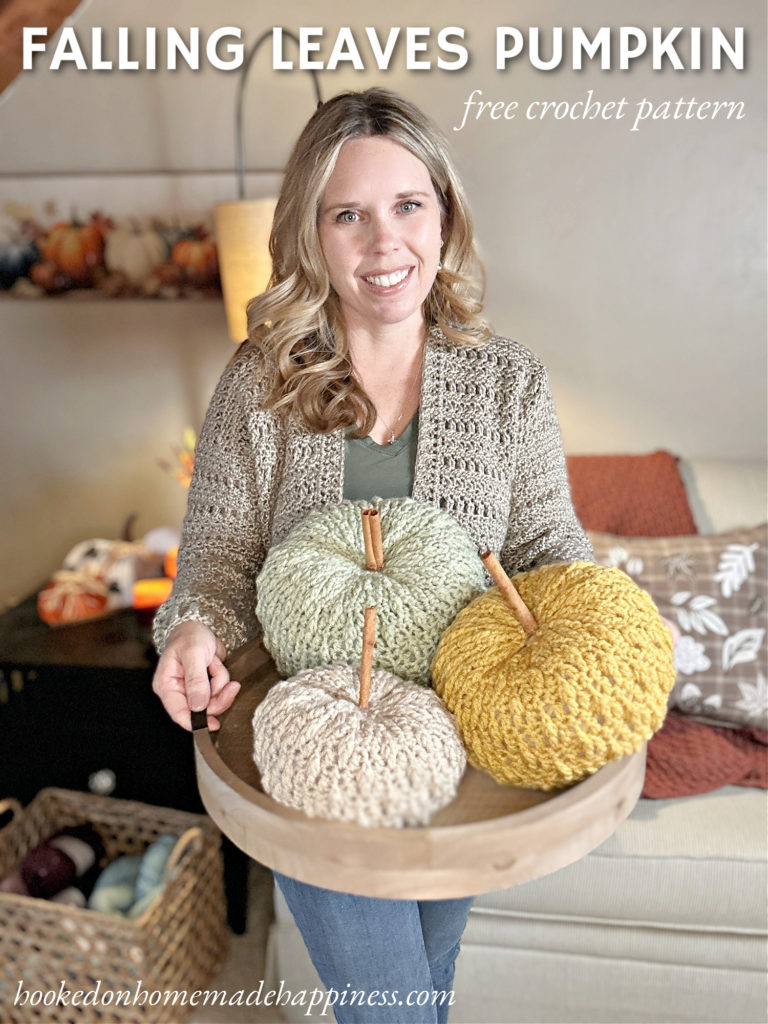
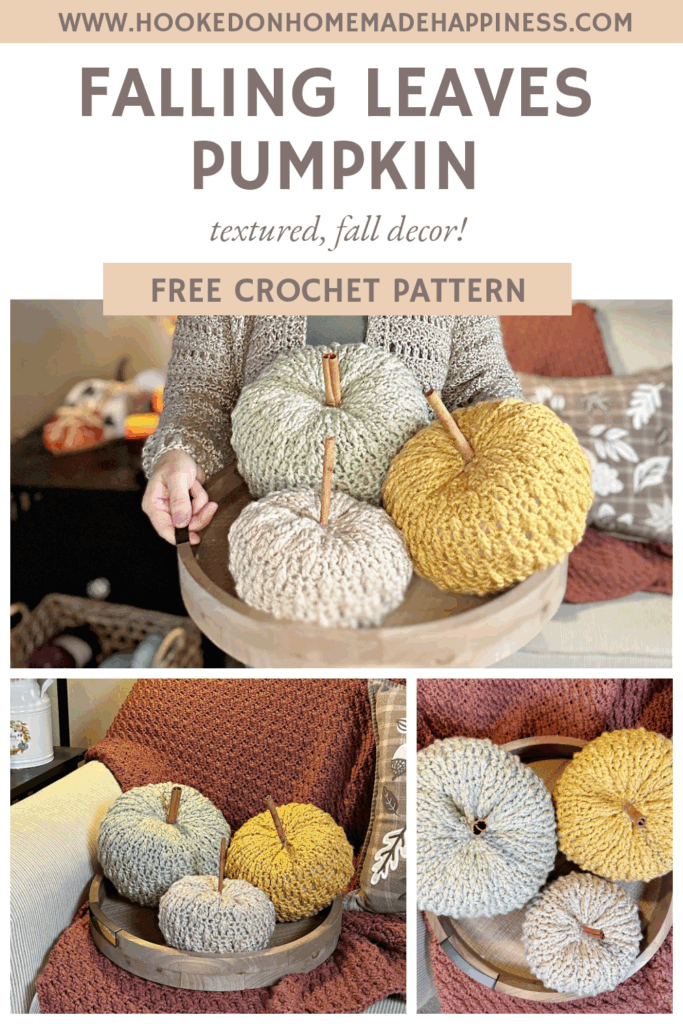
Falling Leaves Pumpkin Crochet Pattern – Free Crochet Pumpkin in 3 Sizes
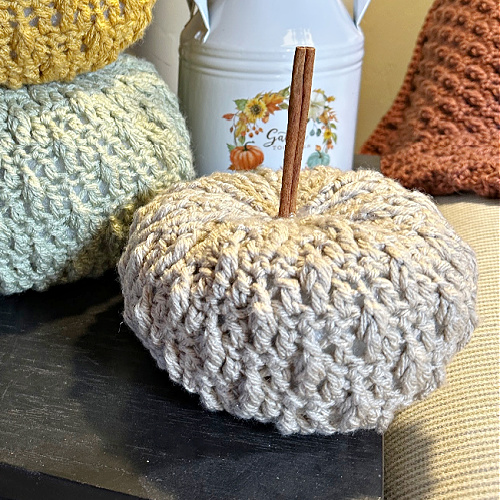
Bring the beauty of autumn indoors with this Falling Leaves Pumpkin Crochet Pattern! These cozy crochet pumpkins feature the textured falling leaves stitch and are worked up with bulky weight yarn for a quick and squishy project. Perfect for decorating your mantel, Thanksgiving table, or fall centerpiece, these handmade pumpkins add a touch of rustic charm to any space.
Purchase the ad-free, printable PDF for easy printing.
About the Pattern
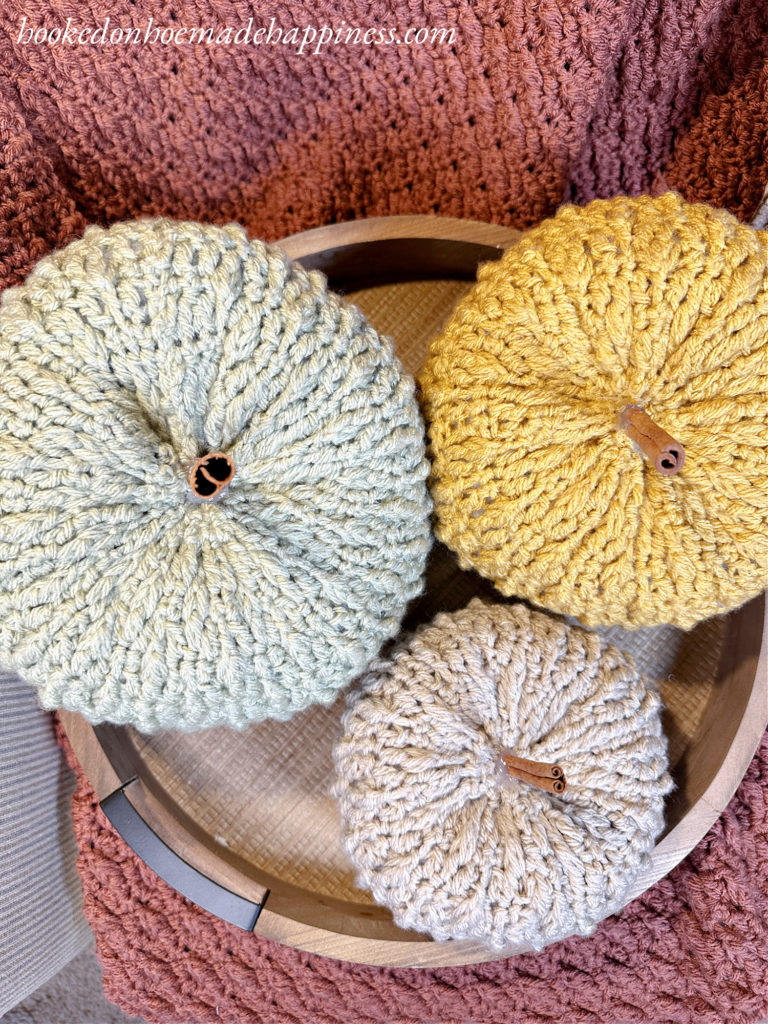
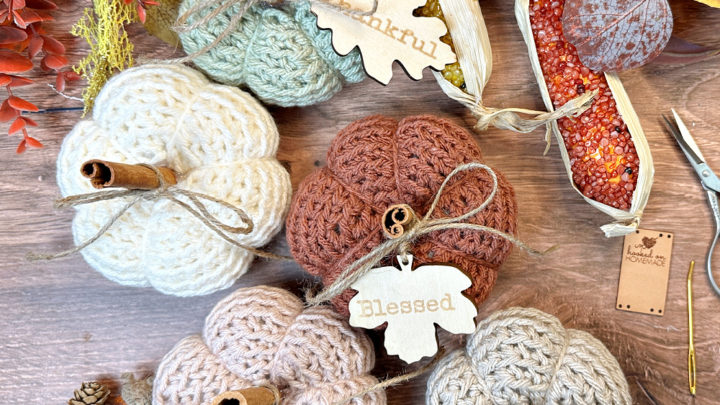
This crochet pumpkin pattern is written in three sizes (small, medium, and large), so you can make a whole pumpkin patch for your fall décor. The falling leaves stitch creates gorgeous texture and gives the pumpkins a unique, leaf-inspired design.
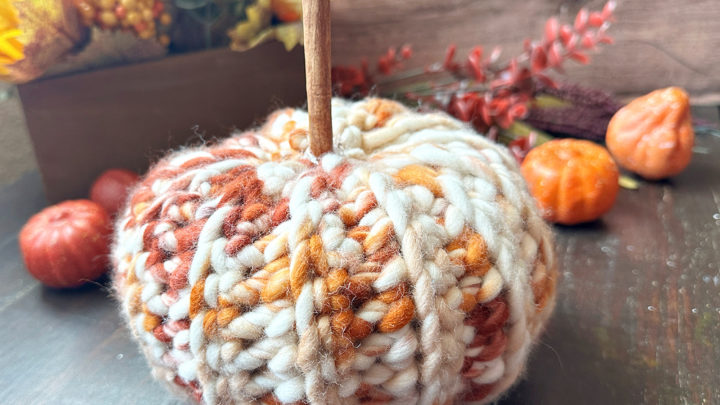
Because the pumpkins are made with bulky weight yarn, they work up quickly—making them a great weekend project or last-minute gift idea. You can mix and match yarn colors to create a collection of pumpkins that perfectly matches your autumn style.
What You’ll Need
- Bulky weight yarn in your favorite fall colors
- J/6.0mm crochet hook
- Fiberfill stuffing
- Darning needle
- Optional: cinnamon stick, twig, or faux stem for finishing
Why You’ll Love This Pumpkin Crochet Pattern
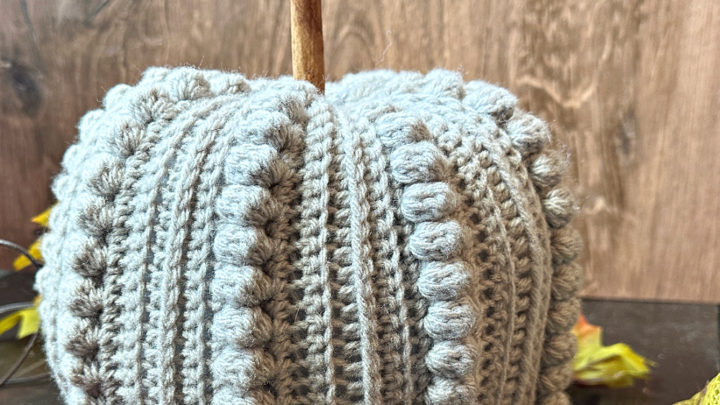
- Seasonal Texture – The falling leaves stitch adds depth and beauty.
- Quick & Easy – Bulky yarn means less time crocheting, more time decorating.
- Versatile Sizes – Instructions include 3 pumpkin sizes for variety.
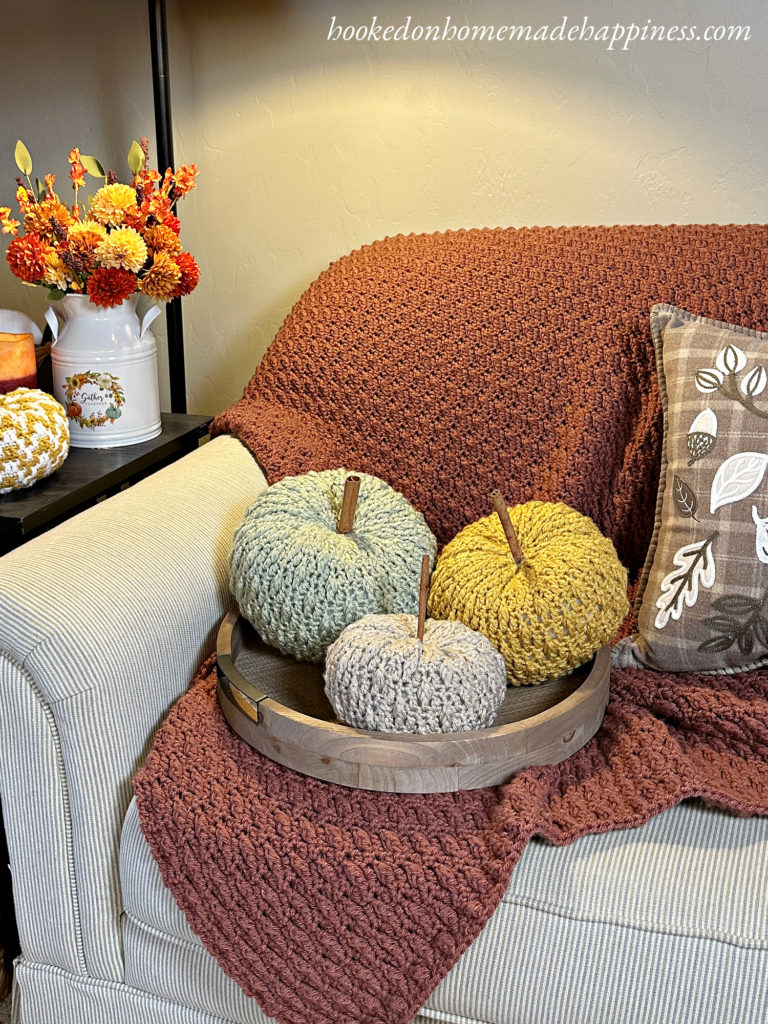
- Perfect for Fall Décor – Use them as table centerpieces, mantel decorations, or even handmade gifts.
Pumpkin Crochet Pattern for Fall Decorating
Crochet pumpkins are one of the most popular fall crochet projects because they’re simple, customizable, and bring instant autumn vibes. With the Falling Leaves Pumpkin Crochet Pattern, you’ll have a unique textured pumpkin that stands out from the classic ribbed styles.
Whether you’re a beginner looking for a new stitch to try, or an experienced crocheter wanting to add to your handmade pumpkin collection, this pattern is a must-make for fall.
Making the Falling Leaves Pumpkin Crochet Pattern
Get the full free pattern below or purchase the ad-free, printable PDF
Materials
Bulky weight (5) yarn (I used Yarn Bee Soft & Sleek – less than 1 skein each size)
J/6.0 mm hook
yarn needle
scissors
stitch markers
fiber fill
cinnamon stick
hot glue
Level
intermediate
Pattern notes & stitches to know
ch – chain
sl st – slip stitch
sc – single crochet
fsc – foundation single crochet
dc – double crochet
fp – front post
CL – *yarn over, insert hook in stitch, pull up a loop* x2, yarn over, pull through 4 loops, yarn over, pull through 2
lfpCL – long front post cluster (front post double crochet in the row below the previous row)
· written in US terms
· ch 1 does not count as sc
· ch 2 does not count as dc
· Pattern written in small, medium, and large, notated in that order in parenthesis (S, M, L)
Watch the Stitch Tutorial
See how it’s done! This easy-to-follow video tutorial will walk you through each step of the pattern.
Pattern Support
Looking for pattern support or want to share your progress? Join our Crochet Community Facebook Group! It’s the perfect place to ask questions, get help, and connect with fellow makers.
CROCHET PATTERN WRITTEN INSTRUCTIONS
Ch 2 (leave a long end for sewing)
Row 1: starting in 2nd ch from the hook, fsc (48, 56, 64), join to first sc with sl st ((48, 56, 64) sc) – row 1 can be any mult of 4
The remainder of the pumpkin is made in joined, turned rounds.
Round 2: ch 1, turn, sc in each stitch around, join to first sc with sl st ((48, 56, 64) sc)
Round 3: ch 2, turn, dc in 2 stitches, *lfpCL in next, dc in next 3* repeat from * to * around to last 2 stitches, lfpCL in next, dc in last, join to first dc with sl st ((48, 56, 64))
Round 4: ch 1, turn, sc in each stitch around, join to first sc with sl st ((48, 56, 64) sc)
Round 5: lfpCL in first stitch, *dc in 3 stitches, lfpCL* repeat from * to * around to last 3 stitches, dc in last 3, join to first dc with sl st ((48, 56, 64))
Round 6: ch 1, turn sc in each stitch around, join to first sc with sl st ((48, 56, 64) sc)
Round 7 – Round (18, 22, 26): repeat rounds 3 – 6
Or until desired height.
Fasten off. Leave a long end for sewing.
The pumpkin will be a tube at this point.
SHAPING THE PUMPKIN
Thread the starting end onto a yarn needle, weave it in and out around the bottom of the tube. Pull tight to cinch closed, sew bottom closed. Fasten off.
Thread the last end onto a yarn needle, weave it in and out around the top of the tube.
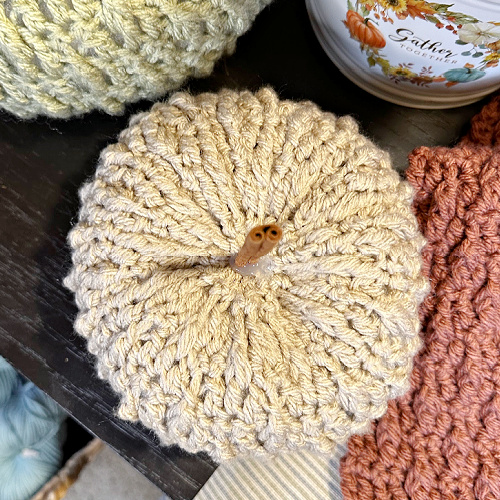
Fill with fiberfill. Pull the end closed about halfway. Finish filling with fiberfill. Pull tight to cinch closed. Sew closed. Insert it through the center top of the pumpkin, bringing it out through the center bottom. Pull the yarn snug to create a dip in the center, making a squatty shape.
Hot glue a cinnamon stick for a stem.
Fasten off.
Looking for more patterns? Follow me on Facebook, Instagram, and Pinterest! Please share a pic of your finished product with me. I’d love to see it!