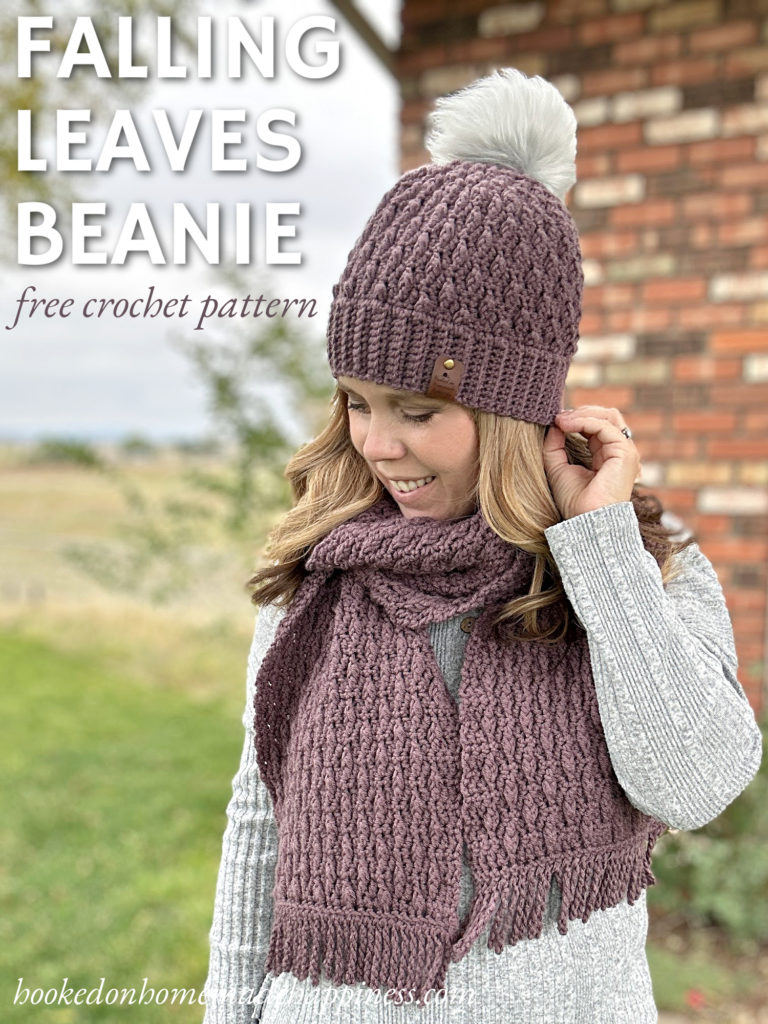
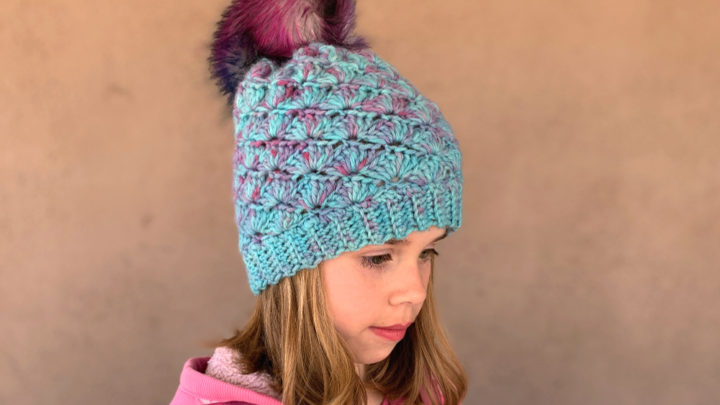
Falling Leaves Beanie Crochet Pattern
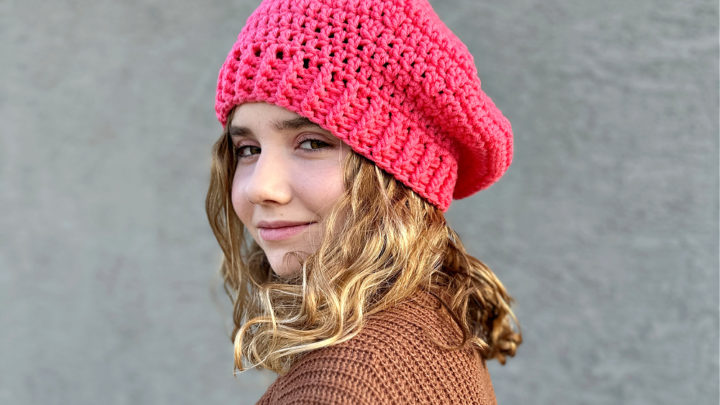
As the crisp autumn air settles in and the trees put on their colorful display, there’s nothing better than cozying up with a handmade beanie. The Falling Leaves Beanie Crochet Pattern is inspired by the beauty of autumn, featuring textured stitches that mimic falling leaves. Whether you’re heading out for a walk among the leaves or just need a stylish and warm accessory, this beanie is the perfect fall project.
Purchase the ad-free, printable PDF for easy printing.
About the Pattern
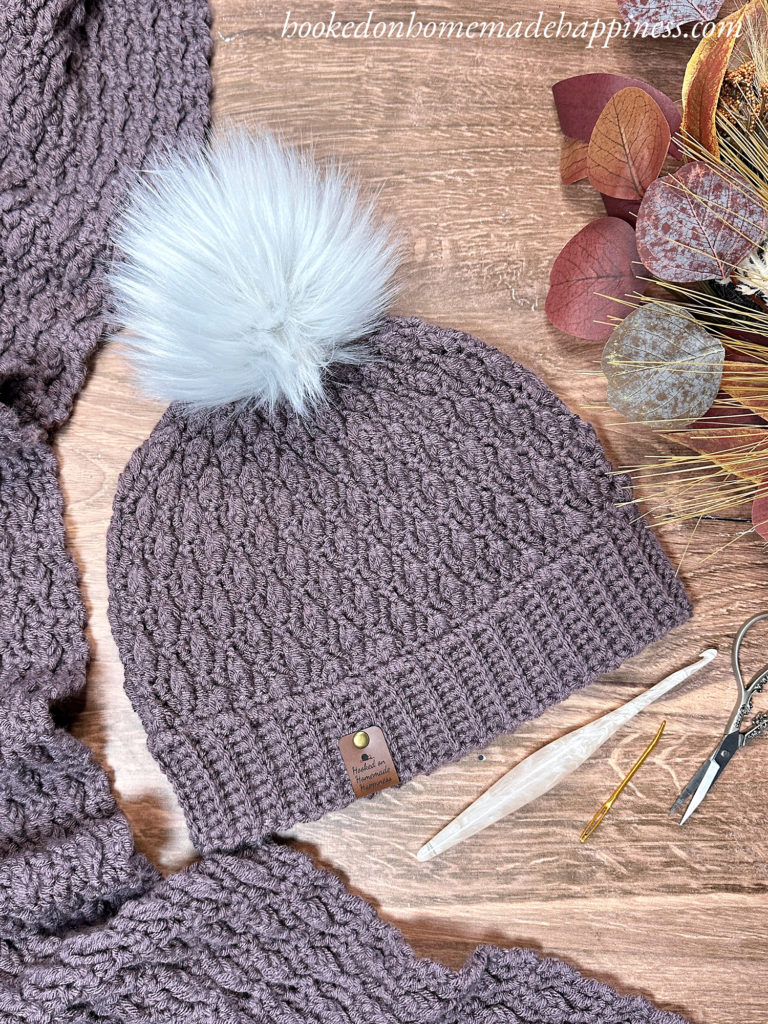
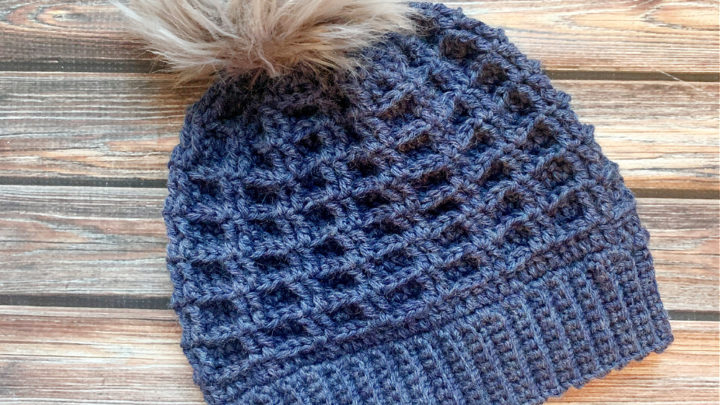
This beanie is worked from the bottom up, beginning with a stretchy single crochet ribbing that gives the brim a snug and comfortable fit. From there, the body of the hat transitions into the beautiful Falling Leaves Stitch, adding texture and design that looks stunning in solid or tonal yarns.
The beanie is made with worsted weight yarn, making it a great stash-busting project and giving you lots of flexibility with colors. Try it in rich fall shades like rust, mustard, or forest green, or go for a classic neutral that works all season long.
Skill Level
This pattern is great for adventurous beginners and intermediate crocheters. If you’ve worked basic stitches and are ready to learn a fun new texture, this project is for you.
What You’ll Need
- Worsted weight yarn
- Crochet hook (size recommended in the pattern)
- Scissors and yarn needle
- Stitch markers (optional but helpful)
Why You’ll Love It
- Stretchy fit: The single crochet ribbing hugs your head comfortably.
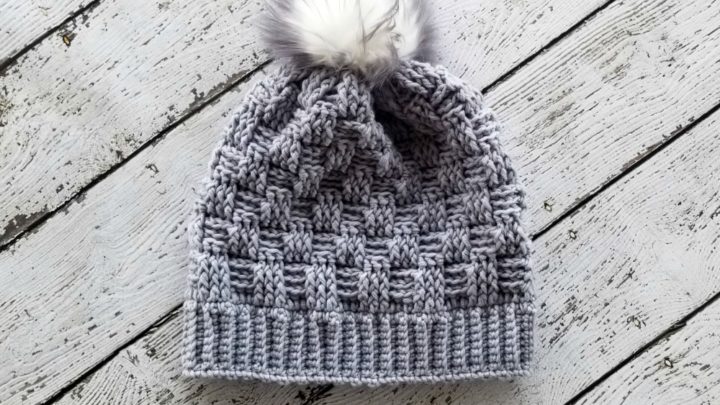
- Beautiful texture: The Falling Leaves stitch adds detail and depth.
- Quick project: Perfect for gifting or making a set in different colors.
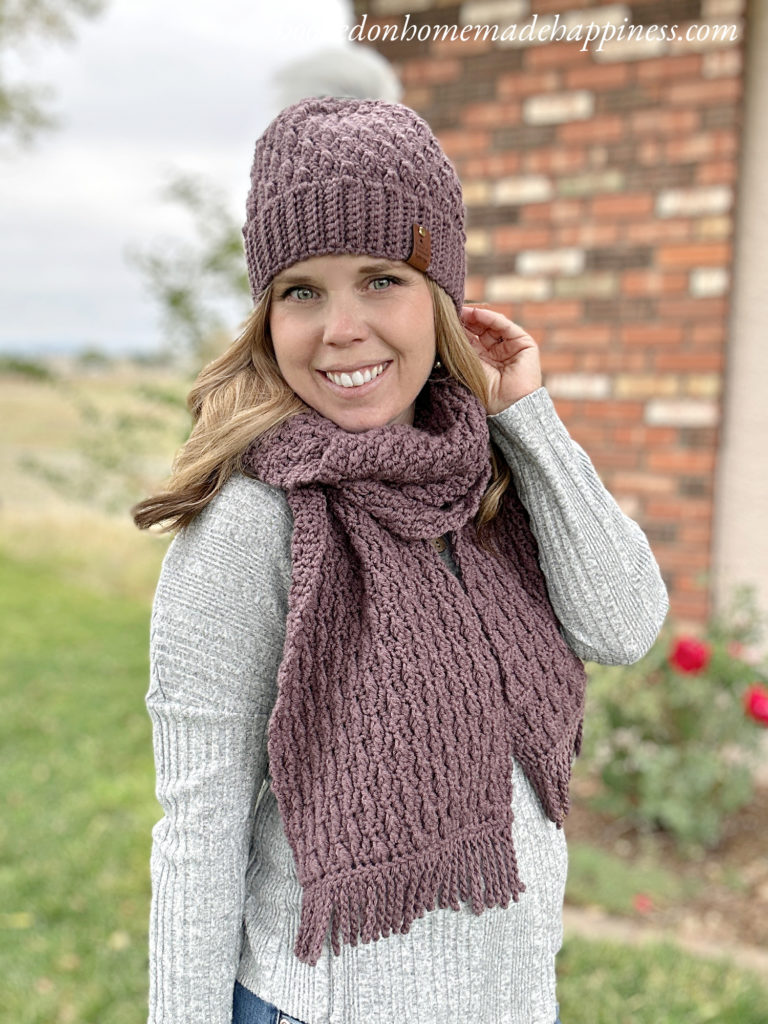
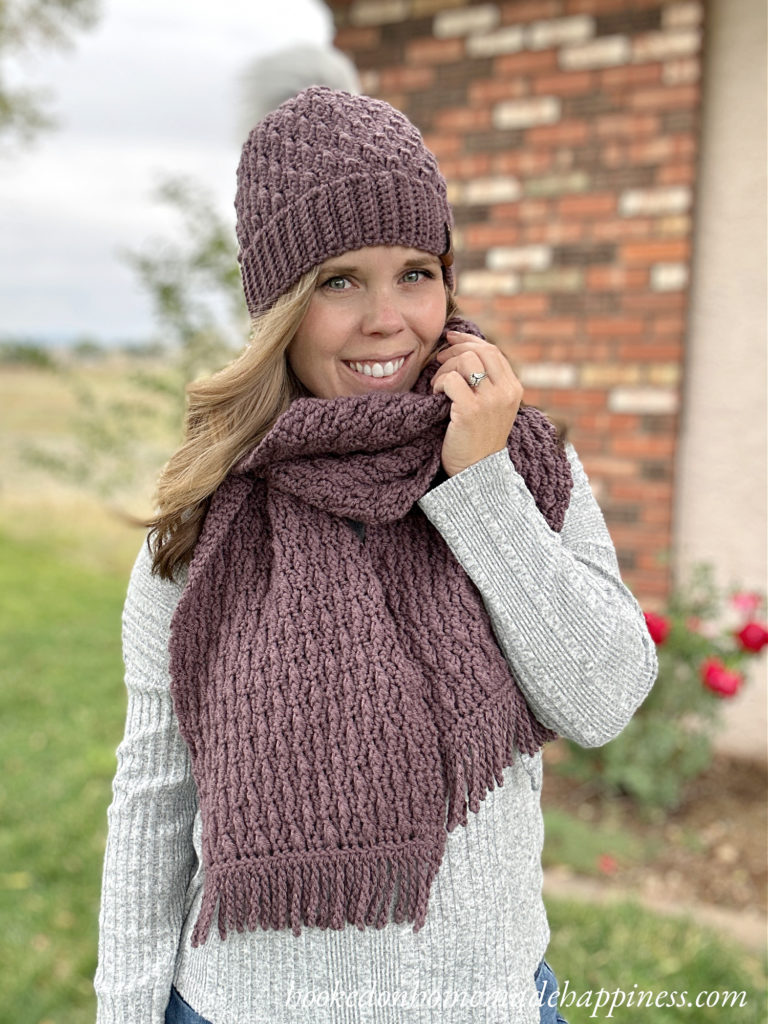
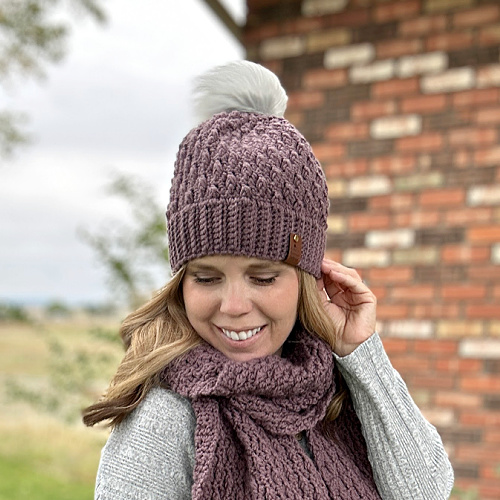
Matching Falling Leaves Scarf
To complete the look, don’t miss the Falling Leaves Scarf Crochet Pattern! Using the same gorgeous stitch design, this scarf pairs perfectly with the beanie for a cozy fall set. Together, the beanie and scarf make a wonderful handmade gift or the ultimate autumn accessory combo for yourself.
Making the Falling Leaves Beanie Crochet Pattern
Get the full free pattern below or purchase the ad-free, printable PDF
Materials
Worsted weight (4) yarn (I used Yarn Bee Soft & Sleek)
H/5.0 mm hook
yarn needle
scissors
Level
intermediate – advanced
Pattern notes & stitches to know
ch – chain
sl st – slip stitch
sc – single crochet
blo – back loop only
dc – double crochet
fp – front post
CL – *yarn over, insert hook in stitch, pull up a loop* x2, yarn over, pull through 4 loops, yarn over, pull through 2
lfpCL – long front post cluster (front post double crochet in the row below the previous row)
dc2tog – double crochet 2 together
· written in US terms
· ch 1 does not count as sc
· ch 2 does not count as dc
· Beanie is made from the bottom up, starting with single crochet ribbing (tutorial included), then the main portion is made with the falling leaves stitch (tutorial included), last decreases are made around the crown.
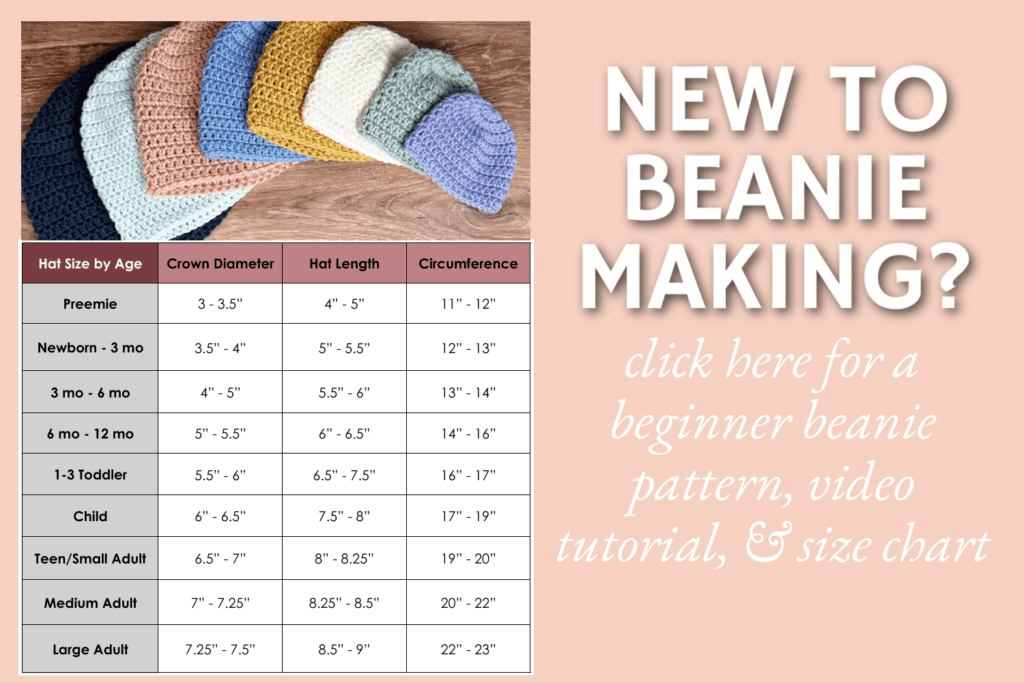
· Sizes: Pattern is written in 3 sizes, Child, Small Adult and Large Adult consecutively. Example, when the pattern gives the end of the row count as (68, 76, 84) , the 68 is the child the 76 is the small and the 84 is the large.
Approx finished size:
Circumference: Child (17”) Small (20”) Large (22”)
Length: Child (8”) Small (9”) Large (10’)
Pattern Support
Looking for pattern support or want to share your progress? Join our Crochet Community Facebook Group! It’s the perfect place to ask questions, get help, and connect with fellow makers.
CROCHET PATTERN WRITTEN INSTRUCTIONS
HOW TO CROCHET SINGLE CROCHET RIBBING
Ch 11
Row 1: sc in 2nd ch from the hook and across (10 sc)
Row 2: ch 2, turn, sc in first stitch, sc blo in 8 stitches, sc in last (10 sc)
Row 3 – Row (68, 76, 84): repeat row 2
Bring both short ends of the ribbing together, slip stitch the ends together. Now you will work around the top of the ribbing in joined rounds.
HOW TO CROCHET THE FALLING LEAVES STITCH VIDEO TUTORIAL
Round 1: ch 1, sc evenly around, working 1 sc in the end of each row of ribbing, join to the first sc with sl st ((68, 76, 84) sc)
Round 2: ch 1, turn, sc in each stitch around, join to first sc with sl st ((68, 76, 84) sc)
Round 3: ch 2, turn, dc in 2 stitches, *lfpCL in next, dc in next 3,* repeat from * to * around to last 2 stitches, lfpCL in next, dc in last, join to first dc with sl st ((68, 76, 84))
Round 4: ch 1, turn, sc in each stitch around, join to first sc with sl st ((68, 76, 84) sc)
Round 5: lfpCL in first stitch, *dc in 3 stitches, lfpCL* repeat from * to * around to last 3 stitches, dc in last 3, join to first dc with sl st ((68, 76, 84))
Round 6: ch 1, turn sc in each stitch around, join to first sc with sl st ((68, 76, 84) sc)
Round 7 – Row (10, 14, 18): repeat rounds 3 – 6
Decreasing for the crown begins in the next rounds
Round (11, 15, 19): ch 2, turn, dc2tog, *lfpCL, dc in next, dc2tog* repeat from * to * around to last 2, lfpCL in next, dc in last ((51, 57, 63))
Round (12, 16, 20): ch 1, turn, sc in each stitch around, join to first sc with sl st ((51, 57, 63) sc)
Round (13, 17, 21): ch 2, turn, lfpCL (around dc2tog), *dc2tog, lfpCL* repeat from * to * around to last 2 stitches, dc2tog, join to first dc with sl st ((34, 38, 42))
Round (14, 18, 22): ch 1, turn, sc in each stitch around, join to first sc with sl st ((34, 38, 42) sc)
Round (15, 19, 23): ch 2, turn, *dc, lfpCL* repeat from * to * around, join to first dc with sl st ((34, 38, 42))
Round (16, 20, 24): ch 1, turn, sc in each stitch around, join to first sc with sl st ((34, 38, 42) sc)
Round (17, 21, 25): ch 2, turn, lfpCLdc2tog (one side of the 2tog is lfpCL and the other is dc) around, join to first dc with sl st ((17, 19, 21))
Round (18, 22, 26): ch 1, turn, sc in each stitch around, join to first sc with sl st ((17, 19, 21) sc)
Round (19, 23, 27): ch 2, turn, fpdc2tog around to last, fpdc in last, join to first dc with sl st ((9, 10, 11))
Round (20, 24, 28): ch 1, turn, sc in each stitch around, join to first sc with sl st ((9, 10, 11) sc)
Fasten off. Leave a long end for sewing.
Weave the long end in and out around the top of the beanie. Pull to cinch it closed. Sew the top closed.
Weave in the ends.
Add a pom pom.

Looking for more patterns? Follow me on Facebook, Instagram, and Pinterest! Please share a pic of your finished product with me. I’d love to see it!


Hi Breann,
What is the approximate yardages for the Falling Leaves Beanie?
Thanks, Sheri