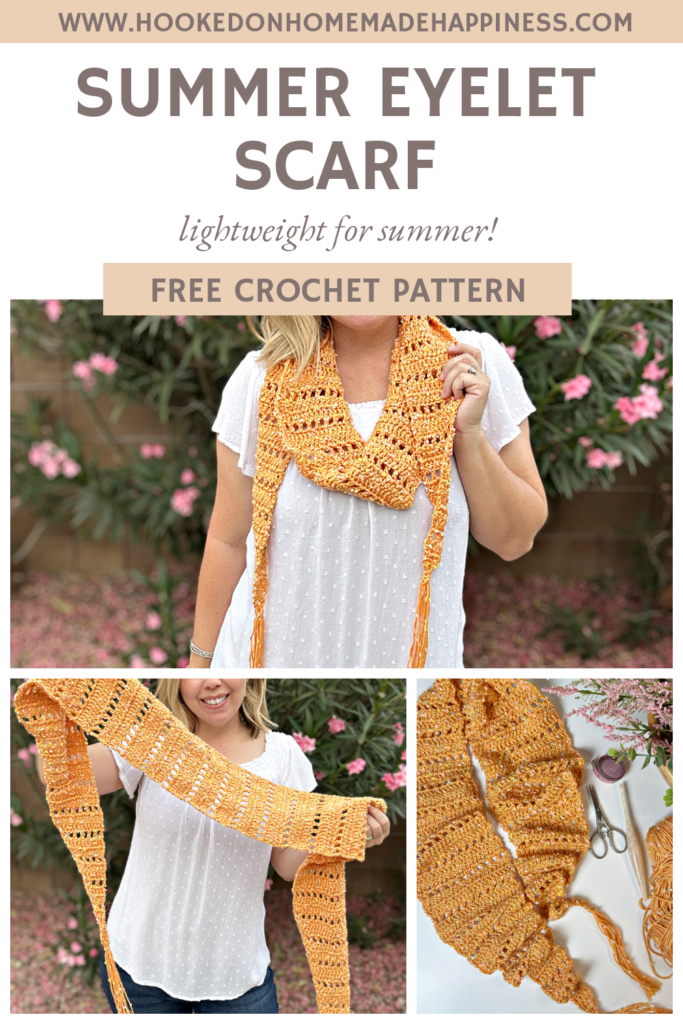
Summer Eyelet Scarf Crochet Pattern
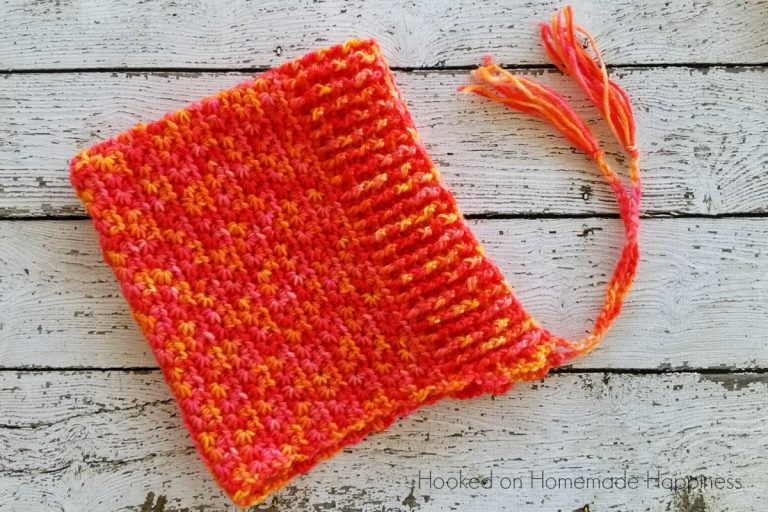
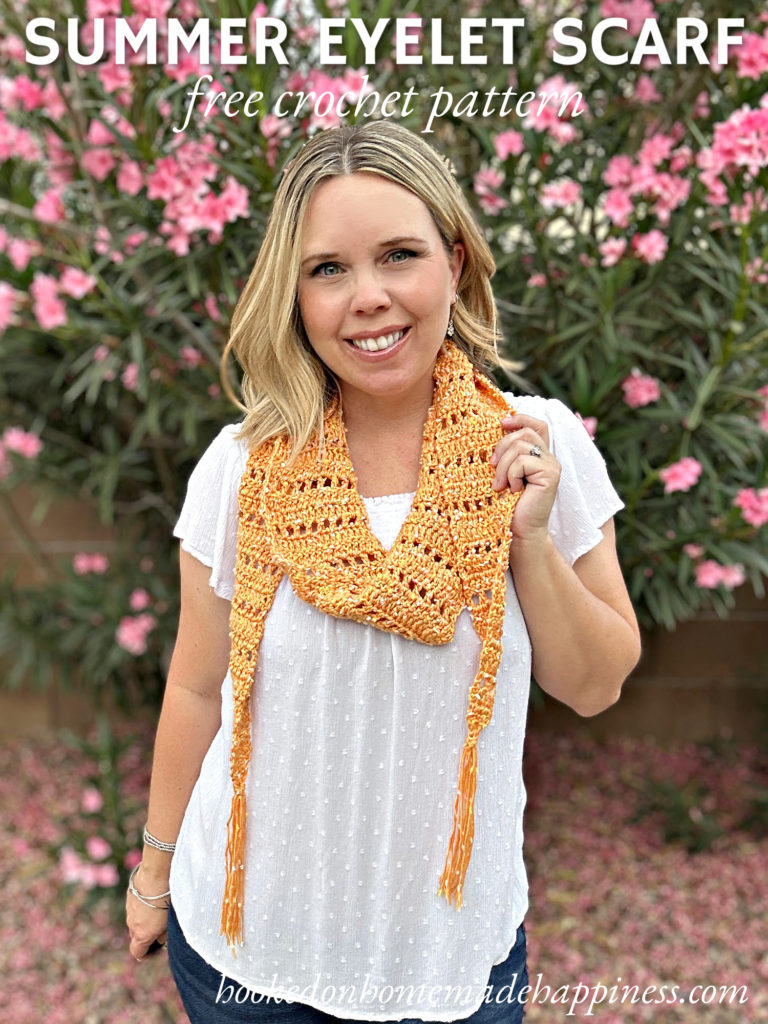
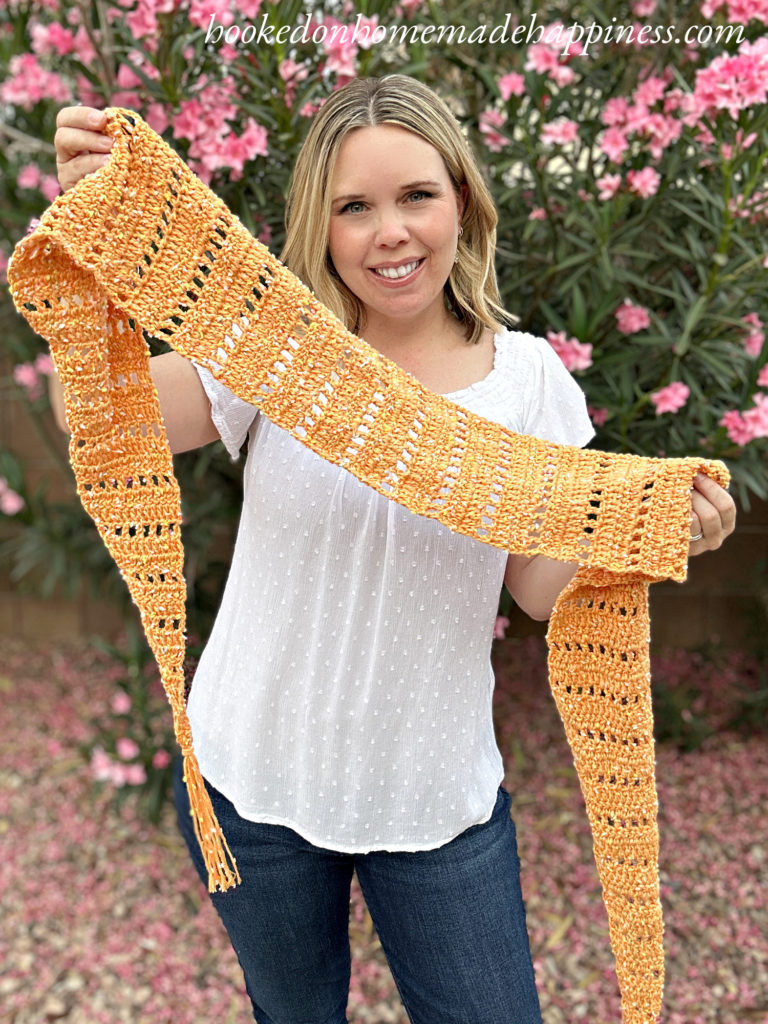
Light, airy, and effortlessly stylish — the Summer Eyelet Scarf Crochet Pattern is the perfect finishing touch for warm-weather outfits. Whether you’re heading out for a breezy evening walk or just want a little extra flair, this scarf adds texture without the bulk. Made with a surprisingly lightweight worsted weight yarn, it drapes beautifully and feels soft against the skin.
This pattern is beginner-friendly and uses only basic stitches, making it a relaxing project you can easily take on the go.
Purchase the ad-free, printable PDF for easy printing.
Why You’ll Love This Pattern
- ✨ Lightweight and breathable for spring and summer
- 🧶 Uses simple stitches (double crochet + chains)
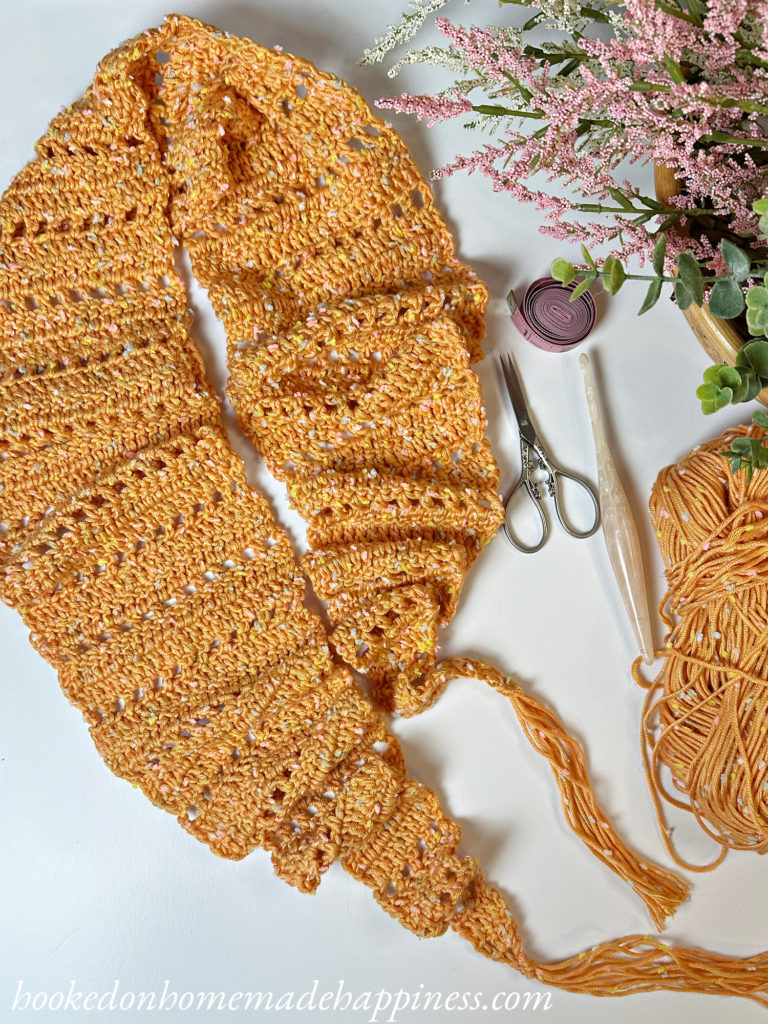
- 🔺 Unique shape: worked from point to point
- 🎉 Customizable length and fringe
- 🧵 Great for showcasing textured or flecked yarns
Pattern Details
- Skill Level: Beginner
- Yarn: Loops & Threads Flecks (Worsted Weight, acrylic/polyester blend)
- Hook: H/5.0 mm
- Construction: Worked flat in turned rows from one point, increasing to the center, then decreasing to the opposite point
- Stitches Used: Double crochet, chains
- Finished Size: Adjustable
Materials
- 1 skein Loops & Threads Flecks (or similar lightweight worsted yarn)
- H/5.0 mm crochet hook
- Scissors
- Tapestry needle
- Stitch marker
Yarn Substitutions (Lightweight Worsted Options)
- Premier Cotton Fair Worsted Yarn – soft cotton/acrylic blend with great drape
- Caron All Day Cotton Yarn – smooth, breathable cotton blend
- Lion Brand Cotton Hemp Yarn – lightweight with a slightly rustic texture
- Loops & Threads Silky Soft Yarn – soft and drapey acrylic option
- Caron Simply Soft Yarn – silky feel with nice movement for scarves
FAQ
Ready to Crochet?
This is the kind of project you can finish in just a few sittings — perfect for relaxing afternoons or catching up on your favorite shows. With its simple construction and beautiful texture, the Summer Eyelet Scarf is sure to become a go-to accessory in your handmade wardrobe.
Grab your hook and yarn, and let’s make something light and lovely! 🧶✨
Making the Summer Eyelet Scarf Crochet Pattern
Get the full free pattern below or purchase the ad-free, printable PDF
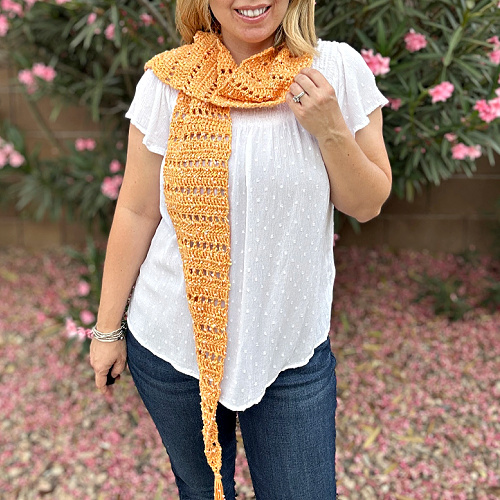
Materials
1 skein Loops & Threads Flecks in Sweet Orange (130g worsted weight)
H/5.0 mm hook
yarn needle
scissors
stitch marker
Level
easy+
Pattern notes & stitches to know
ch – chain
sl st – slip stitch
dc – double crochet
dc2tog – double crochet 2 together
· written in US terms
· ch 3 counts as dc
· ch 4 counts as dc + ch 1
· ch 2 + dc counts as dc2tog
· This scarf is made from one end to the next. Starting small and increasing towards the center, then decreasing to the other end.
· As you work the scarf, one side will increase while the other stays straight. Use a stitch marker to keep track of which side has the increase
Approx Finished Size (w/out fringe)
72” x 5.5”
Pattern Support
Looking for pattern support or want to share your progress? Join our Crochet Community Facebook Group! It’s the perfect place to ask questions, get help, and connect with fellow makers.
CROCHET PATTERN WRITTEN INSTRUCTIONS
ch 5
Row 1: dc in 5th ch from the hook (2 dc)
Row 2: ch 3, turn, dc in ch-1 space, 2 dc in last stitch (4 dc)
Row 3: ch 3, turn, dc in same stitch, dc in remaining stitches (5 dc)
Row 4: ch 4, turn, skip1 stitch, dc in next, ch 1, skip 1 stitch, dc in last stitch (3 dc)
Row 5: ch 3, turn, dc in same stitch, dc in each ch-1 space and stitch across (6 dc)
Row 6: ch 3, turn, dc in each stitch across to last, 2 dc in last (7 dc)
Row 7: ch 4, turn, skip 1 stitch, dc in next, *ch 1, skip 1 stitch, dc in next* repeat from * to * across (4 dc)
Row 8: ch 3, turn, dc in each ch-1 space and stitch across to last, 2 dc in last (8 dc)
Row 9: ch 3, turn, dc in same stitch, dc in each stitch across (9 dc)
Row 10: ch 4, turn, skip 1 stitch, dc in next, *ch 1, skip 1 stitch, dc in next* repeat from * to * across (5 dc)
Row 11 – 30: repeat rows 5 – 10 (one side will continue to increase)
Increasing stops in the next rows
To make the scarf wider, continue repeating increase rows
Row 31: ch 3, turn, dc in each ch-1 space and stitch across (23 dc)
Row 32: ch 3, turn, dc in each stitch across (23 dc)
Row 33: ch 4, turn, skip 1 stitch, dc in next, *ch 1, skip 1 stitch, dc in next* repeat from * to * across (12 dc)
Row 34 – 97: repeat rows 31 – 33
One side will begin to decrease in the remaining rows
Ch 2 counts as part of the dc2tog.
Row 98: ch 3, turn, dc in each ch-1 space and stitch across to the last 2, dc2tog (22 dc)
Row 99: ch 2, turn, dc in next stitch and each stitch across (21 dc)
Row 100: ch 4, turn, skip 1 stitch, dc in next, *ch 1, skip 1 stitch, dc in next* repeat from * to * across (do not work into the ch 2, the dc in the last stitch) (11 dc)
Row 101: ch 2, turn, dc in next ch-1 and in each stitch and ch-1 across (20 dc)
Row 102: ch 3, turn, dc in each stitch across to last 2 stitches, dc2tog (19 dc)
Row 103: ch 4, turn, skip 1 stitch, dc in next, *ch 1, skip 1 stitch, dc in next* repeat from * to * across (10 dc)
Row 104 – 126: repeat rows 98 – 103
Row 125: ch 4, turn, dc in last stitch (2 dc)
Fasten off. Weave in the ends.
Add fringe to each end.
Looking for more patterns? Follow me on Facebook, Instagram, and Pinterest! Please share a pic of your finished product with me. I’d love to see it!