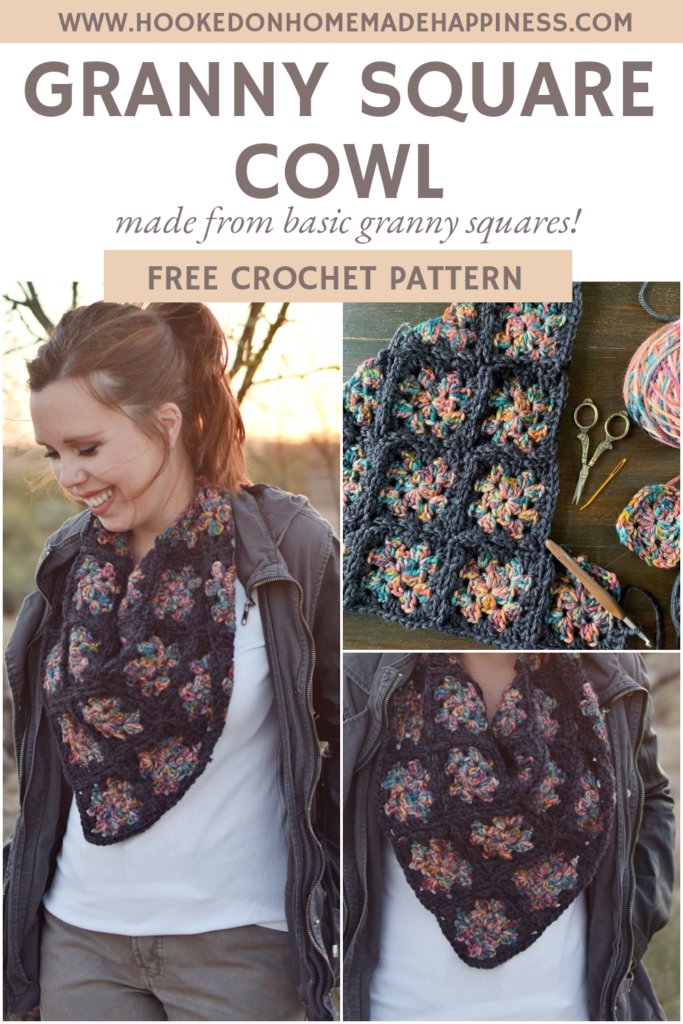
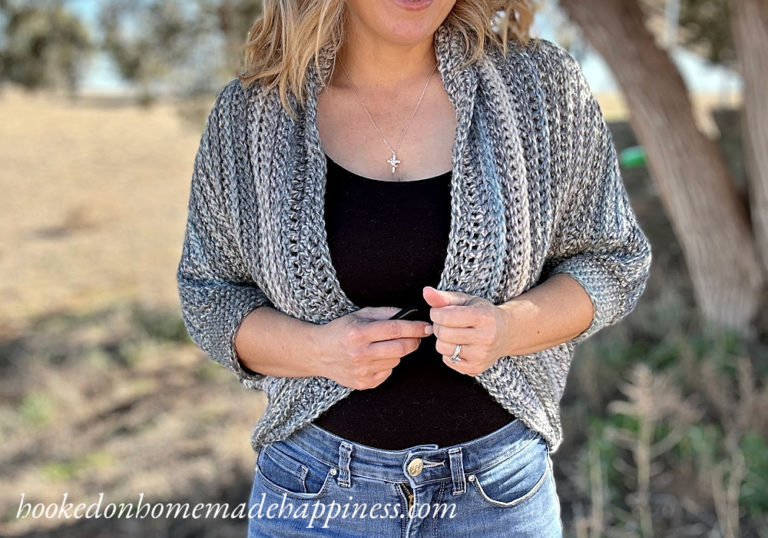
Granny Square Cowl Crochet Pattern
This Granny Square Cowl Crochet Pattern is made up of a few granny squares (and a couple triangles) sewn together into a cowl shape. All you need to know is how to make a basic granny square for this simple cowl.
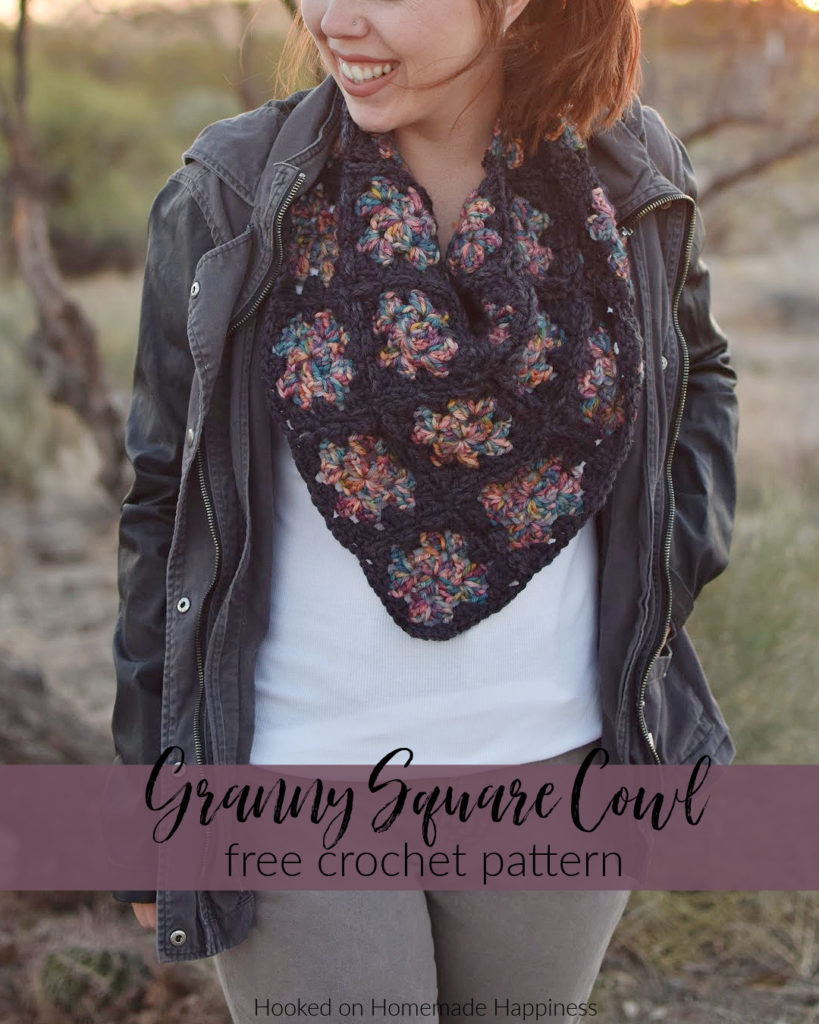

For this cowl I used a bulky (category 5) weight yarn that I dyed myself. Any bulky weight yarn (acrylic, wool, blend) would work perfectly. Some of my favorite bulky yarn choices are Brava Bulky (an affordable acrylic), Wool of the Andes Superwash (superwash Andean wool), or Swish Bulky (very soft superwash merino). You can even use a different weight yarn, like super bulky or worsted weight. Just adjust the hook size accordingly. The cowl may come out a little larger or smaller (depending on the size of yarn) but this is a loose cowl and it will still come out great.
More Homemade Happiness:


Moss Boss Cowl // Tea Cake Cowl // Buffalo Paid Cowl
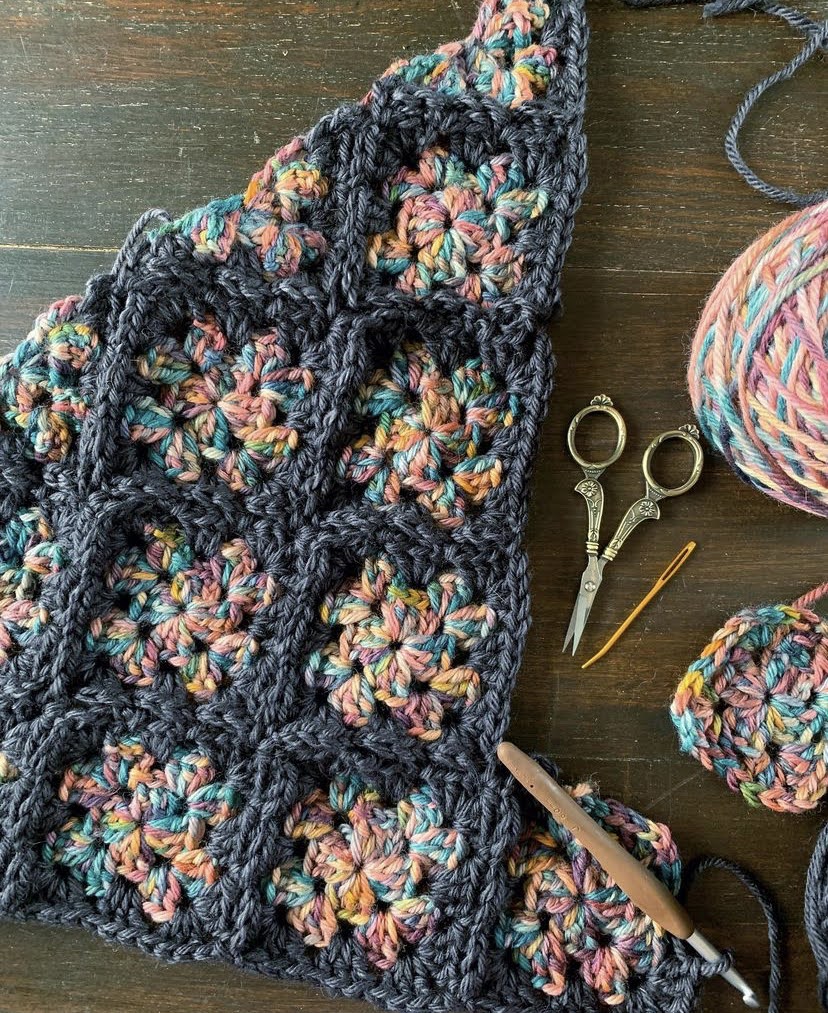
To sew the squares together, I used a join-as-you-go method. This was my first time using this method and honestly… I prefer sewing my squares together with a whip stitch. You can use any joining method you like using.
click here to pin for later >>>
Granny Square Cowl Crochet Pattern
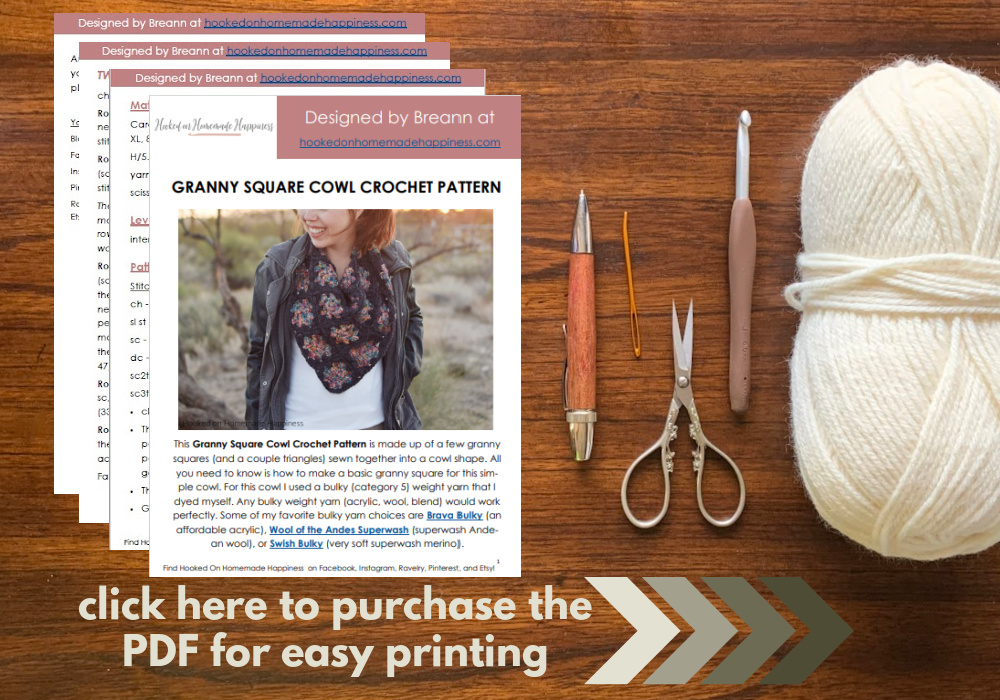
Get the full pattern below or purchase the ad-free, printable PDF in my Ravelry Shop
PIN for later HERE
Add to your Ravelry Queue HERE
Materials
200g bulky weight yarn (100g each color)
J/6.0 mm hook
Yarn needle
Scissors
Level
easy+
Pattern notes & stitches to know
ch – chain
sl st – slip stitch
dc – double crochet
· written in US terms
· ch 3 counts as dc
· Changing colors is optional. I changed color for the last round of each granny square.
· The variegated yarn is referred to as color A and the dark gray is color B
· Use your preferred joining method for sewing the squares.
· Approx Finished size (before sewing): 28” across the top, 14” down the center
GRANNY SQUARE COWL CROCHET PATTERN
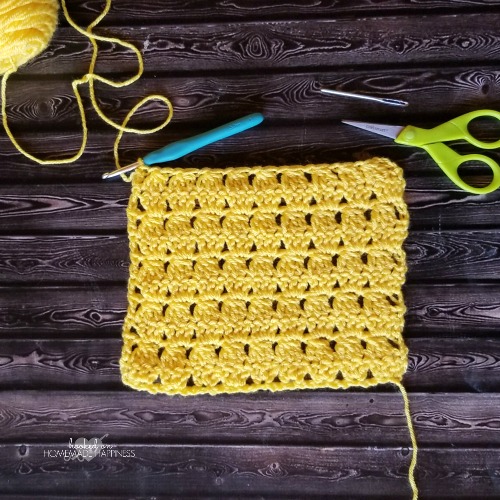
GRANNY SQUARE – make 15 (click here for photo tutorial)
starting with color A, ch 4, join to first ch with sl st to make a loop
Round 1: ch 3, working in the ring, 2 dc, ch 3, 3 dc, ch 3, 3 dc, ch 3, 3 dc, ch 3, join to first ch 3 with sl st (12 dc)
Round 2: sl st in next 2 stitches so you’re working in the first ch-3 space, (ch 3, 2 dc, ch 3, 3 dc) all in ch-3 space, *(3 dc, ch 3, 3 dc) all in next ch-3 space* repeat from * to * around, join to first ch 3 with sl st (24 dc)
If changing colors, change to color B
If using the join-as-you-go method, remember to join in round 3
Round 3: sl st in next 2 stitches so you’re working in the first ch 3 space, (ch 3, 2 dc, ch 3, 3 dc) all in ch-3 pace), 3 dc in between the 3 dc groups from previous row, *(3 dc, ch 3, 3 dc) all in ch-3 space, dc in between the 3 dc groups from previous row* repeat from * to * around, join to first ch 3 with sl st (36 dc)
Fasten off. Weave in the ends.
GRANNY TRIANGLE – make 6 (click here to photo tutorial)
starting with color A, ch 4, join to first ch with sl st to make a loop
Row 1: ch 4 (counts as dc + ch 1), working in the ring, 3 dc, ch 3, 3 dc, ch 1, dc (8 dc)
Row 2: ch 4, turn, 3 dc in first ch-1 space, (3 dc, ch 3, 3 dc) in ch-3 space, 3 dc in ch-1 space, dc in turning ch (14 dc)
If changing colors, change to color B
Row 3: ch 4, turn, 3 dc in ch-1 space, 3 dc in between the 3 dc groups from previous row, (3 dc, ch 3, 3 dc) all in ch-3 space, 3 dc in between the 3 dc groups from previous row, 3 dc in ch-1 space, dc in turning ch (20 dc)
Fasten off. Weave in the ends.
To join, I used the join-as-you-go, but any joining method can be used.
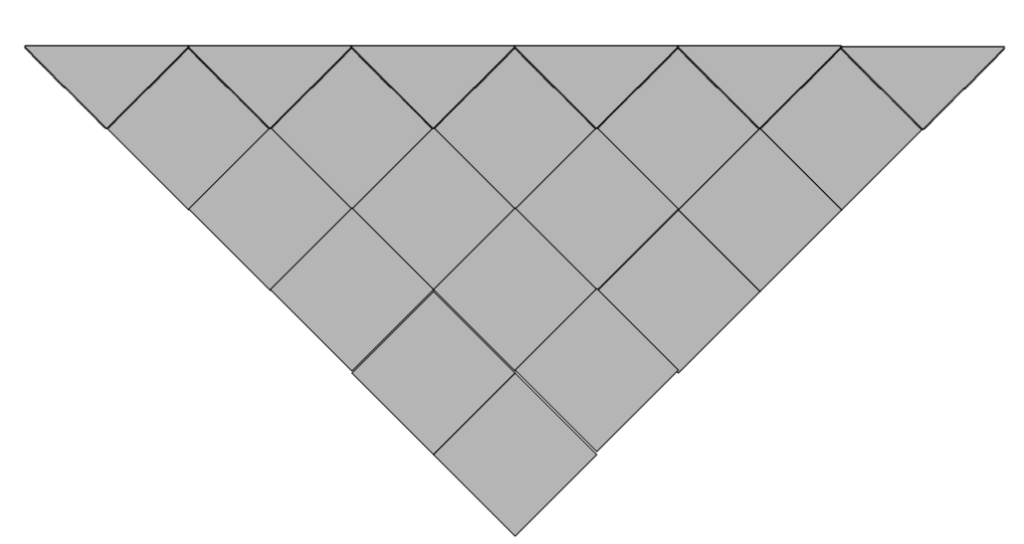
Join the squares like the diagram.
Fasten off. Weave in the ends.
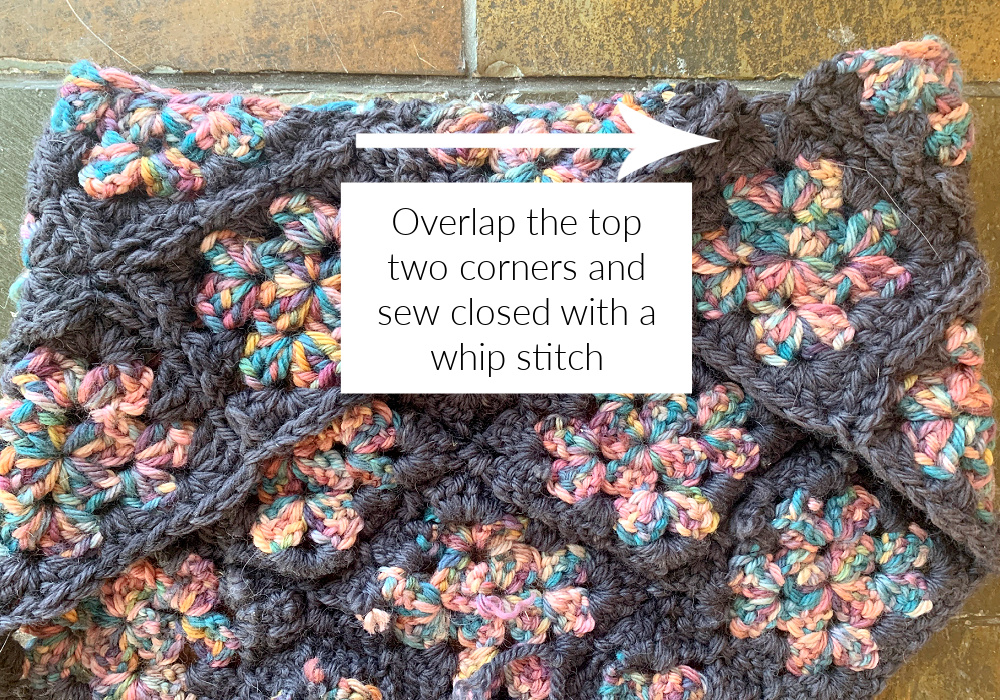
Bring the first and last triangles across the top together and overlap them. Sew closed with a whip stitch. Weave in the ends.
Looking for more patterns? Follow me on Facebook, Instagram, and Pinterest! Please share a pic of your finished product with me. I’d love to see it!


The granny squares make this cowl unique and so stylish! Thank you for sharing your design on your blog today.
Thank you so much 🙂