Ember V Neck Crochet Pattern (Guest Designer)
Hi, I’m Michelle and I run all the stitching behind YarnThrift.com! You can usually find me in a
cozy corner working on my latest project or daydreaming of starting new ones. Most of my
patterns are focused on garments but I also love some home decor patterns. My latest work, the
Ember V Neck, has been one of my absolute favorites to work on and one that’s so simple and
modern. To me, the best patterns are the ones you can wear every day and that’s what I strive
to design.

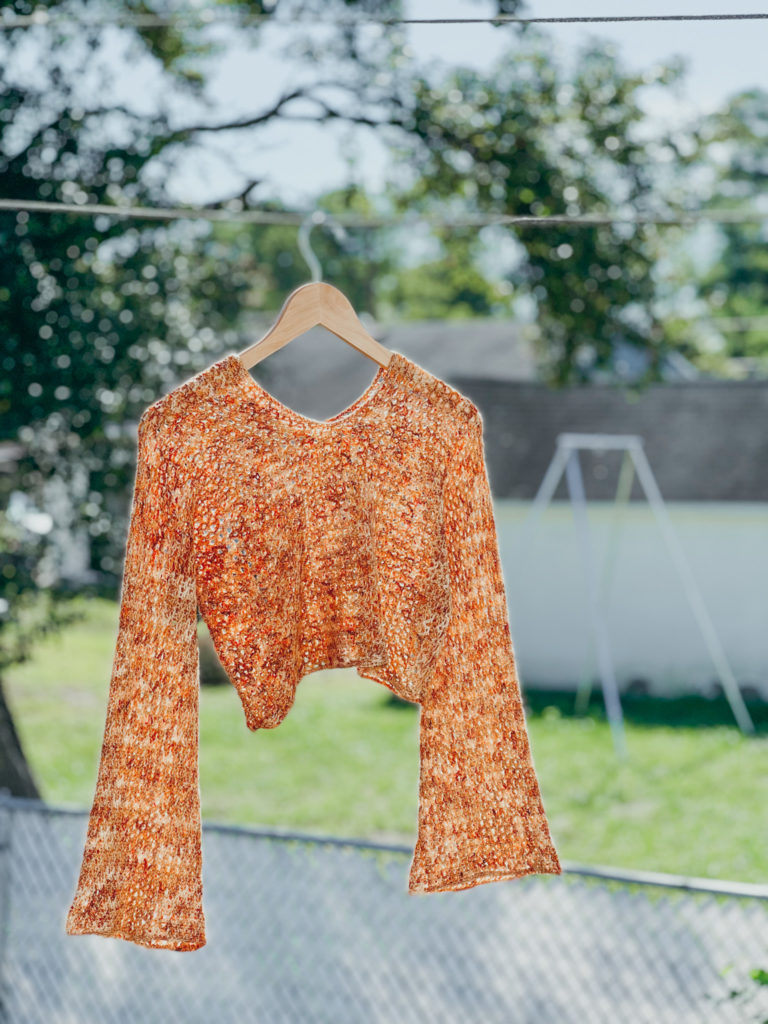
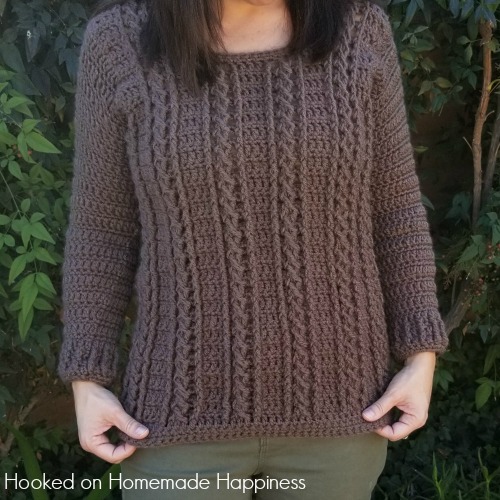
The Ember V Neck is an eclectic, cropped sweater made for every size. It features a bell sleeve
detail and uses v-stitches to create an open, breezy fabric. The shape of the piece is unique but
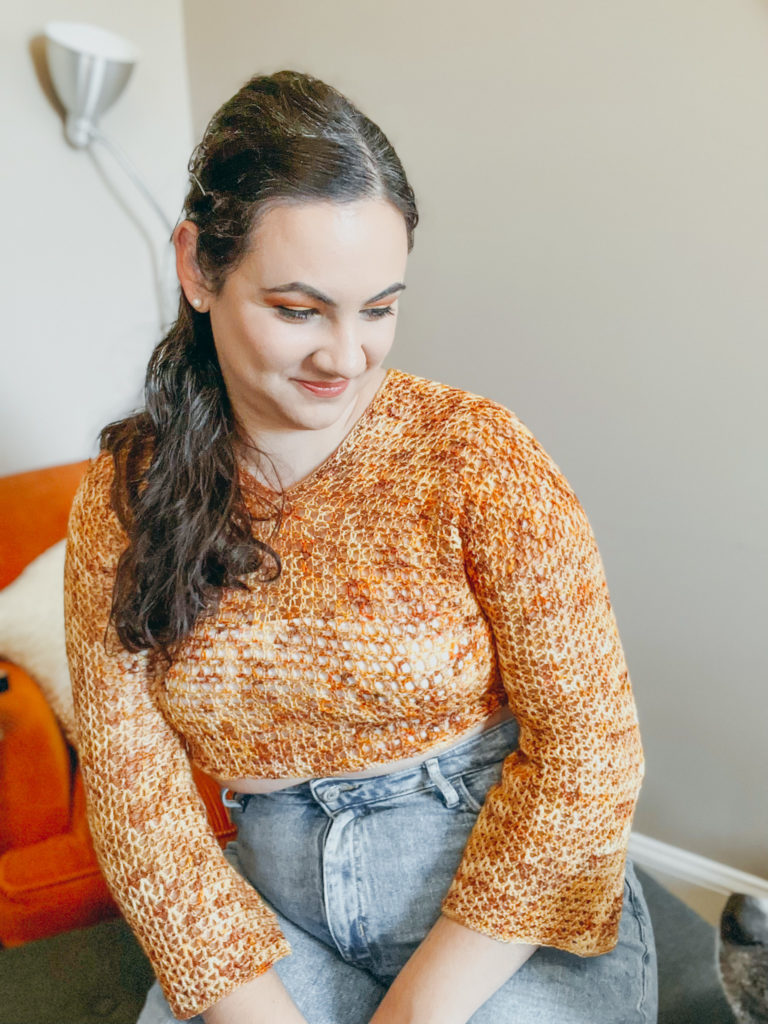
easily worn in so many different ways. My favorite so far has been to pair it with a bandeau and
my favorite pair of jeans.
This pattern is super breezy and easily worked up as the stitching is both quick and easy. The
top is worked from side to side so that you crochet both the front and back all at once and
create a neck space in the middle. I loved using fingering weight yarn for this pattern (that’s right – perfect to finally use your beautiful and-dyed hanks). You can also use any fingering weight yarn from your local craft or yarn store or even your favorite online craft store.
Ember V Neck Crochet Pattern
Materials:
- Yarn: fingering weight yarn
- Exact yardage in sizing chart below
- Hook: 3.5mm hook
- (optional): 3.25mm hook for ribbing)
- Scissors
- Measuring tape
- Stitch Markers
- Tapestry needle / other tool to weave in ends
Difficulty Level: Beginner
Pattern Notes:
- Pattern is worked from side to side so that the body panel is made all in one piece with
the neck split in the middle. The starting chain will be the length of both the back and the
front in this scenario - Sleeves are added on once the body is seamed together
- Bust for the top will be the # of rows worked
Stitches to Know:
- Ch – chain
- Sl st – slip stitch
- St – stitch
- Sp – space
- Sc – single crochet
- Dc – double crochet
- V-st – v stitch
- Dc, ch1, dc in same sp
- 3sc-tog – 3 scs together
- Insert hook into stitch, pull up a loop, insert hook into next st and pull up a loop
and insert hook into stitch after that and pull up a loop. Yarn over and pull
through all loops on hook.
Gauge:
- Un-blocked: 8 v-sts x 10 rows = 4”
- Blocked: 6 v-sts x 8 rows = 4”
Sizing Chart:
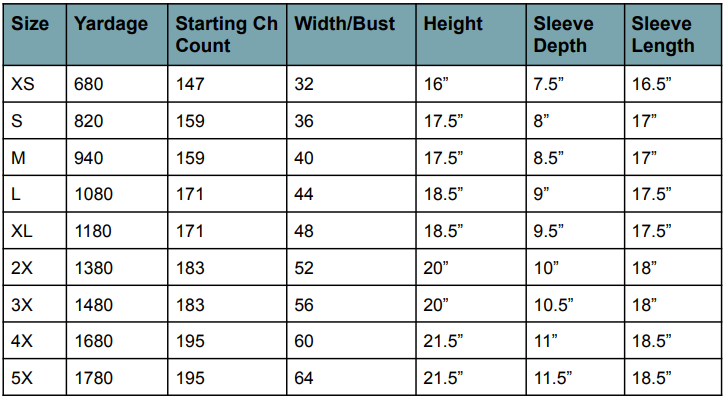
Body: Ch 147 (159, 159, 171, 171, 183, 183, 195, 195)
Row 1: Dc in 4th ch from hook. Ch1, dc in next st. Skip 1ch, 1dc in next ch, ch1, 1dc in next ch; repeat from * across until the last ch then dc in the last ch. Ch3, turn.
Rows 2-16 (18, 20, 22, 24, 26, 28, 30, 32): Skip first 2dc, (1dc, ch1, 1dc) in ch-1sp, skip 2dc; repeat from * across until last dc. Skip last dc. Dc in turning ch. Ch3, turn. [# V-sts: 48, 52, 52, 56, 56, 60, 60, 64, 64]
[Neck split] Row 17 (19, 21, 23, 25, 27, 29, 31, 33): Skip first dc then v-st in the next 17
(18, 18, 20, 20, 22, 22, 23, 23) v-sts. Then ch 45(51, 51, 51, 51, 51, 51, 57, 57) and skip
next 14(16, 16, 16, 16, 16, 16, 18, 18) v-sts. V-st in last 17(18, 18, 20, 20, 22, 22, 23, 23)
v-sts then dc in the turning ch. Ch3, turn. [34, 34, 36, 36, 36, 38, 38, 38, 38 V-sts]
Row 18(20, 22, 24, 26, 28, 30, 32, 34): Skip first 2 dc, then v-st in the next 17(18, 18, 20,
20, 22, 22, 23, 23) v-sts. Skip next 3 chs, then v-st in next ch; repeat from * across
until you get to the next v-st portion. Skipping the last 3 chs, v-st in the next v-st of the
previous row and in each v-st across until the end. Ch3, turn. [# V-sts: 48, 52, 52, 56, 56,
60, 60, 64, 64]
Rows 19-33(21-37, 23-41, 25-45, 27-49, 29-53, 31-57, 33-61, 35-65): Skip first 2dcs,
(1dc, ch1, 1dc) in ch-sp, skip 2dc; repeat from * across until the last dc. Skip last dc. Dc
in turning chain, turn.
Cut & tie off, weave in ends.
The body panel will look like this once complete.
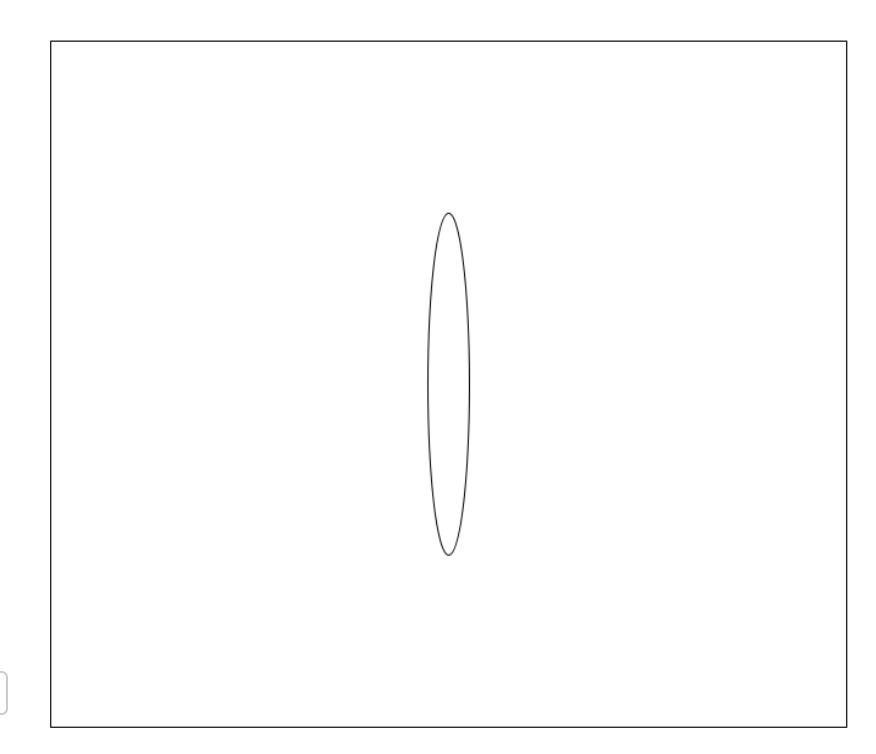
Seaming:
Fold the body in half so that the neck line (gap) and shoulders are along the top and
there are openings along the bottom and sides. Folding along the red line shown below;
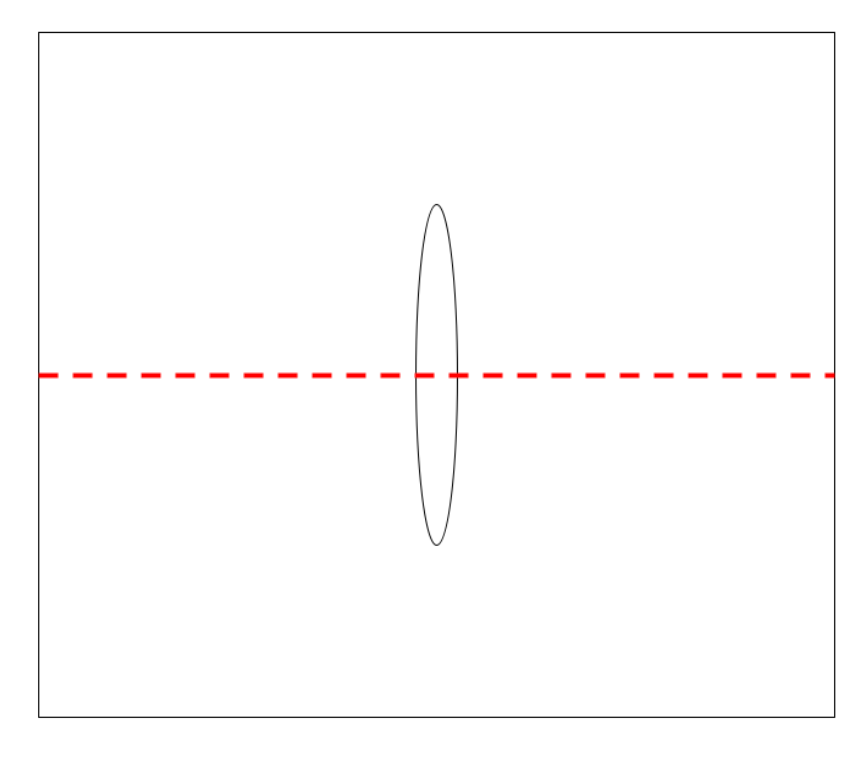
Starting from the bottom (completely open), count upwards until there are 10(10, 11, 12,
12, 13, 13, 14, 14) v-sts left until the shoulder. Place a stitch marker once you reach that
v-st on each side.
Starting from the bottom on each side, seam upwards until you reach the stitch marker.
At this point, flip the piece so the seams are inside the garment. The side without seams
will be the “right” side.
Sleeves:
Attach yarn at the underarm of sleeve by creating a dc in the closest v-st to the
underarm seam. Then ch1 and dc in the same sp to create a full v-st. Place a stitch
marker in this first v-st. Do not chain to begin a new row, simply v-st into the first v-st of
the previous row and move your stitch marker up to the new starting v-st of each row as
you work.
Working in rounds, continue working v-sts into each v-st from the previous row for a
total of 9(10, 10, 11, 11, 12, 12, 13, 13) rows, moving your stitch marker up as you start
each new row.
At row 10(11, 11, 12, 12, 13, 13, 14, 14), follow the below pattern until you reach 33(34,
34, 35, 35, 36, 36, 37, 37) rows. [If you prefer a longer sleeve, you can continue working
additional v-st rows before moving on to the next section. Each v-st row will add about
half an inch. Original sleeve length measurements can be found in the sizing chart.]
For first 2 rows: work a v-st into each v-st of previous row. For 3rd row: Work 2 v-sts in first v-st, then v-st in each v-st from the previous row until you reach the end
Once you’ve reached your finish row, move on to sleeve ribbing below but do not cut/tie
off.
Edging: I recommend using a 3.25mm hook for the sleeve but this is optional.
Sleeve ribbing: For each sleeve, sc in each st and sp around (including both the dcs in
the v-sts and the ch-sp in between). Sl st into the beginning point hen cut & tie off,
weaving in all ends.
Body Ribbing: Attach your yarn at the seam of the body. Work a sc in each st and sp
around just as was done with the sleeves. Sl st once you reach the starting point, then
cut, tie off and weave in all ends.
Neckline Ribbing: Attach yarn at the shoulder portion (as close as you can get to the
shoulder) then place stitch markers in the neck gap at each end of row 17(19, 21, 23, 25,
27, 29, 31, 33). Sc in each st and sp around. When you get to your stitch markers, work
3sc-tog then continue on with a sc in each st and sp around. Sl st once you reach your
beginning point, then cut, tie off & weave in all ends.
Blocking: Use your preferred method of blocking to block the garment to ensure a proper fit.
Please note that without blocking, the measurements will not match up properly as
blocking is needed for the v-sts to lay properly. I personally chose to wet block my garment as I found it worked best.
Let dry and you’re done!
This pattern has been one of my favorites to work on and one I’ll be wearing a whole lot. I hope
you’ve enjoyed this pattern just as much as I have and hopefully you’ll be wearing your own
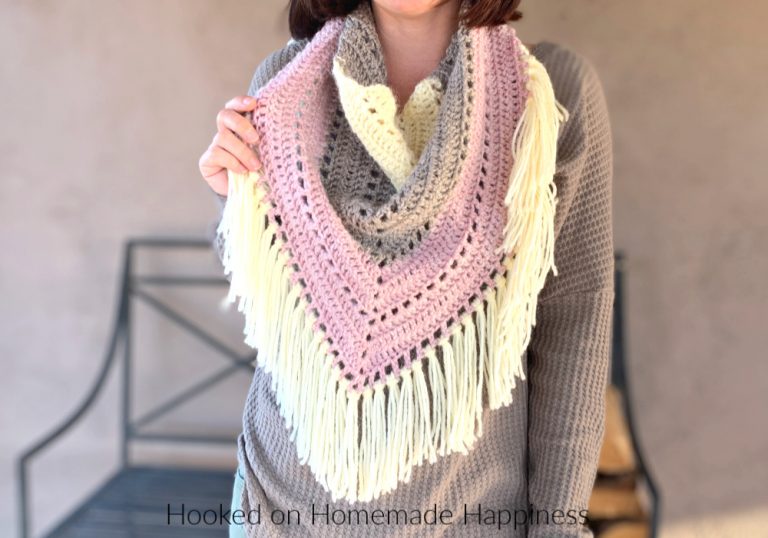
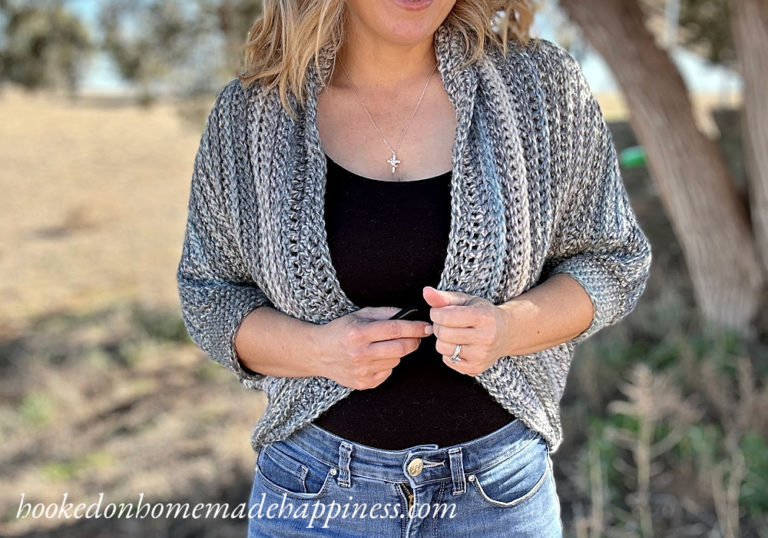
Ember V Neck soon enough! If you’re wanting some more yarny goodness, you can also check
out the Autumn Ridges Cocoon or the Trella Infinity Scarf.


Great
Sorry, I have a qn, for the XS, my 147 chains measured 23inches. Would that mean it’ll be 46inches around?
Hi! It’s made all as one piece 🙂