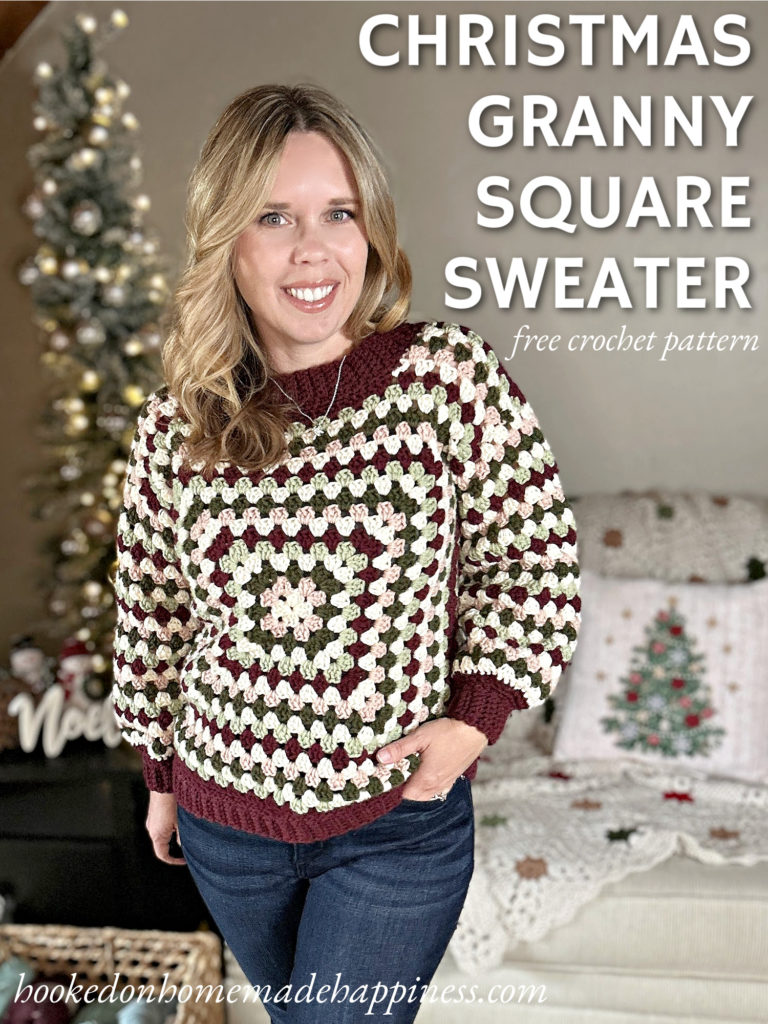
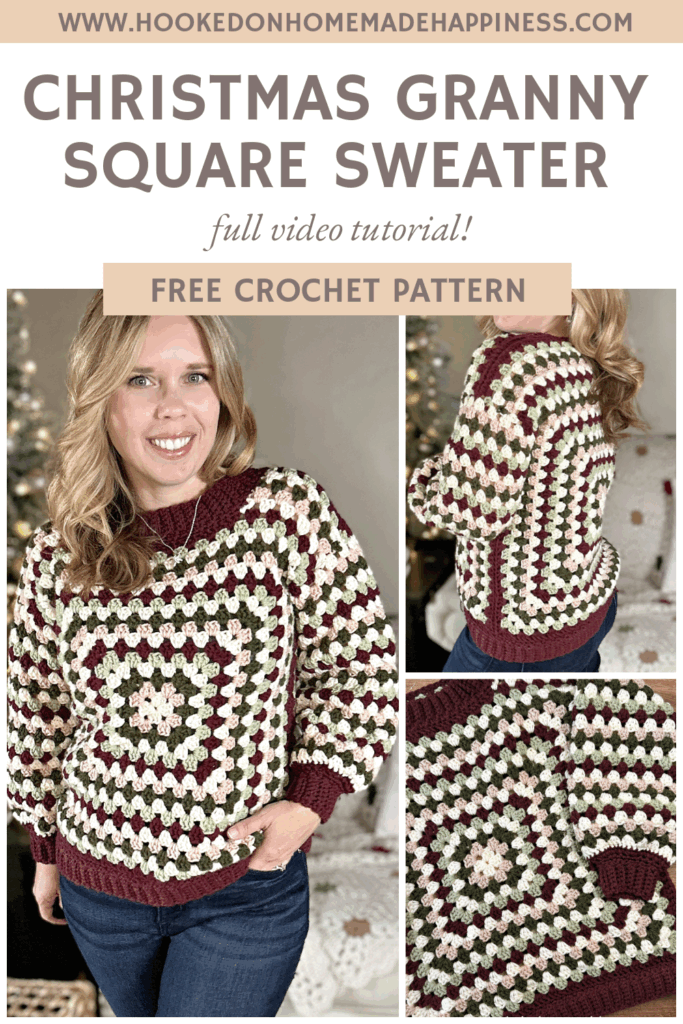
Christmas Granny Square Sweater Crochet Pattern
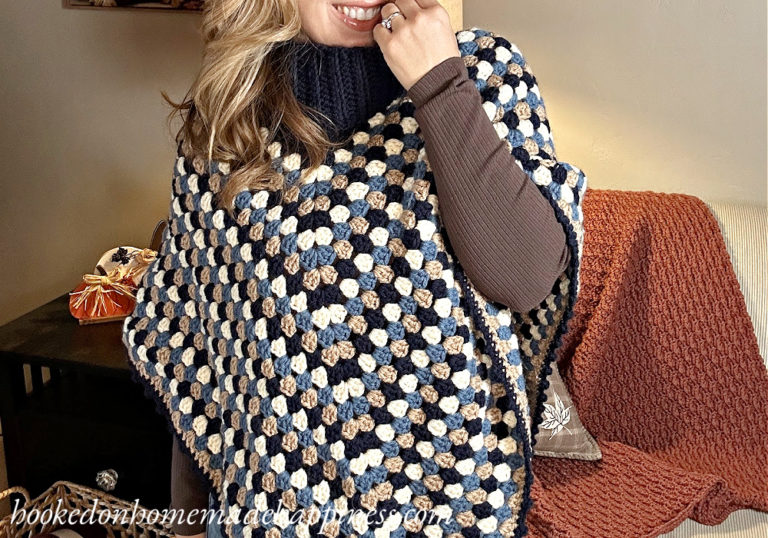
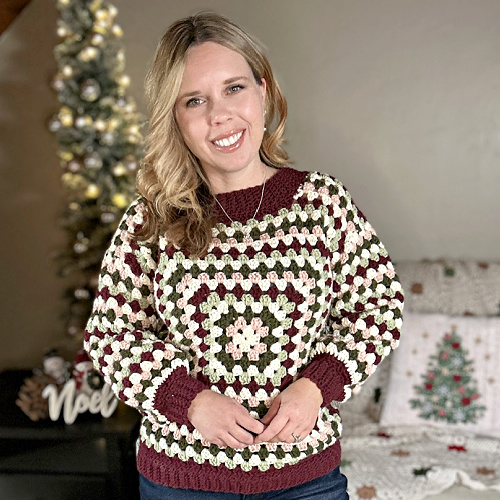
If you love festive makes and cozy winter style, you’ll adore this Christmas Granny Square Sweater Crochet Pattern! Inspired by my popular Granny Square Sweater, this holiday version brings in classic Christmas colors, nostalgic granny square charm, and all the cozy vibes. It’s the perfect handmade sweater to wear all season long — from tree-decorating parties to holiday photos and Christmas morning!
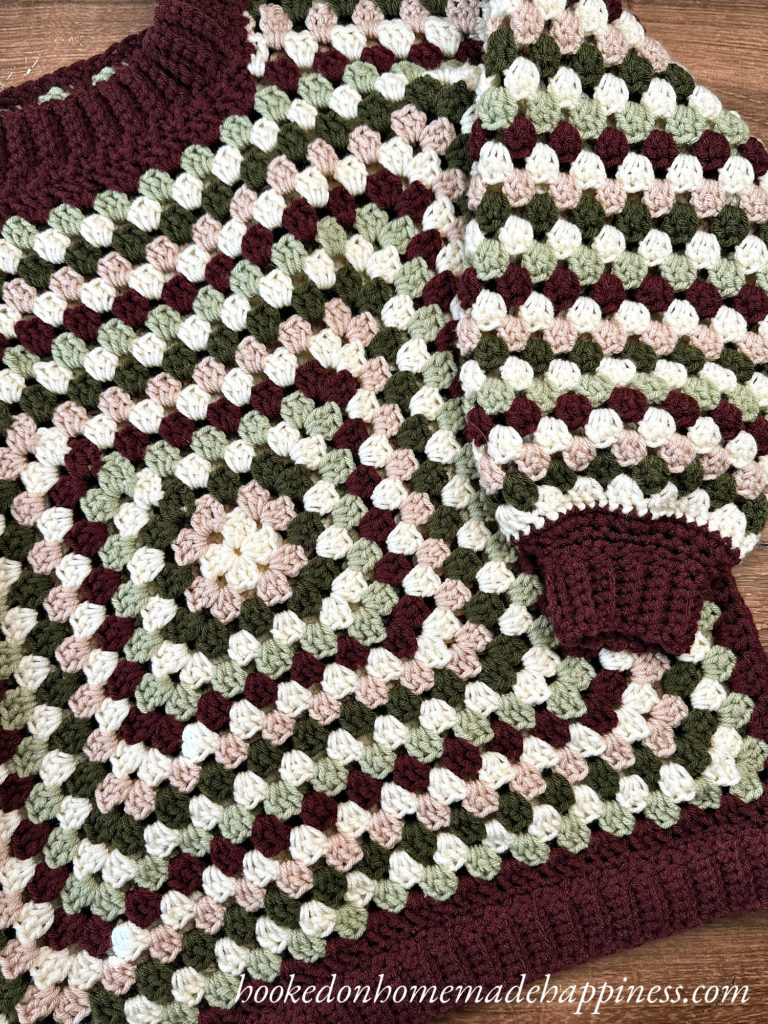
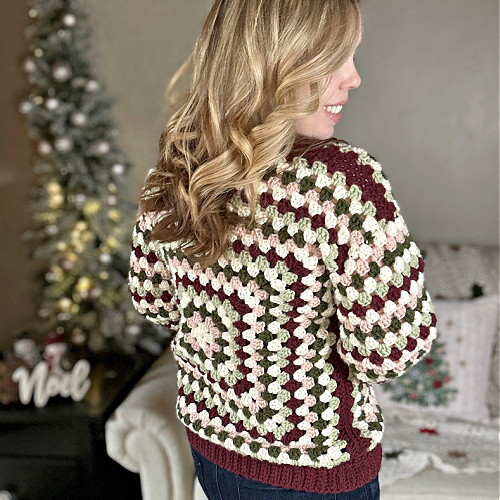
This crochet Christmas sweater starts with two large granny squares. Then we add shaping around the neckline, seamed shoulders and sides, and finish with simple single crochet ribbing on the bottom, cuffs, and collar for a polished fit. And yes — there’s a full video tutorial to walk you through every step!
Purchase the ad-free, printable PDF for easy printing.
Why You’ll Love This Pattern
- Perfect for festive winter crocheting
- Beginner-friendly construction — just granny squares + ribbing
- Customizable Christmas color palette 🎅🧶
- Cozy & comfortable for holiday gatherings
- Includes step-by-step video tutorial
Tips for Your Holiday Version
- Alternate festive shades for each round
- Try metallic or sparkly yarn for a glam Christmas sweater
- Add appliqués like mini holly leaves or snowflakes for extra cheer
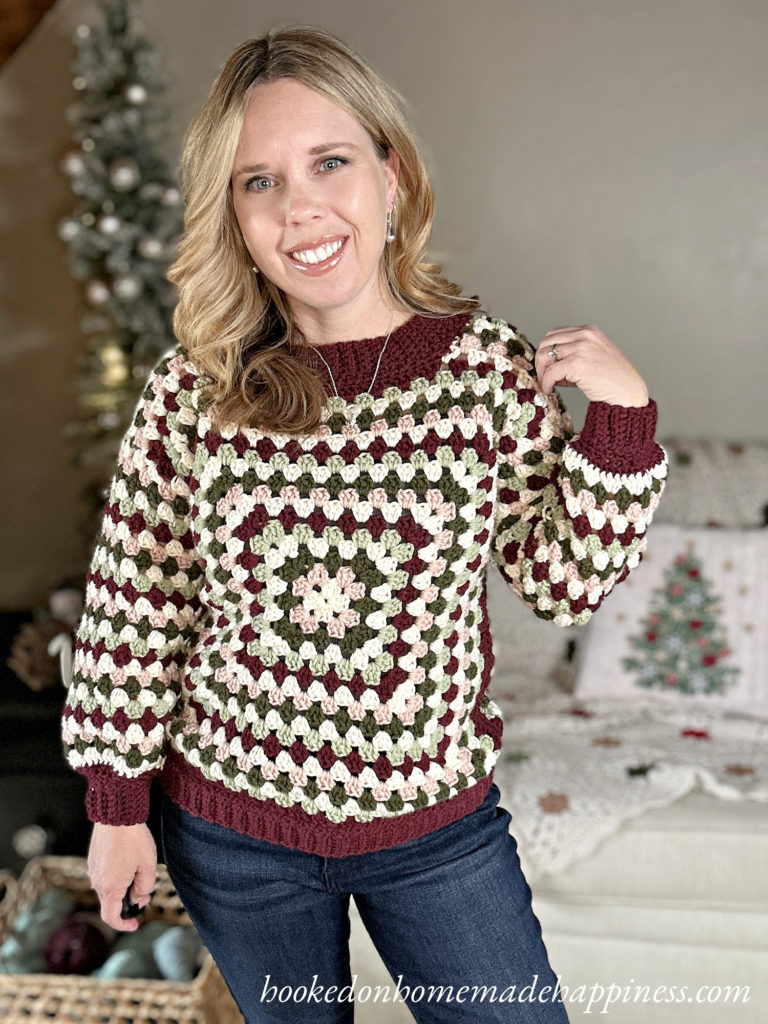
- Pair it with jeans or leggings for a cozy, handmade holiday outfit
Yarn & Materials
- Worsted weight yarn in Christmas colors (use traditional red, green, and white, or choose your own holiday palette!)
- I/5.5 mm crochet hook (or size needed for gauge)
- Yarn needle & scissors
- Stitch markers (optional, but helpful for assembly)
📐 Sizing & Fit
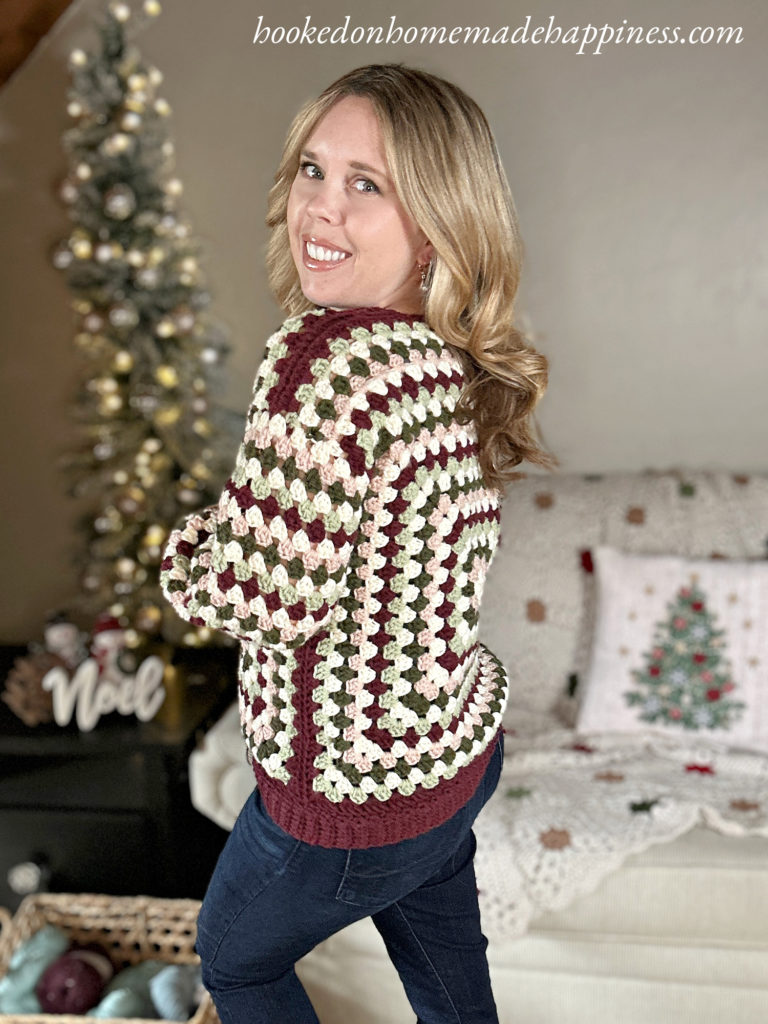
This Christmas crochet sweater features a relaxed, boxy fit with comfy sleeves and stretchy ribbing at the collar, cuffs, and hem. Because it’s created from two granny squares, it’s easy to adjust sizing for the perfect fit — simply add (or remove) rounds from your squares.
Making the Christmas Granny Square Sweater Crochet Pattern
Get the full free pattern below or purchase the ad-free, printable PDF
Materials
700g worsted weight yarn ((700, 750, 800) (900, 950, 1000)g)
I/5.5mm hook
Yarn needle
Scissors
Level
advanced beginner/intermediate
Pattern notes & stitches to know
sl st – slip stitch
ch – chain
dc – double crochet
sc – single crochet
blo – back loop only
· written in US terms
· ch 1 does not count as sc
· ch 3 counts as dc
· This sweater is made with 2 granny squares (with some shaping around the neckline) sewn together. Then the collar, sleeves, and ribbing is added.
· Gauge: 3 rounds of granny square = 4” x 4”
Sizes:
(S, M, L) (XL, 2X, 3X) – The pattern is written in these sizes consecutively. Example, when the pattern gives the end of row count ((216, 240, 264) (288, 312, 336) dc) the 216 is for S, 240 is M, 264 is L, 288 is XL, 312 is 2X, 336 is 3X.
This top is loose fitting with some (approx. 4”) ease.
Approx Finished Size:
Bust: S (38”) M (42”) L (46”) XL (50”) 2X (54”) 3X (58”)
Length: S (23”) M (23”) L (26.5”) XL (26.5”) 2X (30”) 3X (30”)
Armhole: S (7”) M (7.5”) L (8”) XL (8.5”) 2X (9”) 3X (9.5”)
Sleeve (measured from neckline): S (24”) M (24.5”) L (25”) XL (25.5”) 2X (26”) 3X (26.5”)
Size Small pictured. I am 5’0” with 34” bust
Watch the Tutorial
See how it’s done! This easy-to-follow video tutorial will walk you through each step of the pattern.
Pattern Support
Looking for pattern support or want to share your progress? Join our Crochet Community Facebook Group! It’s the perfect place to ask questions, get help, and connect with fellow makers.
CROCHET PATTERN WRITTEN INSTRUCTIONS
FRONT
Ch 4, join to first ch with sl st to make a circle
Round 1: ch 3, (working in the circle), 2 dc, ch 2, 3 dc, ch 2, 3 dc, ch 2, 3 dc, ch 2, join to first dc with sl st (12 dc)
Round 2: sl st to ch-2 space, ch 3, (2 dc, ch 2, 3 dc) in ch-2 space, (3 dc, ch 2, 3 dc) in each ch-2 space around, join to first dc with sl st (24 dc)
Round 3: sl st to ch-2 space, ch 3, (2 dc, ch 2, 3 dc) in ch-2 space, 3 dc in space between the 3 dc groups, (3 dc, ch 2, 3 dc) in ch-2 space, 3 dc between the 3 dc groups* repeat from * to * around, join to first dc with sl st (36 dc)
Round 4: sl st to ch-2 space, ch 3, (2 dc, ch 2, 3 dc) in ch-2 space, 3 dc in space between the 3 dc groups across to ch-2 space, (3 dc, ch 2, 3 dc) in ch-2 space, 3 dc between the 3 dc groups across to ch-2 space* repeat from * to * around, join to first dc with sl st (48 dc)
Round 5 – (18, 20, 22) (24, 26, 28): repeat round 4 (each round will increase by 12 stitches) ((216, 240, 264) (288, 312, 336) dc)
Fasten off.
NECKLINE
With right side facing up, rejoin yarn to the top right corner ch-2 space.
Row 1: ch 3, dc in same space, [3 dc in space between the 3 dc groups] ((x4, x5, x6) (x7, x8, x9)), 2 dc in next space ((16, 19, 22) (25, 28, 31) dc)
Row 2: ch 3, turn, 3 dc in space between the 3 dc groups across, dc in last stitch ((17, 20, 23) (26, 29, 32) dc)
Row 3: ch 3, dc in same space, 3 dc in space between the 3 dc groups across, 2 dc in last stitch ((16, 19, 22) (25, 28, 31) dc)
Row 4 – (6, 6, 7) (7, 8, 8): repeat rows 2 & 3, ending with a row 2 repeat
Fasten off. Leave a long end for sewing.
Rejoin yarn (6, 7, 8) (9, 10, 11) spaces in from the left.
Row 1: ch 3, dc in same space, 3 dc in space between the 3 dc groups across, 2 dc in last ch-2 space ((16, 19, 22) (25, 28, 31) dc)
Row 2: ch 3, turn, 3 dc in space between the 3 dc groups across, dc in last stitch ((17, 20, 23) (26, 29, 32) dc)
Row 3: ch 3, dc in same space, 3 dc in space between the 3 dc groups across, 2 dc in last stitch ((16, 19, 22) (25, 28, 31) dc)
Row 4 – (6, 6, 7) (7, 8, 8): repeat rows 2 & 3, ending with a row 2 repeat
Fasten off. Leave a long end for sewing.
COLLAR
Rejoin yarn to top right corner of the neckline. Ch 1, sc evenly around the neckline.
APPLIED RIBBING
ch 7
Row 1: sc in 2nd ch from the hook and in each ch across, sl st to the collar (6 sc)
Row 2: sl st to the next stitch of collar, turn, sc in first stitch, sc blo in next 4, sc in last stitch (6)
Row 3: ch 1, turn, sc in first stitch, sc blo in next 4, sc in last, sl st to next stitch of collar (6)
Repeat row 2 & 3 until you work all the way across the collar.
Fasten off, weave in the ends.
BACK
Ch 4, join to first ch with sl st to make a circle
Round 1: ch 3, (working in the circle), 2 dc, ch 2, 3 dc, ch 2, 3 dc, ch 2, 3 dc, ch 2, join to first dc with sl st (12 dc)
Round 2: sl st to ch-2 space, ch 2, (2 dc, ch 2, 3 dc) in ch-2 space, (3 dc, ch 2, 3 dc) in each ch-2 space around, join to first dc with sl st (24 dc)
Round 3: sl st to ch-2 space, ch 3, (2 dc, ch 2, 3 dc) in ch-2 space, 3 dc in space between the 3 dc groups, (3 dc, ch 2, 3 dc) in ch-2 space, 3 dc between the 3 dc groups* repeat from * to * around, join to first dc with sl st (36 dc)
Round 4: sl st to ch-2 space, ch 3, (2 dc, ch 2, 3 dc) in ch-2 space, 3 dc in space between the 3 dc groups across to ch-2 space, (3 dc, ch 2, 3 dc) in ch-2 space, 3 dc between the 3 dc groups across to ch-2 space* repeat from * to * around, join to first dc with sl st (48 dc)
Round 5 – (18, 20, 22) (24, 26, 28): repeat round 4 (each round will increase by 12 stitches) ((216, 240, 264) (288, 312, 336) dc)
Fasten off.
With right side facing up, rejoin yarn to the top right corner ch-2 space.
Row 1: ch 3, dc in same space, 3 dc in space between the 3 dc groups across, 2 dc in last stitch ((55, 61, 67) (73, 79, 85) dc)
Row 2: ch 3, turn, 3 dc in space between the 3 dc groups across, dc in last stitch ((56, 62, 68) (74, 80, 86) dc)
Row 3: ch 3, dc in same space, 3 dc in space between the 3 dc groups across, 2 dc in last stitch ((55, 61, 67) (73, 79, 85) dc)
Row 4 – 6: repeat rows 2 & 3, ending with a row 2 repeat
Fasten off. Leave a long end for sewing.
SEWING
With the wrong size facing out, lay the front on top of the back. Using the long ends, whip stitch the shoulders closed. Then using the long ends, whip stitch the sides closed leaving an (8”, 8.5”, 9”) (9.5”, 10”, 10.5”) gap for the armhole.
Fasten off. Weave in the ends. Turn right side out.
SLEEVES
Join yarn to the seam at the bottom of an armhole
Round 1: ch 3, 3 dc in each space between 3 dc to top of front square, 3 dc in the end of every other row to top of sweater and along back of sweater to the top of the square, 3 dc in each remaining spaces between 3 dc, join to ch 3 with sl st
Round 2: ch 3, 3 dc in between each 3 dc group around, 3 dc in last space before ch 3, join to ch 3 with sl st
Round 3: ch 3, 3 dc in first space after ch 3, 3 dc in between each 3 dc group around, join to first ch 3 with sl st
Round 4 – (28, 29, 30) (31, 32, 33): repeat rounds 2 & 3
Round (29, 30, 31) (32, 33, 34): ch 1, sc in each stitch around, join to first sc with sl st
Round (30, 31, 32) (33, 34, 35): ch 1, sc2tog around, join to first sc with sl st
Round (31, 32, 33) (34, 35, 36): ch 1, sc in each stitch around, join to first sc with sl st
CUFF – APPLIED RIBBING
ch 7
Row 1: sc in 2nd ch from the hook and in each ch across, sl st to the sleeve (6 sc)
Row 2: sl st to the next stitch of sleeve, turn, sc in first stitch, sc blo in next 4, sc in last stitch (6)
Row 3: ch 1, turn, sc in first stitch, sc blo in next 4, sc in last, sl st to next stitch of sleeve (6)
Repeat row 2 & 3 until you work all the way around the sleeve. Sl st sleeve closed.
Fasten off, weave in the ends.
BOTTOM RIBBING – APPLIED RIBBING
Join yarn to bottom corner of sweater. ch 1, sc in each stitch around, join to first sc with sl st
ch 7
Row 1: sc in 2nd ch from the hook and in each ch across, sl st to the sweater (6 sc)
Row 2: sl st to the next stitch of bottom of sweater, turn, sc in first stitch, sc blo in next 4, sc in last stitch (6)
Row 3: ch 1, turn, sc in first stitch, sc blo in next 4, sc in last, sl st to next stitch of bottom of sweater (6)
Repeat row 2 & 3 until you work all the way around the bottom.
Fasten off. Weave in the ends.
Looking for more patterns? Follow me on Facebook, Instagram, and Pinterest! Please share a pic of your finished product with me. I’d love to see it!