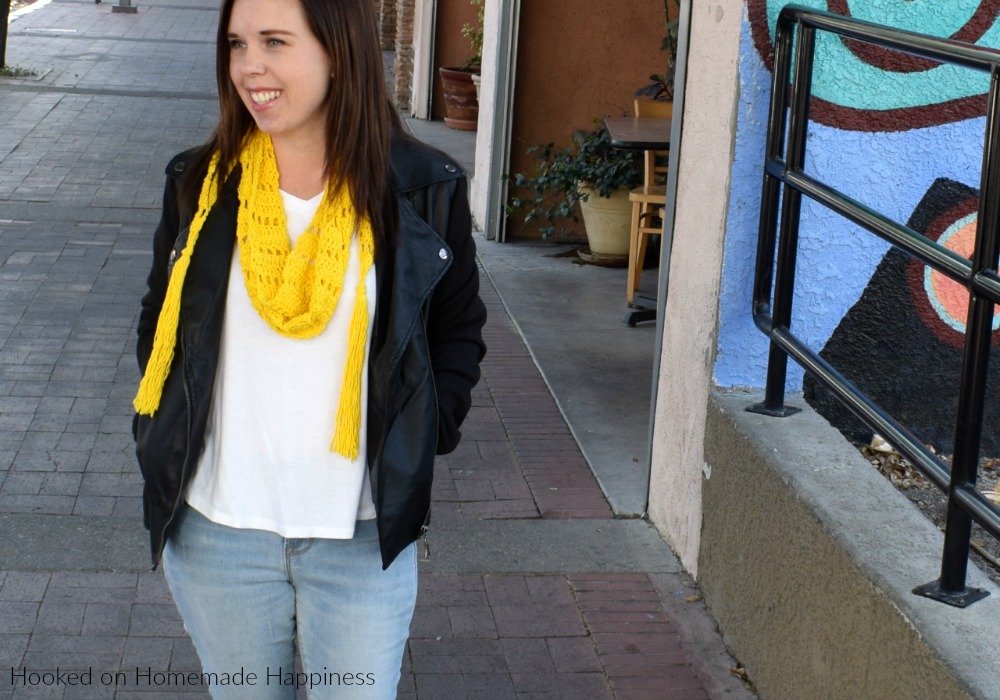
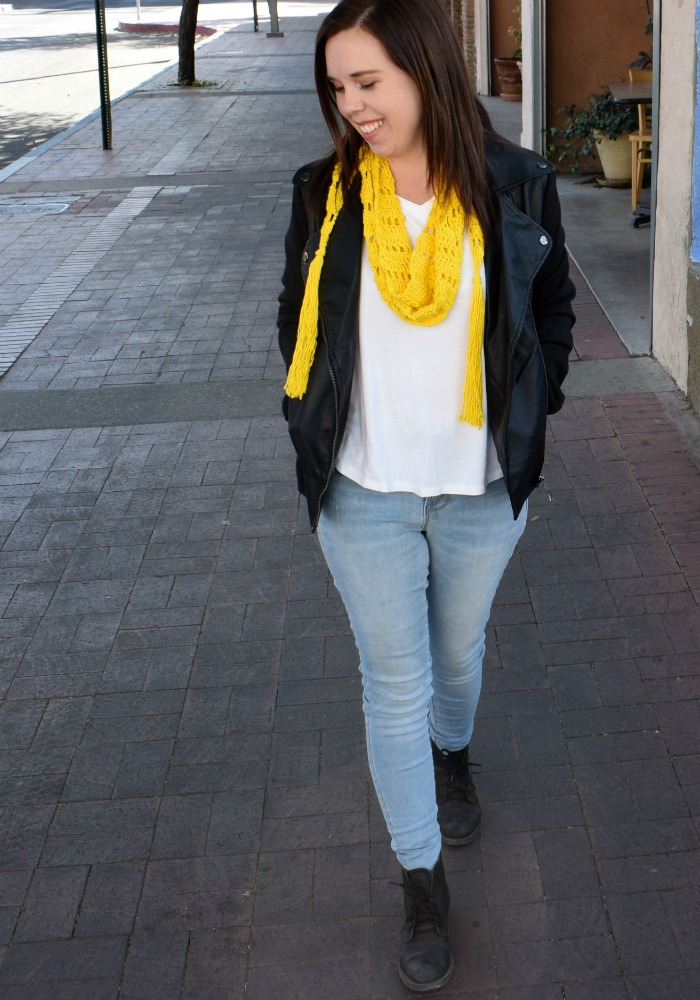
Let the warm sunshine in with this Sunshine Crochet Scarf Pattern! It’s made with a super lightweight cotton and that makes it perfect for warmer weather. It hangs loose around the neck so you don’t have to worry about getting too warm with this scarf. I used We Are Knitters Cotton in Yellow. As soon as I saw this bright and beautiful color, I knew I had to have it! And I knew it would become a fun, summer scarf!
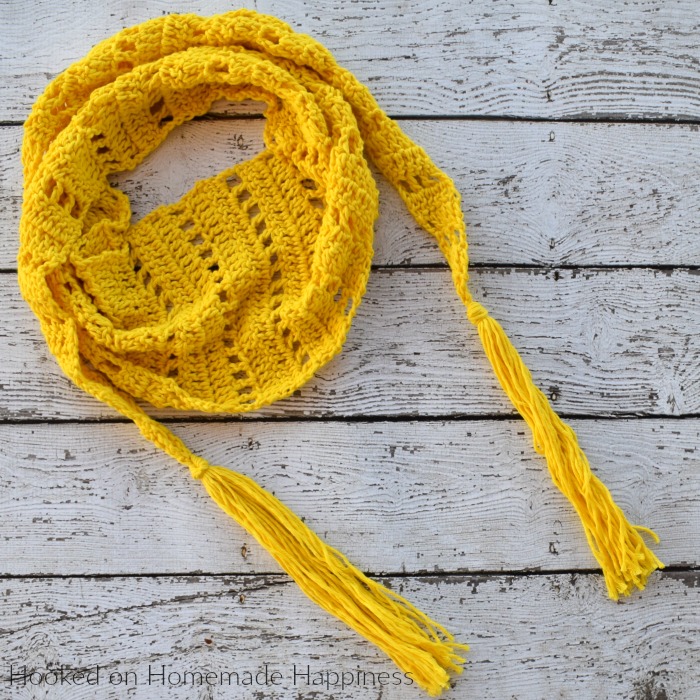
I added long tassels to each end for some added fun. But they are completely optional. The scarf looks cute with or without the fringe.
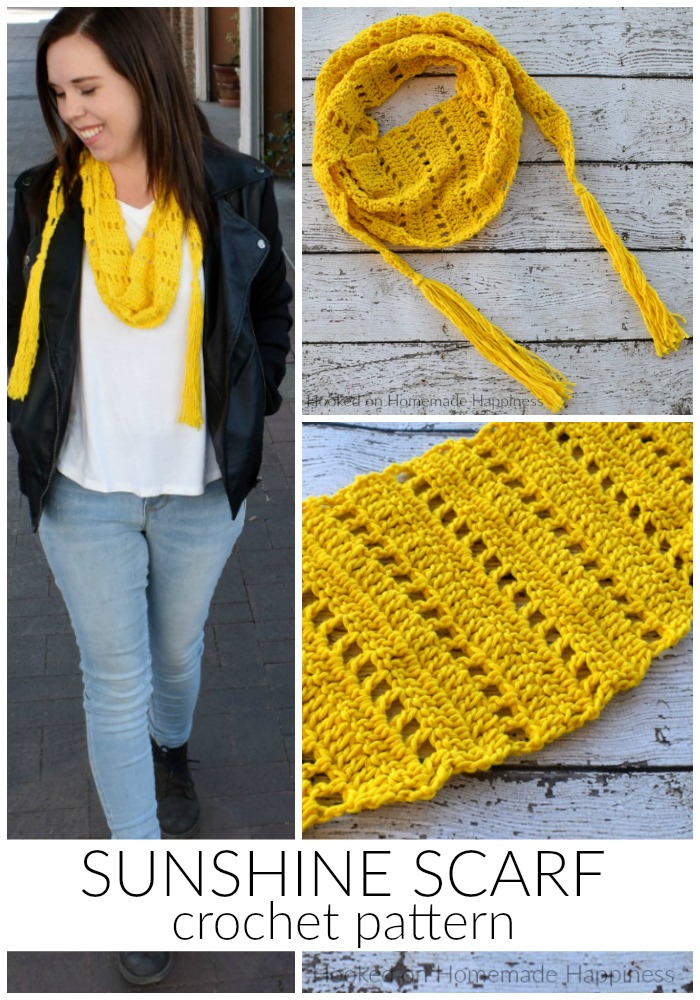
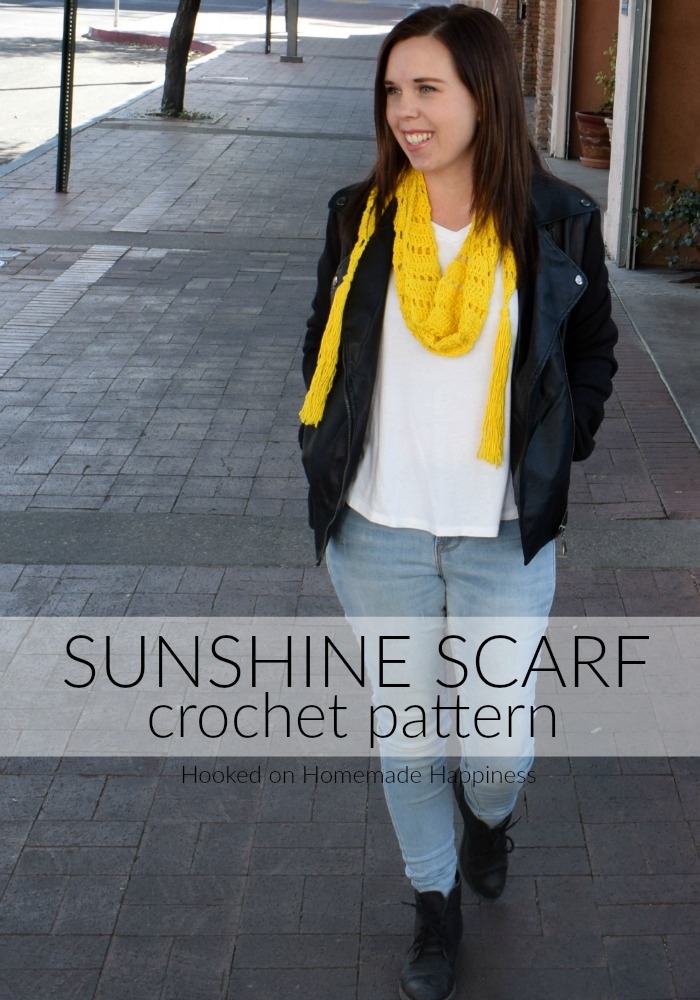
SUNSHINE CROCHET SCARF PATTERN
– Get the free pattern below or this pattern is also available as an inexpensive, clearly formatted, PDF instant download in my Etsy Shop or Ravelry Shop!
– PIN for later HERE
– Add to your Ravelry Queue HERE
Materials
100g We Are Knitters Cotton in Yellow (any worsted cotton will work)
5.0 mm hook
Yarn needle
Scissors
Stitch marker (optional)
Level
easy+
Pattern Notes & Stitches to Know
Ch – chain
Dc – double crochet
Dc2tog – double crochet 2 together (or double crochet decrease)
TIP: As you work the scarf, one side will increase, while the other stays straight. I used a stitch marker to keep track of which side should have the increase
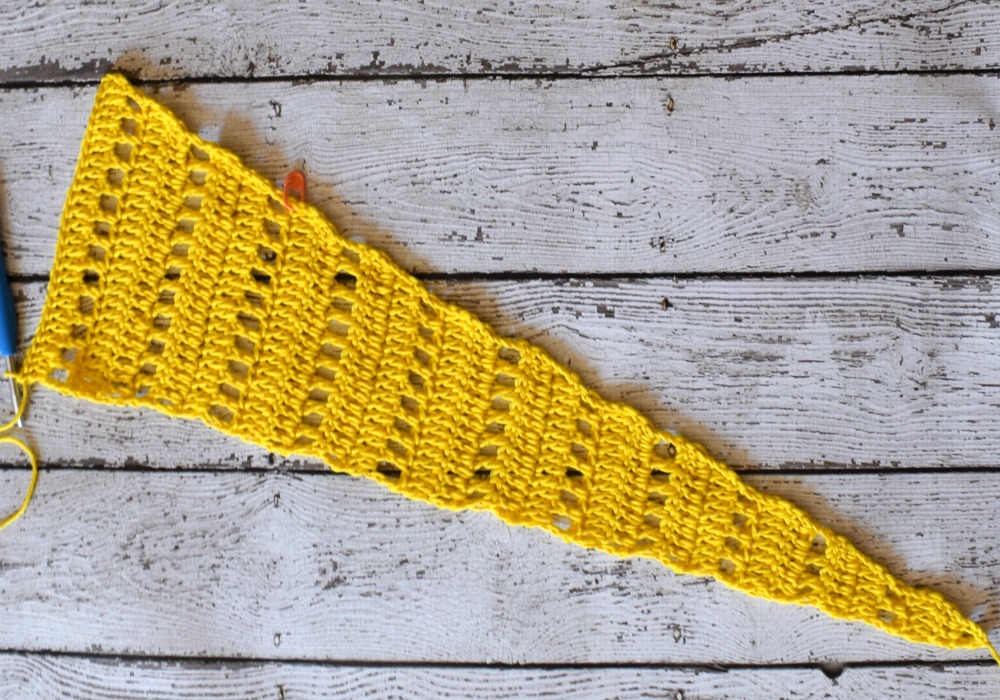
PATTERN
Ch 3 counts as dc at beginning of each row
Ch 5
Row 1: dc in 5th ch from hook (ch 4 counts as dc + ch 1)
Row 2: ch 3, turn, dc in ch 1 space, 2 dc in 3rd ch of turning ch
Row 3: ch 3, turn, dc in same stitch, dc in next 3 stitches
Row 4: ch 4 (counts as dc + ch 1), turn, skip one stitch, dc in next, ch 1, skip one stitch, dc in last stitch
Row 5: ch 3, turn, dc in same stitch and in each ch space and stitch across
Row 6: ch 3, turn, dc in next stitch and across to last stitch, 2 dc in last
Row 7: ch 4 (counts as dc + ch 1), turn, skip one stitch, dc in next, *ch 1, skip one stitch, dc in next* repeat from * to * across (this row does not increase)
Row 8: ch 3, dc in next ch 1 space and in each stitch and ch 1 space across to the last stitch, 2 dc in last
Row 9: ch 3, turn, dc in same stitch and in each stitch across
Row 10: ch 4 (counts as dc + ch 1), turn, skip one stitch, dc in next, *ch 1, skip one stitch, dc in next* repeat from * to * across (this row does not increase)
Pattern repeats rows 5 – 10 to row 40
NOTE: In the next rows you will not increase
Row 41: ch 3, turn, dc in next ch space and in each stitch and ch space across
Row 42: ch 3, turn, dc in next dc and in each stitch across
Row 43: ch 4, (counts as dc + ch 1), turn, skip one stitch, dc in next, *ch 1, skip one stitch, dc in next* repeat from * to * across
Repeat rows 41 – 43 to row 46
NOTE: In the next rows you will start to decrease on the same side the increases were on the previous rows
Row 47: ch 3, turn, dc2tog over the next ch 1 space and dc, dc in each ch 1 space and stitch across
Row 48: ch 3, turn, dc in next dc and in each stitch across to the last 2, dc2tog
Row 49: ch 4 (counts as dc + ch 1), turn, skip one stitch, dc in next, *ch 1, skip one stitch, dc in next* repeat from * to * across (this row does not decrease)
Row 50: ch 3, turn, dc in next ch 1 space and in each stitch and ch 1 space across to the last 2 stitches, dc2tog
Row 51: ch 3, turn, dc2tog, dc in each stitch across
Row 52: ch 4 (counts as dc + ch 1), turn, skip one stitch, dc in next, *ch 1, skip one stitch, dc in next* repeat from * to * across (this row does not decrease)
Repeat rows 47 – 52 to row 83
Row 84: ch 4, turn, dc in last stitch
Fasten off.
Add fringe to ch spaces in each end. I added fifteen 24 inch pieces (I wove my ends into the fringe)
Trim to your liking
And you’re done! I hope you love your new scarf!
Looking for more patterns? Follow me on Facebook, Instagram, and Pinterest! Please share a pic of your finished product with me. I’d love to see it!
MORE HOMEMADE HAPPINESS:
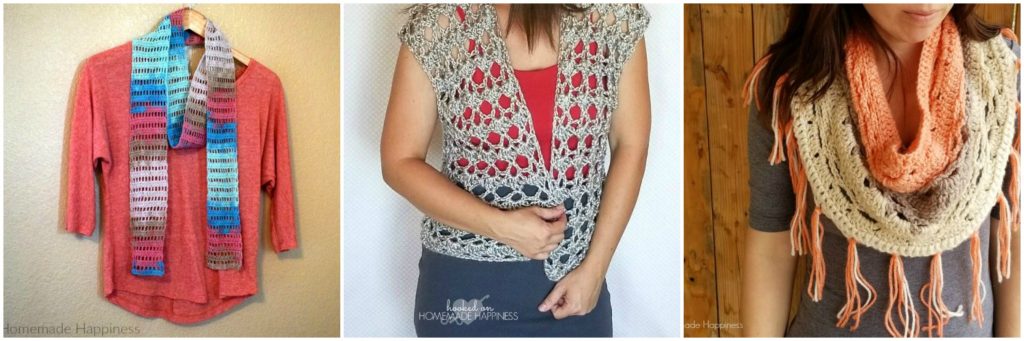
1. Light Summer Scarf 2. Shelly Cardigan 3. Just Peachy Cowl


Hi, I’m trying to start this pattern and am confused – I chained 5 and I think I did the first row correctly. For row 2, I chained 3, turned – but then it says to DC in the chain 1 space and 2 DC in the 3rd chain of turning chain. Which is the chain 1 space? If it’s the third from the hook, then it doesn’t seem possible to DC into the 3rd chain after that. Maybe a photo or video would help? Sorry, I’m a beginner and just don’t understand where to make the DCs, and I think this is a lovely scarf!
Hi, in row 2 there should be a ch 4 space right after your ch 3 and turn. Dc in the first ch space, then 2 dc in the top of the 3rd. Hope this helps!
Thanks for your help – I still just can’t seem to get it (Row 3 has no turn?) but will maybe try again someday…
I see you edited row 3! Maybe I will try again. Thanks.
I feel really stupid but I’m having trouble getting the first few rows too. Reading patterns is definitely a struggle. It’s so much easier when there is a video. Have you considered doing that?
Anyway, I have started this about six times and have pulled it all out because it looks nothing like yours. I just don’t know where to put the first few rows of stitches. I know how to chain, sc, DC, dhc, crochet in the round, do a magic circle, all that, so I’m not entirely a beginner, but I’m having trouble moving up skill-wise because of my difficulty understanding written patterns. Figuring out what “in same stitch” and “in next stitch” means seems to be my hangup.
Are there stitch counts per row on your paid pattern? I have had some luck when those are provided as I am sort of able to extrapolate where I was to start based on that.
I feel so stupid. I’m sorry.
I made this scarf with the tassels using a multi-coloured cotton blend yarn. It turned out absolutely perfect. Thank you so much for sharing this lovely pattern!
Yay! Thank you!
Do you have a youtube video of this scarf? I am having a problem following the directions.
Hi! Not yet, but I plan to have one soon 🙂
Please put me on your list to be notified of the youtube video.
Thanks,
Donna
what is the final width and length of this scarf