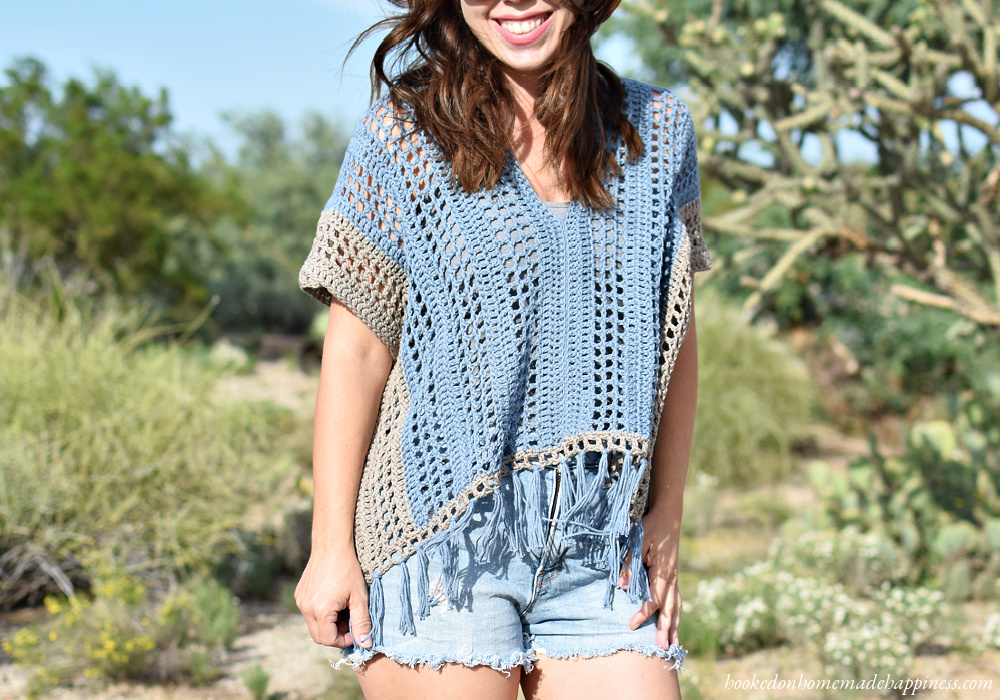
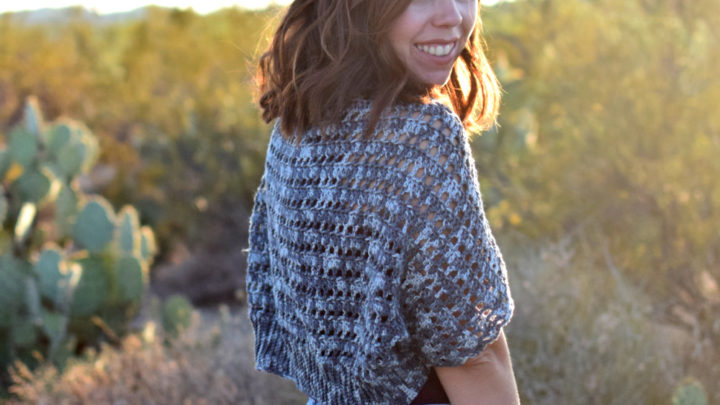
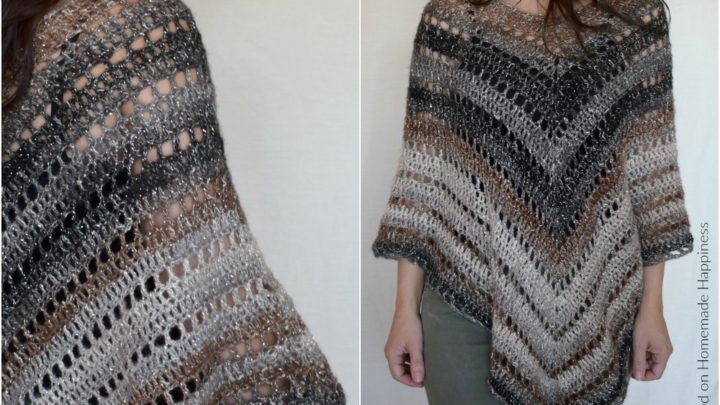
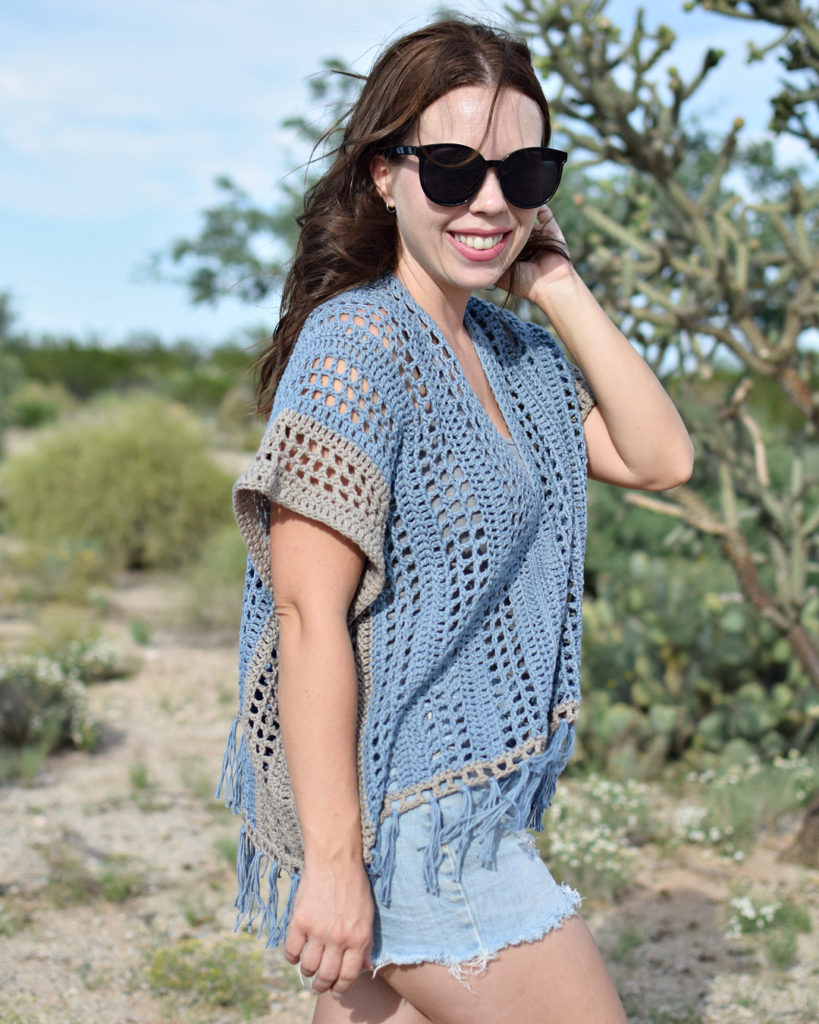
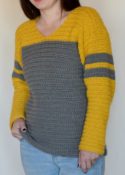
This Spring Breeze Crochet Poncho is a simple poncho made with basic stitches. It is as easy as crocheting two rectangles and is perfect for a beginner garment.
Let’s talk yarn! I used one of my favorite DK weight yarns for this poncho, CotLin from We Crochet. It is so soft and lightweight. Just perfect for spring/summer garments! Not to mention, there are so many great color options. Any DK weight cotton (or acrylic) would work great for this pattern.

click here to pin for later >>>

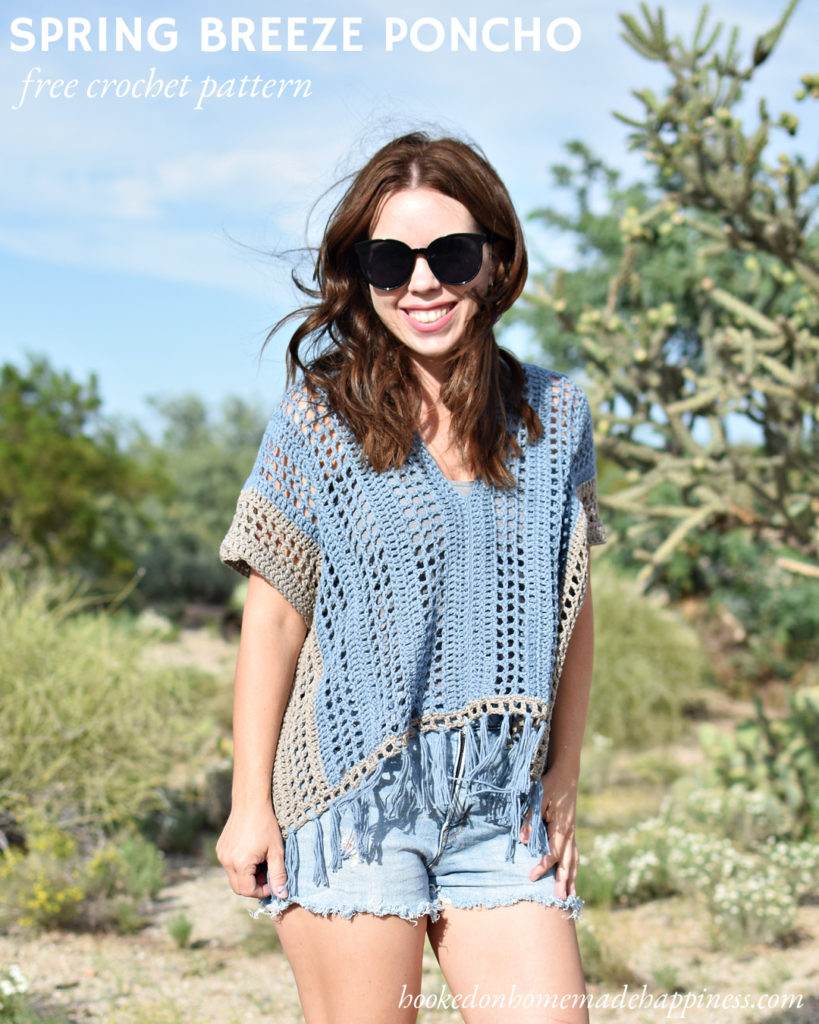
Spring Breeze Crochet Poncho Pattern
Get the complete free pattern below or purchase the ad-free, printable PDF in my Ravelry Shop
PIN for later HERE
Add to your Ravelry Queue HERE
Materials
WeCrochet CotLin in Raindrop (4 skeins for S/M, 5 for LXL, 6 for 2X/3X) and Gosling (2 skeins for S/M, 3 for L/XL, 4 for 2X/3X)
H/5.0 mm hook
Yarn needle
Scissors
stitch marker
Level
easy+
Pattern notes & stitches to know
ch – chain
dc – double crochet
· written in US terms
· ch 3 counts as dc
· ch 4 counts as dc + ch 1
· Raindrop is Color A. Gosling is Color B.
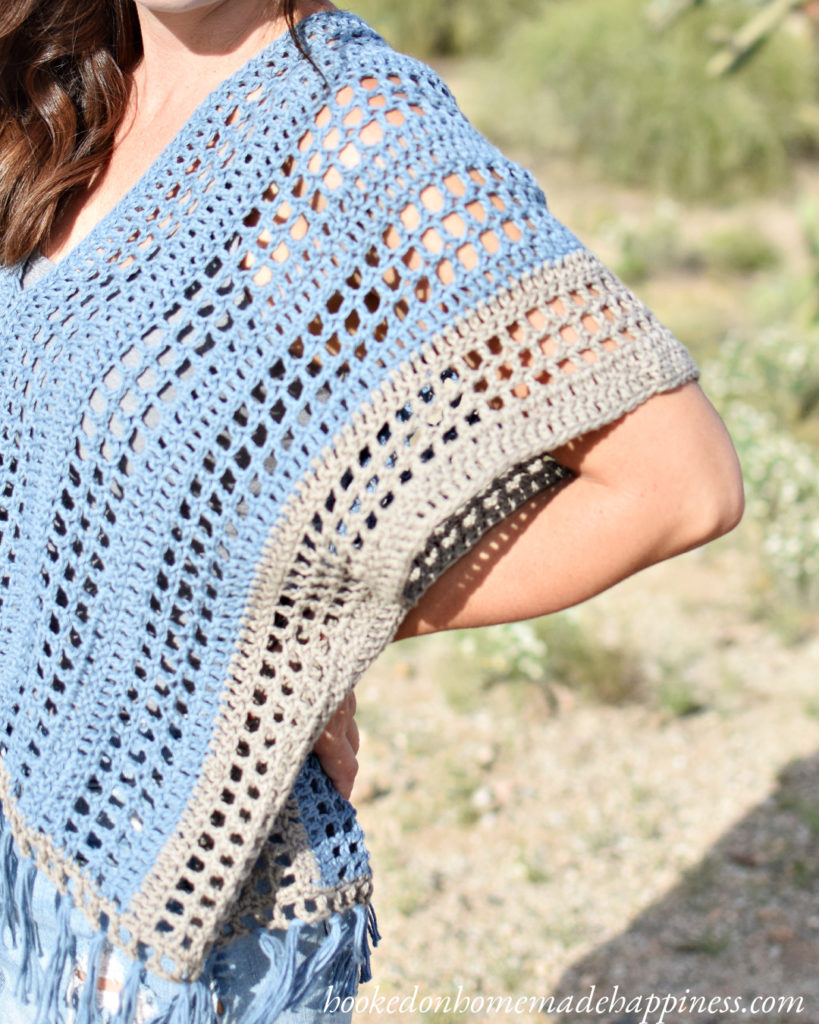
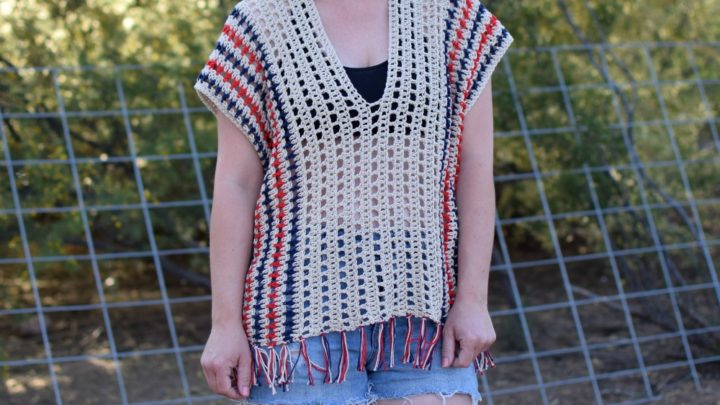
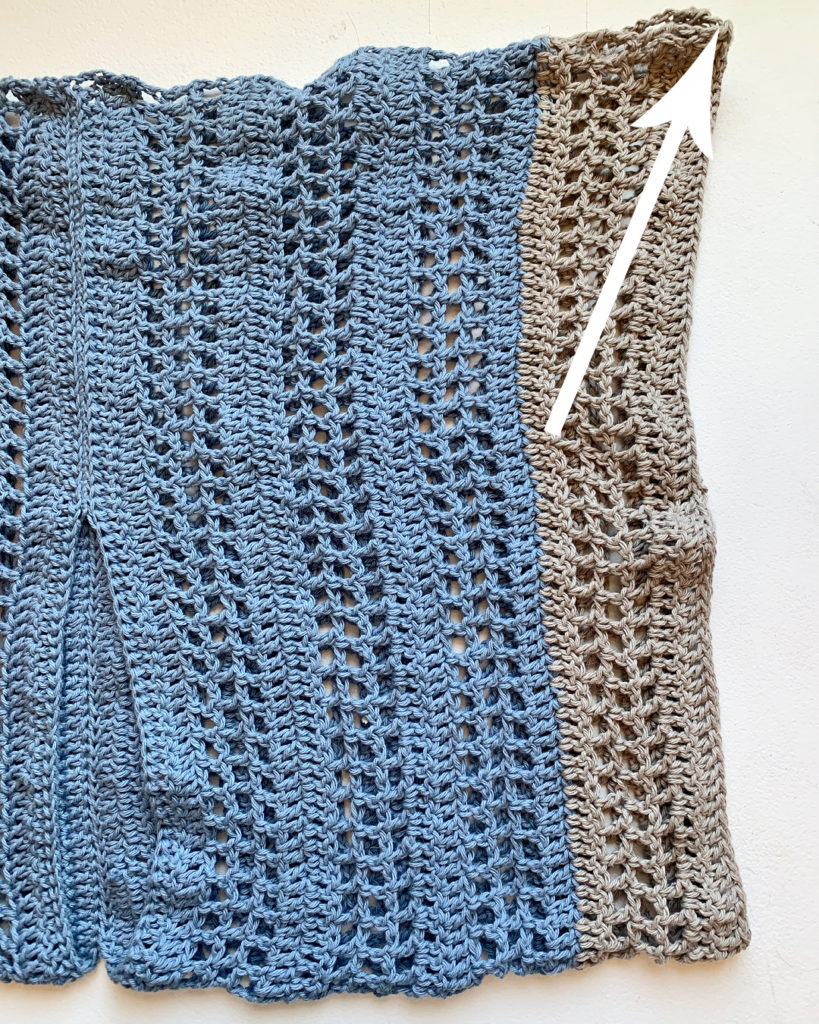
· This poncho is made with two rectangles sewn together. Then edging is added around the bottom. Last, fringe is added.
· This pattern is made to be short. To make it 1” longer add 8 chains. Starting ch must be an odd number.
Sizes:
(S/M, L/XL, 2X/3X) – The pattern is written in these sizes consecutively. Example, when the pattern gives the end of row count ((135, 147, 159) dc) the 135 is for S/M, 147 is L/XL, 159 is 2X/3X.
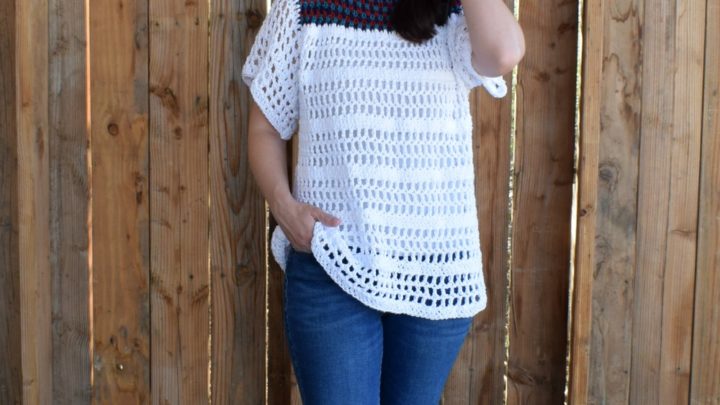
This poncho is oversized fit with generous positive ease.
Approx Finished Size:
Bust: S/M (48”) L/XL (54”) 2X/3X (60”)
Length: S/M (19”) L/XL (20.5) 2X/3X (22”)
Size Small pictured. I am 5’0” with 34” bust
SPRING BREEZE PONCHO CROCHET PATTERN
MAKE 2
Starting with Color A, ch (137, 149, 161). Leave a long end for sewing.
Row 1: dc in 4th ch from the hook and in each ch across ((135, 147, 159) dc)
Row 2: ch 3, turn, dc in each stitch across ((135, 147, 159) dc)
Row 3: ch 4, turn, skip 1 stitch, dc in next, *ch 1, skip 1 stitch, dc in next* repeat from * to * across ((68, 74, 78) dc))
Row 4 – 5: ch 4, turn, skip ch-1 space, dc in dc, *ch 1, skip ch-1 space, dc in dc* repeat from * to * across ((68, 74, 78) dc))
Row 6: ch 3, turn, dc in each ch-1 space and dc across ((135, 147, 159) dc)
Row 7: ch 3, turn, dc in each stitch across ((135, 147, 159) dc)
Row 8 – (16, 21, 26): Repeat rows 3 – 7 (ending with a row 6 repeat)
Change to Color B
Row (17, 22, 27) – (21, 26, 31): starting with a row 7 repeat, continue repeating rows 3 – 7
Fasten off. Leave a long end for sewing. Weave in other ends.
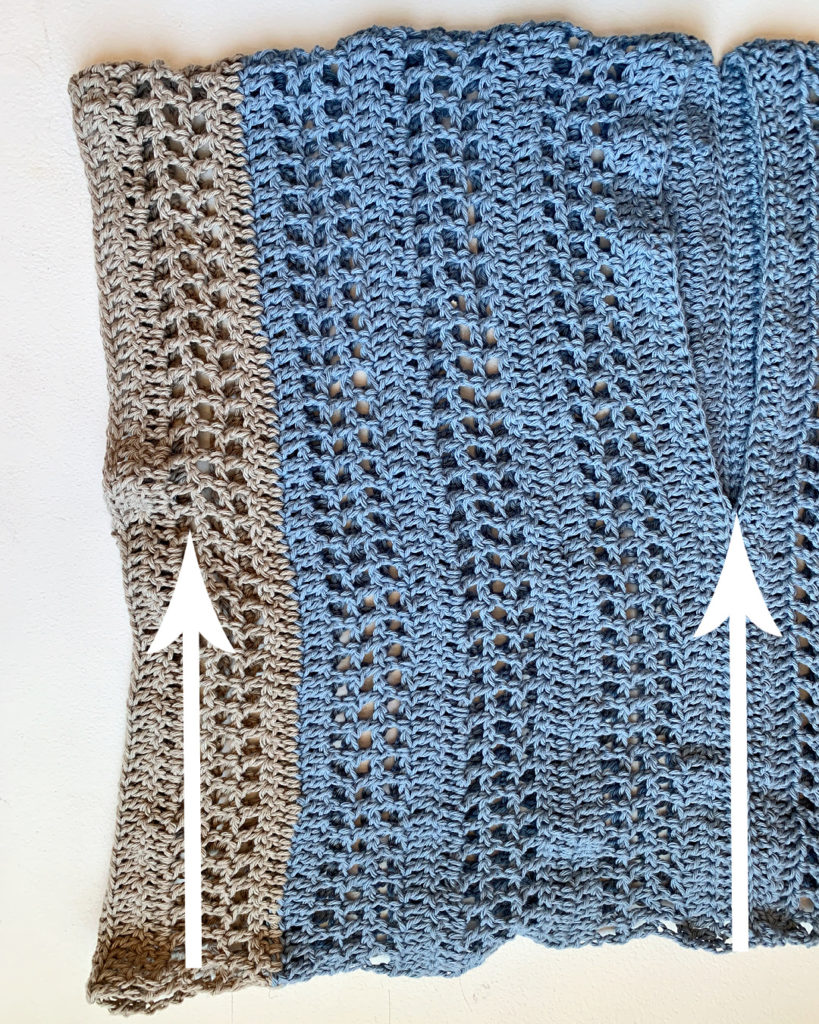
SEWING
Lay the two panels next to each other with Color B on the outside and fold down from the top. Use a long end to sew the back. Sew up the center with a whip stitch to the fold. Sew the front up to the middle. Sew each side up to the middle.
Fasten off. Weave in the ends.
EDGING
Lay the poncho upside down. Join Color B to the top right corner
Round 1: ch 1, sc evenly around working 2 sc along the side of each dc, join to first sc with sl st
Round 2: ch 4, *skip 1 stitch, dc in next, ch 1* repeat from * to * around, join to first ch-3 with sl st
Fasten off. Weave in the ends.
FRINGE
Add three 10” pieces of fringe to every other ch-1 space around the bottom.
Trim to your liking.
HOW TO ADD FRINGE VIDEO TUTORIAL
Looking for more patterns? Follow me on Facebook, Instagram, and Pinterest! Please share a pic of your finished product with me. I’d love to see it!


It looks so comfortable! Love the beach colors!
Omg this is the cutest pancho ever I’m so going to try this !
Yay!
I always get 114 dc on the first row. What am I doing wrong. I have counted my chains and am correct. I go in the fourth chain from the hook and still come up with 114dc not 113 dc. I love your poncho pattern but just cannot make it work. Hope you can help. I am an experienced crocheted. This shouldn’t be so perplexing for me. Thanks!
Hi! It should be fixed now 🙂
I live the pattern and it turned out well; however, it seems to “ride up” in the back. Will the fringe and blocking help?
Thanks
Hi! That’s kind of the nature of a poncho. You can adjust the neck by sewing it all the way to the neckline so it doesn’t move up. I hope that helps!
I made an XL size and up the starting chain of 132.
Each size for the width is 5inches different. However, even when it’s a chain of 132, for XL, it’s not even close to 23inches for the length. Why is this so?? Help!! It is sooooo short !!
Hi! How many inches is the ch?
Hi. I love this poncho. However, I have lots of fine weight yarn (1). Can I adjust it to use with this pattern?
Thank you!
Lori
Yes, I would ch until it matches the length and then continue the repeat until it’s the width.
Im just finding this now! Lol. Love it. Making it in navy and Im half way through now! What a great pattern! Thank you ❤️
Thank you!
Thanks so much for this pattern – so cute. I wish there were patterns for baby and kid sizes😜. By the way, your kids are so cute! You have your very own models!
Hi! I love this little top but am having issues with the pattern. I am working on the size 2x-3x.
1st ch 161
1st row 159
2nd row 159
All good up to this point
3rd row i am getting 80 dc, not the 78 that is listed.
I’m a seasoned crocheter, so i’m a bit stumped, maybe the 78 is a typo??
Thanks for your help!
Yes, I think you are correct, it’s a typo 🙂 Sorry about that!!
Thank you! So glad I’m not crazy! I stitch counted all the rows like 3 times.