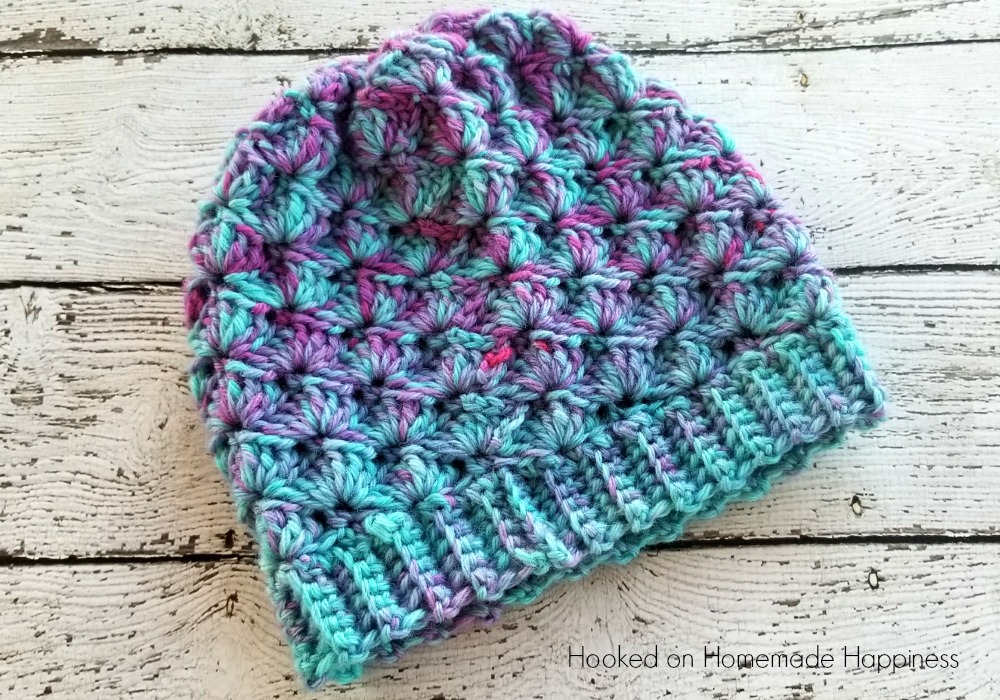
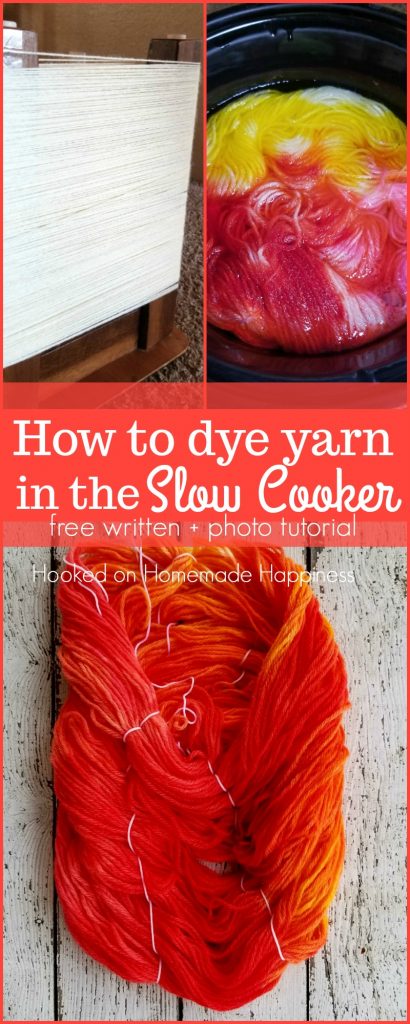
My kids and I had a fun weekend experimenting with How to Dye Yarn in the Slow Cooker! It was a fun little project and I couldn’t be happier with the results! We dyed two skeins with two different color schemes. My daughters each picked three colors they wanted their yarn to be. My 5 year old chose pink, purple, and blue.
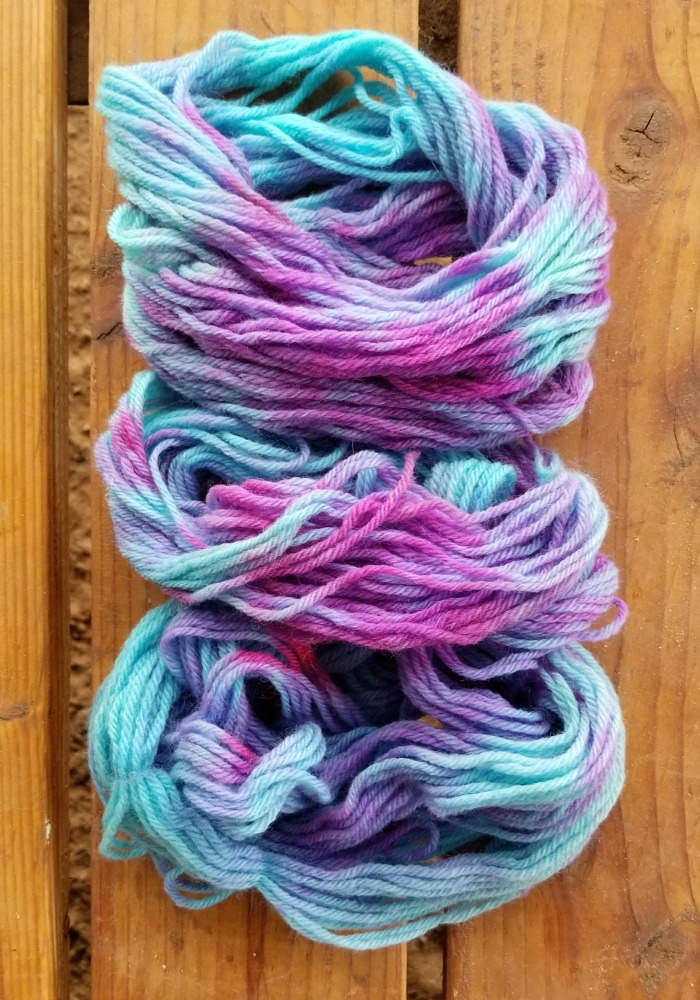
It turned out amazing! It reminded me of a mermaid so I made a pretty shell stitch beanie for her (find the pattern HERE)
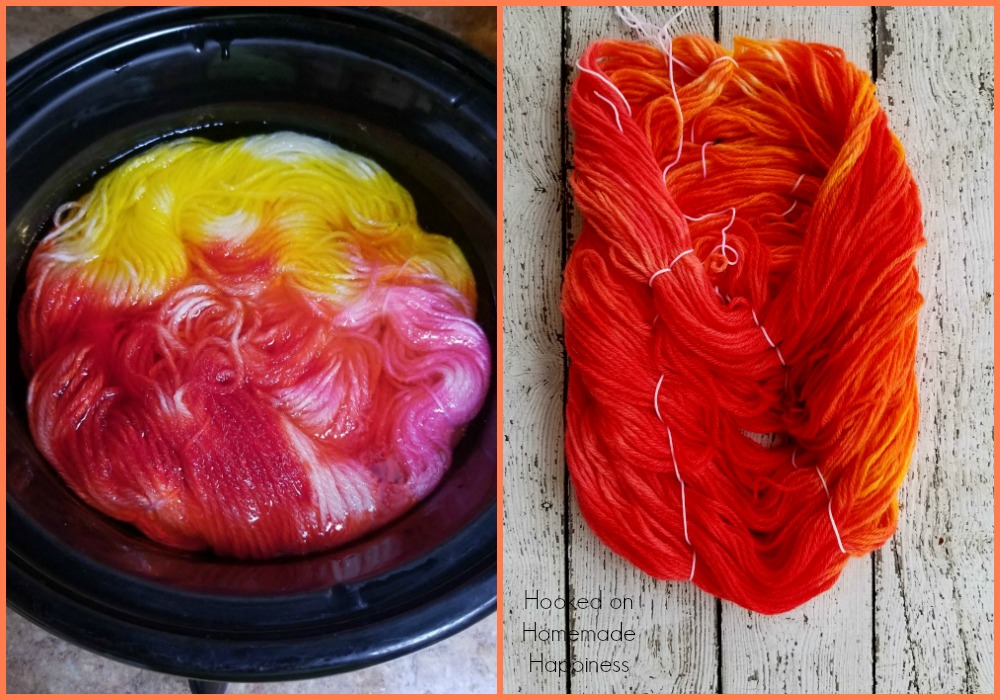
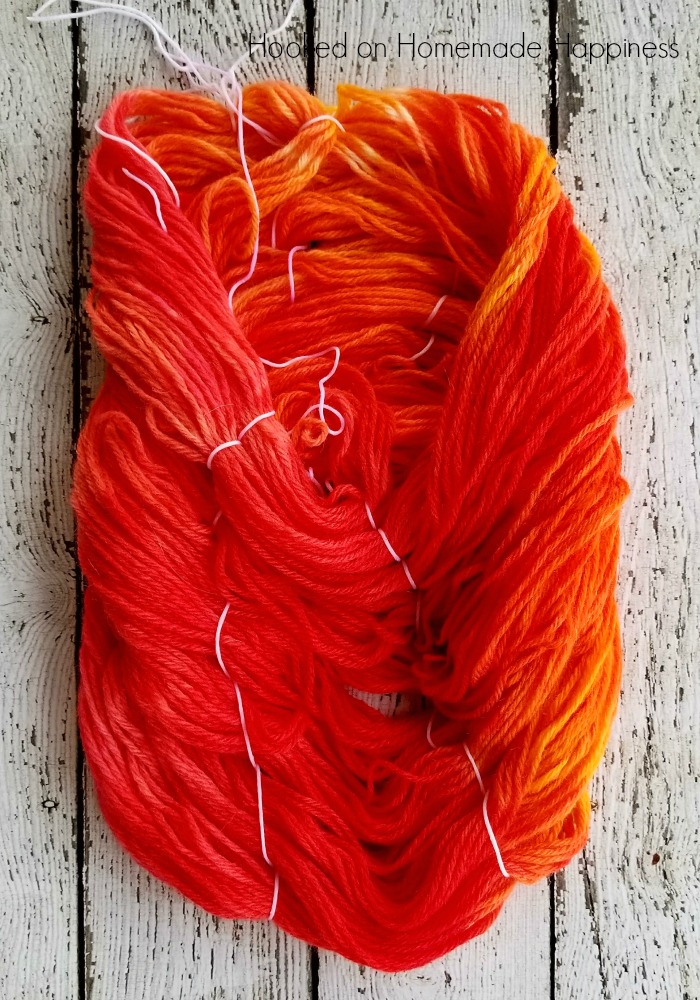
My oldest chose red, pink, and yellow. It turned out completely different than I expected and that was half the fun!
There are quite a few different ways to dye your own yarn. This is the process we used, but I’m definitely tempted to try another way next time!
Matierials
1 skein worsted wool yarn (I used I Love This Wool in Ivory)
tape
white cotton yarn
large stock pot
vinegar
electric tea pot (optional)
gel food dyes (2 – 3 colors)
slow cooker
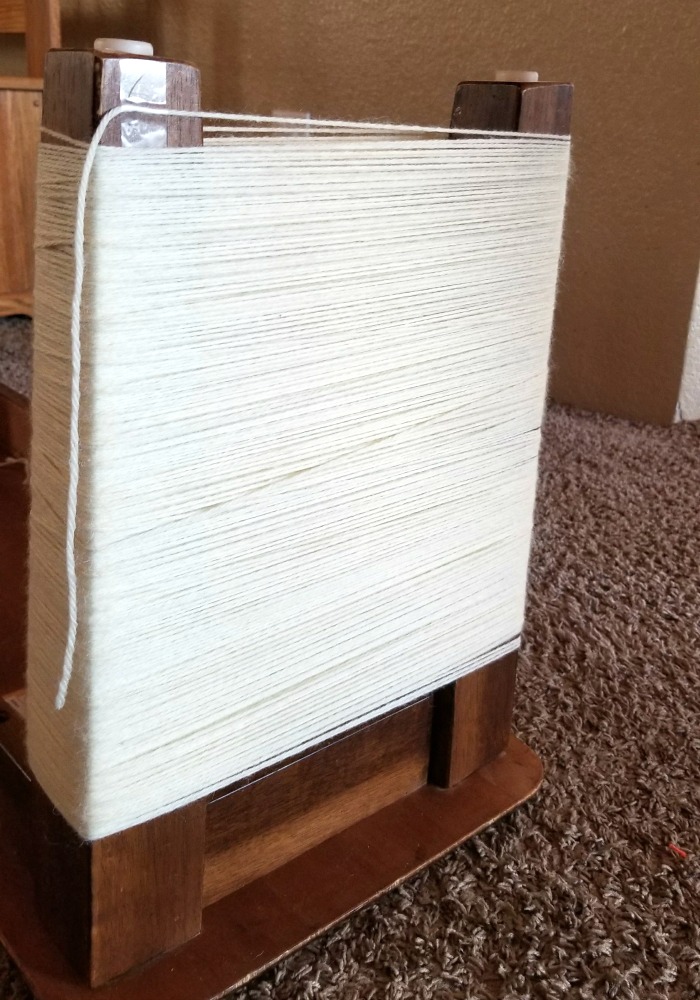
Step 1: Turn a chair or small table upside down. Tape the beginning of the yarn to the leg and wind your yarn evenly around 2 or 3 legs. Make sure the strands are separated. Tape the end of the yarn to secure it
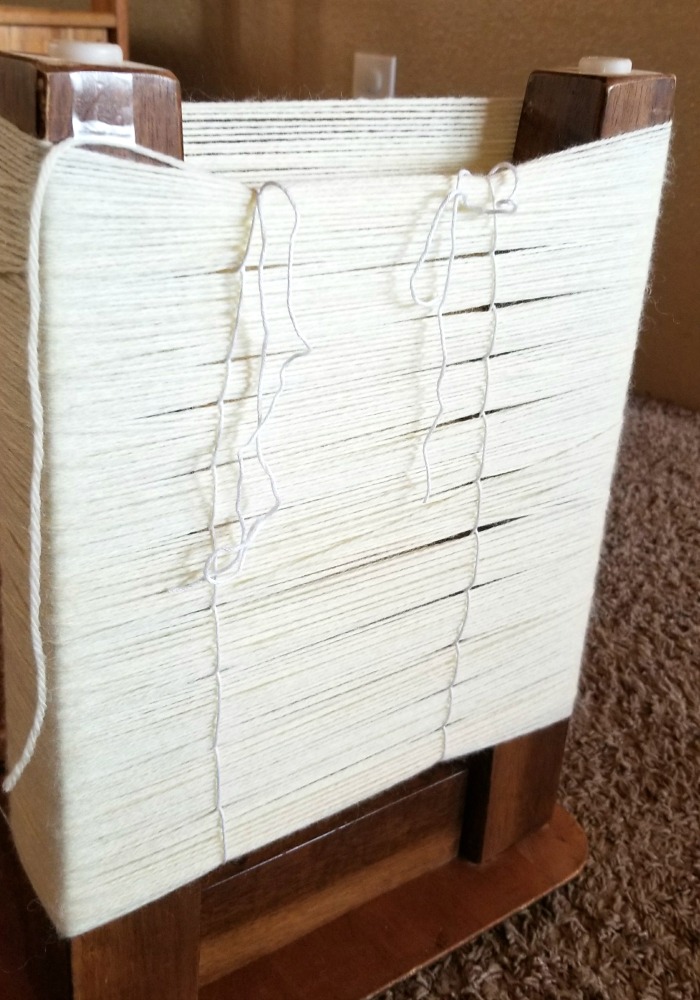
Step 2: Take a long piece of white cotton yarn and weave it in and out securing sections of yarn. I did this every 6 – 8 inches or so. (I use cotton because it won’t take on the dye in the slow cooker and use white so there’s no color to spread) This is to keep the yarn separated so it won’t get tangled in the slow cooker
Step 3: Take the yarn off the table legs and place it in a large stock pot filled with room temperature water and some vinegar (about 1/2 cup). Soak the yarn for 30 minutes
Step 4: While the yarn is soaking, heat up some water in your electric tea pot and fill up your slow cooker (alternatively, you can use hot water from the tap and heat it up in the slow cooker). Leave some room for your yarn in the slow cooker. Turn to low.
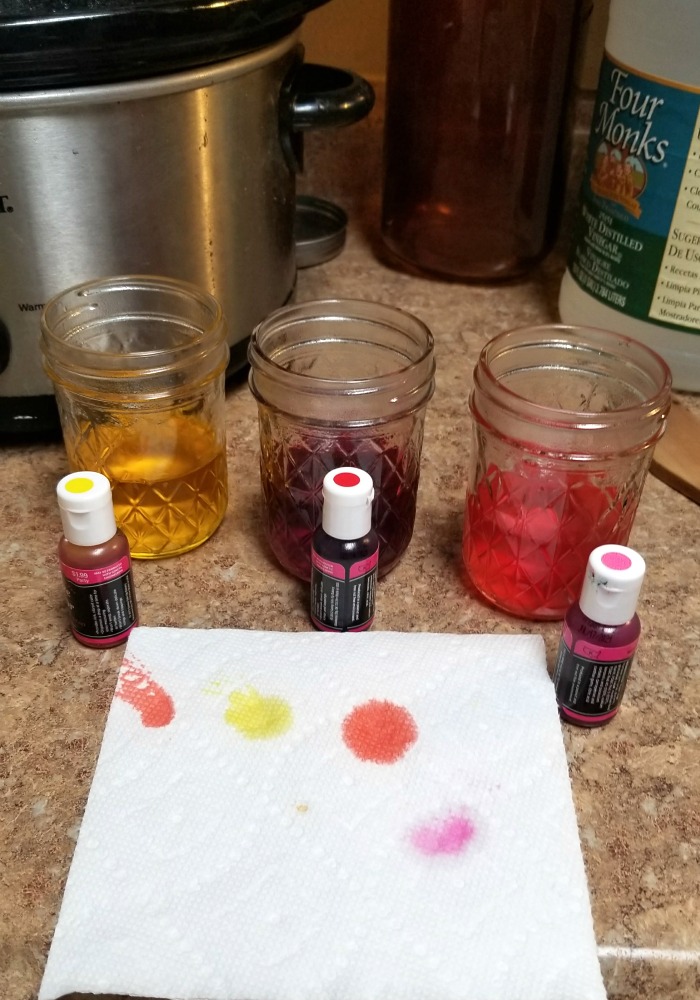
Step 5: Mix your colors. I used mason jars and filled them about halfway full of hot water with a tablespoon or so of vinegar. Add a couple drops of color. Mix it well. You can test the color on a paper towel to get an idea of the color you’ll get
Step 6: Pull the yarn from the stock pot, gently ring out. Put in the hot water in the slow cooker.
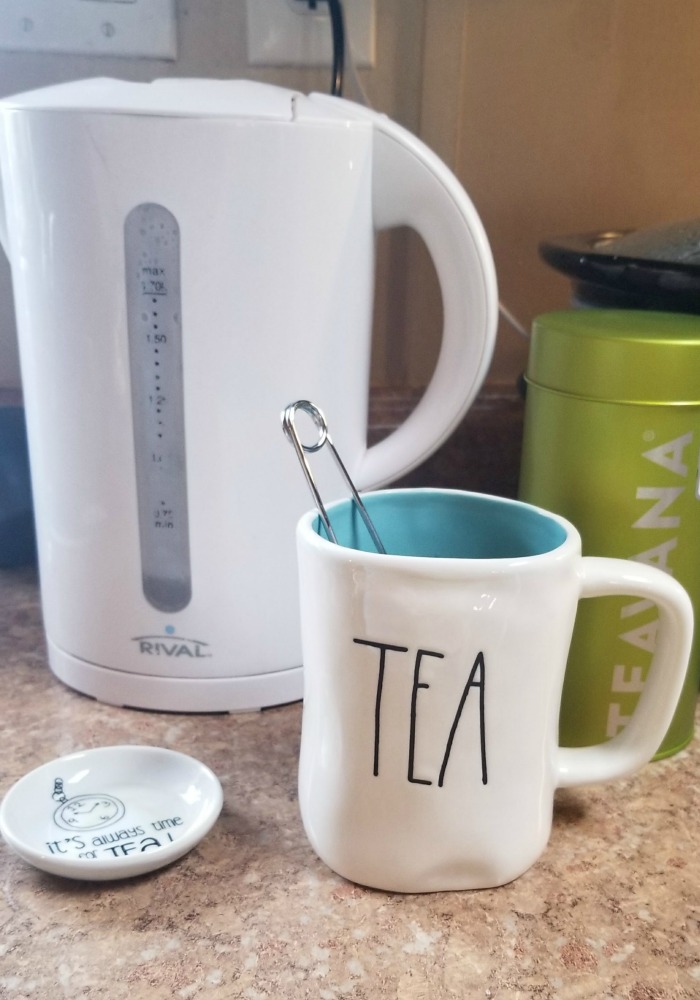
If you have extra hot water, go ahead and make yourself a cup of tea 😉
Step 7: Pour the color in even sections over the yarn. In the picture below you can see white sections, you can gently press the yarn to blend the color or you can leave it. I left it the way it was poured and it all blended in the end.
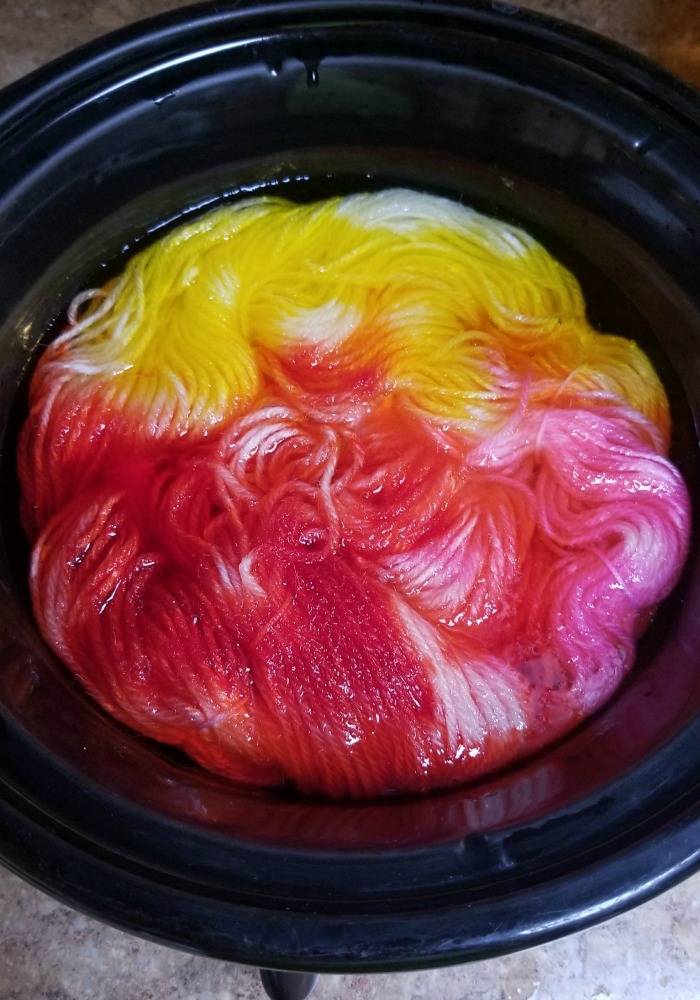
Step 8: Let cook on low for 2 -3 hours. It’s done when all the color is soaked in and the water is clear (use a spoon to check). Turn off the slow cooker and cool for about an hour.
Step 9: Gently take out the yarn and ring it out.
Step 10: Put the yarn back in the stock pot. Fill with room temperature water and about 1/2 cup of vinegar. Soak for about 30 minutes
Step 11: Take out the yarn, gently ring it out. Roll it in a towel to press out excess water. Let the yarn dry completely (it took mine about 24 hours) before untying it and rolling into a ball
And you’re done!! I’d love to see your finished yarn! Tag me on Instagram @breann.hookedonhomemade
Follow me on Facebook, Instagram, and Pinterest! Please share a pic of your finished product with me. I’d love to see it!

NEVER MISS A PATTERN!
Sign up for my newsletter and receive a FREE ebook with 3 of my favorite patterns PLUS patterns straight to your inbox. You’ll also get a heads up about upcoming giveaways, events, and crochet alongs.
>>>HOOKED ON HOMEMADE NEWSLETTER<<


I have seen stuff about dying yarn, and always wonder – is it washable, or will the color fade with washing? We are retired, and I don’t need yarn to fade!
I’m not sure, I haven’t washed it 🙂 But it’s wool so it would only be handwashed.
Hi, this sounds awesome! Will have to try it, very soon.
Love the stuff you do.
I’m new to your site.
Many Thanks
Jeni
Thank you ???
This is pretty amazing! I love the pink/purple/teal colors!!! I may have to try this even though I’m not greatest at yarn projects.
thanks for sharing this great diy tip. I will certainly give it a try:) I thought the process was a lot more complicated that this.
Do you have to use wool, or will another fiber work?
You have to use wool 🙂 Any other fiber will not work.